41012 - Irrigation timer Chapin - Free user manual and instructions
Find the device manual for free 41012 Chapin in PDF.
User questions about 41012 Chapin
0 question about this device. Answer the ones you know or ask your own.
Ask a new question about this device
Download the instructions for your Irrigation timer in PDF format for free! Find your manual 41012 - Chapin and take your electronic device back in hand. On this page are published all the documents necessary for the use of your device. 41012 by Chapin.
USER MANUAL 41012 Chapin
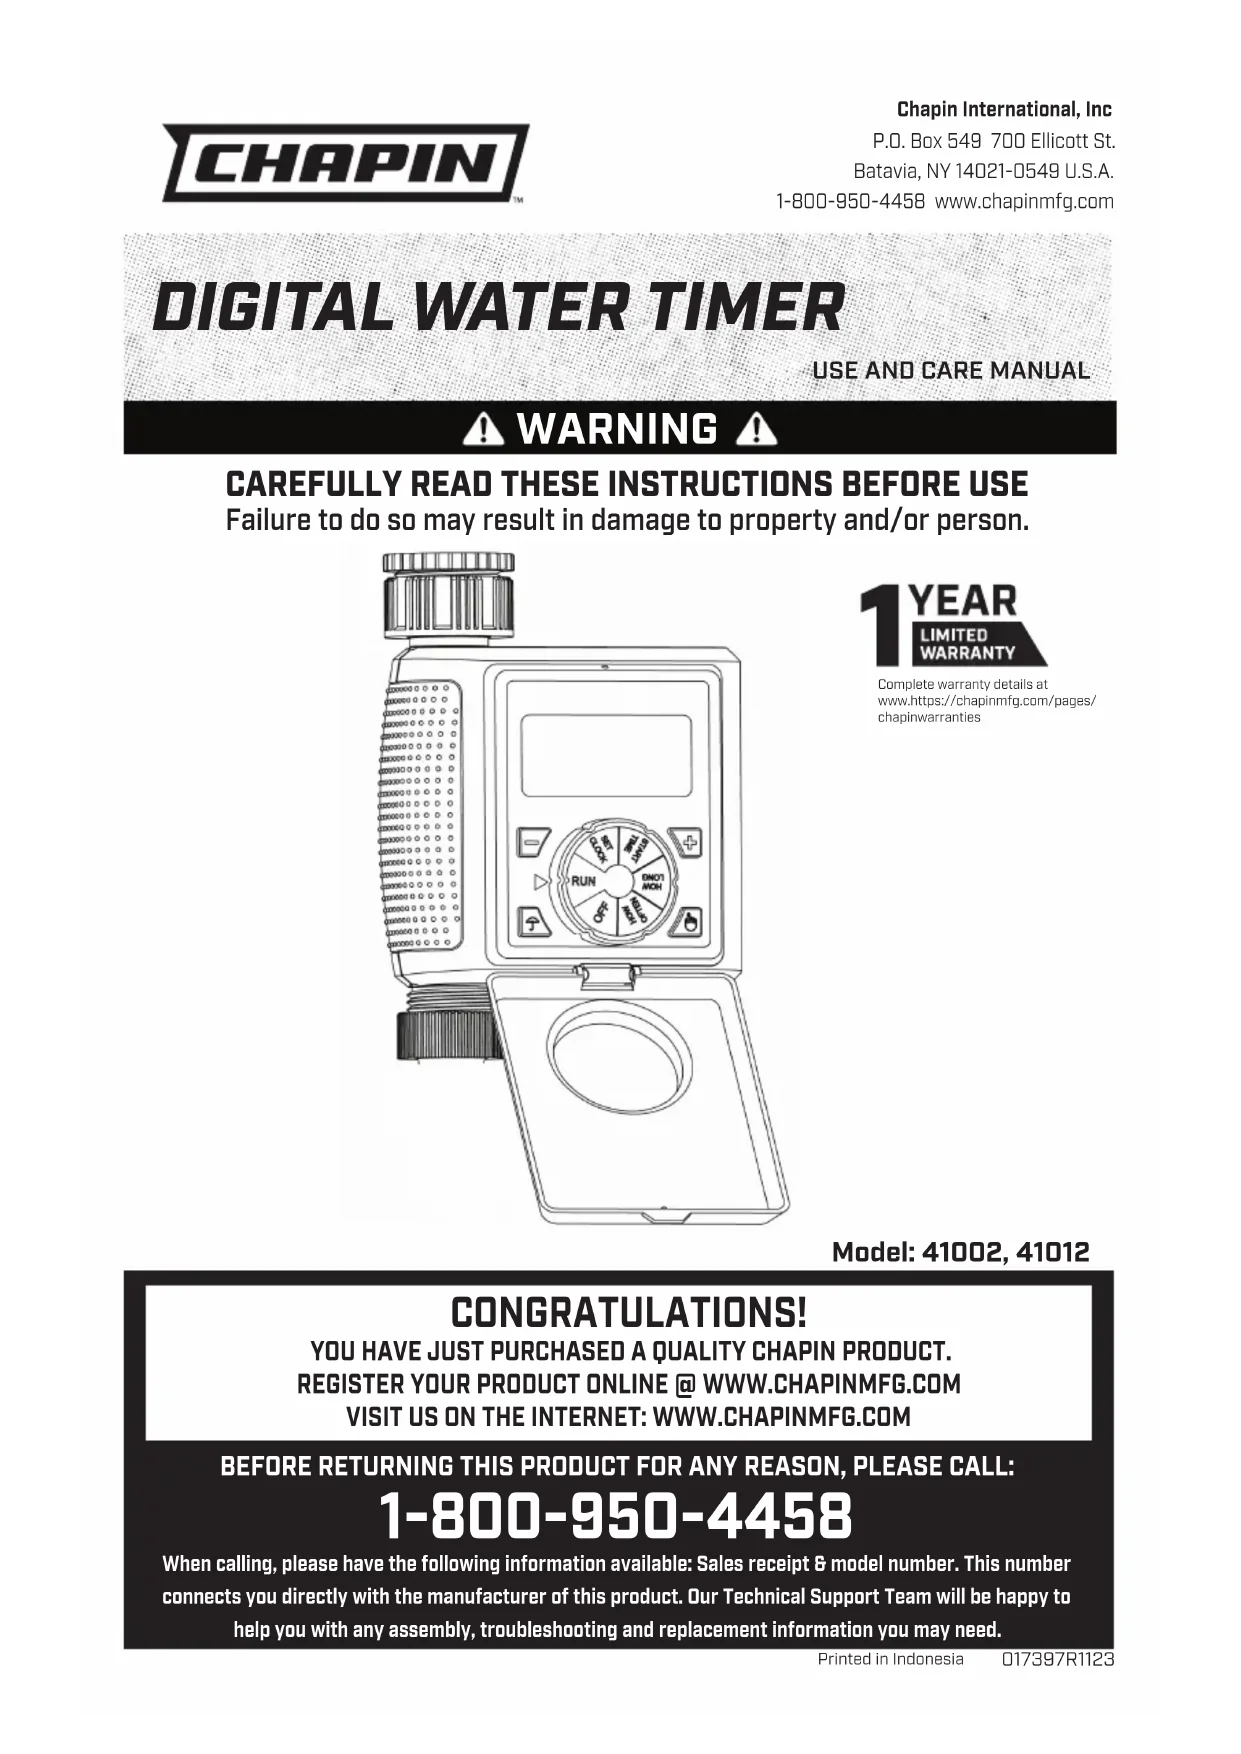
Failure to do so may result in damage to property and/or person. WARNING BEFORE RETURNING THIS PRODUCT FOR ANY REASON, PLEASE CALL: 1-800-950-4458 When calling, please have the following information available: Sales receipt & model number. This number connects you directly with the manufacturer of this product. Our Technical Support Team will be happy to help you with any assembly, troubleshooting and replacement information you may need. CONGRATULATIONS! YOU HAVE JUST PURCHASED A QUALITY CHAPIN PRODUCT. REGISTER YOUR PRODUCT ONLINE @ WWW.CHAPINMFG.COM VISIT US ON THE INTERNET: WWW.CHAPINMFG.COM
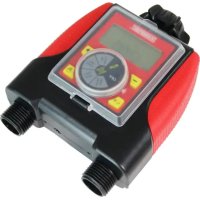
Printed in Indonesia1E Instrucon Manual - English Battery compartment 3/4” adaptor 1” Connection Filter LCD display Dial Dial position indicator + Button - Button Rain Delay Button Manual ON/OFF Button Cover Sensor Connection Socket
1. Slide out the battery compartment
and insert 2 (LR6/AA) 1.5V alkaline batteries. (not included) CAUTION: Use only fresh alkaline batteries at the beginning of the season. Do not use rechargeable batteries. When batteries are inserted, LCD display will show clock time. If not, check if the batteries are installed correctly. Turn Dial to OFF position before connecting it to the tap/spiggot.
CONNECTING YOUR TIMER TO THE SPIGOT
1. To connect your timer to the spigot use 3/4’’
2. For 3/4’’ taps: install the timer onto the
spigot with the 3/4’’ adaptor
attach the 1’’ connection
to the spigot directly. Note: always keep the filter
in place. CAUTION: To avoid damage to the timer, tighten all connections by hand.
12E FILTER The filter traps dirt particles and prolongs the life of timer.CAUTION: Clean filter regularly and replace if worn.LCD DISPLAY WARNING When LCD display shows a quick flash-ing “Low Battery” sign, remove the battery compartment and wait for 60 seconds until screen clears before re-insert the new batteries.Dial Dial position indicatorDial Position DescriptionRUN Settings confirmed and saved,timer run according to settingsSET CLOCK Set clock time (0:00-23:59)START TIME Set when to start watering (0:00-23:59)HOW LONG Set watering duration (0,5,10,15,20,25,30,35, 40,50,55 seconds or 1-360 minutes)HOW OFTEN Set watering frequency (10,30 seconds or 1,3,5 minutes or 1,2,4, 12 hours or 1-7 days) OFF Turn timer off + BUTTON & - BUTTONDuring settings, the number will change quickly if press and hold the + Button or - Button RAIN DELAY BUTTONWhen dial is at RUN position, press the rain delay button to set manual watering at 0, 24, 48 or 72 hours.MANUAL ON/OFF BUTTON When dial is set in the RUN position, press the manual on/off button to set manual watering from 0-240 minutes.COVER Keep cover closed to protect timer from dust and dirt.SENSOR CONNECTION SOCKET The socket is for rain sensor or moisture sensor connection, to skip watering during rainy days or when soil is too wet. (Sensor sold seperately)Connect hose to outlet on bottom of timer. PROGRAMING THE TIMER SET CLOCKTurn dial to SET CLOCK position, press + Button or - Button to advance or reverse clock time (hold button for quick advance or reverse).START TIME1. Turn dial to START TIME position, press + Button or - Button to advance or reverse start time (hold button for quick advance or reverse).Note: Start time is set in this situation START TIME 11:00 Instrucon Manual - English3E HOW LONG
to HOW OFTEN position, press + Button
to advance or reverse watering frequency (hold button for quick advance or reverse). Set watering frequency (10,30 seconds or 1,3,5 minutes or 1,2,4,12 hours or 1-7 days) NOTE:
(Example: How Often =1 Hrs, How Long = 90 Mins, is NOT a valid setting.) RUN
to RUN position, to save settings. Timer waters according to programmed time, frequency and run time.
2. Screen will flash between clock time
and watering time. Tip: Take down notes of the settings for records or reference. RAIN DELAY
at RUN position and program saved, press the
button to delay for 0, 24, 48 or 72 hours.
2. Screen will flash between clock
time and hours remaining before program resumes.
3. To remove rain delay, turn dial OFF to
and then back to RUN . MANUAL WATERING Manual watering is for one time instant watering without interrupting the set program.
to set from 0 to 240 minutes.
2. Manual watering will start within 5
seconds if no more change
3. Screen will flash between clock
time and minutes remaining before program resumes. 5 mins EVERY 2 DAYS Instrucon Manual - EnglishCAUTION: When connecting to a public water source, consult your local code. A backflow valve may be required. (Chapin backflow valves sold separately Models: 6-9089 or 6-9088). Do not operate with water sources above 116 PSI without installing a water preassure regulator in-line before your water timer. Excessive pressure may cause damage to your Water timer.
5. To resume set program, turn the dial
This timer is only designed for outdoor use to control sprinklers or irrigation systems for watering, and CAN NOT be used for industrial purposes which in contact with food, chemicals and pesticides. Operating water pressure is from 7 psi to 116 psi. DO NOT connect direct to water tank which has lower pressure than 7 psi. Use with clean and freshwater only with temperature above 34˚ F and below 140˚ F. Protect timer during winter season or freezing conditions. Remove from tap and drain water inside, remove battery and keep indoors. Your timer is water resistant, NOT water proof. The timer must be installed above ground and vertically to the tap. DO NOT submerge it in water. to avoid damage to timer, DO NOT pull the hose while attached to the timer. If timer doesnot work, refer to instructions to confirm connections and intended use is appropriate. If timer continues to perform not as intended, contact the Chapin Customer Service/ Technical Support before returning to the store. Instrucon Manual - English 4ELos detalles completos de la garantía están en www.https://chapinmfg.com/pages/chapinwarranties AÑO