Z31999 - LED Spotlight Livarno Lux - Free user manual and instructions
Find the device manual for free Z31999 Livarno Lux in PDF.
Download the instructions for your LED Spotlight in PDF format for free! Find your manual Z31999 - Livarno Lux and take your electronic device back in hand. On this page are published all the documents necessary for the use of your device. Z31999 by Livarno Lux.
USER MANUAL Z31999 Livarno Lux
Assembly, operating and safety instructions
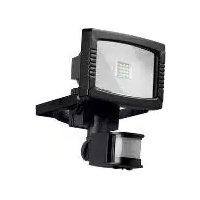
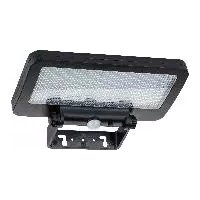
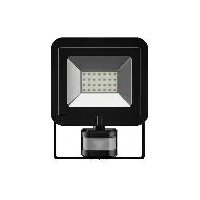
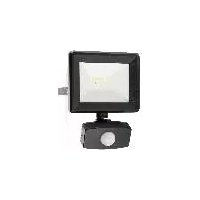
Introduction We congratulate you on the purchase of your new product. You have chosen a high quality product. The instructions for use are part of the product. They contain important information concerning safety, use and disposal. Before using the product, please familiarise yourself with all of the safety information and instructions for use. Only use the product as described and for the specified applications. If you pass the product on to anyone else, please ensure that you also pass on all the documentation with it. Intended use The product is intended to illuminate outdoor areas without electrical connection. The product is suitable for use in private household and is not intended for commercial use or for use in other applications.
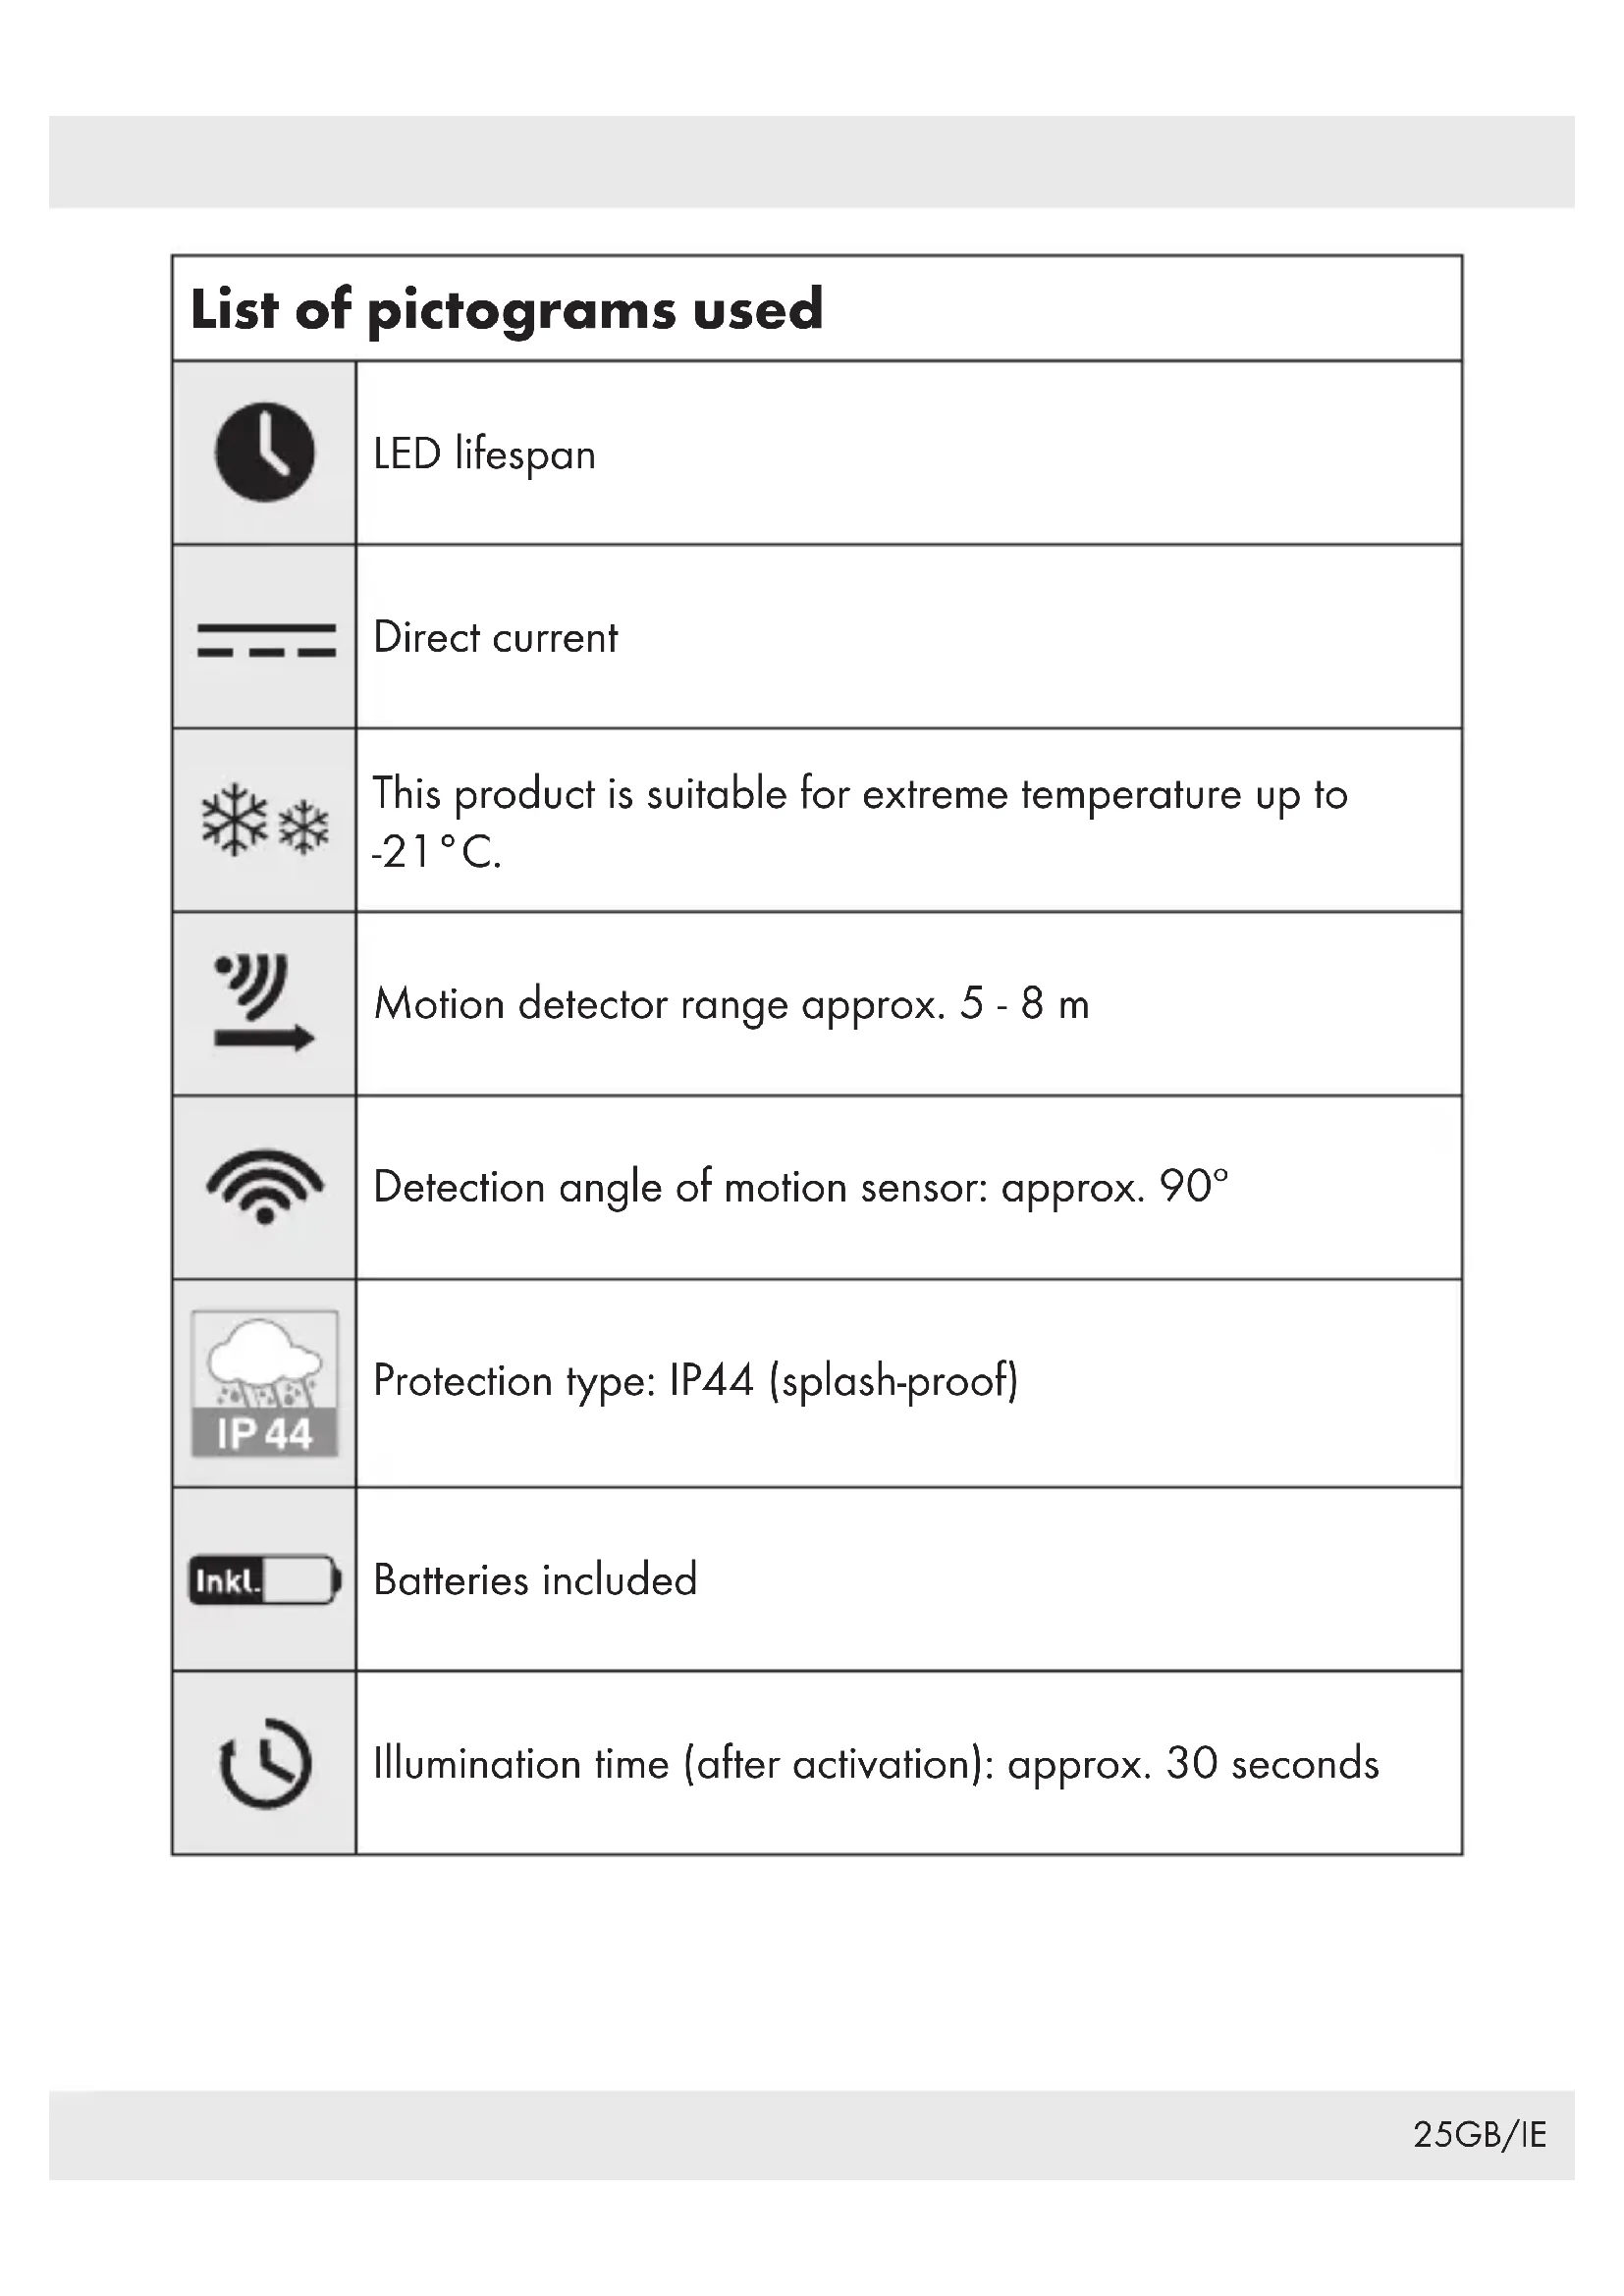
Not suitable for ordinary lighting in household room illumination. This product is suitable for extreme temperature up to -21°C. Description of parts
Dowel (mounting plate)27GB/IE
Screw (mounting plate)
Rechargeable battery
Fixing screw (front cover)
Mounting bracket (HG04465B only)
Dowel (for mounting bracket) (HG04465B only)
Screw (for mounting bracket) (HG04465B only)
Connection cable (HG04465B only)
Plug (HG04465B only)
Socket (HG04465B only) Technical data Model no.: HG04465A or HG04465B LEDs: 6 x 0.5 W (LEDs not replaceable) Operating voltage: 3.6 V Rechargeable batteries: 3 x Ni-MH AA, 900 mAh,1.2 V Degree of ingress protection: IP44 (splash-proof) Motion sensor: Range: approx. 5 to 8 m Detection angle: approx. 90º28 GB/IE Scope of delivery Check immediately after unpacking that the parts are complete and that the product is in proper condition. 1 LED solar powered spotlight, model HG04465A or HG04465B 1 Mounting bracket (for solar panel) (HG04465B only) 1 Solar panel (HG04465B only) 2 Dowels (mounting plate) 2 Screws (mounting plate) 2 Dowels (mounting bracket) (HG04465B only) 2 Screws (mounting bracket) (HG04465B only) 1 Assembly, operating and safety instructions General safety instructions BEFORE USING THE PRODUCT, PLEASE FAMILIARISE YOURSELF WITH ALL OF THE SAFETY INFORMATION AND INSTRUCTIONS FOR USE! WHEN PASSING THIS PRODUCT ON TO OTHERS, PLEASE ALSO INCLUDE ALL THE DOCUMENTS! This product can be used by children aged from 8 years and above and persons with reduced physical, sensory or mental capabilities or lack of experience and knowledge if they have been given supervision or instruction concerning use of the product in a safe way and understand the hazards involved. Children shall not play with the product. Cleaning and user maintenance shall not be made by children without supervision.29GB/IE Never leave children unsupervised with the packaging material. The packaging material represents a danger of suffocation. Children frequently underestimate the dangers. Keep children out of the area you are working in. A large number of screws and other small parts are included with the delivery. These may prove life-threatening if swallowed or inhaled. Do not use this product if you notice any damage! The LEDs are not replaceable. If the LEDs fail at the end of their life, the entire product must be replaced. Do not look directly into the light source (light bulb, LED etc.). Do not look at the LED with an optical instrument (e.g. magnifier). The external flexible cable of this luminaire cannot be replaced; if the cord is damaged, the luminaire shall be destroyed (HG04465B only). Safety instructions for batteries/ rechargeable batteries m DANGER TO LIFE! Keep batteries/ rechargeable batteries out of reach of children. If accidentally swallowed seek immediate medical attention.30 GB/IE DANGER OF EXPLOSION! Never recharge non- rechargeable batteries. Do not short-circuit batteries/ rechargeable batteries and/ or open them. Overheating, fire or bursting can be the result. Never throw batteries/ rechargeable batteries into fire or water. Do not exert mechanical loads to batteries/ rechargeable batteries. Risk of leakage of batteries/ rechargeable batteries Avoid extreme environmental conditions and temperatures, which could affect batteries/ rechargeable batteries, e.g. radiators/ direct sunlight. If batteries/ rechargeable batteries have leaked, avoid contact with skin, eyes and mucous membranes with the chemicals! Flush immediately the affected areas with fresh water and seek medical attention! WEAR PROTECTIVE GLOVES! Leaked or damaged batteries/ rechargeable batteries can cause burns on contact with the skin. Wear suitable protective gloves at all times if such an event occurs. In the event of a leakage of batteries/ rechargeable batteries, immediately remove them from the product to prevent damage. Only use the same type of batteries/ rechargeable batteries. Do not mix used and new batteries/ rechargeable batteries. Remove batteries/ rechargeable batteries if the product will not be used for a longer period.31GB/IE Risk of damage of the product Only use the specified type of battery/ rechargeable battery! Insert batteries/ rechargeable batteries according to polarity marks (+) and (–) on the battery/ rechargeable battery and the product. Clean the contacts on the battery/ rechargeable battery and in the battery compartment before inserting! Remove exhausted batteries/ rechargeable batteries from the product immediately. Before use Note: Remove all packaging materials from the product. Charging the rechargeable batteries Note: The rechargeable batteries
inside the product are fully charged at delivery. However, they may have lost charge during transport from the manufacturer to the retail location. Therefore charge the rechargeable batteries
prior to use. During summer, initial charging will take at least 1 day in constant sunlight. Set the ON/OFF switch
to the “ON“ position. Note: In constant sunlight (depending on the season) drained rechargeable batteries
should take 2 to 10 days to charge.32 GB/IE Note: The built-in charging controller of the product prevents the rechargeable batteries
from overcharging. Replace the rechargeable batteries
if light output does not improve after charging (Fig.C: HG04465A or Fig.E: HG04465B). Inserting / replacing batteries Note: The rechargeable batteries
are pre-installed. Only use batteries as stated in the “Technical data” chapter. To remove the rechargeable batteries
Open the battery compartment
on the back side of the spotlight
by loosening the fixing screws
counterclockwise to remove the front cover
(Fig.C: HG04465A or Fig.E:HG04465B). Remove the old rechargeable batteries
Insert the new rechargeable batteries
. Use only batteries of the specified type (see “Technical data”). Note: When inserting the battery, ensure the correct polarity! This is indicated in the battery compartment
Close the battery compartment
again with the front cover
and fix the front cover
by turning the fixing screws
clockwise.33GB/IE Installation Note: The included mounting material is suitable for ordinary solid concrete or masonry construction. Other wall substrates may require other fastening materials. Seek specialist advice if necessary. Note: You will need an electric drill. m CAUTION! RISK OF INJURY! Read the operating instructions for your drill. m CAUTION! Ensure that you do not damage any electricity cables in the wall or ceiling. When selecting the mounting location, pay attention to the following: Ensure that the spotlight
illuminates the desired area. You can swivel the spotlight
into the desired position. Ensure the sensor
covers the desired area. The sensor
has a maximum coverage range of approx. 5 to 8 m, with a coverage angle of about 90° (depending on the mounting height – a height from 1.8 to 2.5 m is ideal) (Fig. D: HG04465A or Fig. F: HG04465B). Ensure the sensor
is not illuminated at night by street lighting. This can influence its functioning. Ensure that the solar panel
is mounted in a place with direct sunlight.34 GB/IE Ensure that the solar panel
is not installed where there are strong temperature fluctuations, e.g. due to heating devices. Ensure that the solar panel
is installed far away from unnatural light sources and in southern direction. Ensure that the connection cable
can reach the spotlight
. Max. distance between the solar panel
is approx. 2.5 m (HG04465B only). For HG04465A: Carefully fold the solar panel
upwards. Remove the mounting plate
loosening the screws of the ball joint cover
(Fig. B). Use the slotted holes of the mounting plate
intended for the screws
to mark the drill holes. Now drill the fixing holes (Ø 8 mm, depth approx. 40 mm). Before drilling the fixing holes, ensure there are no gas, water or electrical lines that could be drilled into or damaged in the area where you will be drilling. Insert the dowels
into the drill holes (Fig. B). Attach the mounting plate
provided (Fig. B). Ensure that the solar panel
is orientated towards the sun.35GB/IE Now place the spotlight
towards the mounting plate
Ensure that the ball joint of the mounting plate
is correctly inserted into the slot
. Then, close the ball joint cover
by tightening the screws clockwise (Fig. B). Set the ON/OFF switch
to the “ON“ position (Fig. A). The rechargeable batteries
will now charge when there is sufficient solar radiation. For HG04465B: Remove the mounting plate
loosening the screws of the ball joint cover
(Fig. B). Use the slotted holes of the mounting plate
intended for the screws
to mark the drill holes. Now drill the fixing holes (Ø 8 mm, depth approx. 40 mm). Before drilling the fixing holes, ensure there are no gas, water or electrical lines that could be drilled into or damaged in the area where you will be drilling. Insert the dowels
into the drill holes (Fig. B). Attach the mounting plate
towards the mounting plate
Ensure that the ball joint of the mounting plate
is correctly inserted into the slot
. Then, close the ball joint cover
by tighten the screws clockwise (Fig. B).36 GB/IE Now use the slots in the mounting bracket
intended for the screws
to mark the drill holes (Ø 8 mm, depth approx. 40 mm). Ensure that you can connect the spotlight
using the connection cable
Now drill the fixing holes. Before drilling the fixing holes, ensure there are no gas, water or electrical lines that could be drilled into or damaged in the area where you will be drilling. Insert the dowels
into the drill holes (Fig. C). Attach the mounting bracket
Place the solar panel
into the mounting bracket
(Fig. C). Ensure that the solar panel
is orientated towards the sun. Insert the plug
to the “ON“ position (Fig. A). The rechargeable batteries
will now charge when there is sufficient solar radiation. When selecting the mounting location for the solar panel
, pay attention to the following: The solar panel
needs to be as directly exposed to sunlight as possible. Even partial shading of the solar panel
during the day can have a significant influence on charging.37GB/IE Cardinal direction: Orientation towards the south is optimum. Orienta tions with slight deviations towards the west are preferable to those with slight deviations towards the east. Horizontal orientation: The horizontal orientation of the solar panel
depends on the geographic latitude of the mounting loca tion. In central Europe, an angle of 30°to 40° is ideal. Your product is now ready to use. Start-up The sensor
is activated at an illumination level of approx. <100 Lux. The spotlight
will automatically switch on in darkness as soon as the sensor
detects motion. The light will automatically switch off after approx. 30 seconds if motion is no longer detected. If any motion is detected after it has been switched off, the light will automatically switch on again for approx. 30 seconds. To switch off the spotlight
must be set to the “OFF“ position. The rechargeable batteries
will no longer be charged.38 GB/IE Maintenance and cleaning WARNING! DANGER TO LIFE BY ELECTRIC SHOCK! Do not use solvents, petrol, etc. Otherwise the light will be damaged. Set the ON/OFF switch
to the “OFF“ position. Remove the rechargeable batteries
Loosen the connection between the plug
(HG04465B only). Clean the light with a dry, lint-free cloth. Reinsert the rechargeable batteries
again (HG04465B only). Set the ON/OFF switch
to the “ON“ position. Check the sensor
for dirt regularly. If dirt or is present, remove it to guarantee flawless function of the product. Especially during the winter, keep the product free from snow and ice.39GB/IE Disposal The packaging is made entirely of recyclable materials, which you may dispose of at local recycling facilities. Observe the marking of the packaging materials for waste separation, which are marked with abbreviations (a) and numbers (b) with following meaning: 1 – 7: plastics / 20 – 22: paper and fibreboard / 80 – 98: composite materials. The product and packaging materials are recyclable, dispose of it separately for better waste treatment. The Triman logo is valid in France only. Contact your local refuse disposal authority for more details of how to dispose of your worn-out product. To help protect the environment, please dispose of the product properly when it has reached the end of its useful life and not in the household waste. Information on collection points and their opening hours can be obtained from your local authority. Faulty or used batteries / rechargeable batteries must be recycled in accordance with Directive 2006/66/EC and its amendments. Please return the batteries / rechargeable batteries and / or the product to the available collection points.40 GB/IE Environmental damage through incorrect disposal of the batteries / rechargeable batteries! Batteries / rechargeable batteries may not be disposed of with the usual domestic waste. They may contain toxic heavy metals and are subject to hazardous waste treatment rules and regulations. The chemical symbols for heavy metals are as follows: Cd = cadmium, Hg = mercury, Pb = lead. That is why you should dispose of used batteries / rechargeable batteries at a local collection point. Warranty The product has been manufactured to strict quality guidelines and meticulously examined before delivery. In the event of product defects you have legal rights against the retailer of this product. Your legal rights are not limited in any way by our warranty detailed below. The warranty for this product is 3 years from the date of purchase. Should this product show any fault in materials or manufacture within 3 years from the date of purchase, we will repair or replace it – at our choice – free of charge to you. The warranty period begins on the date of purchase. Please keep the original sales receipt in a safe location. This document is required as your proof of purchase. This warranty becomes void if the product has been damaged, or used or maintained improperly.41GB/IE The warranty applies to defects in material or manufacture. This warranty does not cover product parts subject to normal wear, thus possibly considered consumables (e. g. batteries) or for damage to fragile parts, e. g. switches, rechargeable batteries or glass parts. Warranty claim procedure To ensure quick processing of your case, please observe the following instructions: Please have the till receipt and the item number (e.g. IAN 123456_7890) available as proof of purchase. You will find the item number on the type plate, an engraving on the front page of the instructions (bottom left), or as a sticker on the rear or bottom of the appliance. If functional or other defects occur, please contact the service department listed either by telephone or by e-mail. You can return a defective product to us free of charge to the service address that will be provided to you. Ensure that you enclose the proof of purchase (till receipt) and information about what the defect is and when it occurred.42 GB/IE Service Service Great Britain Tel.: 0800 404 7657 E-Mail: owim@lidl.co.uk Service Ireland Tel.: 1890 930 034 (0,08 EUR/Min., (peak)) (0,06 EUR/Min., (off peak)) E-Mail: owim@lidl.ie43 FR/BE Liste des pictogrammes utilisés ......... Page 44 Introduction ................................ Page 45 Utilisation conforme aux prescriptions ............. Page 45 Description des pièces ......................... Page 45 Caractéristiques techniques ...................... Page 46 Contenu de la livraison ......................... Page 47 Consignes de sécurité générales ........ Page 47 Consignes de sécurité relatives aux piles/ aux piles rechargeables ................................ Page 48 Avant la mise en service... Page 50 Charge des piles rechargeables .................. Page 50 Insertion/remplacement des piles ...... Page 51 Montage .................................... Page 52 Mise en service ............................ Page 56 Maintenance et nettoyage ............... Page 57 Mise au rebut .............................. Page 58 Garantie .................................... Page 5944 FR/BE Liste des pictogrammes utilisés Durée de vie des LED Courant continu Ce produit est conçu pour des températures extrêmes allant jusqu’à -21°C. Portée du capteur de mouvement: env. 5 à 8m Angle de détection du capteur de mouvement: env. 90º Indice de protection: IP44 (étanche aux projections d'eau) Piles fournies Durée d’éclairage (après l’activation): env. 30 secondes45 FR/BE