
Styline MFQ4030S - Blender BOSCH - Free user manual and instructions
Find the device manual for free Styline MFQ4030S BOSCH in PDF.
| Product type | Multifunction hand mixer |
| Brand | Bosch |
| Model | Styline MFQ4030S |
| Power supply | Mains, 220-240 V ~ 50/60 Hz |
| Number of speeds | 5 positions + momentary operation (M) |
| Control | Slide switch with Off stop |
| Included accessories | Fine Creamer mixing whisks, kneading hooks, mixing bowl, quick mixer/blender, universal grinder |
| Maximum dough capacity | 500 g flour plus ingredients |
| Features | Self-closing rear opening, eject button, cord clip |
| Operation type | Quiet thanks to closed housing |
| Cleaning the motor unit | Wipe with a damp cloth, do not immerse |
| Cleaning accessories | Dishwasher safe or brush under water |
| Safety | Automatic shutdown if rear opening is open, ejection only in Off position, restart after power cut |
| Cord storage | Retractable with fixing clip |
| Spare parts | Available from Bosch after-sales service |
| Repairability | Reserved for the manufacturer or a qualified professional |
| Warranty | According to distributor conditions (see proof of purchase) |
Frequently Asked Questions - Styline MFQ4030S BOSCH
User questions about Styline MFQ4030S BOSCH
0 question about this device. Answer the ones you know or ask your own.
Ask a new question about this device
Download the instructions for your Blender in PDF format for free! Find your manual Styline MFQ4030S - BOSCH and take your electronic device back in hand. On this page are published all the documents necessary for the use of your device. Styline MFQ4030S by BOSCH.
USER MANUAL Styline MFQ4030S BOSCH
natural_image
Illustration of a gray electric mixer with two legs and handlebars (no text or symbols)MFQ4...

BOSCH
1 Päckchen Backpulver
60 ml Milch
Congratulations on the purchase of your new BOSCH appliance. In doing so, you have opted for a modern, high-quality domestic appliance. You can find further information about our products on our web page.
This appliance is designed for processing normal household quantities in the home or similar quantities in non-industrial applications. Non-industrial applications include e.g. use in employee kitchens in shops, offices, agricultural and other commercial businesses, as well as use by guests in boarding houses, small hotels and similar dwellings. Use the appliance for processing normal quantities of food for domestic use. If the instructions for correct use of the appliance are not observed, the manufacturer's liability for any resulting damage will be excluded. These operating instructions refer to various models.
An overview of the different models can be found on the illustrated pages (Fig. D). If an accessory is not supplied as standard, it can be purchased subsequently from customer service.
Please keep the Instructions for Use in a safe place. If passing on the appliance to a third party, always include the operating instructions.
Overview
Please fold out the illustrated pages.
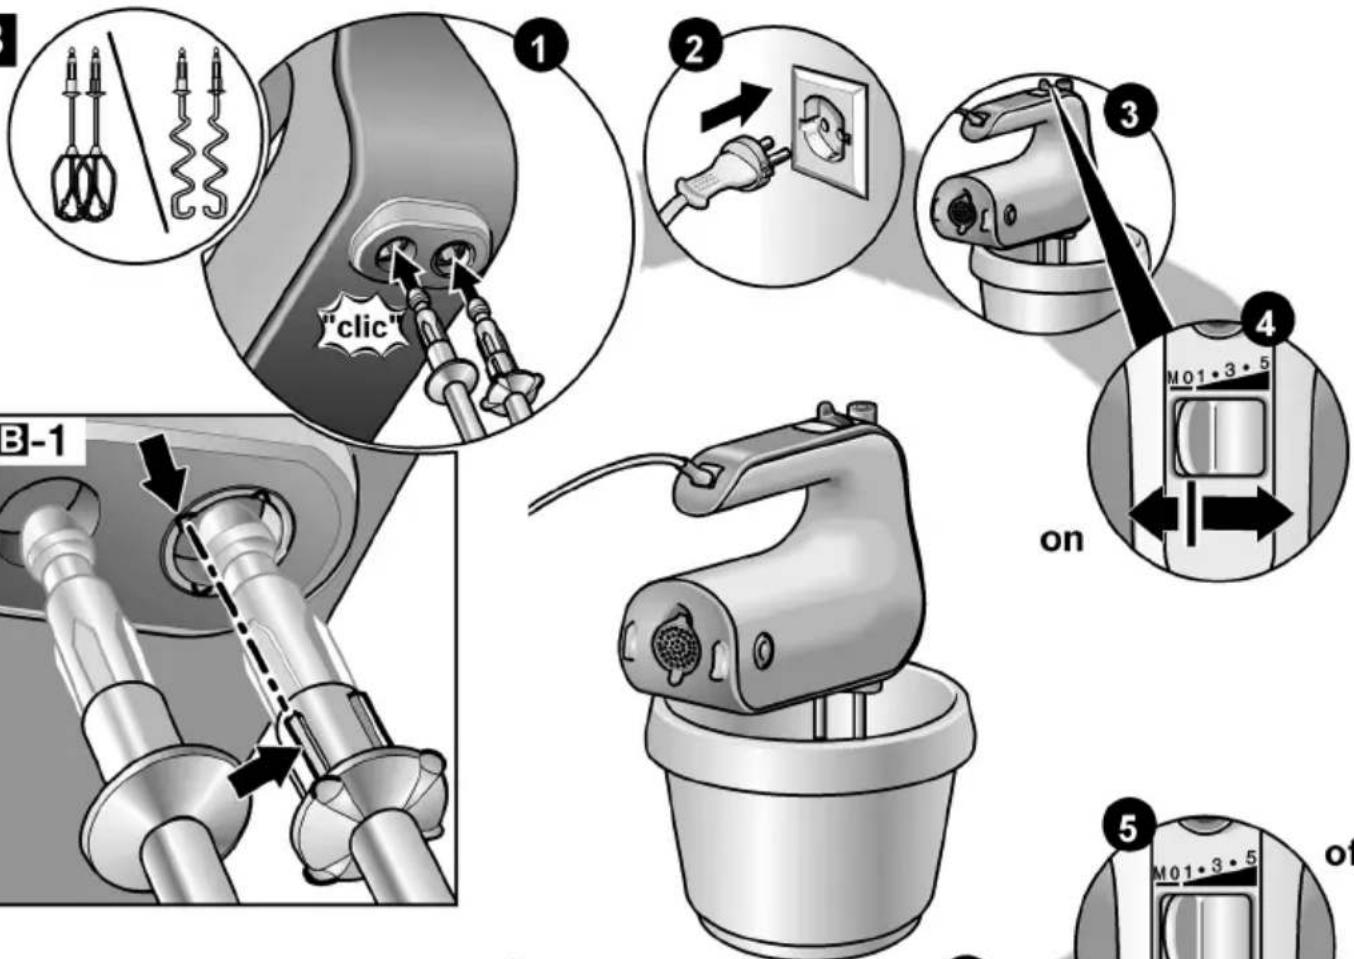
Fig. A
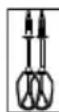
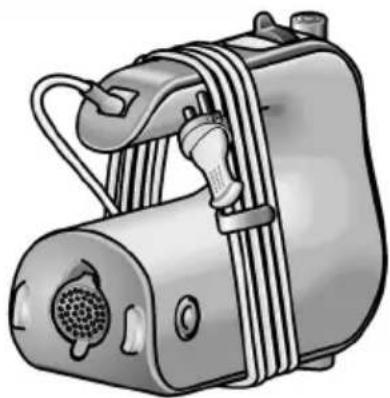
1 Base unit
2 Power cord
3 5-step switch + fast and continuous operation
For switching the appliance on and off and adjusting the operating speed
0/Off = switched off
1 = slowest speed
5 = fastest speed
M = fast and continuous operation (fastest speed) press to the left and hold in place
4 Ejector button
For removing the tools
5 Cable clamp
6 Apertures for inserting the tools with lock
Are automatically closed when tool is pushed on the rear aperture.
7 Release buttons
For removing accessories from the rear aperture. Press both buttons simultaneously.
8 Self-closing rear aperture
To insert accessory, e.g. the high-speed hand blender, push on the rear aperture and hold in place. Rear aperture closes automatically when the accessory is removed.
Tools
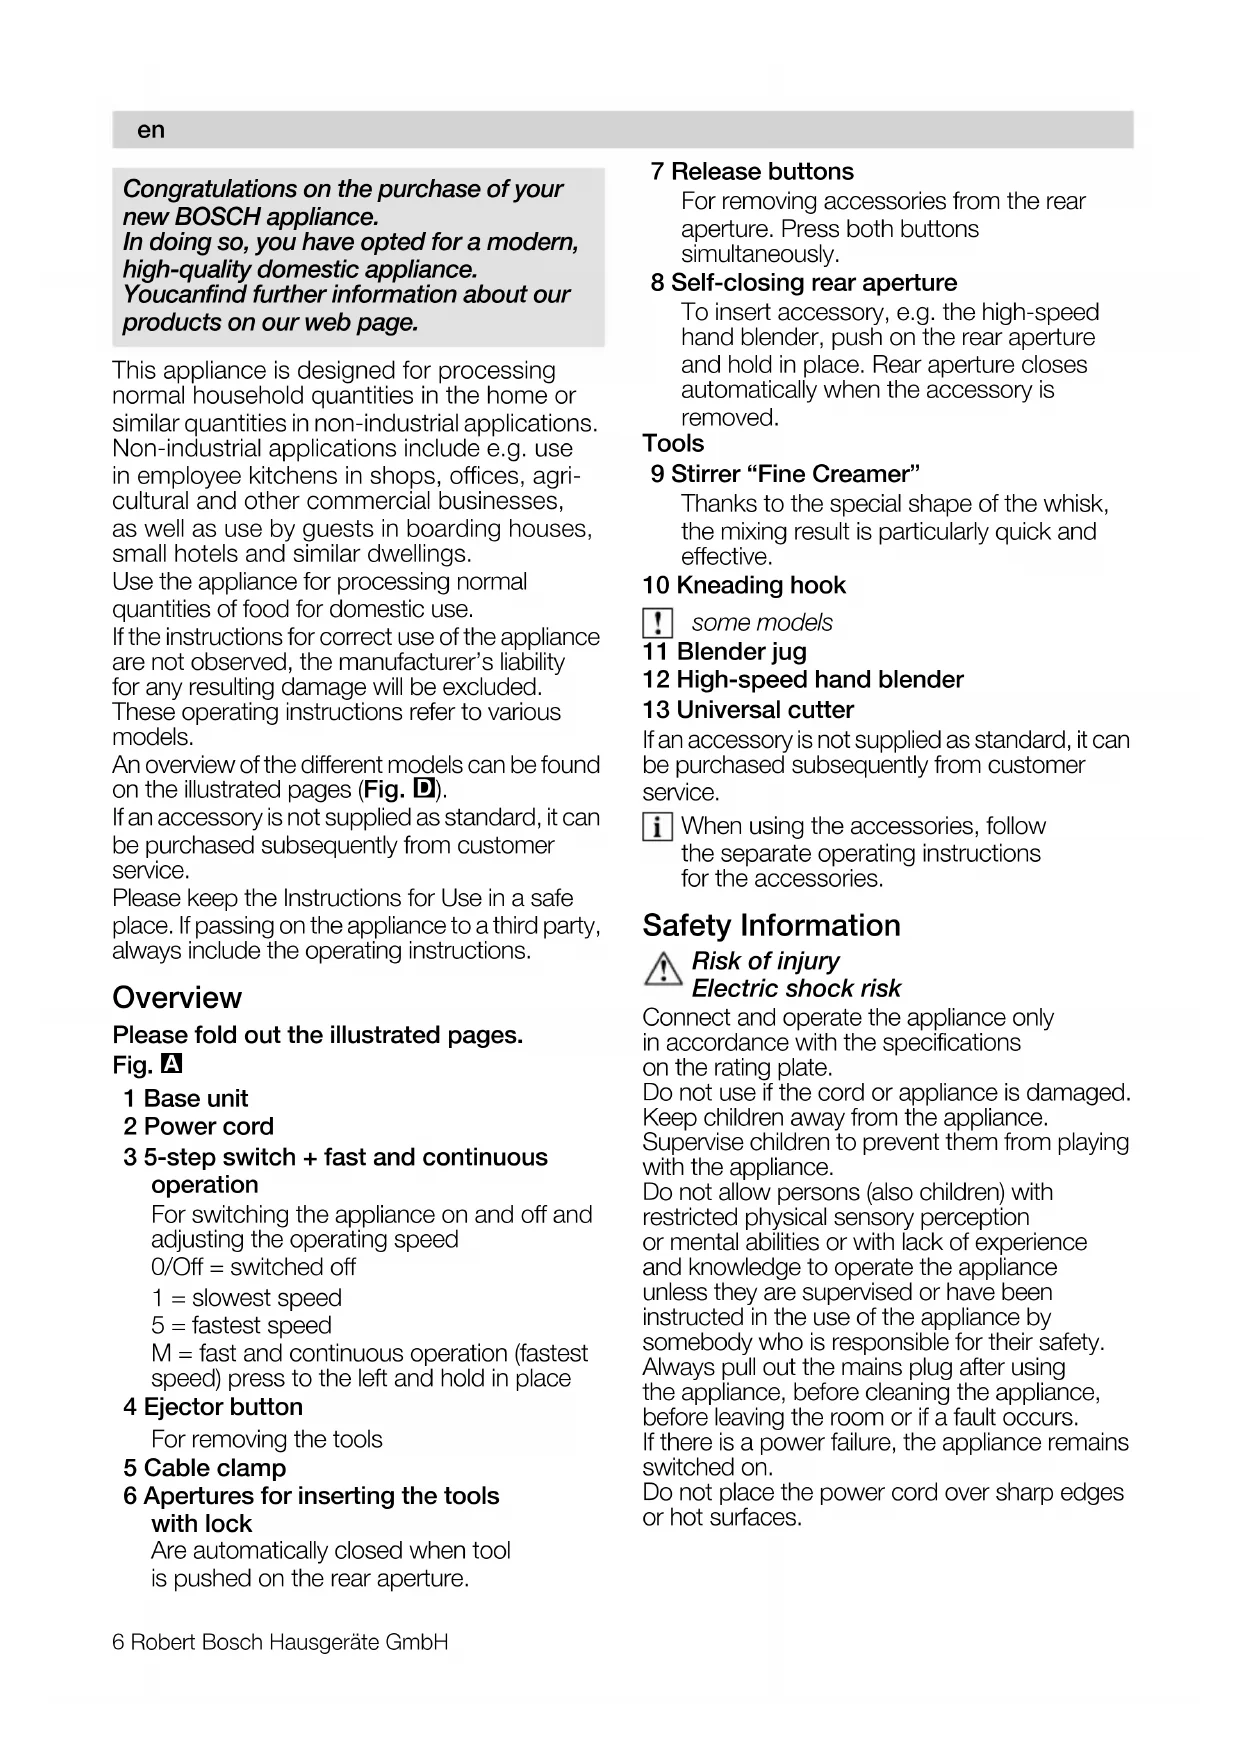
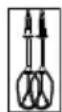
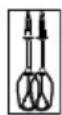
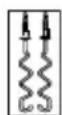
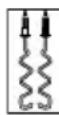
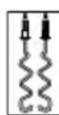
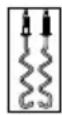
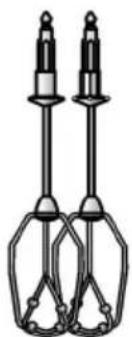
9 Stirrer "Fine Creamer"
Thanks to the special shape of the whisk, the mixing result is particularly quick and effective.
10 Kneading hook
some models
11 Blender jug
12 High-speed hand blender
13 Universal cutter
If an accessory is not supplied as standard, it can be purchased subsequently from customer service.
When using the accessories, follow the separate operating instructions for the accessories.
Safety Information
Risk of injury Electric shock risk
Connect and operate the appliance only in accordance with the specifications on the rating plate.
Do not use if the cord or appliance is damaged. Keep children away from the appliance. Supervise children to prevent them from playing with the appliance.
Do not allow persons (also children) with restricted physical sensory perception or mental abilities or with lack of experience and knowledge to operate the appliance unless they are supervised or have been instructed in the use of the appliance by somebody who is responsible for their safety.
Always pull out the mains plug after using the appliance, before cleaning the appliance, before leaving the room or if a fault occurs. If there is a power failure, the appliance remains switched on.
Do not place the power cord over sharp edges or hot surfaces.
To prevent injury, a damaged power cord must be replaced by the manufacturer or his customer service or a similarly qualified person.
Only our customer service may repair the appliance.
Do not use the appliance with damp hands and do not operate at no load.
Operate the appliance with original accessories only.
Insert tools of one type only (e.g. kneading hook).
Caution when processing hot liquids.
Liquids may splash during processing.
Do not immerse the appliance in liquid.

Risk of injury!
Before changing tools, wait until the appliance has come to a standstill – when switched off, the appliance continues running briefly.
Nevergrip the rotating tools.
Operating the appliance
The closed shape of the housing means that the appliance runs especially quietly. Nevertheless, it reaches full motor power and speed.
Before using the appliance for the first time, clean the appliance and tools.
An especially good result is achieved if the tools are used for the following applications:
Stirrers for ...
... sauces, beaten egg white, mashed potatoes, crème fraîche, mayonnaise, cream and light dough, e. g. cake mixture.
Stirrers are not suitable for processing heavy dough.
Kneading hook for ...
... stiff mixtures such as short pastry, yeast dough and potato dough as well as for mixing heavy mincemeat dough, pasta or bread dough.
The maximum processing quantity is 500 g of flour and ingredients.

Important information
When the rear aperture is open, the appliance can be operated in fast and continuous operation only. Selector switch 1–5 will not function. Open and close the catch on the rear aperture only when the switch is in the 0/Off position.
Fig. B
- Completely unwind the power cord.
- Place the required tool on the base unit and depress until it locks into position.
- Insert the mains plug.
- Place the food in a suitable receptacle.
- Insert tools into the receptacle and switch on the appliance at the required setting.
Settings 1, 2: for working in and mixing in. Settings 3, 4: for kneading and beating. - After working, set the switch to 0/Off and release and remove the tools with the ejector button.
Note the shape of the plastic parts to prevent mixing them up (see Fig. B-1)!
Attention:
The ejector button cannot be actuated unless the switch is in the 0/Off position.
Note:
Always switch off the base unit before taking itout of the blended food.
After using the appliance/cleaning

Risk of electric shock!
Never immerse the base unit in water and do not clean in the dishwasher.
Do not use a steam cleaner!
Warning!
Surfaces may be damaged.
DoNOTuseabrasive cleaning agents.
- Pull out the mains plug.
- Wipe the base unit with a damp cloth and then wipe dry.
- Clean the tools in the dishwasher or with a brush under running water.
Note: If processing e.g. red cabbage, the plastic parts will become discoloured by a red film which can be removed with a few drops of cooking oil.
Fig. C
- The power cord can be wound up to facilitate storage of the appliance.
- Attach mains plug to the cable clamp.
Troubleshooting
Switch cannot be moved to settings 1 to 5.
Remedial action:
When the rear aperture is open, selector switch 1–5 will not function.
Recipes
Whipped cream
100 g–500 g
- Whip cream with the stirrer for 12 to 2 minutes at setting 5 (depending on the quantity and properties of the cream).

Egg white
1–5 egg whites
- Using the stirrer, beat egg whites for 2 to 5 minutes at setting 5.
Sponge mixture
Basic recipe
2 eggs
2–3 tbs. hot water
100 g sugar
1 packet of vanilla sugar
70 g flour
70 g cornflour
Baking powder if required
- Beat the ingredients (except flour and cornflour) with the stirrer for approx. 3–4 minutes at setting 5 until frothy.
- Switch appliance to setting 1, mix sifted flour and cornflour by the spoonful within approx. 12 to 1 minute.
Maximum quantity: 2 x basic recipe
Cake mixture
Basic recipe
2 eggs
125 g sugar
1 pinch of salt
1 packet of vanilla sugar or peel from 12 lemon
125 g butter or margarine (room temperature)
250 g flour
1 packet of baking powder
60 ml milk
- Mix all ingredients with the stirrer for approx. 12 minute at setting 1, then for approx. 3–4 minutes at setting 5.
Maximum quantity: 2 x basic recipe
Short pastry
Basic recipe
125 g butter (room temperature)
100–125 g sugar
1 egg
1 pinch of salt
A little lemon peel or vanilla sugar
250 g flour
Baking powder if required
- Mix all ingredients with the kneading hook for approx. 12 minute at setting 1, then for approx. 3–4 minutes at setting 5.
Maximum quantity: 2 x basic recipe
Base for fruit flan
Basic recipe
2 eggs
125 g sugar
125 g ground hazel nuts
50 g breadcrumbs
- Beat eggs and sugar for 3 to 4 minutes at setting 5 until a froth forms.
- Switch appliance to Setting 1, add hazelnuts and breadcrumbs and process for 12 minute with the stirrer.
Maximum quantity: 2 x basic recipe
Plaited bun
Basic recipe
250 g flour
1 sachets dried yeast
110 ml warm milk
1 egg
1 pinch of salt
40 g sugar
30 g melted, cooled fat
Grated rind of half a lemon
- Mix all ingredients with the kneading hook for approx. 12 minute at setting 1, then for approx. 3–4 minutes at setting 5.
Maximum quantity: 2 x basic recipe
Pizza dough
Basic recipe
250 g flour
1 sachets dried yeast
1 tsp. sugar
1 pinch of salt
3 tsb. oil
125 ml warm water
- Mix all ingredients with the kneading hook for approx. 12 minute at setting 1, then for approx. 3–4 minutes at setting 5.
Maximum quantity: 2 x basic recipe
Bread dough
Basic recipe
500 g flour
14 g sugar
14 g margarine
7 g salt
1 sachets dried yeast
250 ml water
- Mix all ingredients with the kneading hook for approx. 12 minute at setting 1, then for approx. 3–4 minutes at setting 5.
Disposal

This appliance has been identified in accordance with the European directive 2002/96/EG on Waste Electrical and Electronic Equipment – WEEE. The Directive paves the way for effective EU-wide withdrawal and utilization of waste appliances.
Please ask your dealer or inquire at your local authority about current means of disposal.
Guarantee
The guarantee conditions for this appliance are as defined by our representative in the country in which it is sold. Details regarding these conditions can be obtained from the dealer from whom the appliance was purchased. The bill of sale or receipt must be produced when making any claim under the terms of this guarantee.
Subject to alterations.
AE United Arab Emirates,
Jebel Ali Free Zone – Dubai
Tel.: 04 881 4401
mailto:service-ua@bshg.com
www.bosch-home.com
HEATHERTON, Victoria 3202
Tel.: 1300 368 339
Fax: 1300 306 818
valid only in AUS
mailto:bshau-as@bshg.com
www.bosch-home.com.au
BA Bosna i Hercegovina, Bosnia-Herzegovina
"HIGH" d.o.o
Odobašina 57
71000 Sarajewo
Info-Line: 061 100 905
Fax: 033 213 513
mailto:delicnanda@hotmail.com
+ 7 snt/min (alv 23%)
+ 17 snt/min (alv 23%)
FR France
BSH Electroménager S.A.S.
50 rue Ardoin – BP 47
93401 SAINT-OUEN cedex
To arrange an engineer visit, to order spare parts and accessories or for product advice please visit www.bosch-home.co.uk or call
*Calls from a BT landline will be charged at up to 3 pence per minute. A call set-up fee of up to 6 pence may apply.
GR Greece, Ελλάς
BSH Ikiakes Siskeves A.B.E.
Central Branch Services
17 km E.O. Athinon-Lamias &
Potamou 20
145 64 Kifisia
Greece – Athens
Tel.: 2104 277 701
Fax: 2104 277 669
North-Greece – Thessaloniki
Tel.: 2310 497 200
Fax: 2310 497 220
South-Greece – Heraklion/Kreta
Tel.: 2810 325 403
Fax: 2810 324 585
Central-Greece – Patras
Tel.: 2610 330 478
Fax: 2610 331 832
mailto:cs_gr_helpdesk@bshg.com
www.bosch-home.gr
HK Hong Kong, 香港
BSH Home Appliances Limited
Unit 1 & 2, 3rd Floor
North Block, Skyway House
3 Sham Mong Road
Tai Kok Tsui, Kowloon
Hong Kong
Tel.: 2565 6151
Fax: 2565 6252
mailto:bshhkg.service@bshg.com
HR Hrvatska, Croatia
Andabaka d.o.o.
Gunduliceva 10
21000 Split
Info-Line: 021 481 403
Info-Fax: 021 481 402
mailto:servis@andabaka.hr
IE Republic of Ireland
BSH Home Appliances Ltd.
Unit F4, Ballymount Drive
Ballymount Industrial Estate
Walkinstown
Dublin 12
Service Requests,
Spares and Accessories
Tel.: 01450 2655
Fax: 01450 2520
www.bosch-home.cu.uk
IL Israel,
C/S/B Home Appliance Ltd.
Uliel Building
2, Hamelacha St.
Industrial Park North
71293 Lod
Tel.: 08 9777 222
Fax: 08 9777 245
mailto:csb-serv@zahav.net.il
IS Iceland
Smith & Norland hf.
Noatuni 4
105 Reykjavik
Tel.: 0520 3000
Fax: 0520 3011
www.sminor.is
IT Italia, Italy
LT Lietuva, Lithuania
Senuku prekybos centras UAB
Jonavos g. 62
44192 Kaunas
Tel.: 0372 12146
Fax: 0372 12165
www.senukai.lt
LU Luxembourg
General Serviss Limited
Bullu street 70c
1067 Riga
Tel.: 07 42 41 37
mailto:bt@olimpeks.lv
Elkor Serviss
Brivibas gatve 201
1039 Riga
Tel.: 067 0705 20; -36
Fax: 067 0705 24
mailto:domoservice@elkor.lv
www.servisacentrs.lv
MD Moldova
S.R.L. "Rialto-Studio"
ул. Щусева 98
2012 Кишинев
тел./факс: 022 23 81 80
mailto:bosch-md@mail.ru
ME Crna Gora, Montenegro
Elektronika komerc
Ul. 27 Mart br.2
81000 Podgorica
Tel./Fax: 020 662 444
Mobil: 069 324 812
mailto:ekobosch.servis@t-com.me
Unit F 2, 4 Orbit Drive
Mairangi BAY
Auckland 0632
Tel.: 09 477 0492
Fax: 09 477 2647
mailto:bshnz-cs@bshg.com
www.bosch-home.co.nz
PL Polska, Poland
Union Industrial Building
Block A, #01-03
577177 Singapore
Tel.: 6751 5000
Fax: 6751 5005
mailto:bshsgp.service@bshg.com
SI Slovenija, Slovenia
BSH Hišni aparati d.o.o.
Litostrojska 48
1000 Ljubljana
Tel.: 01 583 08 87
Fax: 01 583 08 89
4th floor, No. 112 Sec 1
Chung Hsiao E Road
Taipei ROC 100
Tel.: 02 2321 6222
mailto:Bosch@achelis.com.tw
UA Ukraine, Україна
15th Road Randjespark
Private Bag X36, Randjespark
1685 Midrand – Johannesburg
Tel.: 086 002 6724
Fax: 086 617 1780
mailto:applianceserviceza@
bshg.com
www.bosch-home.com
bosch-infoteam@bshg.com
text_image
Exploded view diagram of a handwashing device with numbered parts and labeled control panelB
text_image
"clic" B-1 on M01·3·5 on M01·3·5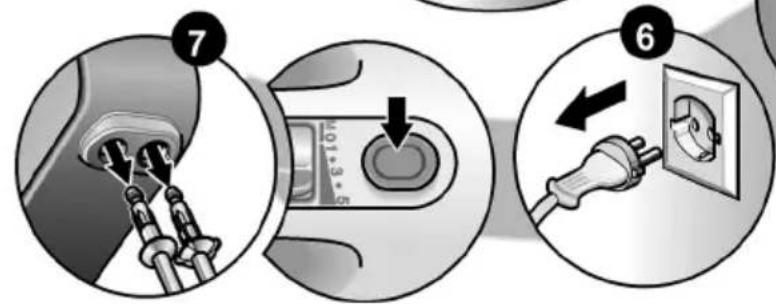
text_image
7 6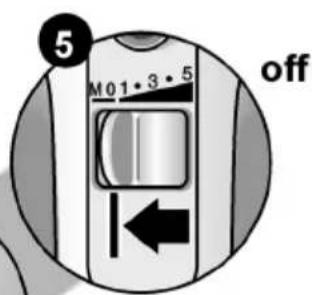
text_image
5 M0 1 3 5 offC
natural_image
Illustration of a portable electric vacuum cleaner with coiled cable and ventilation slots (no text or symbols)D
natural_image
Illustration of two identical mechanical tools with handles and rods (no text or symbols)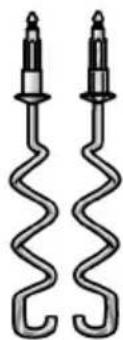
natural_image
Two identical spiral-coated electrical connectors with no text or symbols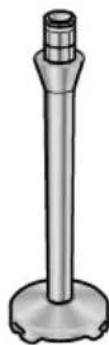

natural_image
Simple line drawing of a cylindrical object with a lid and concentric rings at the base (no text or symbols)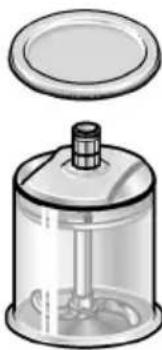
natural_image
Illustration of a glass jar with a lid and internal structure (no text or symbols)MFQ4020


MFQ4030


MFQ40304


MFQ4070


MFQ4080


