
IAN 270040 - Abdominal fitness equipment CRIVIT - Free user manual and instructions
Find the device manual for free IAN 270040 CRIVIT in PDF.
| Brand | Crivit |
| Model | IAN 270040 |
| Product type | Abdominal fitness device |
| Dimensions (assembled) | 68 × 64 × 69 cm (L × W × H) |
| Maximum load capacity | 100 kg |
| Power supply | None (mechanical device) |
| Main functions | Abdominal exercises: classic crunches, cross-legged crunches, trunk flexion, leg raises |
| Number of exercises offered | 5 described variants |
| Certification class | H (EN ISO 20957-1:2013) |
| Target audience | Adults and adolescents over 14 years old |
| Warranty | 3 years |
| Maintenance | Clean with water, dry with a cloth, do not use harsh cleaners |
| Spare parts | Use only original spare parts |
| Customer service | Service Belgium: Tel. 070 270 171 (0.15 EUR/min), Email: deltasport@lidl.be |
| Safety precautions | Do not use for climbing, do not sit on it, keep a clear space of 0.6 m, use on a flat surface, check for wear before each use |
| Delivery contents | 2 frame rods, 2 curved rods, 2 handle rods, headrest, screws, Phillips screwdriver, manual |
Frequently Asked Questions - IAN 270040 CRIVIT
User questions about IAN 270040 CRIVIT
0 question about this device. Answer the ones you know or ask your own.
Ask a new question about this device
Download the instructions for your Abdominal fitness equipment in PDF format for free! Find your manual IAN 270040 - CRIVIT and take your electronic device back in hand. On this page are published all the documents necessary for the use of your device. IAN 270040 by CRIVIT.
USER MANUAL IAN 270040 CRIVIT
natural_image
Product image of a mobility device with adjustable arms and a small base, no visible text or symbols on the device itself.ABDOMINAL MUSCLE TRAINER
DELTA-SPORT HANDELSKONITOR GM&H
Wegnerp b • 127892 Hanning
Verd rec 11/2015
C: 10 Spod N: 81 2324
IAN 270040
GB E
ABDOMINAL MUSCLE TRAINER
Instructions for use
⑤
MAGMUSKELTRÄNARE
Bruksanvisning
FR H
APPAREIL DE MUSCULATION
POUR ABDOMINAUX
Before reading, fold out the illustration page and get to know all of the functions of your unit.
B
GB/IE Instructions and Safety Notice Page 08
El Kayto, jcnpalisiyohcet Suy. 12
Included in delivery / Parts description 8
Technical data 8
Intended use 8
Safety information 8 - 9
Assembly 9
Disassembly 9
General training information 9
Exercise suggestions 9 - 10
Maintenance and storage 10
Advice on disposal 10
3 Years Warranty 11
SE
With your purchase you have decided on a high-quality product. Get to know the product before you start to use it. Carefully read the following instruction for use.
Use the product only as described and only for the given areas of application. Keep these instructions safe. When passing the product on to a third party, always make sure that the documentation is included.
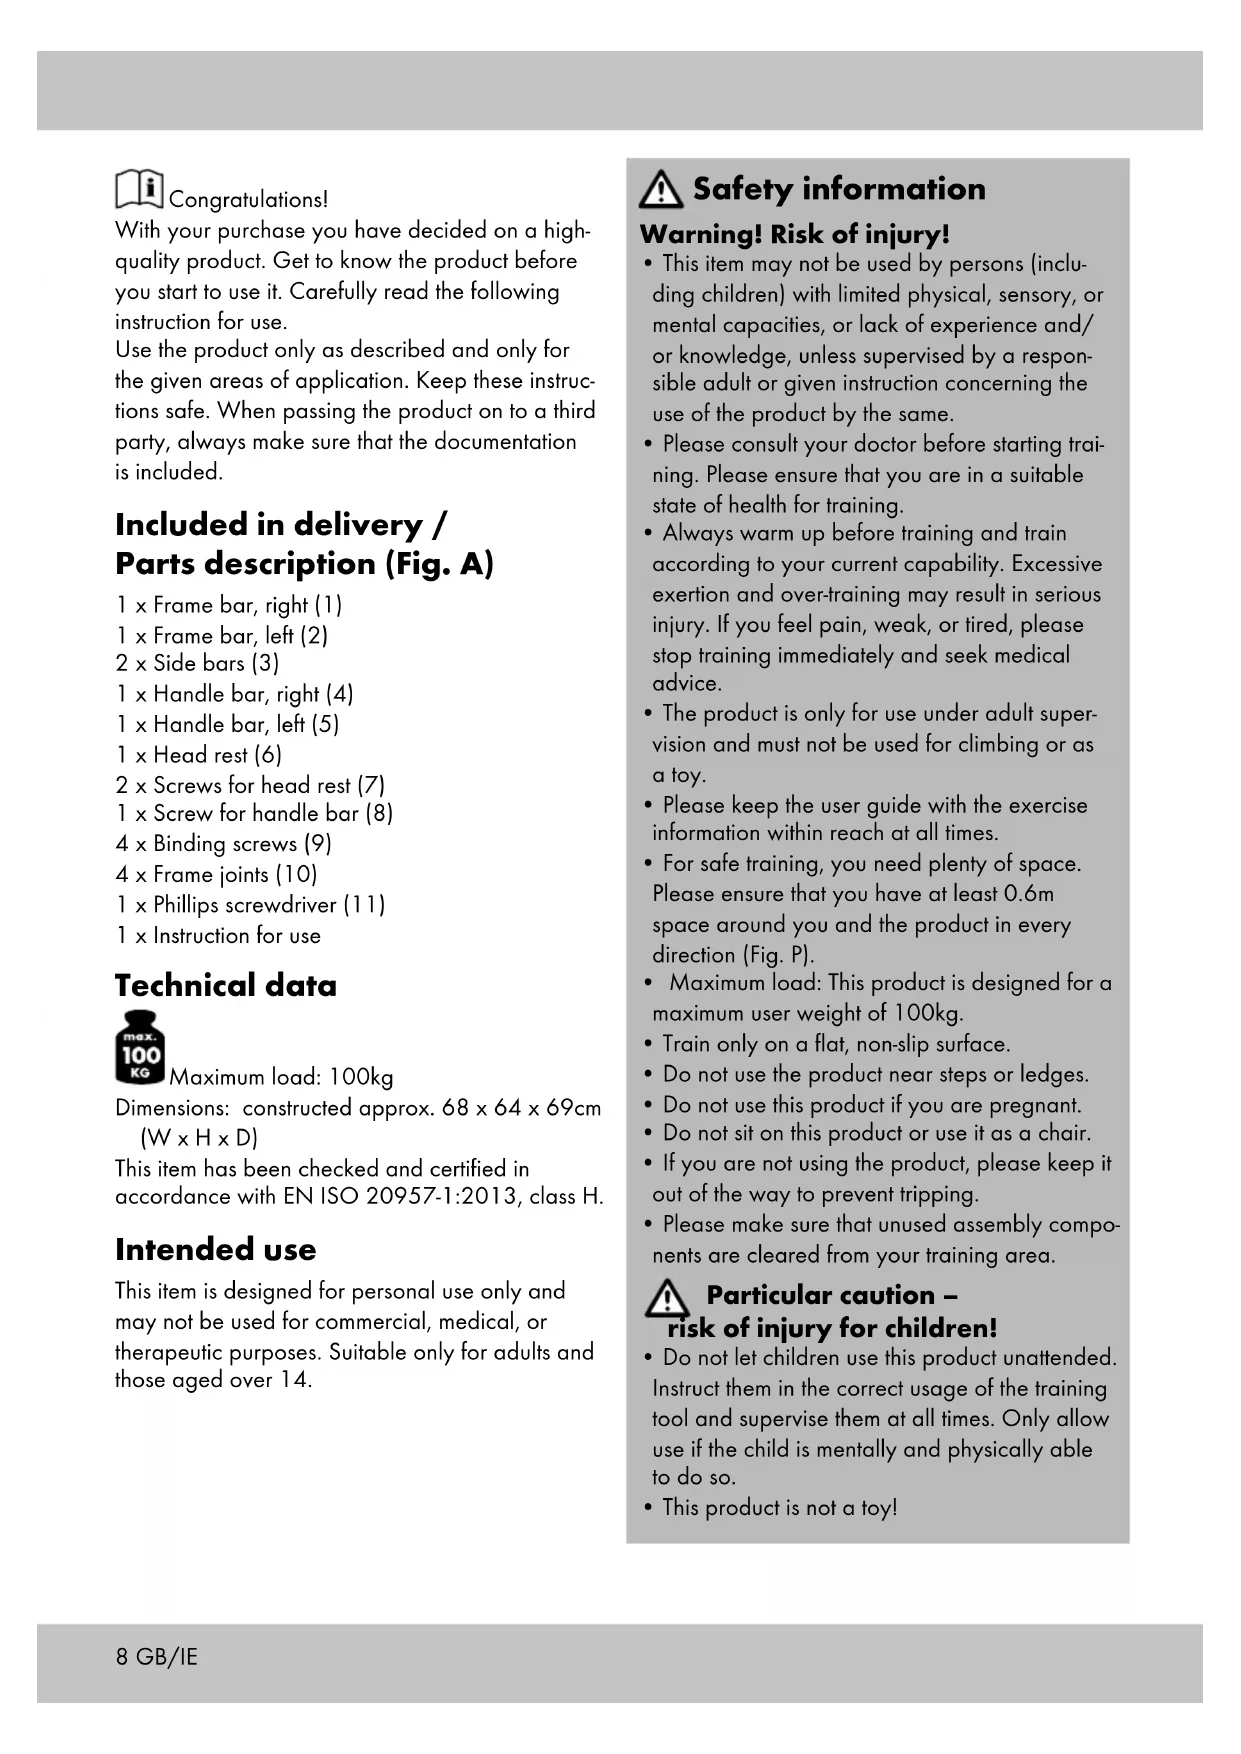
Included in delivery / Parts description (Fig. A)
1 x Frame bar, right (1)
1 x Frame bar, left (2)
2 x Side bars (3)
1 x Handle bar, right (4)
1 x Handle bar, left (5)
1 x Head rest (6)
2 x Screws for head rest (7)
1 x Screw for handle bar (8)
4 x Binding screws (9)
4 x Frame joints (10)
1 x Phillips screwdriver (11)
1 x Instruction for use
Technical data

Maximum load: 100kg
Dimensions: constructed approx. 68 x 64 x 69cm (W x H x D)
This item has been checked and certified in accordance with EN ISO 20957-1:2013, class H.
Intended use
This item is designed for personal use only and may not be used for commercial, medical, or therapeutic purposes. Suitable only for adults and those aged over 14.

Safety information
Warning! Risk of injury!
- This item may not be used by persons (including children) with limited physical, sensory, or mental capacities, or lack of experience and/or knowledge, unless supervised by a responsible adult or given instruction concerning the use of the product by the same.
- Please consult your doctor before starting training. Please ensure that you are in a suitable state of health for training.
• Always warm up before training and train according to your current capability. Excessive exertion and over-training may result in serious injury. If you feel pain, weak, or tired, please stop training immediately and seek medical advice.
- The product is only for use under adult supervision and must not be used for climbing or as a toy.
- Please keep the user guide with the exercise information within reach at all times.
- For safe training, you need plenty of space. Please ensure that you have at least 0.6m space around you and the product in every direction (Fig. P).
• Maximum load: This product is designed for a maximum user weight of 100kg.
- Train only on a flat, non-slip surface.
- Do not use the product near steps or ledges.
- Do not use this product if you are pregnant.
- Do not sit on this product or use it as a chair.
- If you are not using the product, please keep it out of the way to prevent tripping.
- Please make sure that unused assembly components are cleared from your training area.

Particular caution - k of injury for children!
- Do not let children use this product unattended. Instruct them in the correct usage of the training tool and supervise them at all times. Only allow use if the child is mentally and physically able to do so.
• This product is not a toy!

Risks from wear and tear
- The product is only to be used in perfect condition. Please inspect the product for damage or wear and tear each time you use it.
The safety of this product can only be ensured if it is regularly checked for damage and wear and tear. Discontinue use if it becomes damaged. - Please pay particular attention to parts subject to wear, such as foam material, fixing screws, and the head pad.
- Please use original replacement parts only.
- Protect the product from extreme temperatures, sunlight, and damp. Improper use and storage of the product may result in premature wear and tear, which can lead to injury.
Assembly
Assemble the item as described in Figures B to G.
Disassembly
In order to dismantle the item completely, please follow the instructions in the reverse order.
General training information
Training process
- The following exercises are only a selection. Further exercises can be found in the relevant specialist literature.
- Wear comfortable sports clothing and gym shoes.
- Warm up before each training session and bring the training session to an end gradually.
• Take sufficient breaks between exercises and drink enough liquids. - As a beginner, never train with excessive exertion. Increase the training intensity slowly.
- Perform all exercises smoothly, not jerkily and quickly.
- Make sure you breathe steadily. Exhale as you exert yourself and inhale as you relax.
- Maintain correct posture whilst performing the exercises.
General training plan
Create a training plan tailored to your requirements, consisting of exercise sets of 4-5 exercises. Observe the following principles:
- A set should consist of approx. 15 repetitions (reps) of an exercise.
• Each set can be repeated 3 times.
• Take a break of 30 seconds between sets. - Warm your muscle groups well before each training unit.
- We also recommend stretching after each training unit.
Exercise suggestions
See below for some of the many exercises.
Important: Please make sure that your back is pressed firmly against the floor in order to avoid a hollow back when lowering your upper body. Keep your abdominal muscles tensed throughout the exercises. When lowering your upper body, do not put the product down completely, so that tension in the abdomen is maintained and there is no interruption.
Sit-up with heels on the floor (Fig. K)
- Place your head comfortably on the head rest with your hands on the overhead bar. The back of the hand faces upward.
- Bend your legs so that they are at a 90 degree angle and place your heels on the floor.
- Tense your stomach muscles and buttocks.
- Pull the item down with your hands and raise your upper body as you do so. Your upper body should be positioned approx. 20 to 30cm above the floor.
- Exhale slowly and keep your abdominal muscles contracted.
- Slowly lower your upper body and breathe in smoothly.
- Repeat this exercise.
Sit-up (Fig. L)
- Place your head comfortably on the head rest with your hands on the overhead bar. The back of the hand faces upward.
- Draw your legs towards your upper body so that they are at a 90 degree angle.
- Tense your stomach muscles and buttocks.
-
Pull the item down with your hands and raise your upper body as you do so. Your upper body should be positioned approx. 20 to 30cm above the floor.
-
Exhale slowly and keep your abdominal muscles contracted.
- Slowly lower your upper body and legs and breathe in smoothly.
- Repeat this exercise.
Sit-up with crossed legs (Fig. M)
- Place your head comfortably on the head rest with your hands on the overhead bar. The back of the hand faces upward.
- Cross your legs and pull them towards your upper body at a 90-degree angle.
- Tense your stomach muscles and buttocks.
- Pull the item down with your hands and raise your upper body as you do so. Your upper body should be positioned approx. 20 to 30cm above the floor.
- Exhale slowly and keep your abdominal muscles contracted.
- Slowly lower your upper body and legs and breathe in smoothly.
- Repeat this exercise, alternating the placement of your left and right foot on top.
Sit-up for the lateral abdominal muscles (Fig. N)
- Place your head comfortably on the head rest with your hands on the overhead bar. The back of the hand faces upward.
- Turn your legs at a 90-degree angle and place your feet flat on top of one another as shown. Place the right foot underneath first.
- Turn your hips to the left and rest your legs on the floor.
- Tense your stomach muscles and buttocks.
- Pull the item down with your hands and raise your upper body as you do so. Your upper body should be positioned approx. 20 to 30cm above the floor.
- Keep your abdominal muscles contracted.
- Slowly lower your upper body and breathe in smoothly.
- Repeat this exercise, alternating the placement of your left and right foot on top.
Important: Please make sure that you turn your hips in the opposite direction to your feet.
Abdominal leg lever (Fig. O)
- Place your head comfortably on the head rest with your hands on the overhead bar. The back of the hand faces upward.
- Draw your legs towards the upper body at a 90-degree angle, and cross your feet. Make sure that your heels are touching the floor.
- Tense your stomach muscles and buttocks.
- Pull the item down with your hands and raise your upper body as you do so. Your upper body should be positioned approx. 20 to 30cm above the floor.
- Exhale slowly and remain in the position for about two seconds as you hold the breath.
- Keep your abdominal muscles contracted.
- Slowly lower your upper body and legs and breathe in smoothly.
- Repeat this exercise, alternating the placement of your left and right foot on top.
Maintenance and storage
Never forget that regular maintenance and cleaning will help you keep your item safe and in good repair. Always store the item clean and dry at room temperature. Keep away from direct sunlight.
Important! Clean only using water - never with harsh detergents. Then wipe dry with a clean cloth. To store the item, please dismantle as shown in Figures H and J.
Advice on disposal
Please dispose of the packaging and the article in an environmentally-friendly way, and separated into types of material! Dispose of this item through an authorised disposal company, or through your local authority waste disposal amenity. Be sure to comply with the current, valid regulations.
3 Years Warranty
The product was produced with great care and under constant supervision. You receive a three-year warranty for this product from the date of purchase. Please retain your receipt.
The warranty applies only to material and workmanship and does not apply to misuse or improper handling. Your statutory rights, especially the warranty rights, are not affected by this warranty. With regard to complaints, please contact the following service hotline or contact us by e-mail. Our service employees will advise as to the subsequent procedure as quickly as possible. We will be personally available to discuss the situation with you.
Any repairs under the warranty, statutory guarantees or through goodwill do not extend the warranty period. This also applies to replaced and repaired parts.
Repairs after the warranty are subject to a charge.
IAN: 270040

Service Great Britain
Tel.: 0871 5000 720
(£ 0.10/Min.)
E-Mail: deltasport@lidl.co.uk

Service Ireland
Tel.: 1890 930 034
(0,08 EUR/Min., (peak))
(0,06 EUR/Min., (off peak))
E-Mail: deltasport@lidl.ie
All items are also available for purchase directly from our online shop: www.delta-sport.info

Onnittelumme!


- ABDOMINAL MUSCLE TRAINER
- SE
- Included in delivery / Parts description (Fig. A)
- Technical data
- Maximum load: 100kg
- Intended use
- Safety information
- Warning! Risk of injury!
- Particular caution - k of injury for children!
- Risks from wear and tear
- Assembly
- Disassembly
- General training information
- Training process
- General training plan
- Exercise suggestions
- Sit-up with heels on the floor (Fig. K)
- Sit-up (Fig. L)
- Sit-up with crossed legs (Fig. M)
- Sit-up for the lateral abdominal muscles (Fig. N)
- Abdominal leg lever (Fig. O)
- Maintenance and storage
- Advice on disposal
- Years Warranty
- Onnittelumme!
Brand : CRIVIT
Model : IAN 270040
Category : Abdominal fitness equipment