USER MANUAL Vogelsbrunn Blumfeldt
Member of Berlin Brands Group
Handwerkerstr. 11
15366 Dahlwitz-Hoppegarten
Deutschland
Berlin Brands Group UK Ltd
PO Box 1145
Oxford,OX19UW
United Kingdom
Dear Customer,
Congratulations on purchasing this device. Please read the following instructions carefully and follow them to prevent possible damages. We assume no liability for damage caused by disregard of the instructions and improper use. Scan the QR code to get access to the latest user manual and more product information.

CONTENT
Safety Instructions 14
Overview 15
Device Overview 16
Assembly 17
Operation 18
Maintenance and Care 19
Disposal Considerations 20
Manufacturer & Importer (UK) 20
TECHNICAL DATA
| Item number 10029039 | |
| Operating voltage 9 V DC | |
| Power supply 7.4 V / 2000 mAh | |
| Solar module output 3 W | |
| Maximum water flow 250 L/h | |
| Protection class / Pump IP68 | |
| Protection class / control unit IP44 | |
SAFETY INSTRUCTIONS
- To reduce the risk of electric shock, do not remove any of the covers. The device contains parts that are not accessible to the user.
- The device label is located on the back of the device.
- Do not place objects filled with liquids, such as vases or watering cans, on the apparatus.
- Do not drop metal objects onto this device.
- Do not place heavy objects on top of this unit.
- Use only accessories and attachments approved by the manufacturer.
- Unplug this apparatus during lightning storms or when unused for long periods of time. This will prevent damage.
- Have repairs carried out by qualified specialists only.
- Servicing is required when the apparatus has been damaged in any way, such as when objects have fallen into the apparatus, the apparatus has been damaged in any way, does not operate normally, or has been dropped. Do not attempt to repair the unit yourself. Opening the cover exposes you to the risk of electric shock and other injury.
- Do not pull or bend the cord or place heavy objects on it.
- Do not touch the plug with wet hands.
- Do not place sources of naked flame, such as lighted candles on the apparatus.
- Never let the pump run empty.
- Never connect the appliance to an AC power source. It is only designed for use with direct current.
- Operate the pump only in fresh water ponds at temperatures up to a maximum of 50^ .
- Do not place the solar panel in coves or holes where water can collect. Choose a flat location with a solid surface. The plastic bolt should be inserted into sufficiently solid ground.
- Do not place the device on top of other devices that can become hot. This heat could damage the unit.
- Do not use volatile liquids such as insect spray. Excessive pressure when wiping may damage the surfaces. Rubber or plastic parts should not be in contact with the device for a long period of time.
- Children from the age of 8 years, mentally, sensorially and physically handicapped persons may only use the device if they have been thoroughly familiarized with the functions and safety precautions by a responsible supervisor and understand the risks involved.
OVERVIEW
EN
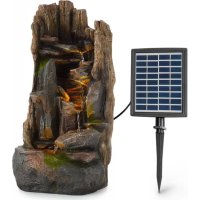
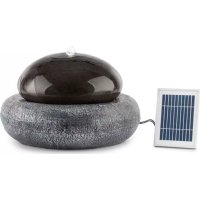
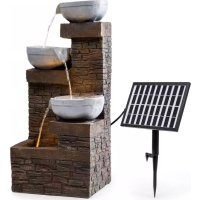
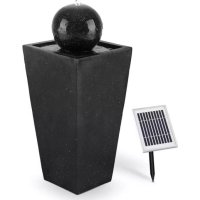
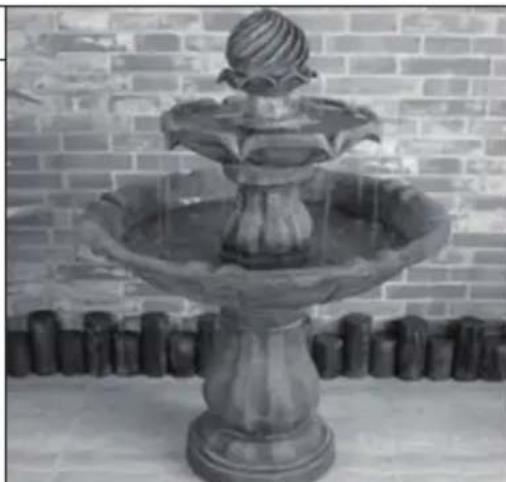
This device is a solar fountain for outdoor use. For the pump to work, the solar panel must be in direct sunlight.
The solar pump is equipped with a rechargeable battery that can be switched on or off with a switch on the control module (control box). In the evening, four white LEDs are automatically switched on to enhance the ambience of the water fountain.
Functionality
This solar fountain is mainly suitable for operation in sunshine. The excess energy is used to recharge the battery for later use when it is cloudy or night falls. The pump automatically switches to daylight mode the next day. The pump will only run on the battery if you set this with the rotary knob.
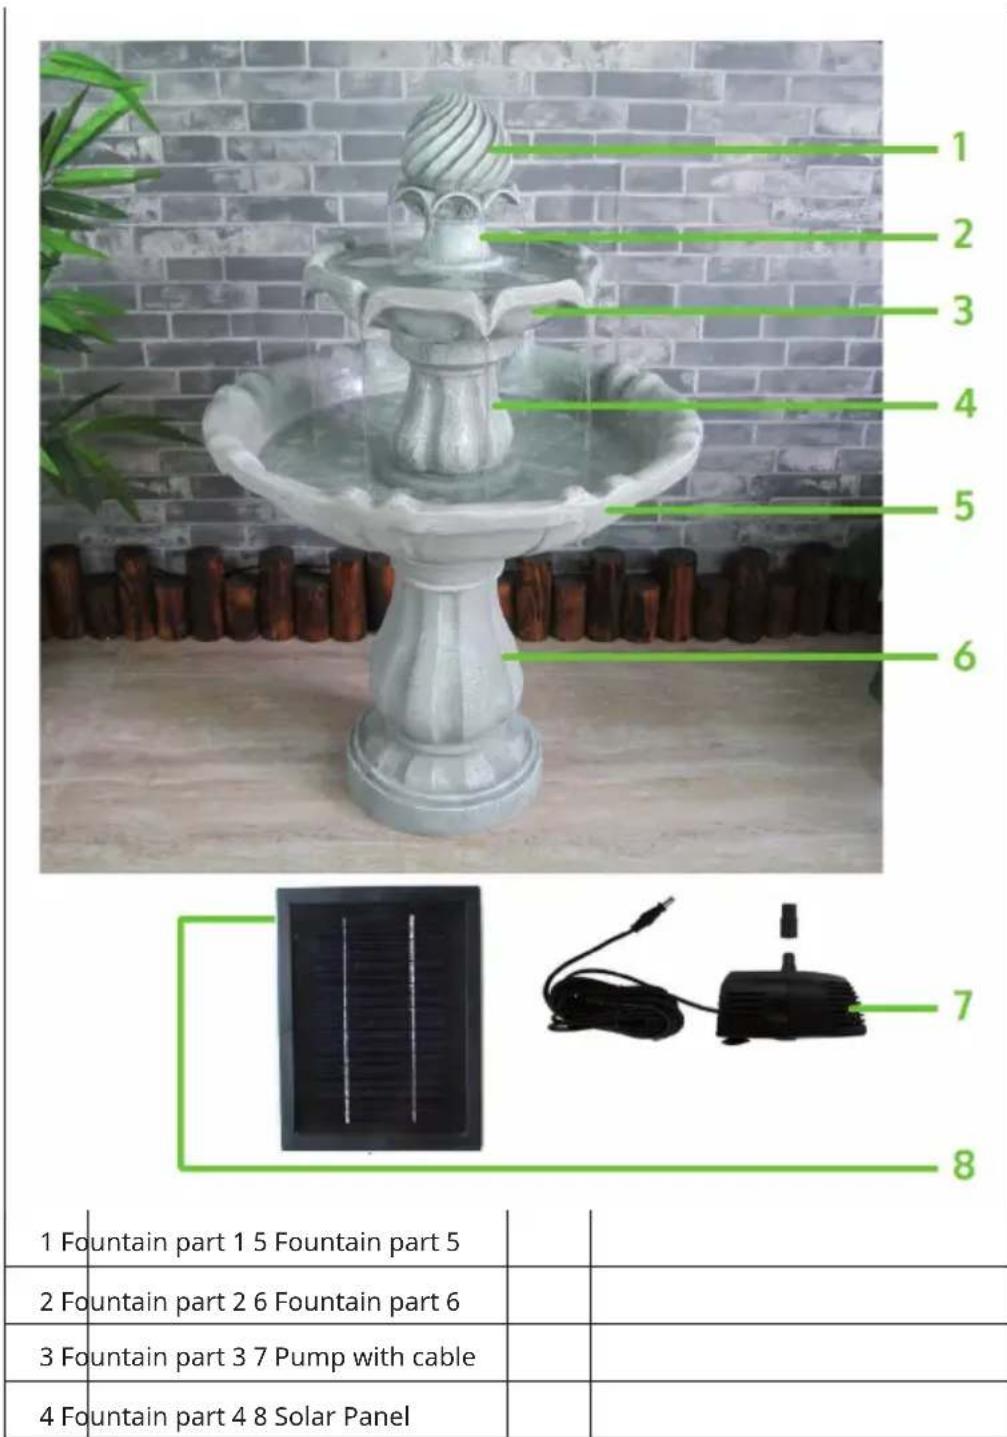
DEVICE OVERVIEW
ASSEMBLY
1
Place the base column (part 6) on a flat and water-resistant surface. Place the large shell on top and rotate it a small amount until it snaps into place: Feed the pump cable through the hole in the center at the top of the large shell and out through the base. Place the pump in the top of the shell.
2
Similar to step 1, now place the top shell (part 3) on its column (part 4). Pass the hose through it. Connect the hose to the pump.

3
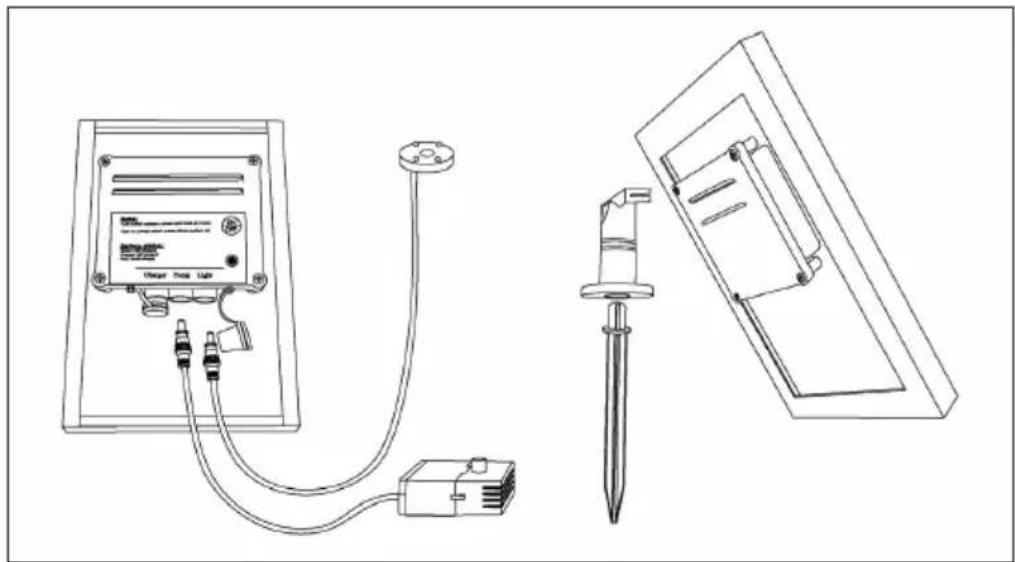
Place the upper part on top. Fill the lower basin with sufficient water. The pump must be completely covered. Connect the pump cable to the correspondingly marked connection on the solar panel. Choose a suitable (sunny) location for the solar panel. Allow the pump battery to charge for one day before switching on the pump.
OPERATION
- Switch on the pump by pressing ON briefly. It will work for a few hours depending on the state of charge of the battery and will automatically switch to solar mode if possible.
- Press and hold the button for 3 seconds to turn off the pump. Now the battery is automatically charged (in sunlight).
Status LED
- Green = Battery is fully charged. The pump runs for about 6-8 hours in battery mode.
- Orange = Battery is half-empty. The pump runs about 2-4 hours in battery mode.
- Red = Battery must be charged. The pump runs for a maximum of 1 hour in battery mode.
Weather and charge effect
| Pump switched on Pump switched off |
| Sunlight powers the pump AND charges the battery. | The battery is fully charged after about 1 day. |
| Sunlight powers the pump AND charges the battery. | The battery is fully charged after about 2-3 days. |
| The pump only runs when the battery is charged. | The battery is fully charged after a few days. |
| The pump does not run in solar mode and the battery is not charging. | The battery is not charged. |
Solar Mode
Press ON (on the back of the solar panel). The Solar LED will light. Excess energy is used to recharge the battery. When fully charged, this is sufficient for pump operation of about 6-8 hours.
MAINTENANCE AND CARE
Solar Panel
The solar panel should be wiped regularly with a soft cloth to ensure light transmission. Do not use abrasive materials or cleaning agents.
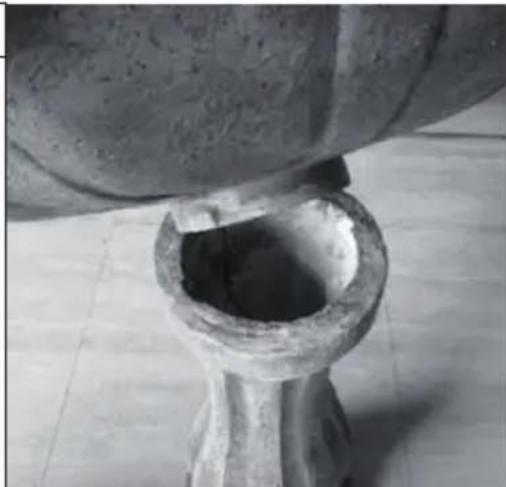
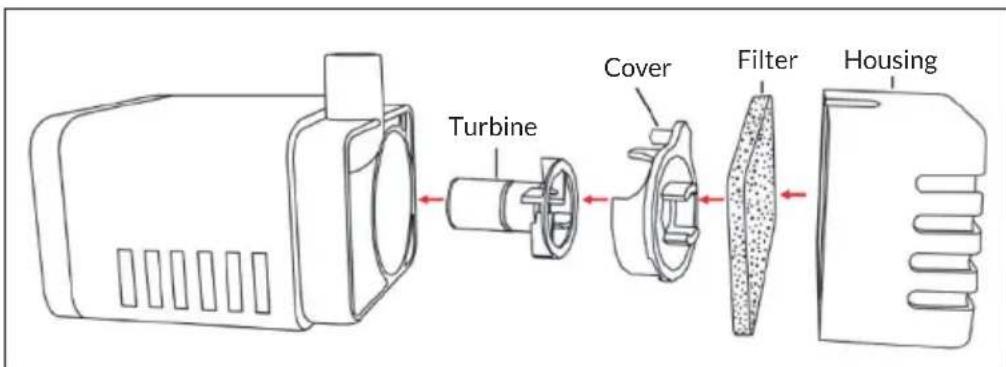
Pump
If, after a while, the pump does not perform at its usual flow rate or stops working, check whether sediment or dirt is clogging the filter or pump. Remove the pump and impeller covers (see illustration) and clean both parts with clean water.
If there is a legal regulation for the disposal of electrical and electronic devices in your country, this symbol on the product or on the packaging indicates that this product must not be disposed of with household waste. Instead, it must be taken to a collection point for the recycling of electrical and electronic equipment. By disposing of it in accordance with the rules, you are protecting the environment and the health of your fellow human beings from negative consequences. For information about the recycling and disposal of this product, please contact your local authority or your household waste disposal service.
This product contains batteries. If there is a legal regulation for the disposal of batteries in your country, the batteries must not be disposed of with household waste. Find out about local regulations for disposing of batteries. By disposing of them in accordance with the rules, you are protecting the environment and the health of your fellow human beings from negative consequences.
MANUFACTURER & IMPORTER (UK)
Manufacturer:
Chal-Tec GmbH, Wallstrasse 16, 10179 Berlin, Germany.
Importer for Great Britain:
Berlin Brands Group UK Ltd
PO Box 1145
Oxford,OX19UW
United Kingdom
Estimado cliente:
Berlin Brands Group UK Ltd
PO Box 1145
Oxford,OX19UW
United Kingdom
Cher client,
Berlin Brands Group UK Ltd
PO Box 1145
Oxford,OX19UW
United Kingdom
Gentile clientele,
PRODUTTORE IMPORTATORE (UK)
Produtlore:
Chal-Tec GmbH, Wallstraße 16, 10179 Berlin, Germania.
Berlin Brands Group UK Ltd
PO Box 1145
Oxford,OX19UW
United Kingdom