SF40RV11 - Smart Home ELRO - Free user manual and instructions
Find the device manual for free SF40RV11 ELRO in PDF.
User questions about SF40RV11 ELRO
0 question about this device. Answer the ones you know or ask your own.
Ask a new question about this device
Download the instructions for your Smart Home in PDF format for free! Find your manual SF40RV11 - ELRO and take your electronic device back in hand. On this page are published all the documents necessary for the use of your device. SF40RV11 by ELRO.
USER MANUAL SF40RV11 ELRO
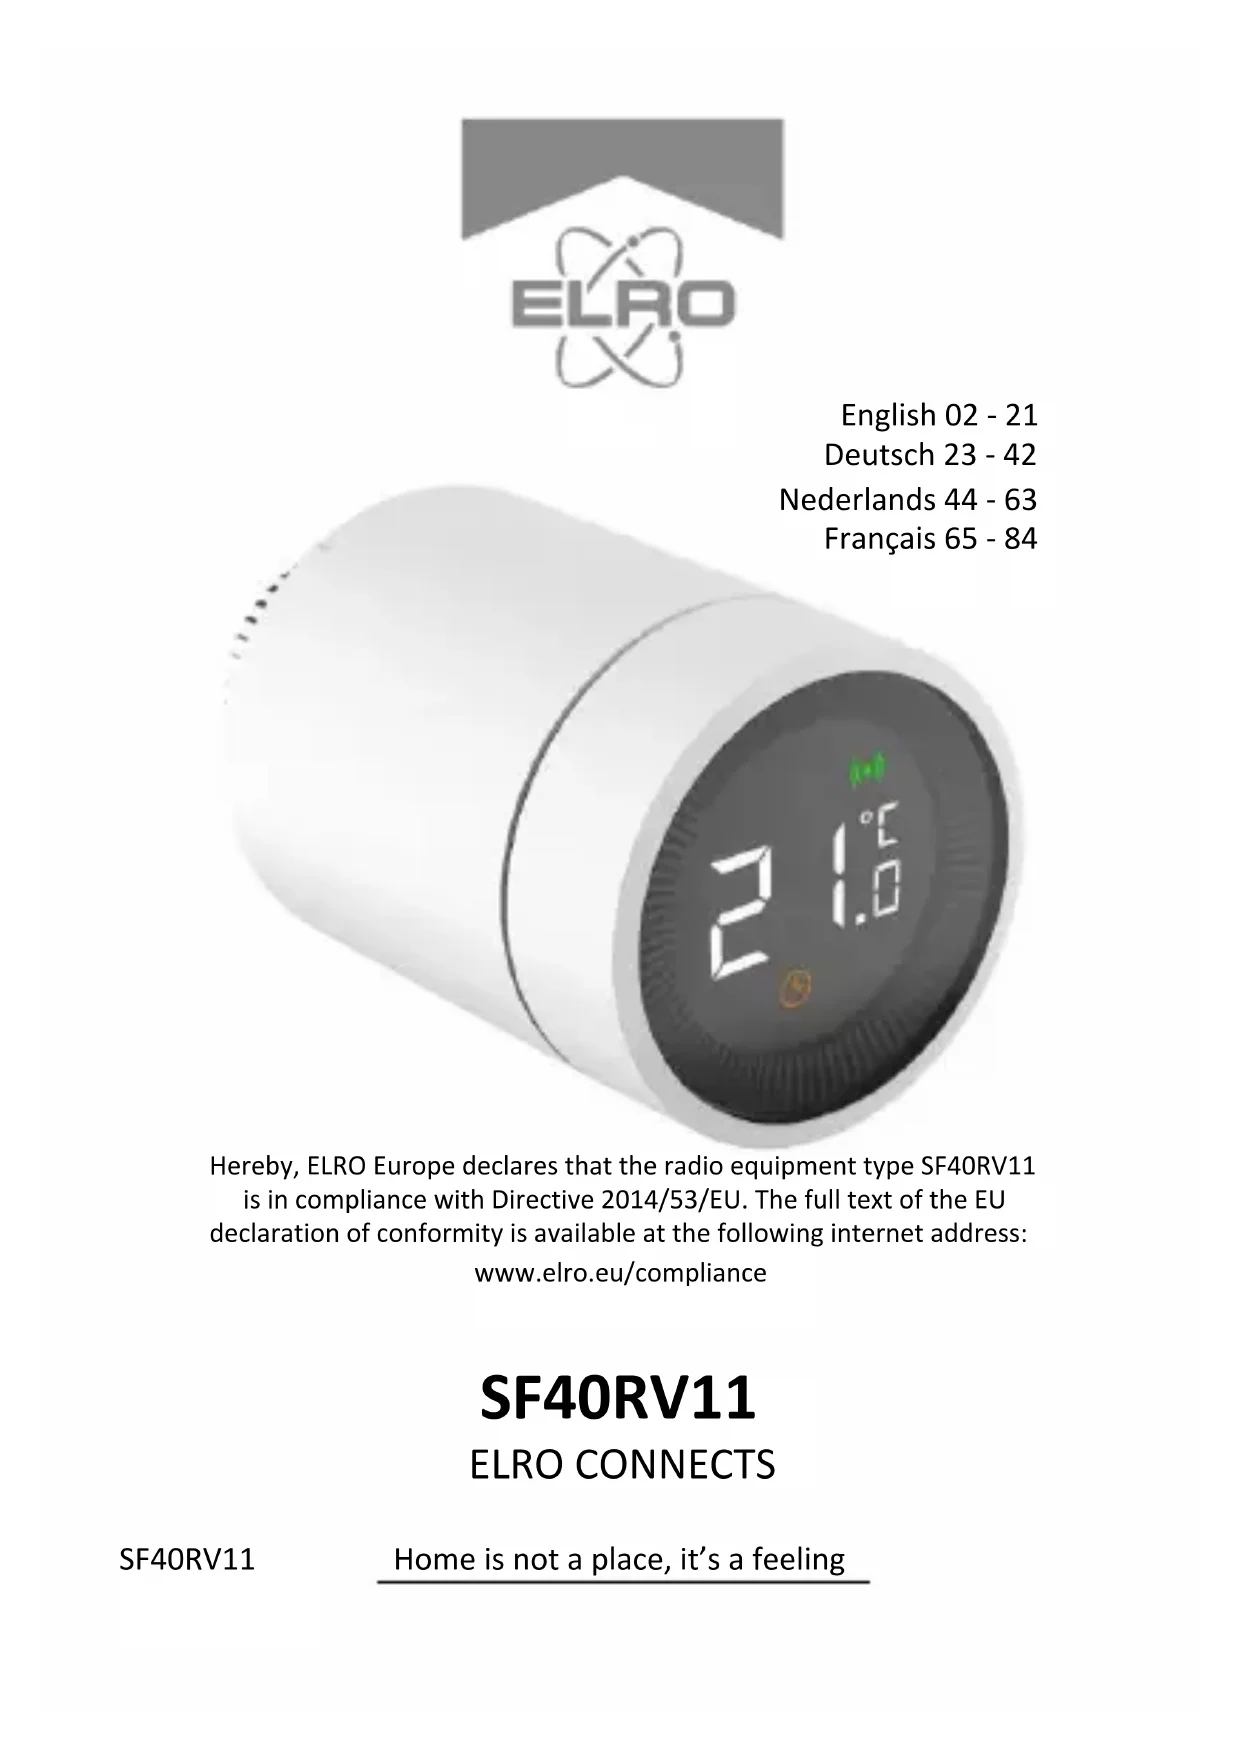
Hereby, ELRO Europe declares that the radio equipment type SF40RV11 is in compliance with Directive 2014/53/EU. The full text of the EU declaration of conformity is available at the following internet address:
www.elro.eu/compliance
SF40RV11
ELRO CONNECTS
SF40RV11
Home is not a place, it's a feeling
Overview
Congratulations on your purchase of the SF40RV. With this smart radiator valve, you have full control over the heating in your home and even from remote locations. The device is easy to connect to your ELRO Smart Home system.
Product explanation
Features
- Different modes: Automatic mode, Manual mode and Anti-freeze mode.
- Temperature can be set from 5 to 30^ .
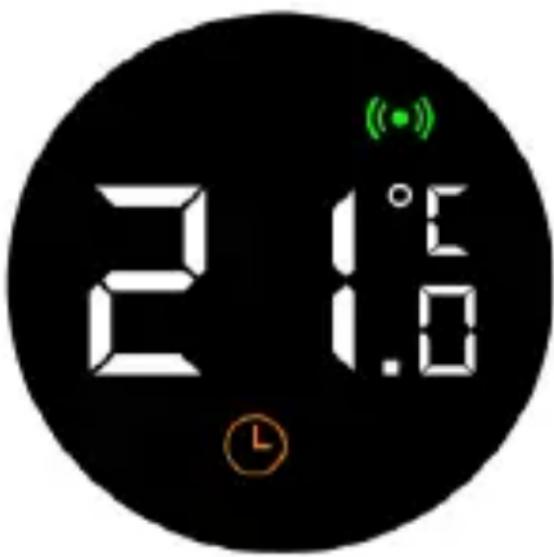
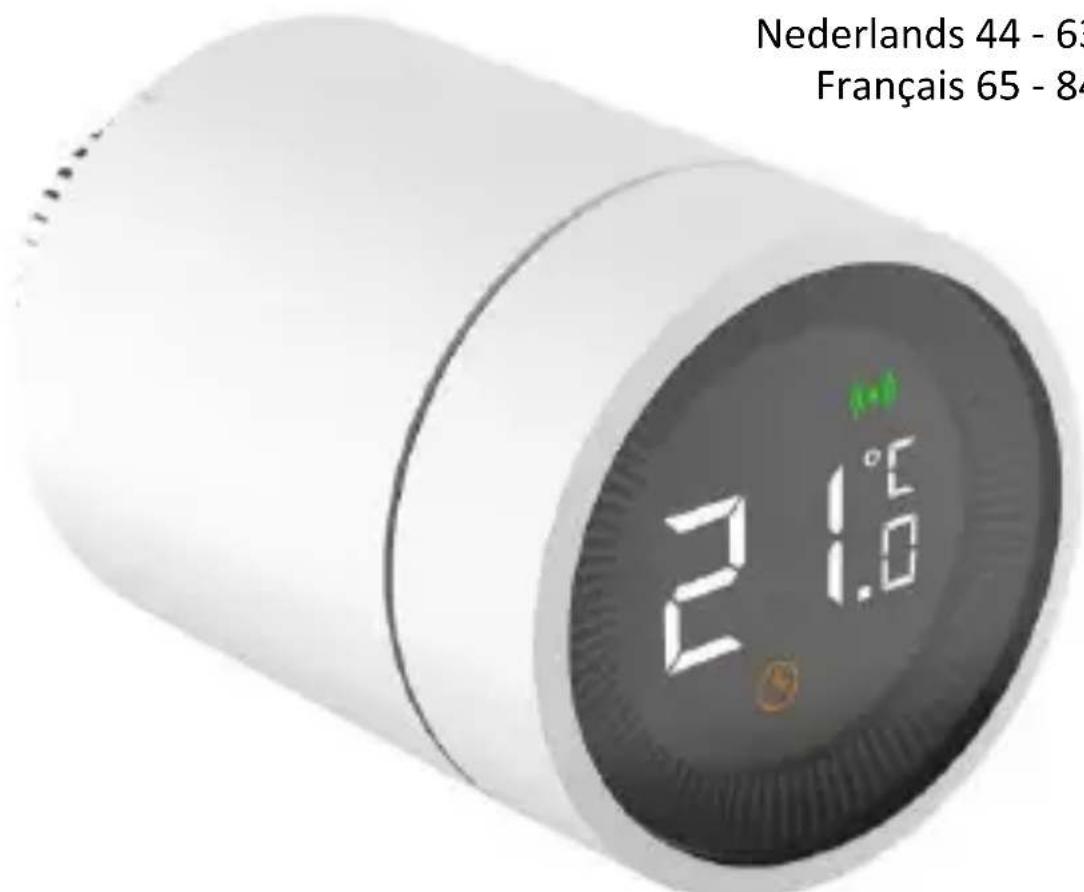
- The radiator knob has an LCD display with large symbols, making it easy to read.
- Battery life is 2 years.
- Secure wireless protocol, reliable and easy.
- Wireless range is 80m .
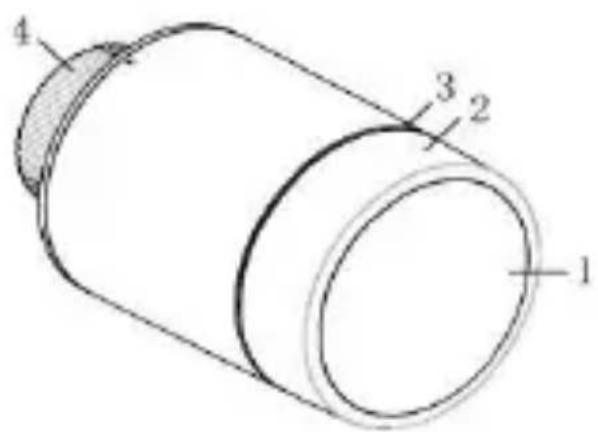
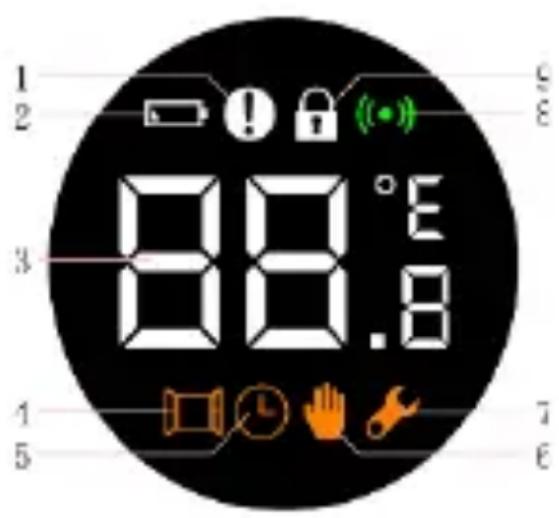
Display and radiator valve explanation
| 1 | LCD |
| 2 | Button Press: installation mode Rotate: Adjust temperature |
| 3 | LED |
| 4 | Mounting ring for radiator |
| 1 | Error message |
| 2 | Battery low voltage |
| 3 | Temperature |
| 4 | Window detection |
| 5 | Automatic mode |
| 6 | Manual mode |
| 7 | Installation mode |
| 8 | Connection |
| 9 | Child lock |
Installation of radiator valve
Battery installation
- Unscrew and pull out the back.
- Insert the batteries according to the correct polarity. (2 AA alkaline batteries, note that you cannot use rechargeable batteries).
- After inserting the batteries, the current temperature will be displayed and the installation symbol will appear.
- Now screw the cap back on. Make sure that the word TOP on the back matches the line before screwing it on.


Installation on the heating
First of all, you must make sure that the radiator knob fits your heating system. The standard size of thermostatic shut-off valves is M30x1.5. That is the size of the washer of the SF40RV11. To find out, check the brand of your thermostatic valve. You can then look up the dimensions on the internet. If the radiator knob does not fit your valve, we recommend that you order an adapter to convert your valve to M30x1.5.
You can use your thermostat button in just a few steps. After the thermostat has been installed, it will automatically be in manual mode.
- To install the radiator button on the heater, press the display of the radiator button for 3 seconds.
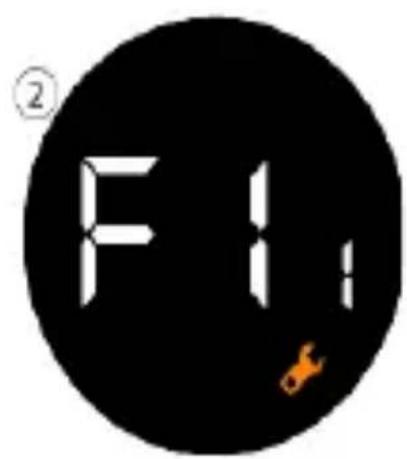
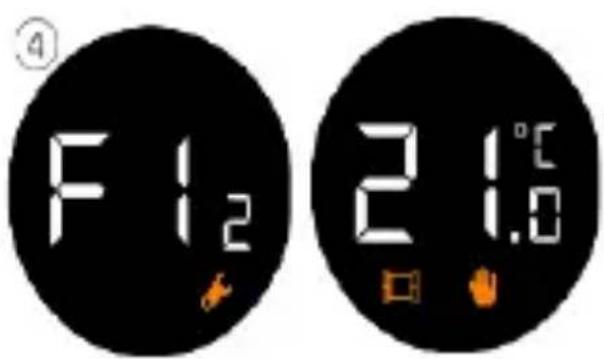
- Finally, a screen containing F11 appears and the installation light begins to flicker. At the same time, the thermostat button will vibrate slightly.
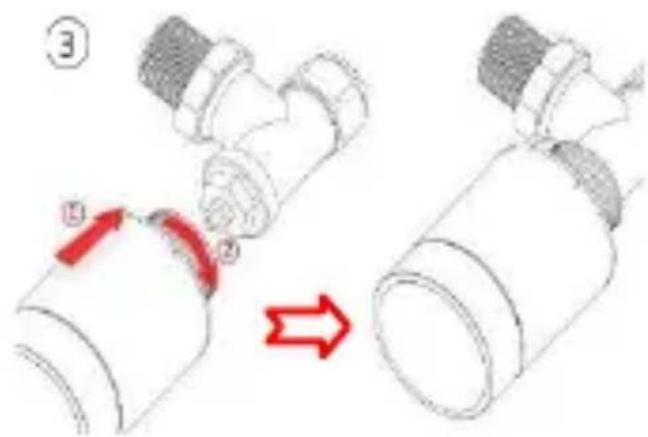
- The thermostat is now ready to be screwed onto the heater. Turn it with the mounting ring on the heater and make sure that the screen is turned the right way.
- Press the radiator button again and F12 will be displayed. After about 10 seconds, the installation icon will disappear and the current temperature will be displayed. The installation is now complete.

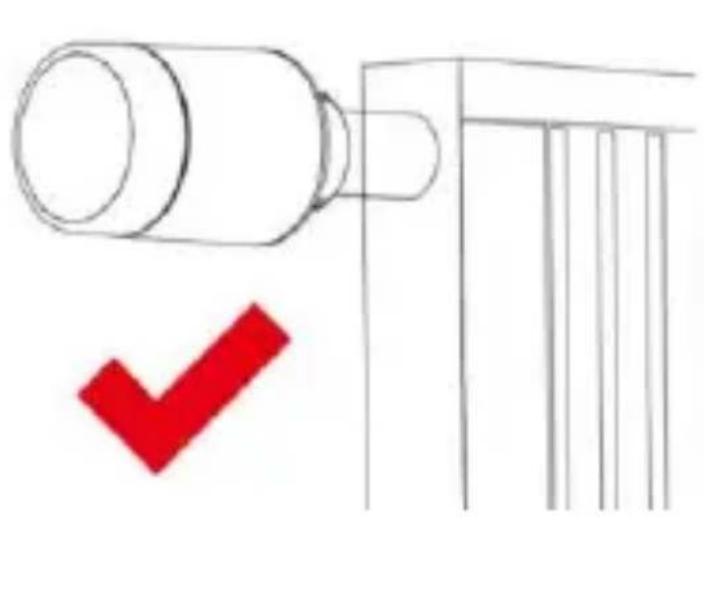
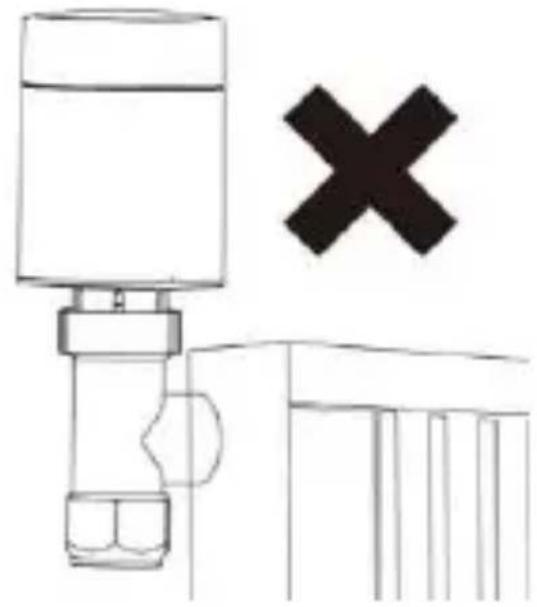
In order to limit the influence of the heat of the heater on the radiator knob, we recommend installing the knob as follows.
Installation on the app
Linking the radiator valve with the app is very simple and takes little time.
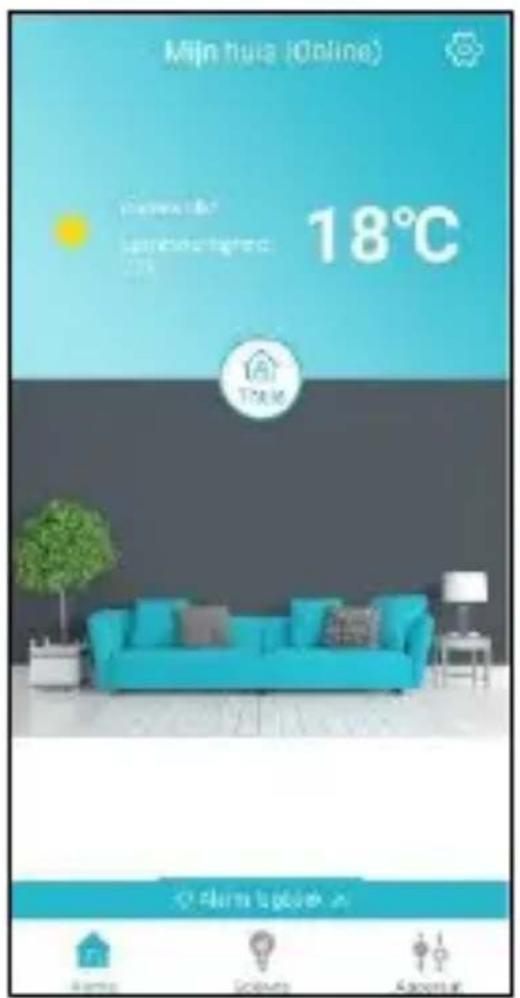
- First of all, the ELRO Connects app must be opened.
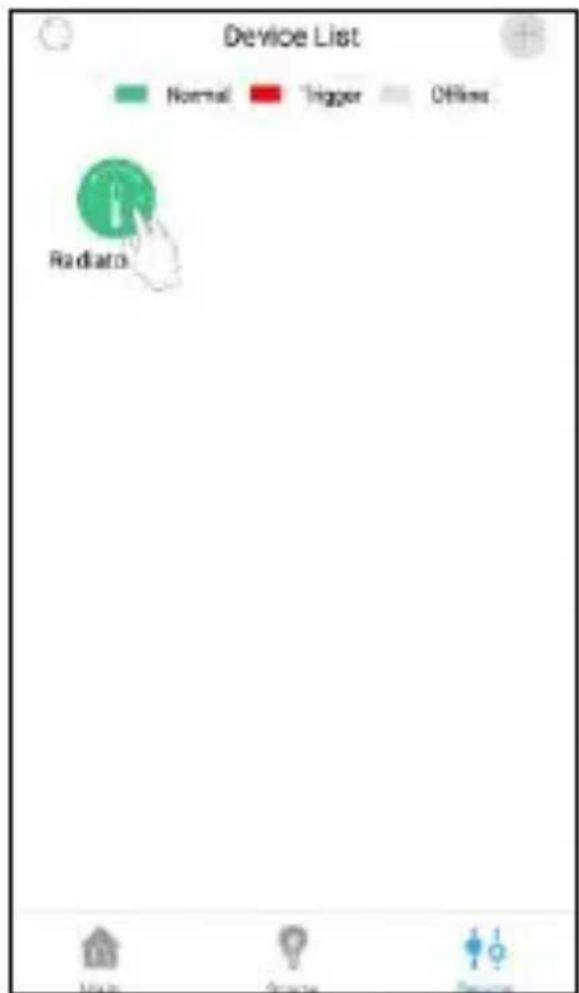
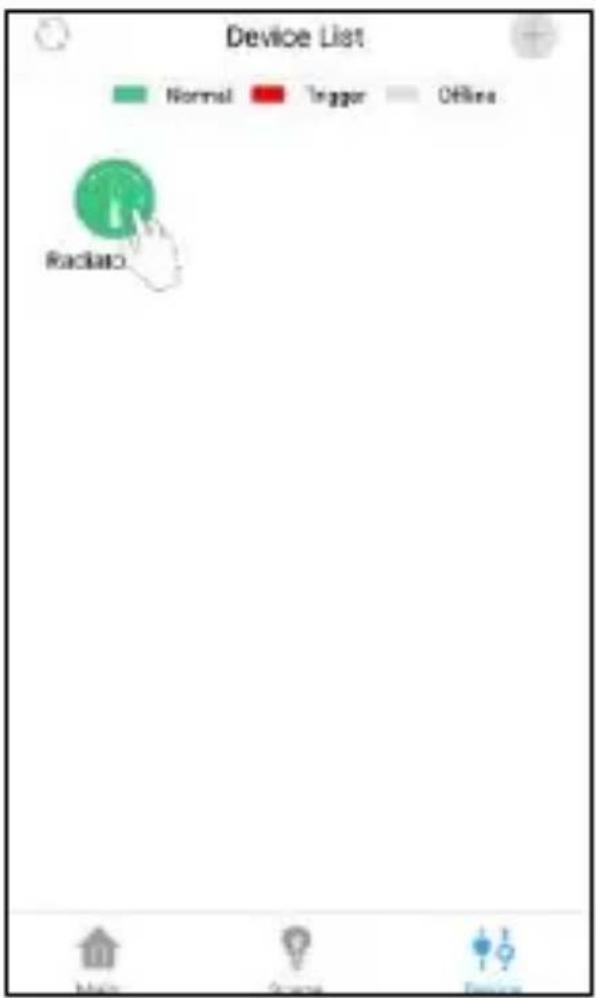
- Next, navigate to the device list by pressing the "Device" button on the bottom right of the screen.
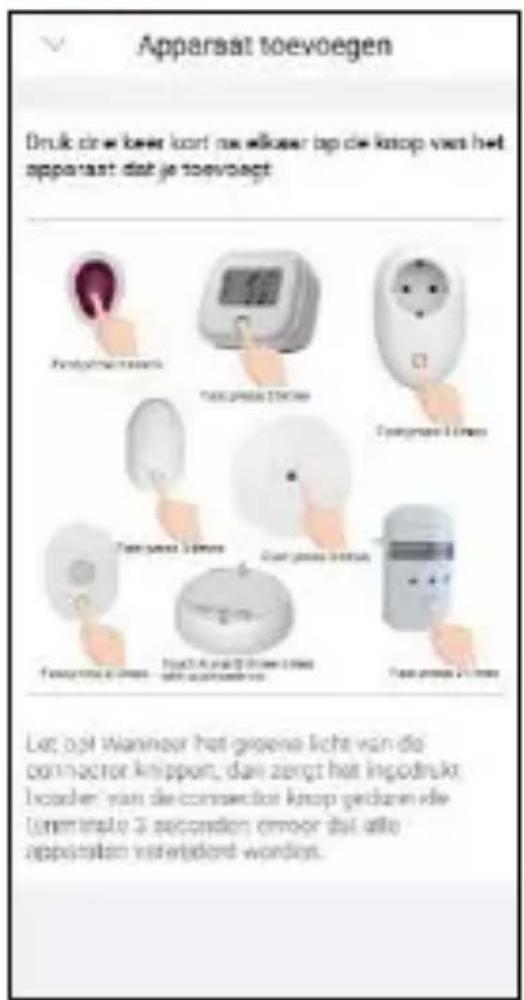
- Tap the "+" in the top right corner to add the radiator button.
- Press the display of the radiator button 3 times in quick succession. When the connection is established, the LED of the K1 connector flashes 10 times in quick succession and you receive a message in the app.
The system is now ready for use. However, it takes between 2 and 8 hours before the system is fully acclimatized. This depends on the size of the room.

Different modes
The radiator button has 3 different modes: Automatic, Manual and Antifreeze mode. By pressing once on the display or by adjusting it in the app, you can switch between the different modes.
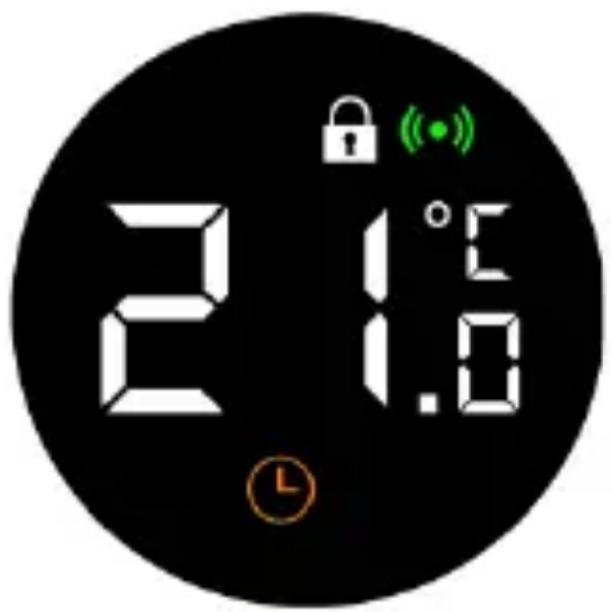
Automatic mode
If the radiator valve is in automatic mode, the radiator button will automatically jump to the set temperature. You must set timers for this in the app. The temperature will then be adjusted to your wishes at a selected time. The routines can therefore be set up entirely according to your own taste.
Set timers
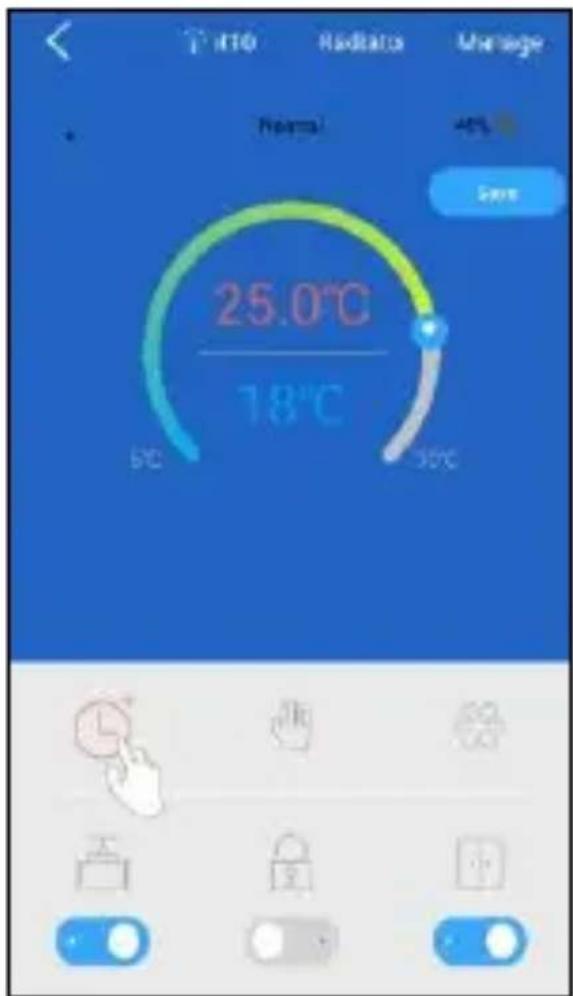
- Tap on the icon of the radiator button in the device list.
- Click on the clock symbol in the radiator button page.
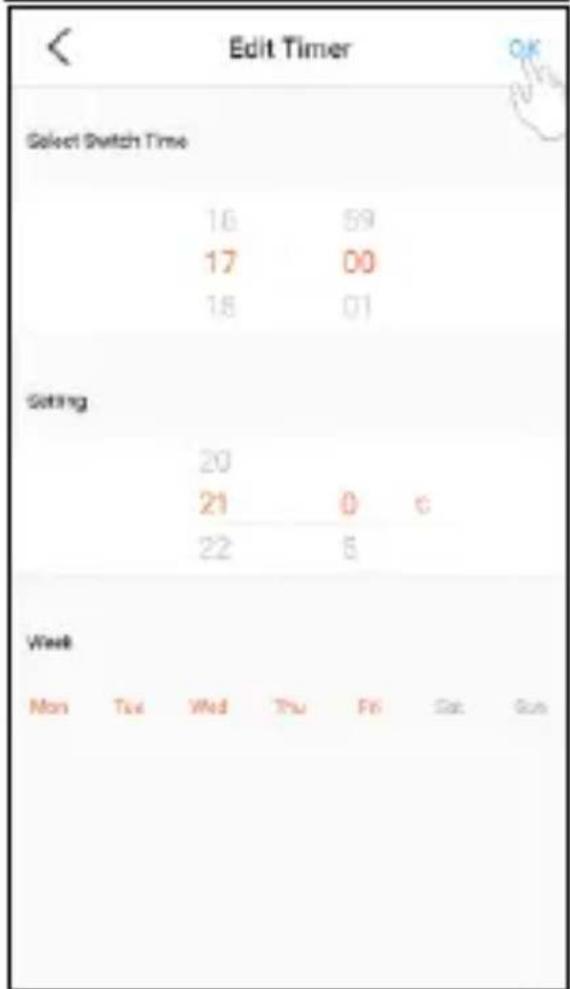
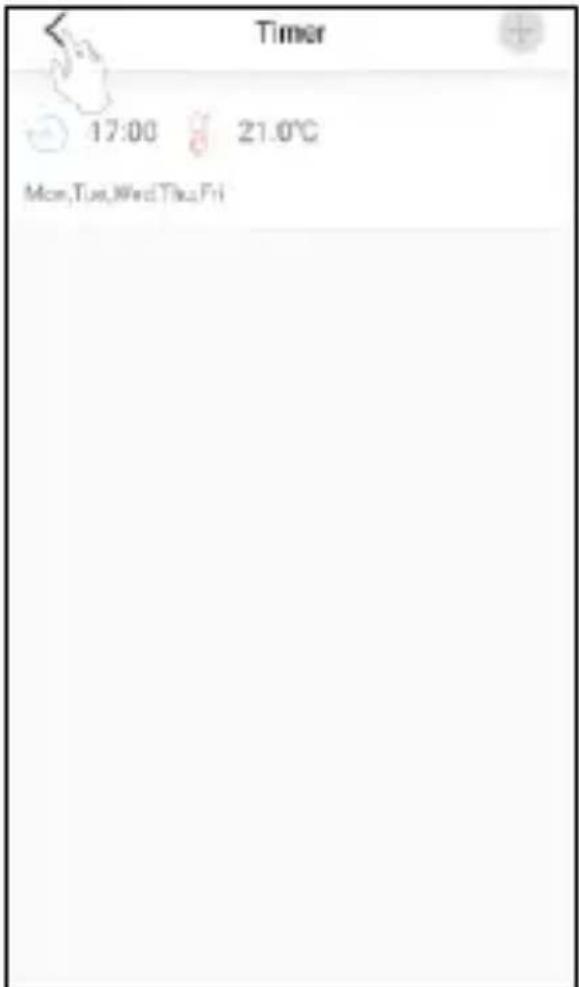
- Then you will see an empty list and press +
- Here you can then set the temperature, time and days for your timer.
- You can add as many timers as you like here. Press < to go back.
- Then press save to save the changed settings.

Manual mode
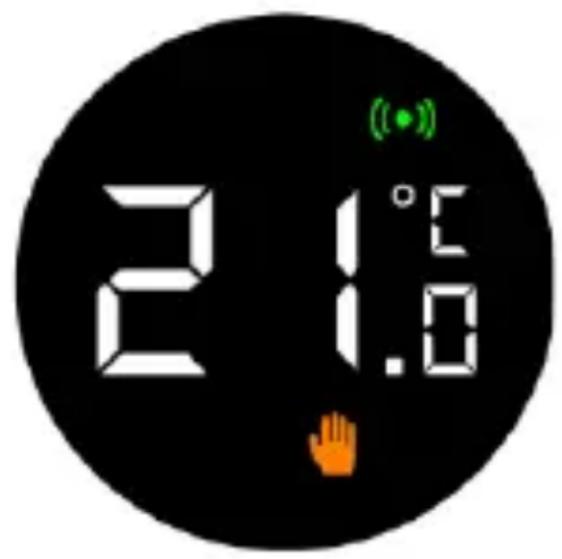
The temperature will not change automatically. You can turn the display yourself to adjust the temperature. You can also adjust the temperature in the app. When the radiator button is in this mode, it will behave just like a normal radiator button.
Anti-freeze mode

If you are away from home for a long time, you can switch on this mode to prevent your pipes from freezing. You can choose a temperature between 5-15 degrees.
Adjust temperature
The temperature can be set in several ways, locally and remotely.
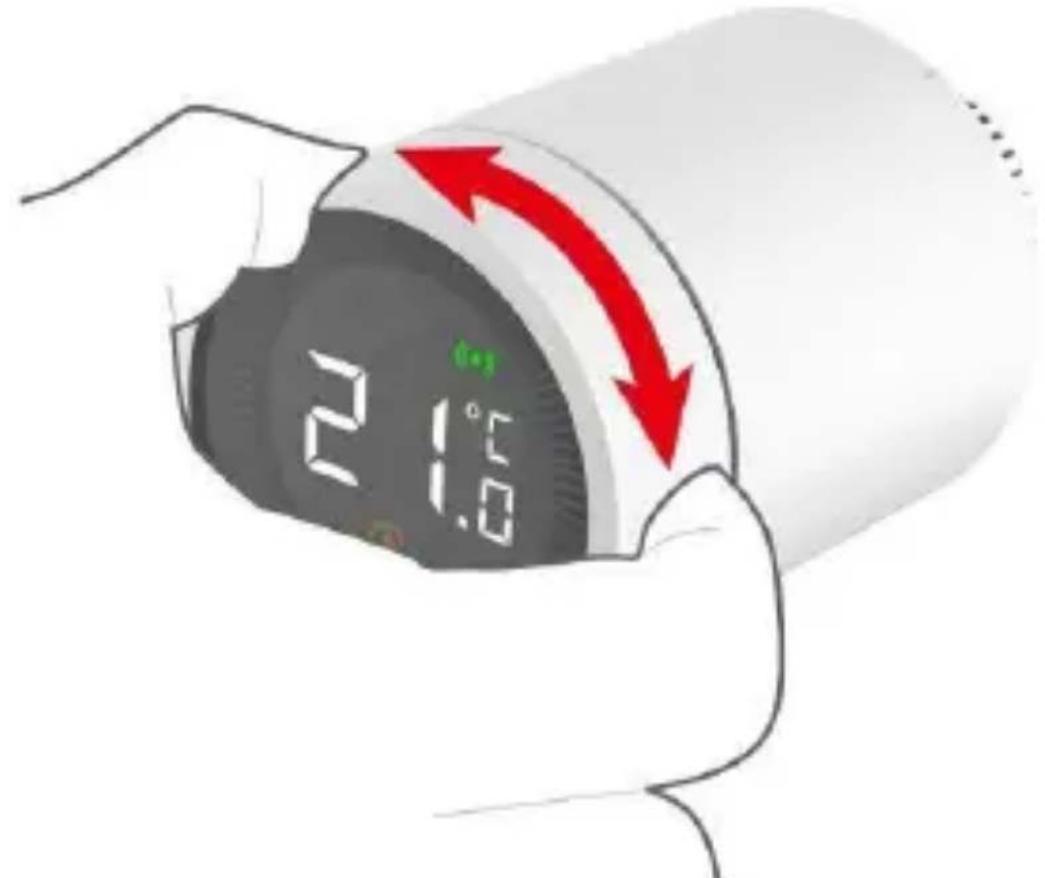
Adjusting temperature locally
When the thermostat is in standby mode, you can adjust the temperature by turning the knob. Make sure that you press the display first.
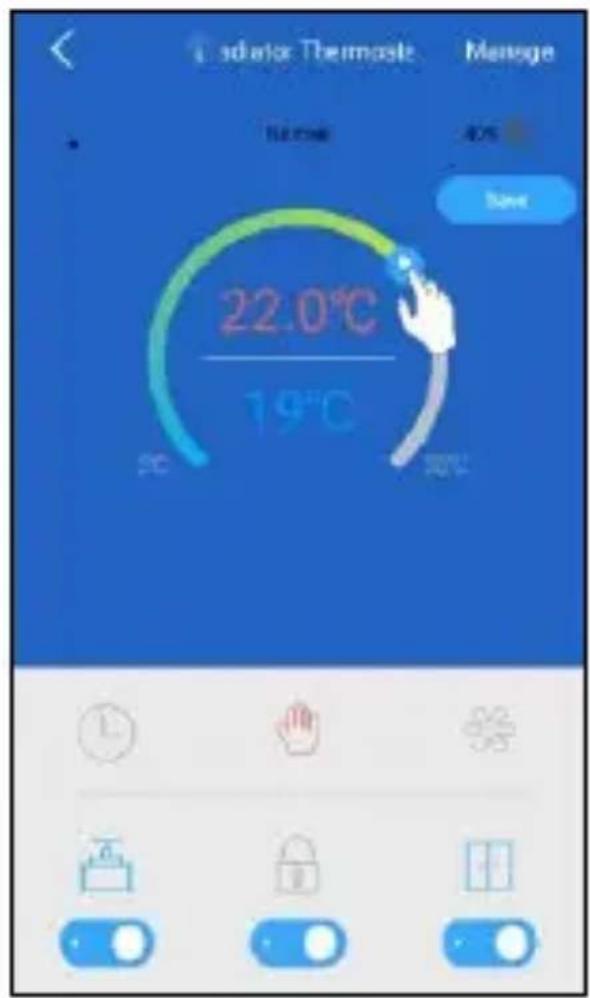
Adjusting temperature in the app
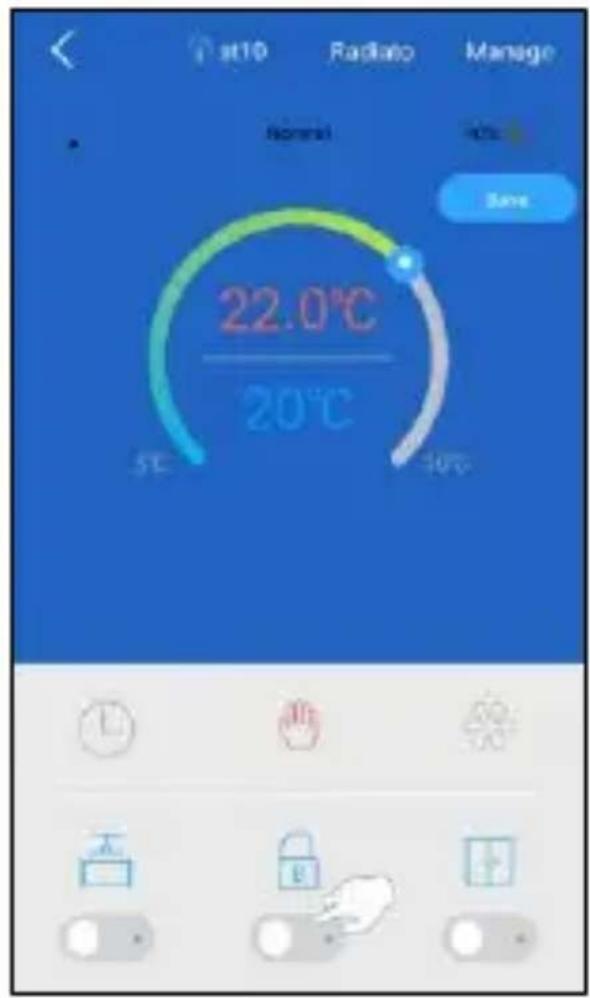
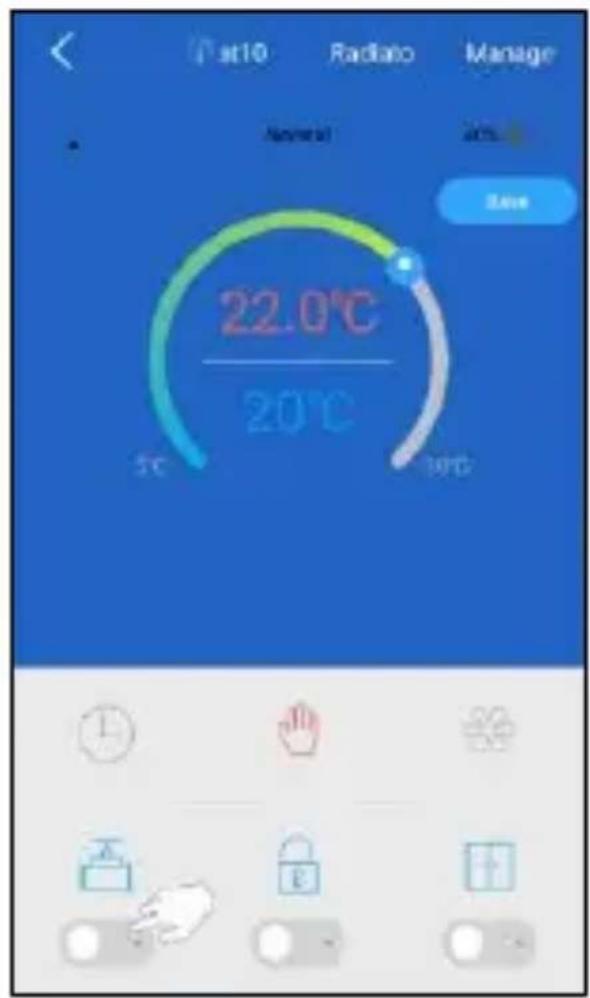
The temperature settings are available in all modes, so you can adjust them at any time. You can adjust the temperature by using the slider.
- Press the radiator button in the device list.
- Drag the ball to the desired temperature.
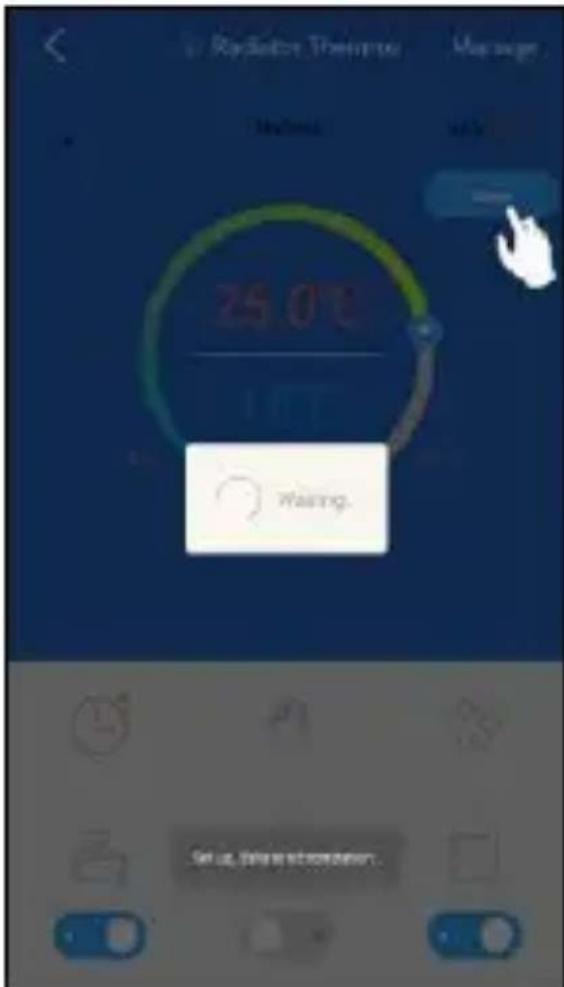
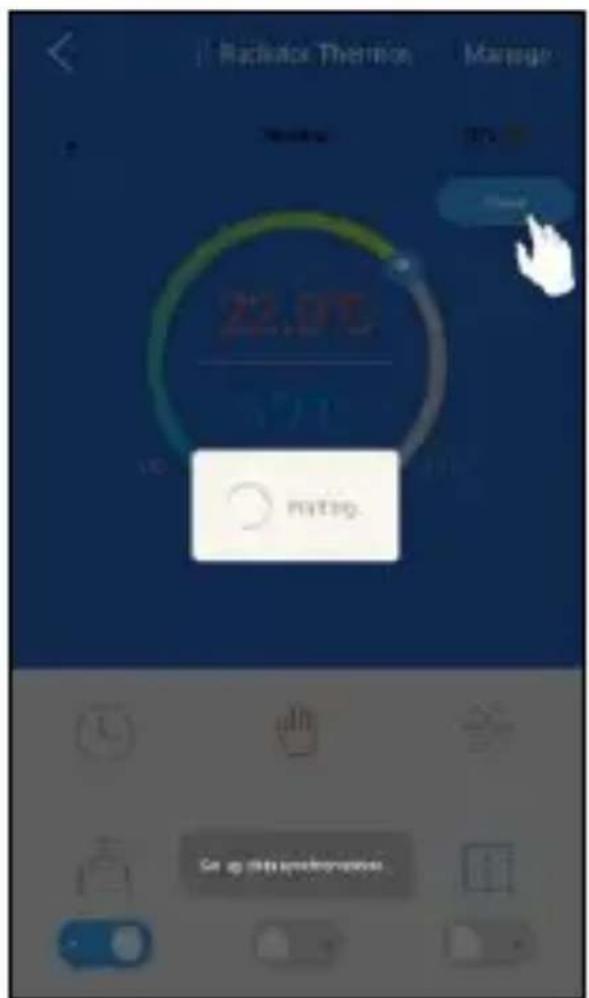
- Finally, press the save button. After 10 seconds the settings will be completely processed.


Functionality
Child lock
The child lock prevents the temperature from being adjusted when the thermostat knob is turned. When this function is enabled, no settings can be made via the radiator knob itself. This is to prevent children from playing with the thermostat. The child lock can be switched on and off both via the app and via the radiator button itself.
Enabling child lock via the radiator valve
If the radiator valve is pressed for a long time, you can switch the child safety lock on and off. Please note that the child safety lock can only be switched on after the installation.
- Press the button for more than 3 seconds.
- A padlock icon will appear on the screen to indicate that the parental control feature is enabled. If you repeat step 1, the parental control system is deactivated.

Enable child lock via the app
The child lock can be turned on and off via the app, as shown in the images below.
- Select the radiator valve from the device list.
- Turn the lock button on or off.
- Press save to save the adjusted data.

Open window detection
When this function is enabled, the smart radiator valve will detect when a window is open. When the temperature drops 3-5 degrees in the room within 5 to 10 minutes, the radiator valve will stop heating. If this is the case, the heater will not heat for 30 minutes. After this half hour, the heating will start again, regardless of whether the window is open or not. This function can only be switched on and off via the app. This function prevents heat loss.
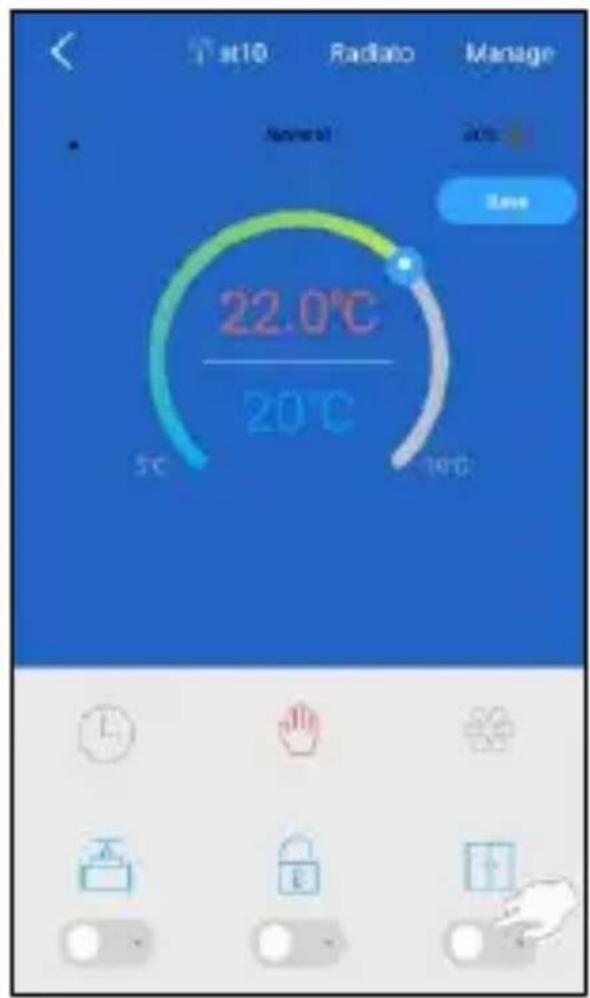
You turn on this function by following these steps:
-
Select the radiator valve from the device list.
-
You will now see the overview of the radiator button. In this overview, press the function at the double door icon.
-
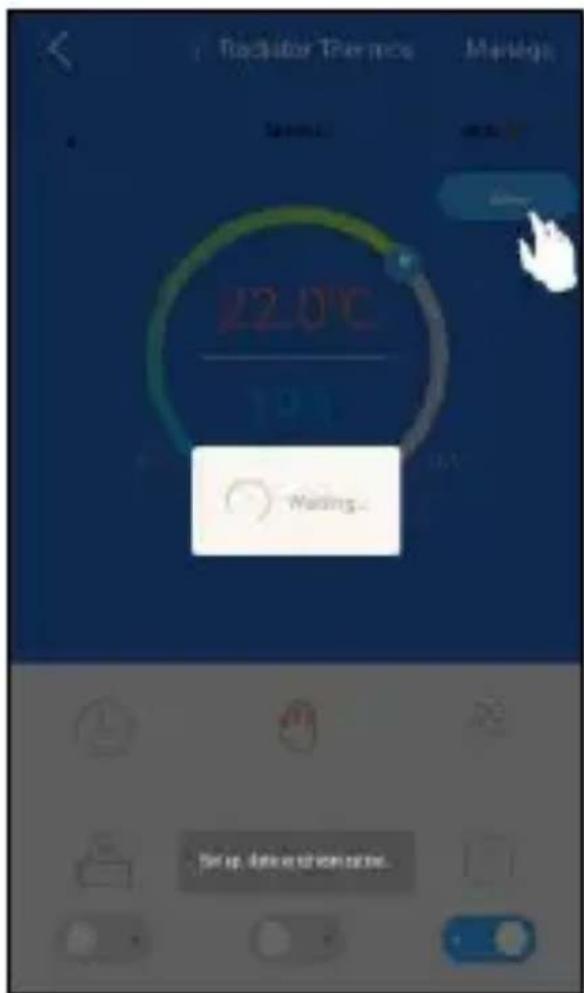
Press the save button and the changed settings will be applied within 10 seconds.

Valve detection
Also called error recognition. When this function is on, errors related to heating a room will be detected. An error message is given when:
- Heating the room to the desired temperature takes longer than 2 hours.
- If the temperature in the room is 2 degrees higher than the set temperature for more than 1 hour.
- If the temperature in the room is 3 degrees higher than the set temperature.
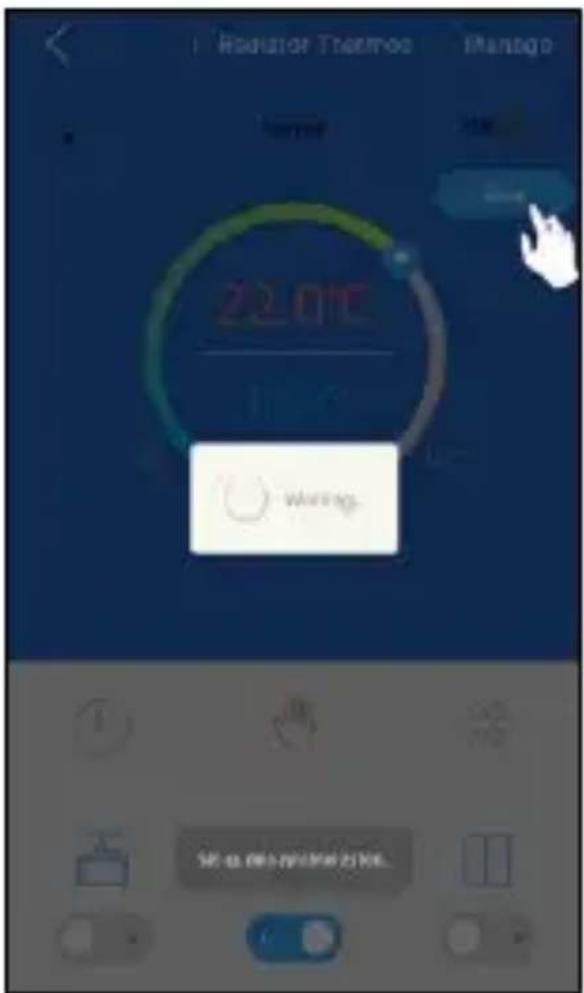
If one of these 3 things happens you will get a notification in the app. This function is also only controllable from the app.
- Select the radiator valve in the device list.
- You will now see the overview of the radiator valve. Press the valve in this overview to switch on the function.
- Press the save button and the changed settings will be applied within 10 seconds.
Technical specifications
Specifications
| Power input | DC3V (AAx2, Alkaline) |
| Battery life | 2 years |
| Frequency | 868MHz |
| Wireless reach | 80> metres in open air |
| Temperature range | 5 ~30 °C |
| Measurement interval | 2 minutes |
| Valve stroke | 6mm max |
| Noise level | <35 dBA |
| Operating temperature | 0 ~40°C |
| Storage temperature | -20 ~ 65 °C |
| Max water temperature | 90°C |
| Applicable environment | Inside, close to a window |
| Standard environment | RoHS |
| Size | Φ57×89mm |
| Mounting ring | M30x1.5mm |
| Weight | 192g (with batteries) |

Deutsch 23 - 42
Nederlands 44 - 63
Français 65 - 84
Home is not a place, it's a feeling
Übersicht
Home is not a place, it's a feeling
Overzicht
SF40RV11 ELRO CONNECTS
SF40RV11
Home is not a place, it's a feeling
Vue d'ensemble
Specifications techniques
Specifications
Environment applicable
Environment standard
Dimension
Anneau de montage
Poids
DC3V (AAx2, Alkaline)
2 ans
868MHz
80> metres en plein air
5\~30℃
2 minutes
6mm max
<35 dBA
0\~40°C
-20\~65℃
90^ C