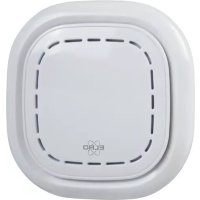
K1 Connector - Smart Home ELRO - Free user manual and instructions
Find the device manual for free K1 Connector ELRO in PDF.

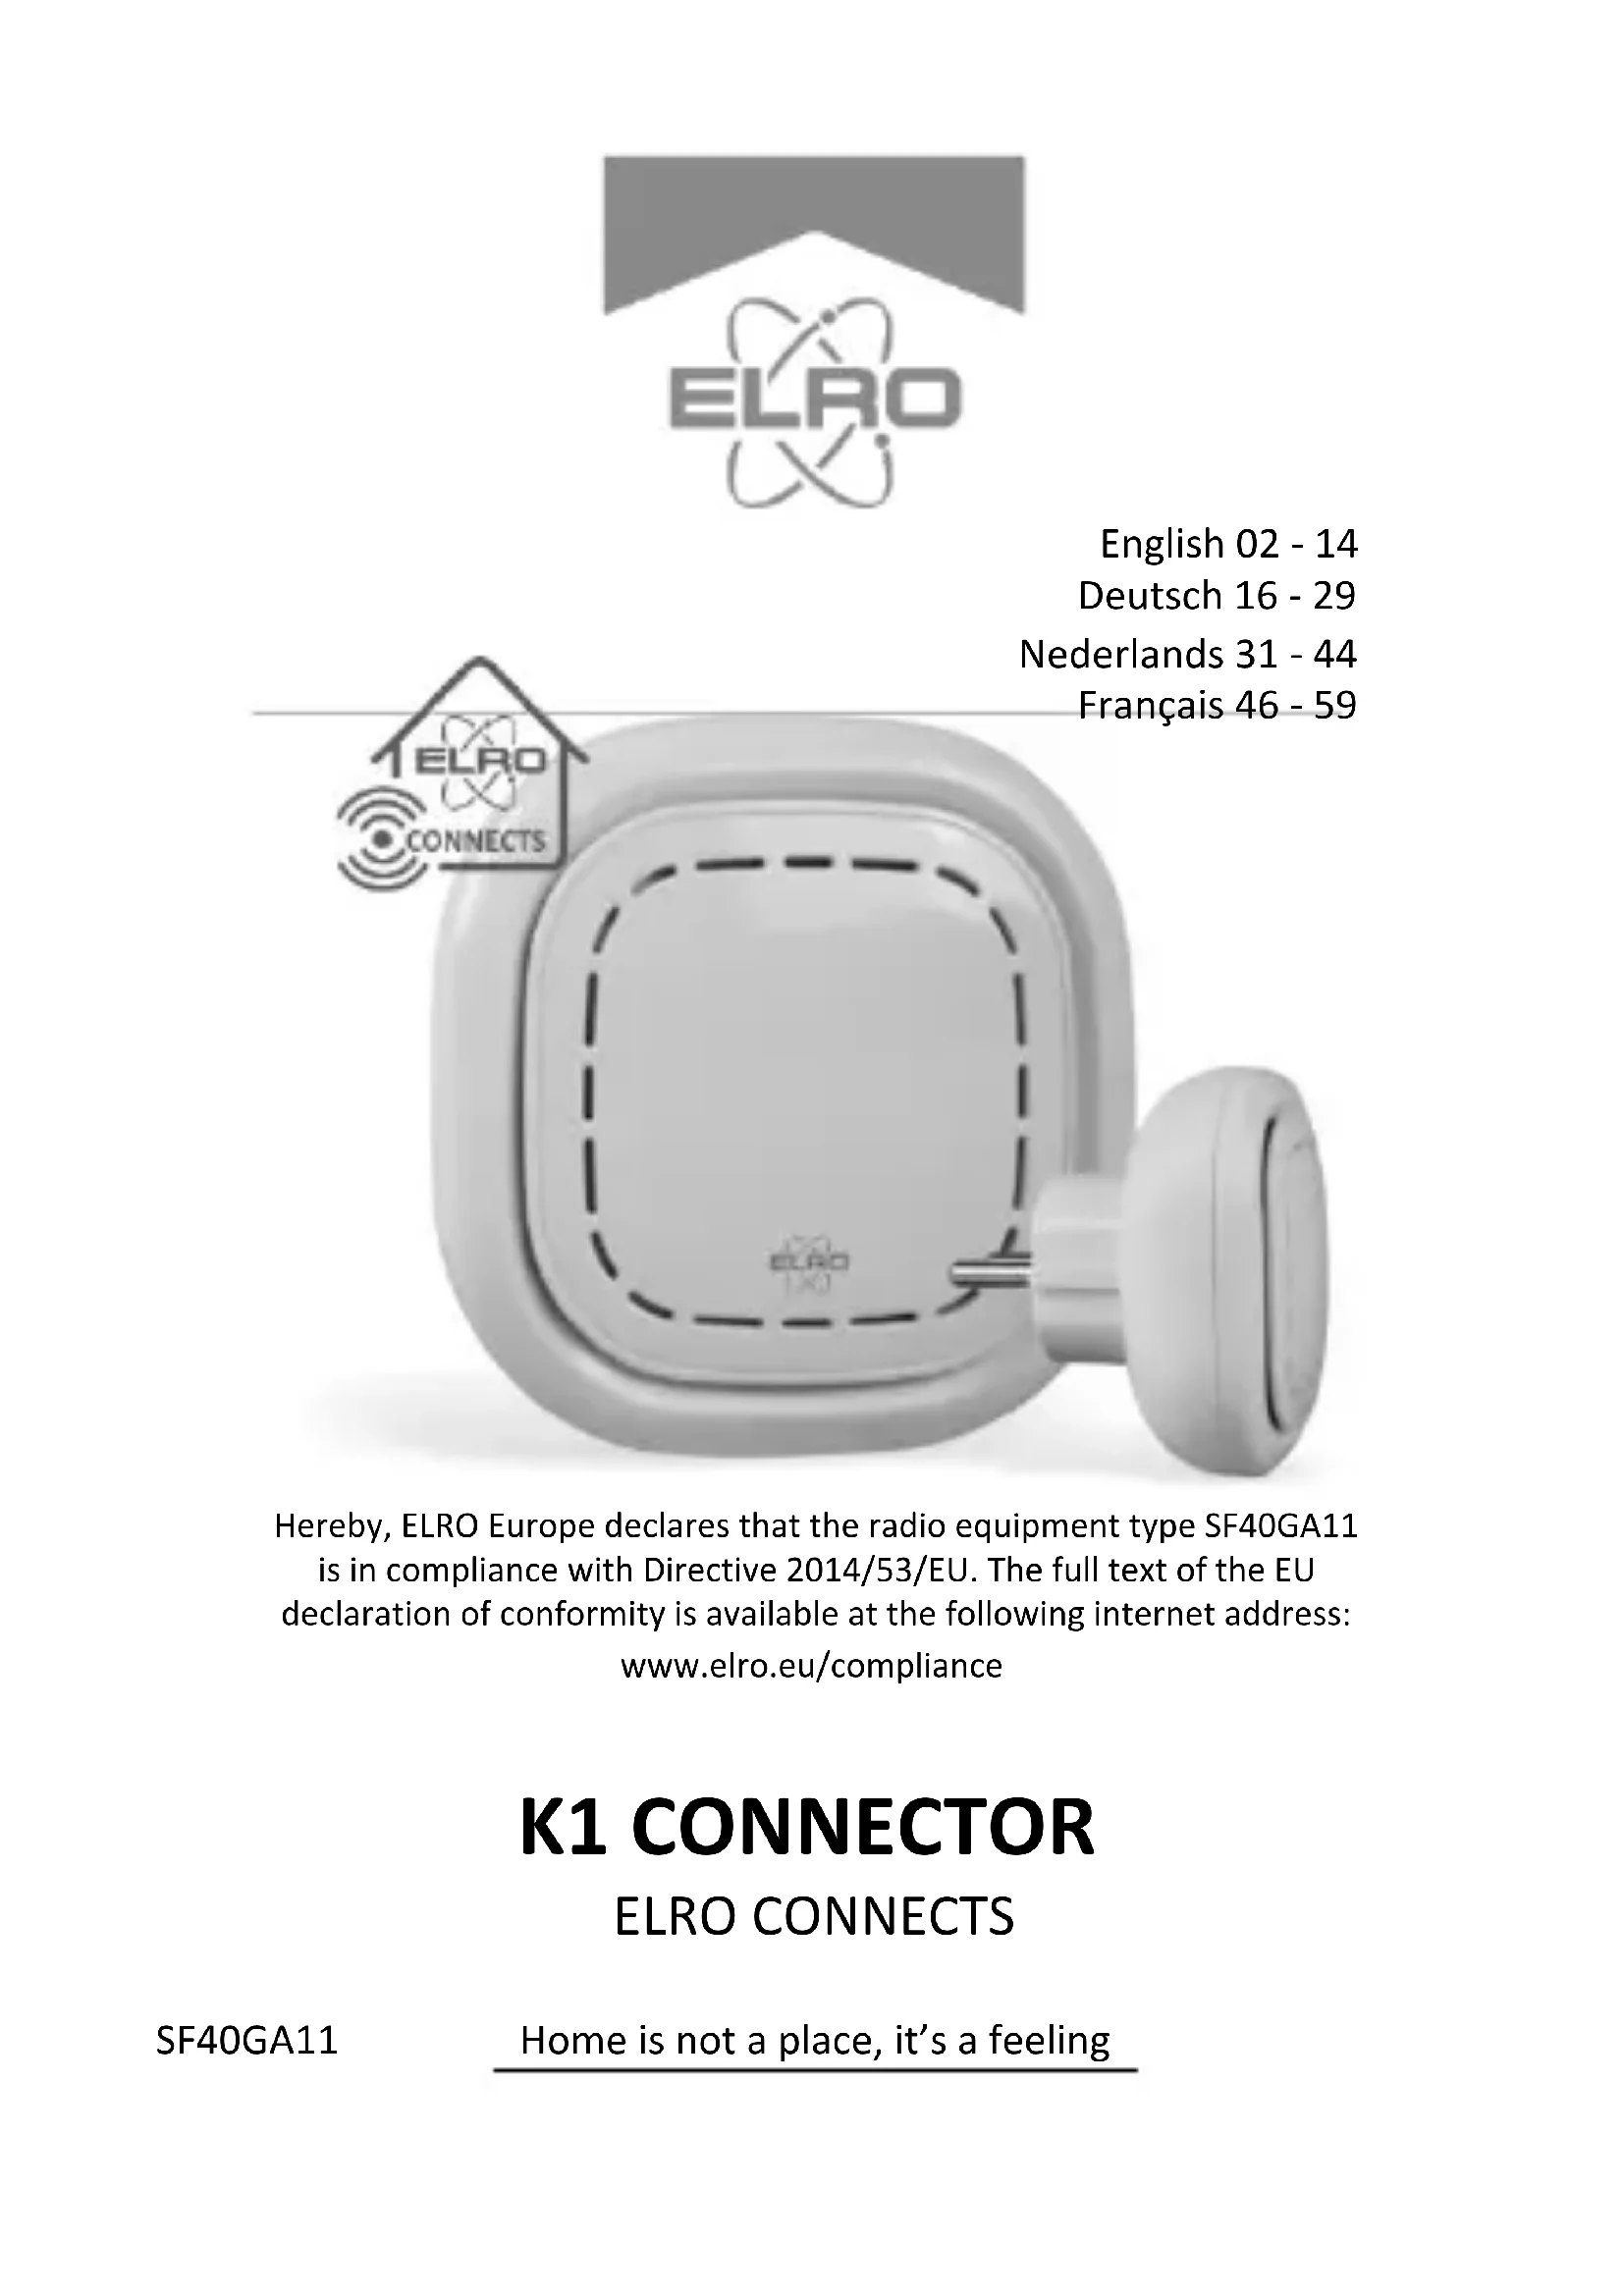


| Product type | Gateway (hub) for ELRO Connects system |
| Brand | ELRO |
| Model | K1 Connector (SF40GA11) |
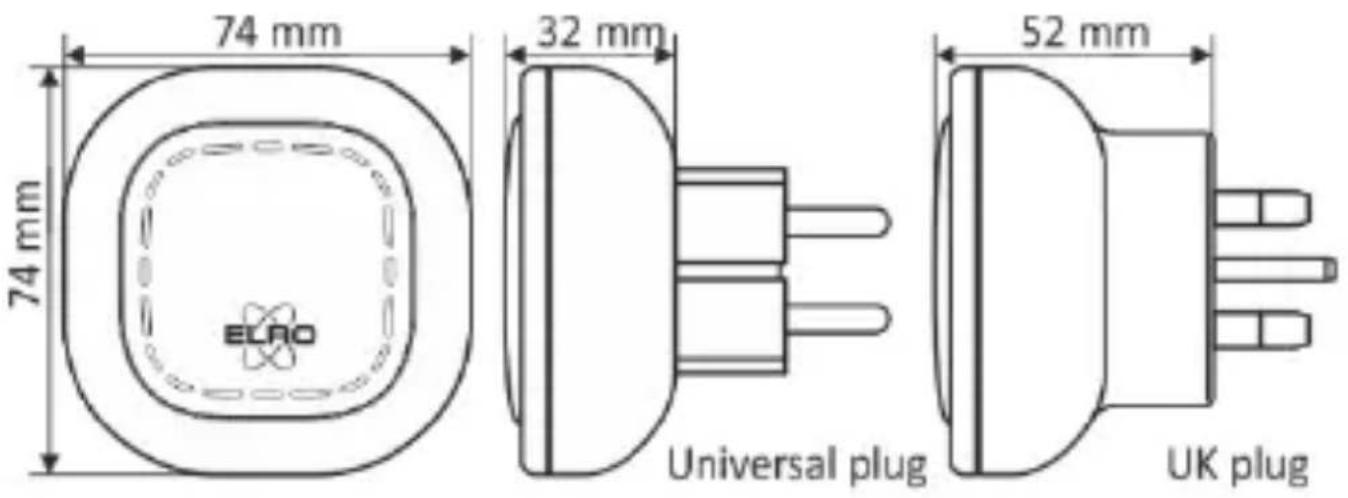
| Dimensions (universal) | 74 mm x 74 mm x 32 mm |
| Power supply | AC 240V, 50/60Hz |
| Standby consumption | ≤ 1W |
| Wi-Fi network | 802.11n/g/b, 2.4 GHz band only, WPA/WPA2 |
| RF network | 868 MHz |
| RF range (open space) | ≥ 100 m |
| Operating temperature | -10°C to +50°C |
| Operating humidity | ≤ 95% RH (non-condensing) |
| Max number of connected devices | 127 |
| Main functions | Control via ELRO Connects app, scenes, timers, alerts, Home/Away/Sleep modes |
| Installation | Download the app, create an account, connect the K1 to 2.4 GHz Wi-Fi, then pair the devices |
| Reset | Press the button 3 times, then hold until purple LED |
| Compatibility | ELRO Connects products (detectors, switches, etc.) |
| App | ELRO Connects (iOS and Android) |
| Maintenance and cleaning | Disconnect before cleaning; use a soft, dry cloth |
| Safety | Compliant with directive 2014/53/EU; do not dispose of with household waste (Directive 2012/19/EU) |
| Spare parts and repairability | Not applicable; no consumables. In case of failure, contact ELRO customer service |
Frequently Asked Questions - K1 Connector ELRO
User questions about K1 Connector ELRO
0 question about this device. Answer the ones you know or ask your own.
Ask a new question about this device
Download the instructions for your Smart Home in PDF format for free! Find your manual K1 Connector - ELRO and take your electronic device back in hand. On this page are published all the documents necessary for the use of your device. K1 Connector by ELRO.
USER MANUAL K1 Connector ELRO
Hereby, ELRO Europe declares that the radio equipment type SF40GA11 is in compliance with Directive 2014/53/EU. The full text of the EU declaration of conformity is available at the following internet address:
www.elro.eu/compliance
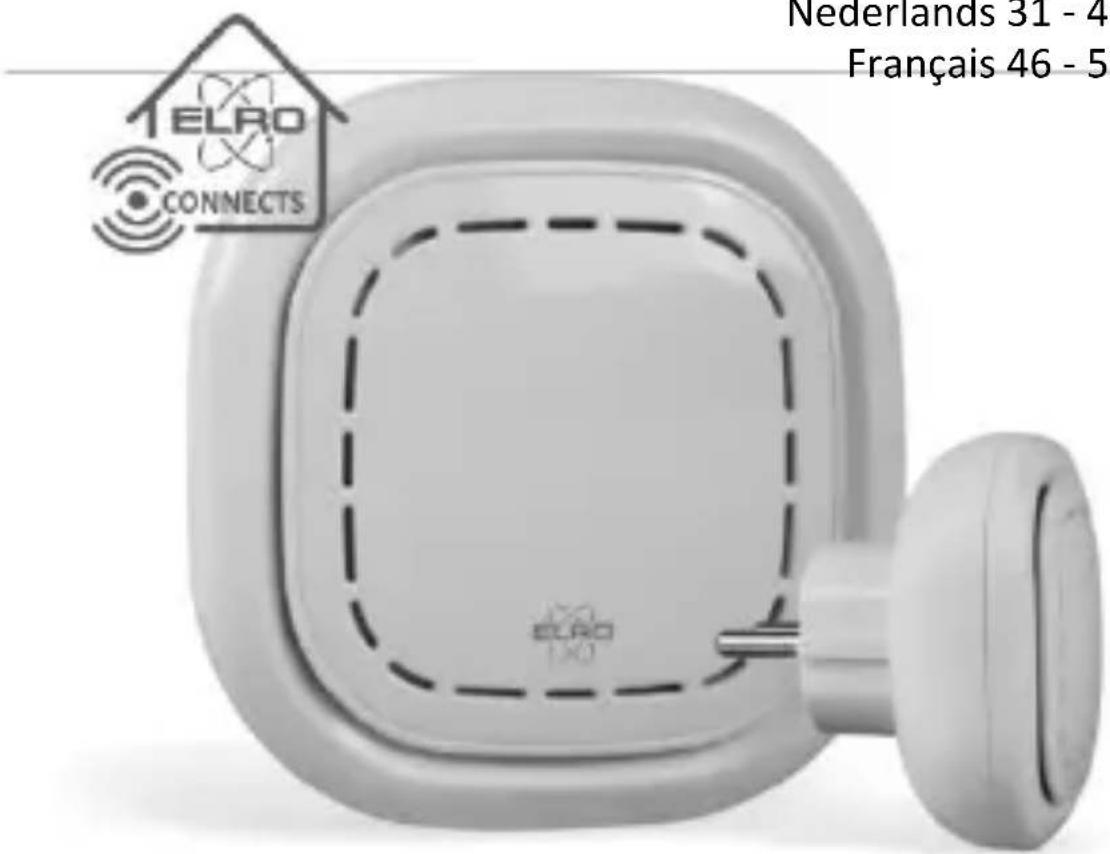
K1 CONNECTOR
ELRO CONNECTS
SF40GA11
Home is not a place, it's a feeling
EXPLANATION
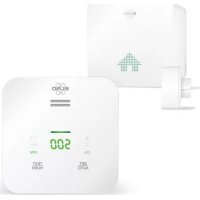
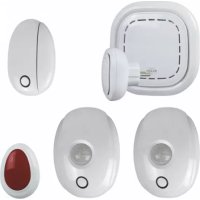
The ELRO K1 Connector is the heart of your ELRO Connects system. It connects all your ELRO Connects products to the free ELRO Connects App. With the ELRO Connects App you gain full control of your home, making it a more comfortable and safe environment for you and your family. ELRO Connects is a plug & play system, developed for anyone to use and enjoy.
3 step installation
1. Download the ELRO Connects App
Download the “ELRO Connects” app from the Apple App Store or Google Play Store. To enjoy all the functions of the ELRO Connects system, make sure to allow the app to send push notifications and use your current location.
2. Register an Account
When opening the app for the first time, the login screen will pop-up. Please press 'Create an account' (1) on the bottom right corner of the app.
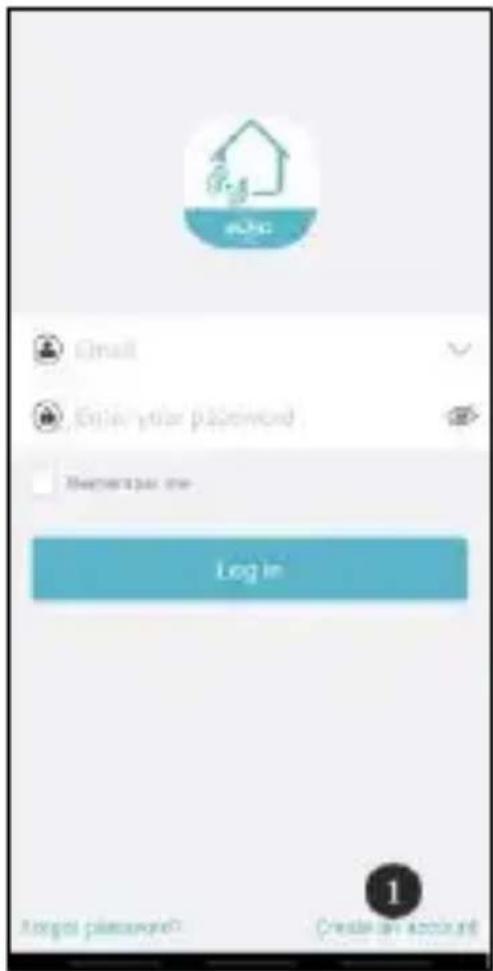
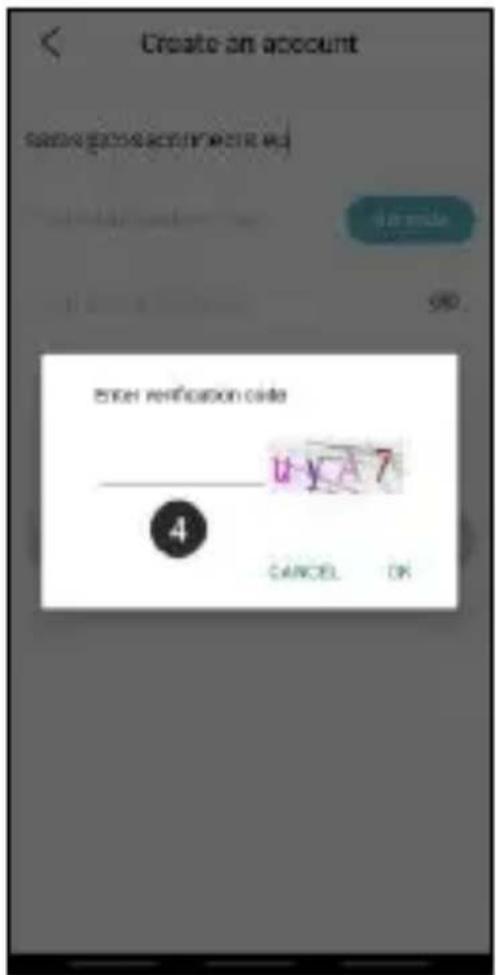
Enter your e-mail address (2). To verify your e-mail address, please press 'Get code' (3). Now a pop-up will appear in which you need to fill in a graphic verification code (4). (Be aware of capital and lower case letters!)
After you've entered the graphic's verification code, you'll receive an e-mail from the ELRO Connects App.
The verification code you received in your e-mail needs to be filled in left to the "Get code" button (3).
Next, type in the password (5) you need to use at least 8 digits, a mix of upper/lower case letters and numbers and/or special characters. Re-enter the password in the field underneath and press 'Create an account'. You can check the password by pressing on the eye symbol! The login screen will appear and you can login to the app by using your email and created password.
3. Connect the K1 Connector to the app
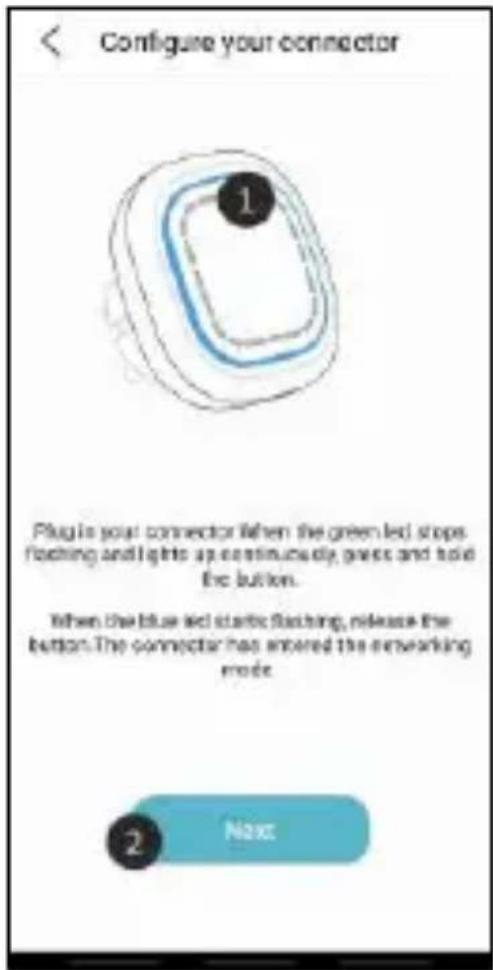
Once you have logged into the app, you are taken to the network configuration. Plug in the K1 connector into a power outlet and wait for the LED indicator to turn green.
Next, press the K1 Connector's button (1) for at least 3 seconds until the LED flashes blue. (2) Press 'Next'.
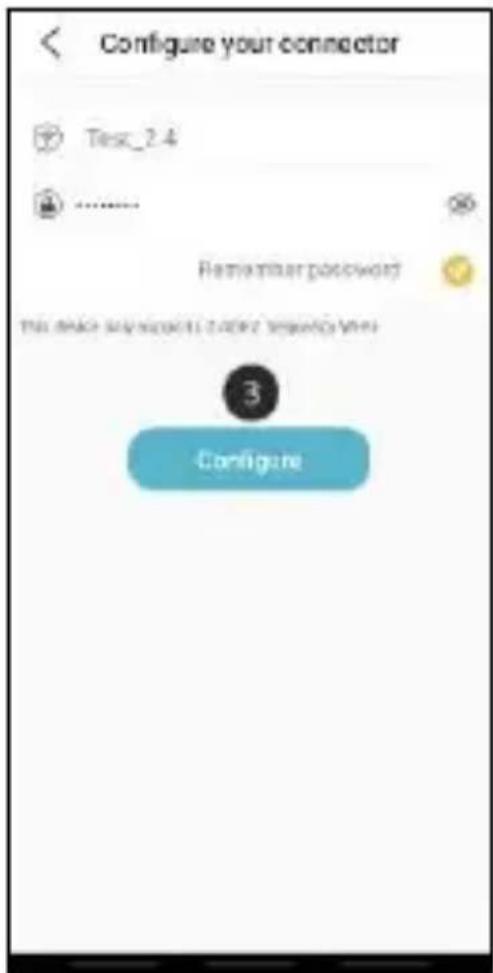
In the next screen, type in your Wi-Fi network password (3) and press 'Configure'. The connector will now connect with your Wi-Fi network. This will take approximately 1 minute. You'll be informed whether the connection was successful or not.
Make sure that you use a 2.4GHz Wi-Fi signal. This means that this cannot be a Wi-Fi signal that exists of both 2.4GHz and 5GHz signals. We recommend that you turn of the 5GHz signal when installing the K1. After the installation you can turn this signal back on again.
Connect ELRO Connects products to the app
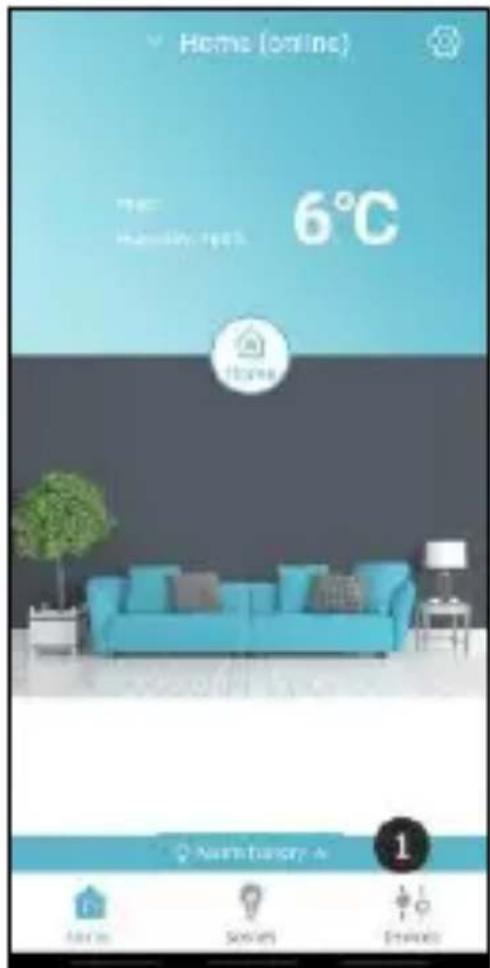
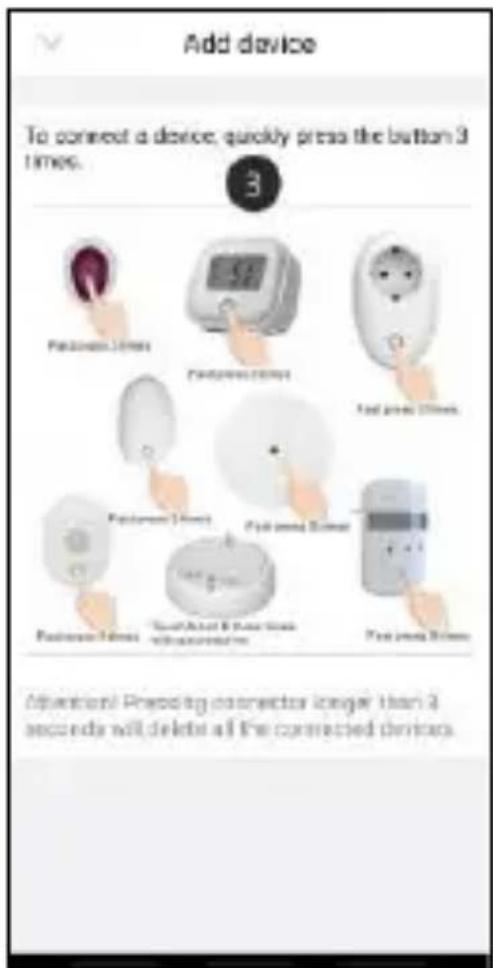
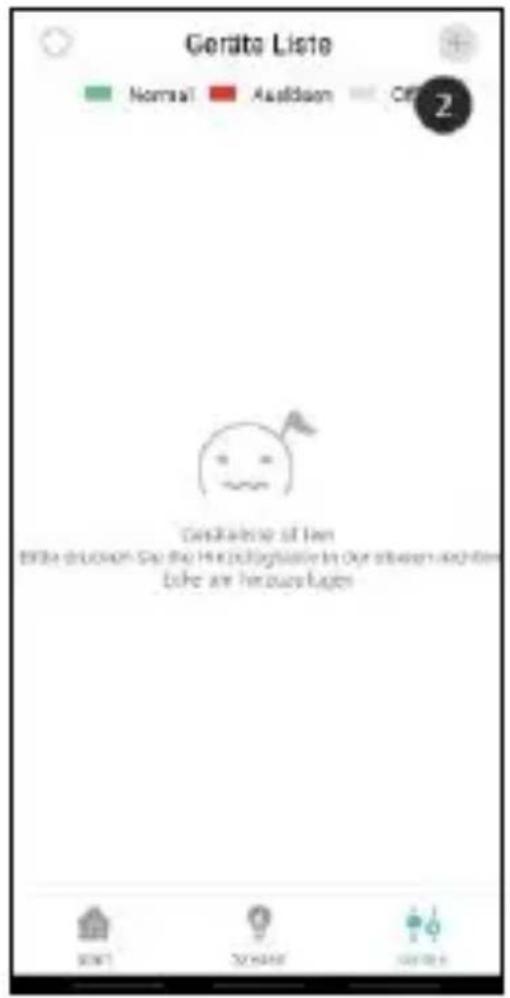
Connecting the different ELRO Connects products to your app is very easy and will take you very little time. First, go to the Device List by tapping the ‘Devices’ (1) at the bottom right corner of your Home screen. Next, tap the ‘+’ in the upper right corner (2).
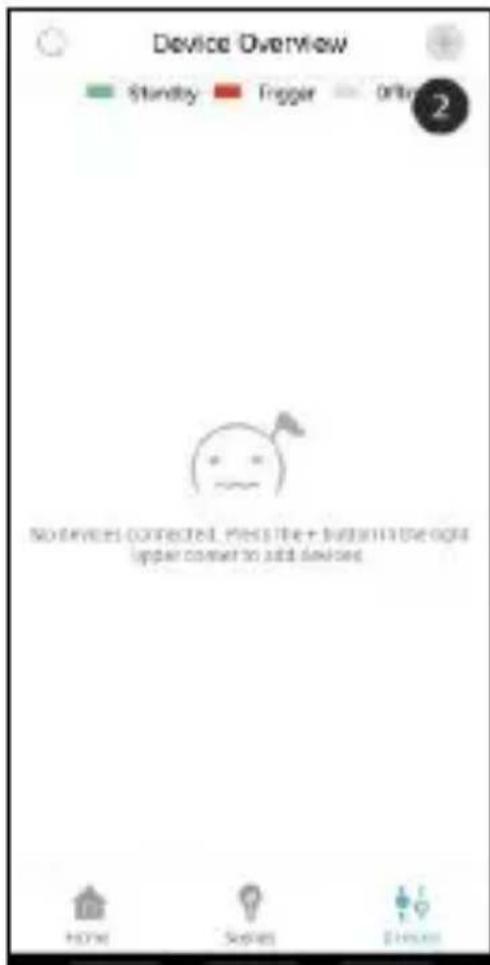
Quickly press the button on your ELRO Connects device 3 times (3). When the connection with the ELRO Connects device is successful the LED of the K1 Connector will quickly blink 10 times and you'll receive a notice in the app.
Please note! The ELRO Connects Water Detector (FW3801R) doesn't have a button, use a screwdriver to touch both sensors 3 times in success.
Congratulations!
You successfully connected an ELRO Connects product to your app. You can now name the product and use it in your app to control with your smartphone, use in scenes etc.
Scenes
Your ELRO Connects app has 3 pre-installed operation modes “Home, “Away” and “Sleep”. You can switch between these operation modes by tapping the button in the middle of your Home screen and select the desired mode.
Creating scenes
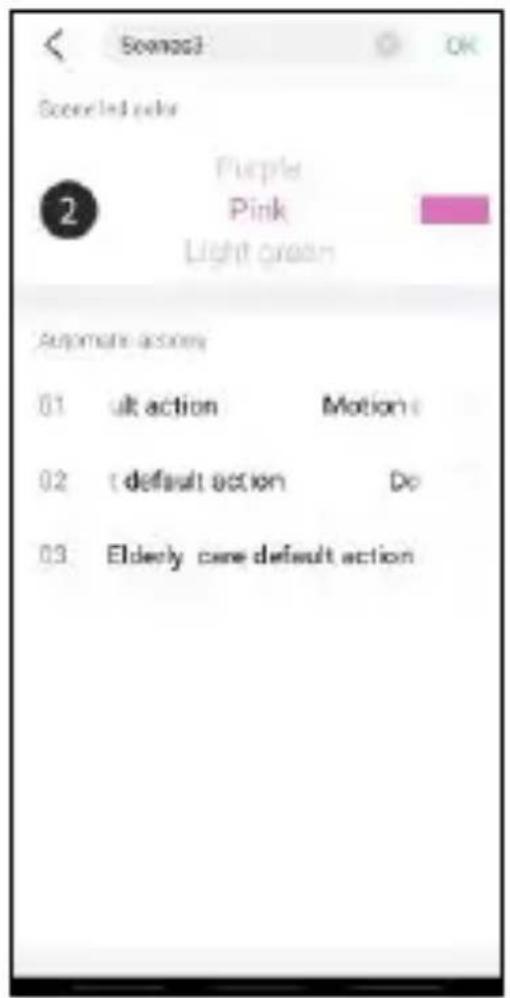
Press the "Scenes" button at the bottom of the start screen. Here you can set up various scenes for your ELRO Connects system. It is possible to add various automatic actions to these scenes to automate everything. To create a scene, simply press the "+" (1) in the scene overview. A screen will appear where you can add conditions and link them to an action that needs to be executed (2). You can also use the following menu items to set up your own automatic actions. It is possible to modify a scene by pressing one of the scenes.
natural_image
Simple icon of a house with a person silhouette inside, labeled 'Home' below (no additional text or symbols)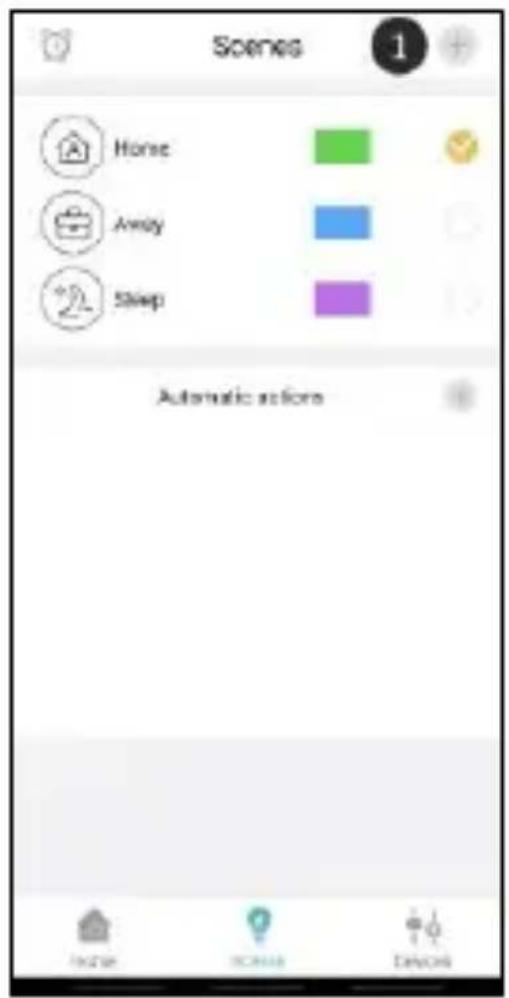
Automatic actions
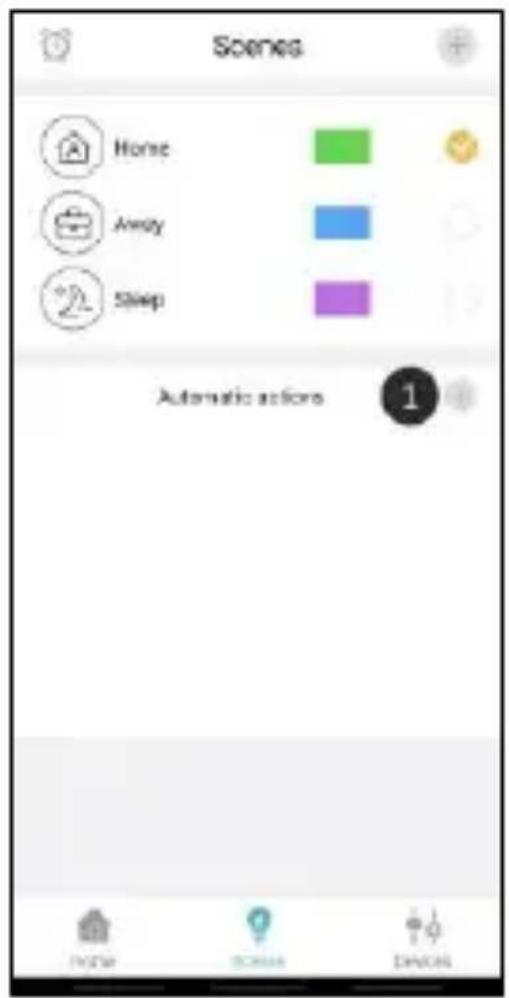
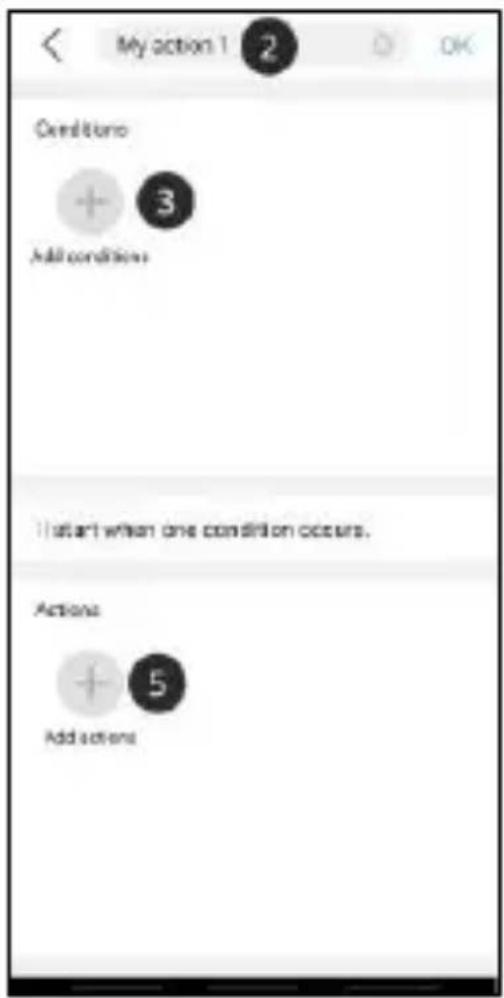
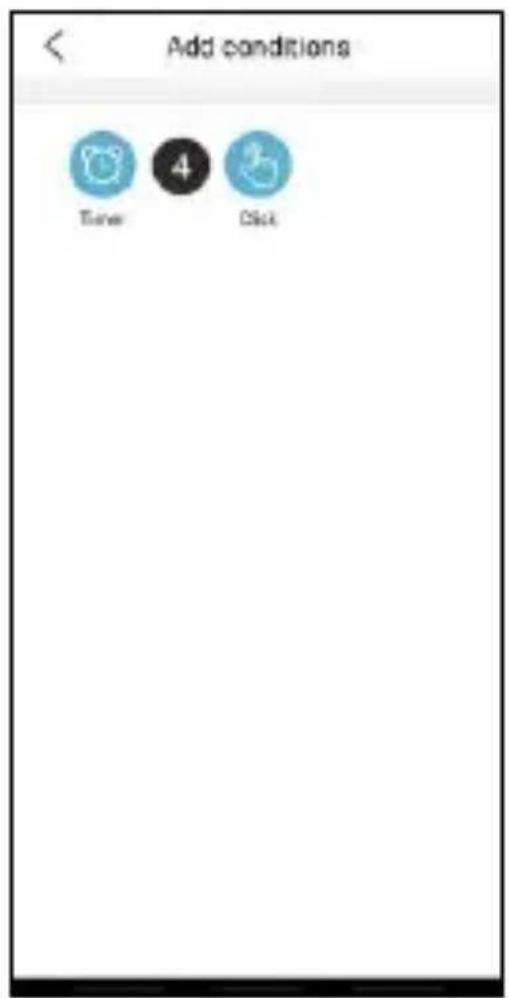
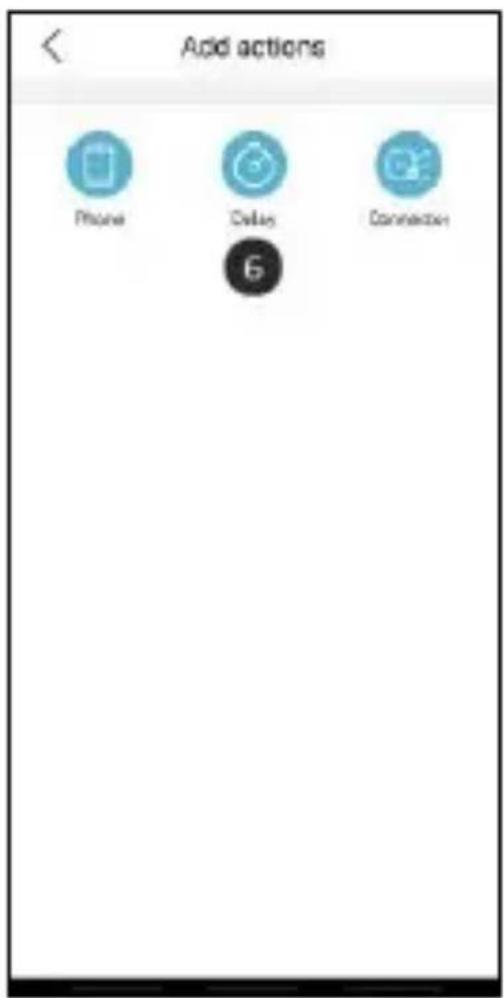
So it is possible to set an automatic action on a scene. You can assign one or more conditions to an automatic action. If one or more of these conditions are met, the automatic action will be executed. For example, it is possible to have a plug switch on when a door is opened. By following the steps below you can easily create automatic actions yourself. In the scene overview, press the plus sign to create an automatic actions (1). You can then give a name to the automatic action (2). Add the conditions that will trigger the automatic action (3). This can be a timer or a button press, for example (4). Then determine which action should be performed when one or more of the conditions are met (5). The list of actions will grow as different products are added to your system (6).
Please note! When only using fire protection products, it is not necessary to create automatic actions. There are also a number of standard automatic actions for intrusion protection. You therefore do not need to set these up yourself either.
Timers
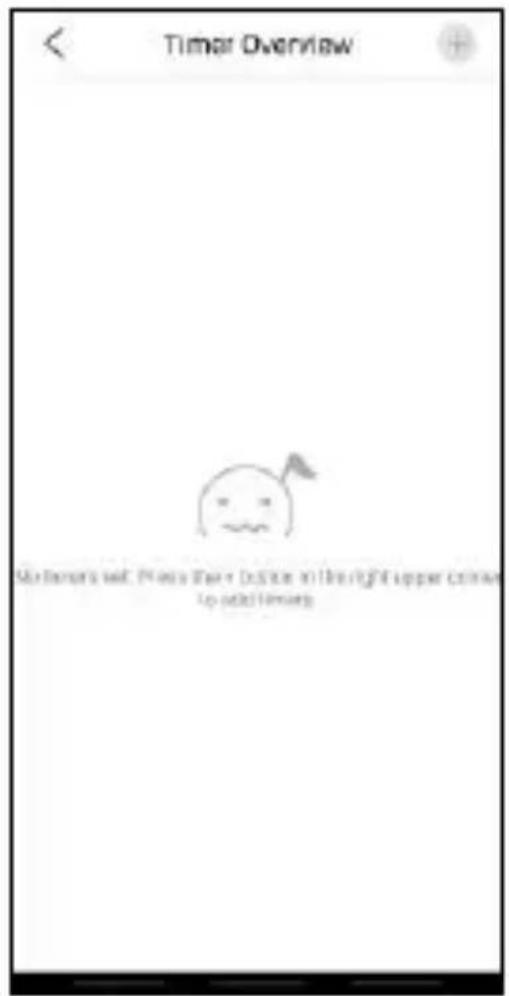
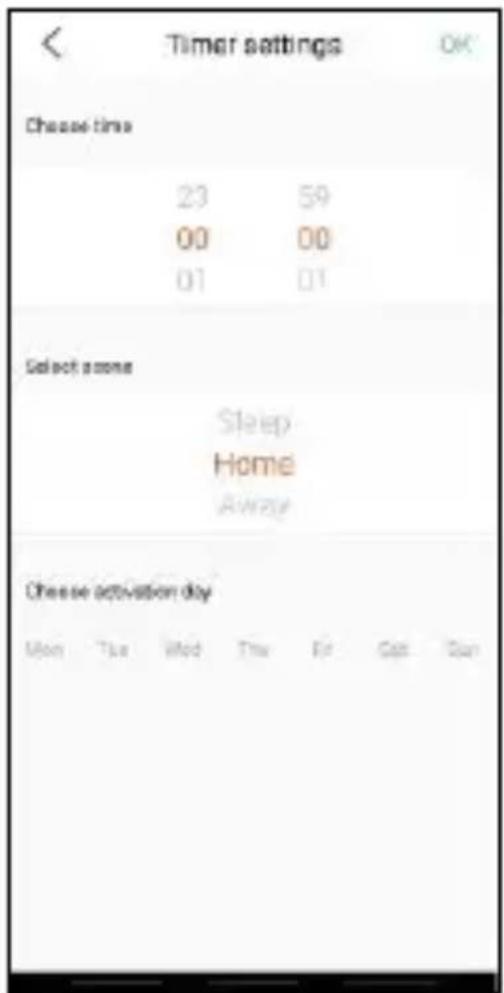
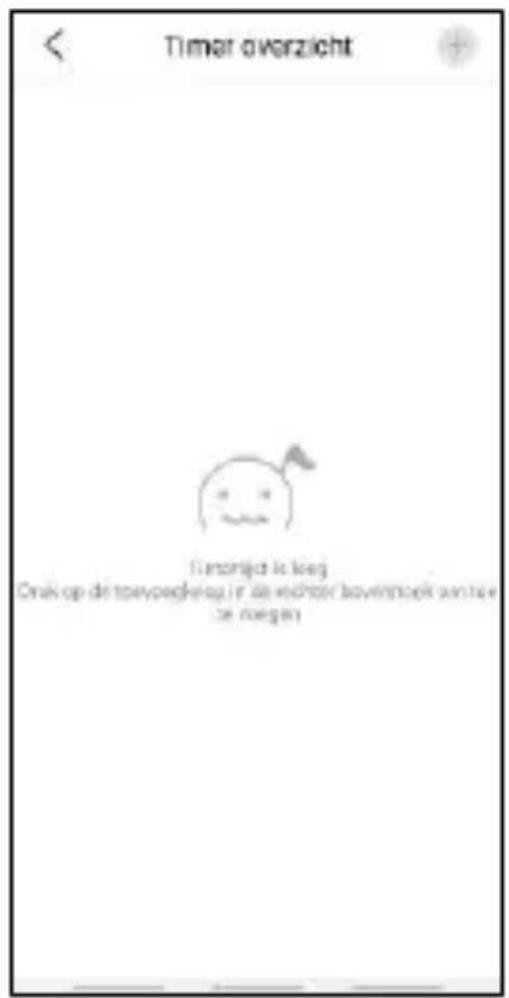
On the home screen, press the "Scenes" button at the bottom of the home screen. To set a timer, press the clock in the top left corner of your screen. You will then see an overview of all your set timers. By pressing the plus sign you can set a time when a scene will start automatically. For example, you can set the "Sleep mode" to be activated at 23:00 every day.
Explanation of the app
Below is an overview of all the app's functions with explanations.
- Connector list: Here you can find all the connectors which are connected to the account. You can also delete a connector and change the name of one.
- Scene switching: Switch between the different scenes of the system.
- Alarm history: previous alarms are stored here.
- Home page, scene overview and device list. Home page, scene overview and device list.
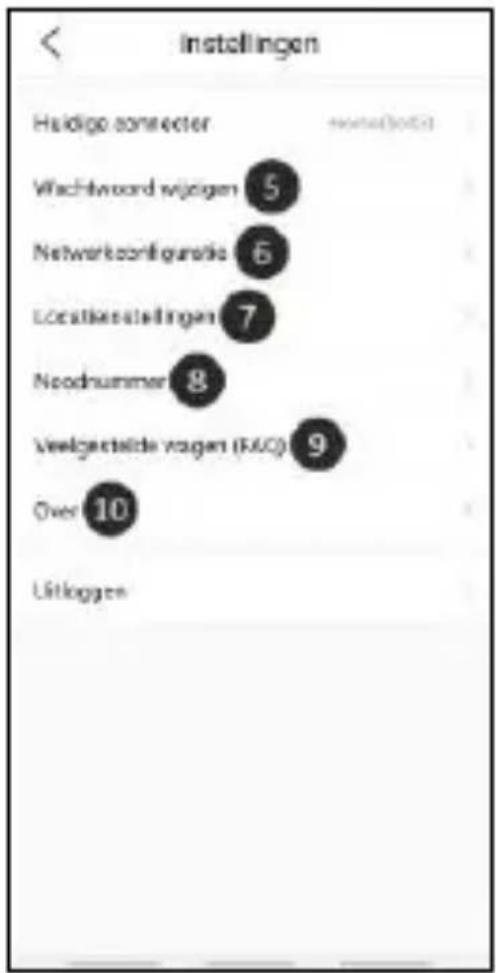
- Change Password: Change the password for the account.
- Configure your connector: add a second connector to the app.
- Location settings: here you can turn the location facilities on or off.
- Emergency number: Add an emergency number. This can be used as a shortcut. Simply call this number in case of emergency. This number is not automatically called by the app.
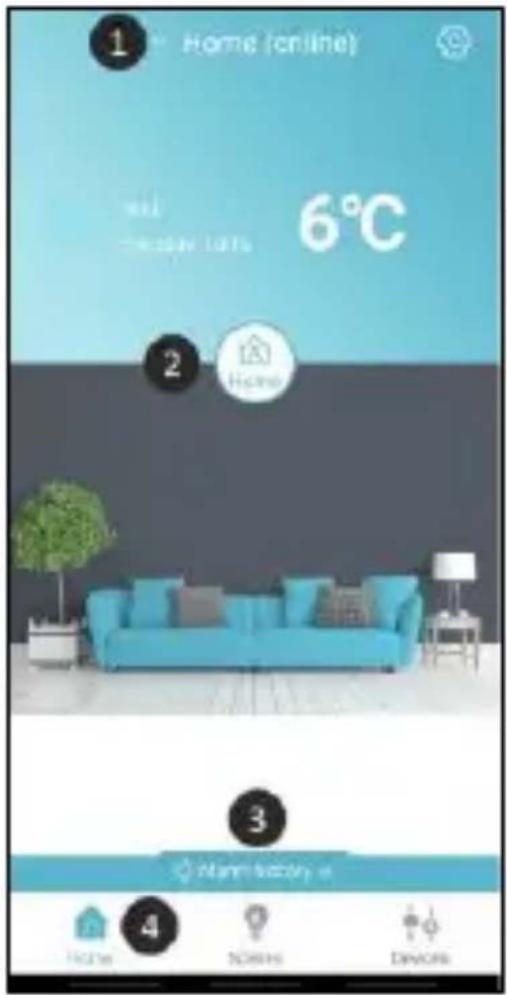
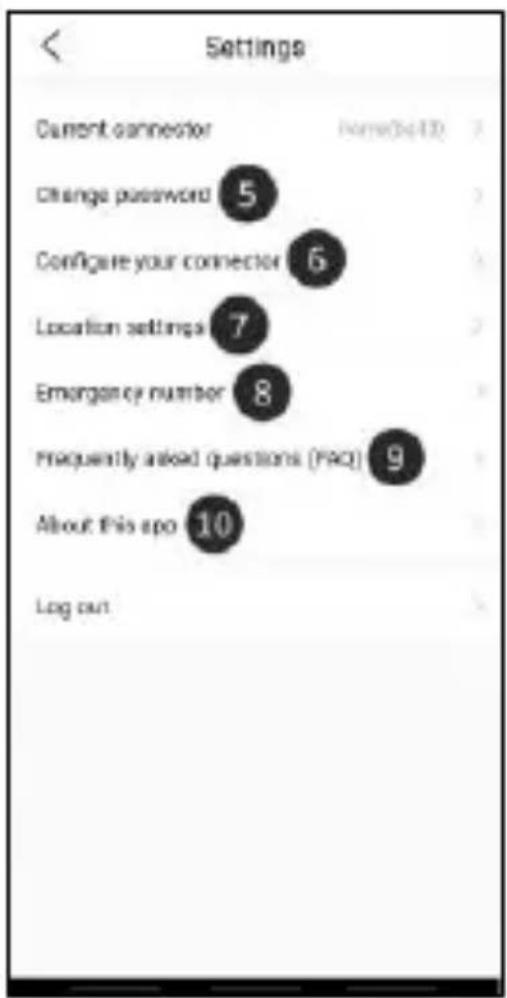
- Frequently asked questions: navigate to our FAQ page.
- About: here you will find the app version, the connector version, the customer service details and the privacy terms.
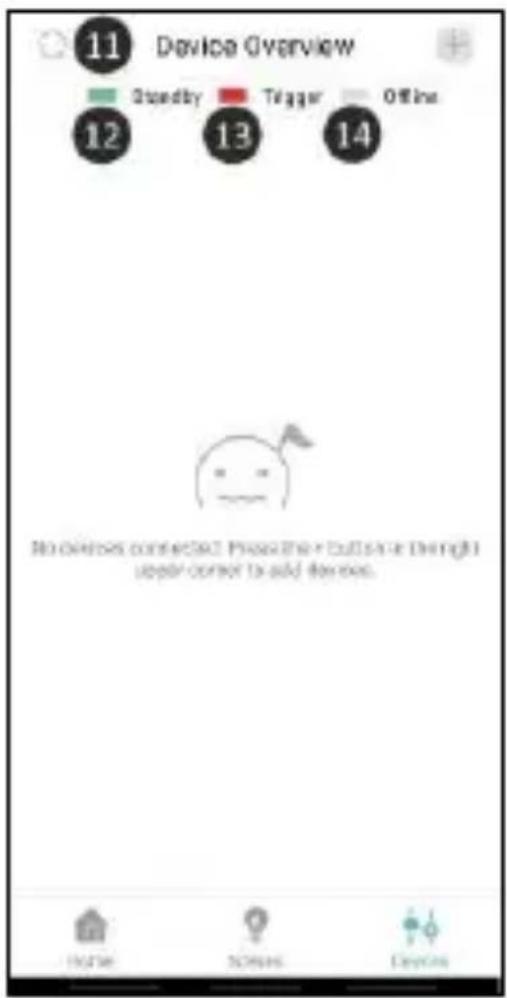
- Synchronize: Synchronize the device list to get the latest status of the devices.
- Standby: The device is online and working.
- Trigger : The device is activated.
- Offline: The device is offline.
Forgot your password?
If you have forgotten your password you can set a new one by pressing 'Forgot password' at the bottom left of the login screen. Then follow the same steps as when creating an account. At email address, enter the email address of your current account.
Reset
You can reset the connector by following the steps below:
- Remove the K1 Connector from your app by going to the connector list at the top of the home screen.
a. For iPhone, drag the connector line to the left and press delete.
b. For Android, press the booklet and then press delete.
2. Plug the connector into the wall outlet and wait 5 seconds.
3. Press the K1 button 3 times.
- Hold down the button on the connector until you see a purple light.
- The connector will briefly alarm.
- The connector is now reset.
Troubleshooting
If the installation fails or you encounter some other problem, please refer to this troubleshooting. It contains a number of tips and tricks that might help you further.
Installation K1
When installing the K1 system, we recommend that you pay attention to the following points.
- Make sure your phone is connected to the 2.4GHz Wi-Fi signal.
- Make sure your Wi-Fi password/name does not contain any spaces.
- The Wi-Fi name should be entered automatically during the network configuration. Is this not the case? Then you need to enable the location services on your phone and in the app's settings. Also, all permissions need to be accepted.
- Are you sure that the password for the Wi-Fi is correct? By clicking on the eye on the right, you can see the password you have entered.
- Make sure the connector flashes blue when you go through the network configuration.
- If all of the above does not appear to be the cause of the problem, then you are probably dealing with a combined WiFi band. In other words, a WiFi band that offers both 2.4Ghz and 5Ghz (in some cases, a combined WiFi band is still displayed as a 2.4Ghz WiFi). We recommend that you check the router settings to see which frequencies are offered for the relevant SSID. Before installing the system, temporarily disable the 5GHz signal and go through the installation. After installing the K1 connector, you can turn the 5GHz signal on again. If that doesn't work, you can also create a separate wifi band with a unique name and password on
2.4Ghz only. I can imagine that this is complex, we therefore advise you to contact your telecom provider for the correct settings to set up a separate 2.4Ghz WiFi band in this case, they will be able to help you the quickest and best.
FAQ
Q Can I connect a second device to my system?
A It is possible to link several phones to one connector. You can do this simply by logging in with your account on multiple devices.
Q How many devices can be connected to the connector?
A Up to 127 devices can be connected to the connector.
Q Can I add multiple connectors to one account?
A This is certainly possible. You can add various connectors by pressing the top right of the home screen. Then you have to press 'Configure your connector'. Each connector has its own set of scenes and devices and are therefore not connected to each other.
Q What is the wireless range of the system?
A All components have a range of 100m in an open space without any obstacles or interfering signals. All accessories should be located within reach of each other, as the system is not a mesh network.
Disposal of the device The adjacent symbol of a crossed-out wheelie bin means that this device is subject to Directive 2012/19/EU. This directive states that this device may not be disposed of in normal household waste at the end of its usable life, but must be handed over to specially set-up collection locations, recycling depots or disposal companies. This disposal is free of charge for the user. Protect the environment and dispose of this device properly. You can obtain further information from your local disposal company or the city or local authority.
SPECIFICATIONS SF40GA11 K1 Connector
Power Input : AC 240V, 50/60Hz
Power consumption : ≤ 1W (Standby)
Max. transmission power : 10dBm
Networking : WiFi | 802.11n/g/b, WPA/WPA2
: RF | 868MHz
Wireless distance : WiFi | Refer to Router for instructions
: RF | ≥ 100 m
Environment : -10^ +50^ < 95% RH (Non-condensate)
ELRO Europe | www.elro.eu
Postbus 9607 – Box E800
1006 GC Amsterdam - The Netherlands
GUARANTEE
Deutsch 16 - 29
Nederlands 31 - 44
Français 46 - 59
Home is not a place, it's a feeling
ERKLÄRUNG
natural_image
Simple line icon of a house with a person silhouette inside, labeled 'Heim' below (no additional text or symbols)Home is not a place, it's a feeling
UITLEG
Home is not a place, it's a feeling
EXPLICATION
- K1 CONNECTOR
- ELRO CONNECTS
- EXPLANATION
- step installation
- Download the ELRO Connects App
- Register an Account
- Connect the K1 Connector to the app
- Connect ELRO Connects products to the app
- Congratulations!
- Scenes
- Creating scenes
- Automatic actions
- Timers
- Explanation of the app
- Forgot your password?
- Reset
- Troubleshooting
- Installation K1
- FAQ
- SPECIFICATIONS SF40GA11 K1 Connector
- ERKLÄRUNG
- UITLEG
- EXPLICATION
Brand : ELRO
Model : K1 Connector
Category : Smart Home