
HW010CP1439N - Washing machine HAIER - Free user manual and instructions
Find the device manual for free HW010CP1439N HAIER in PDF.


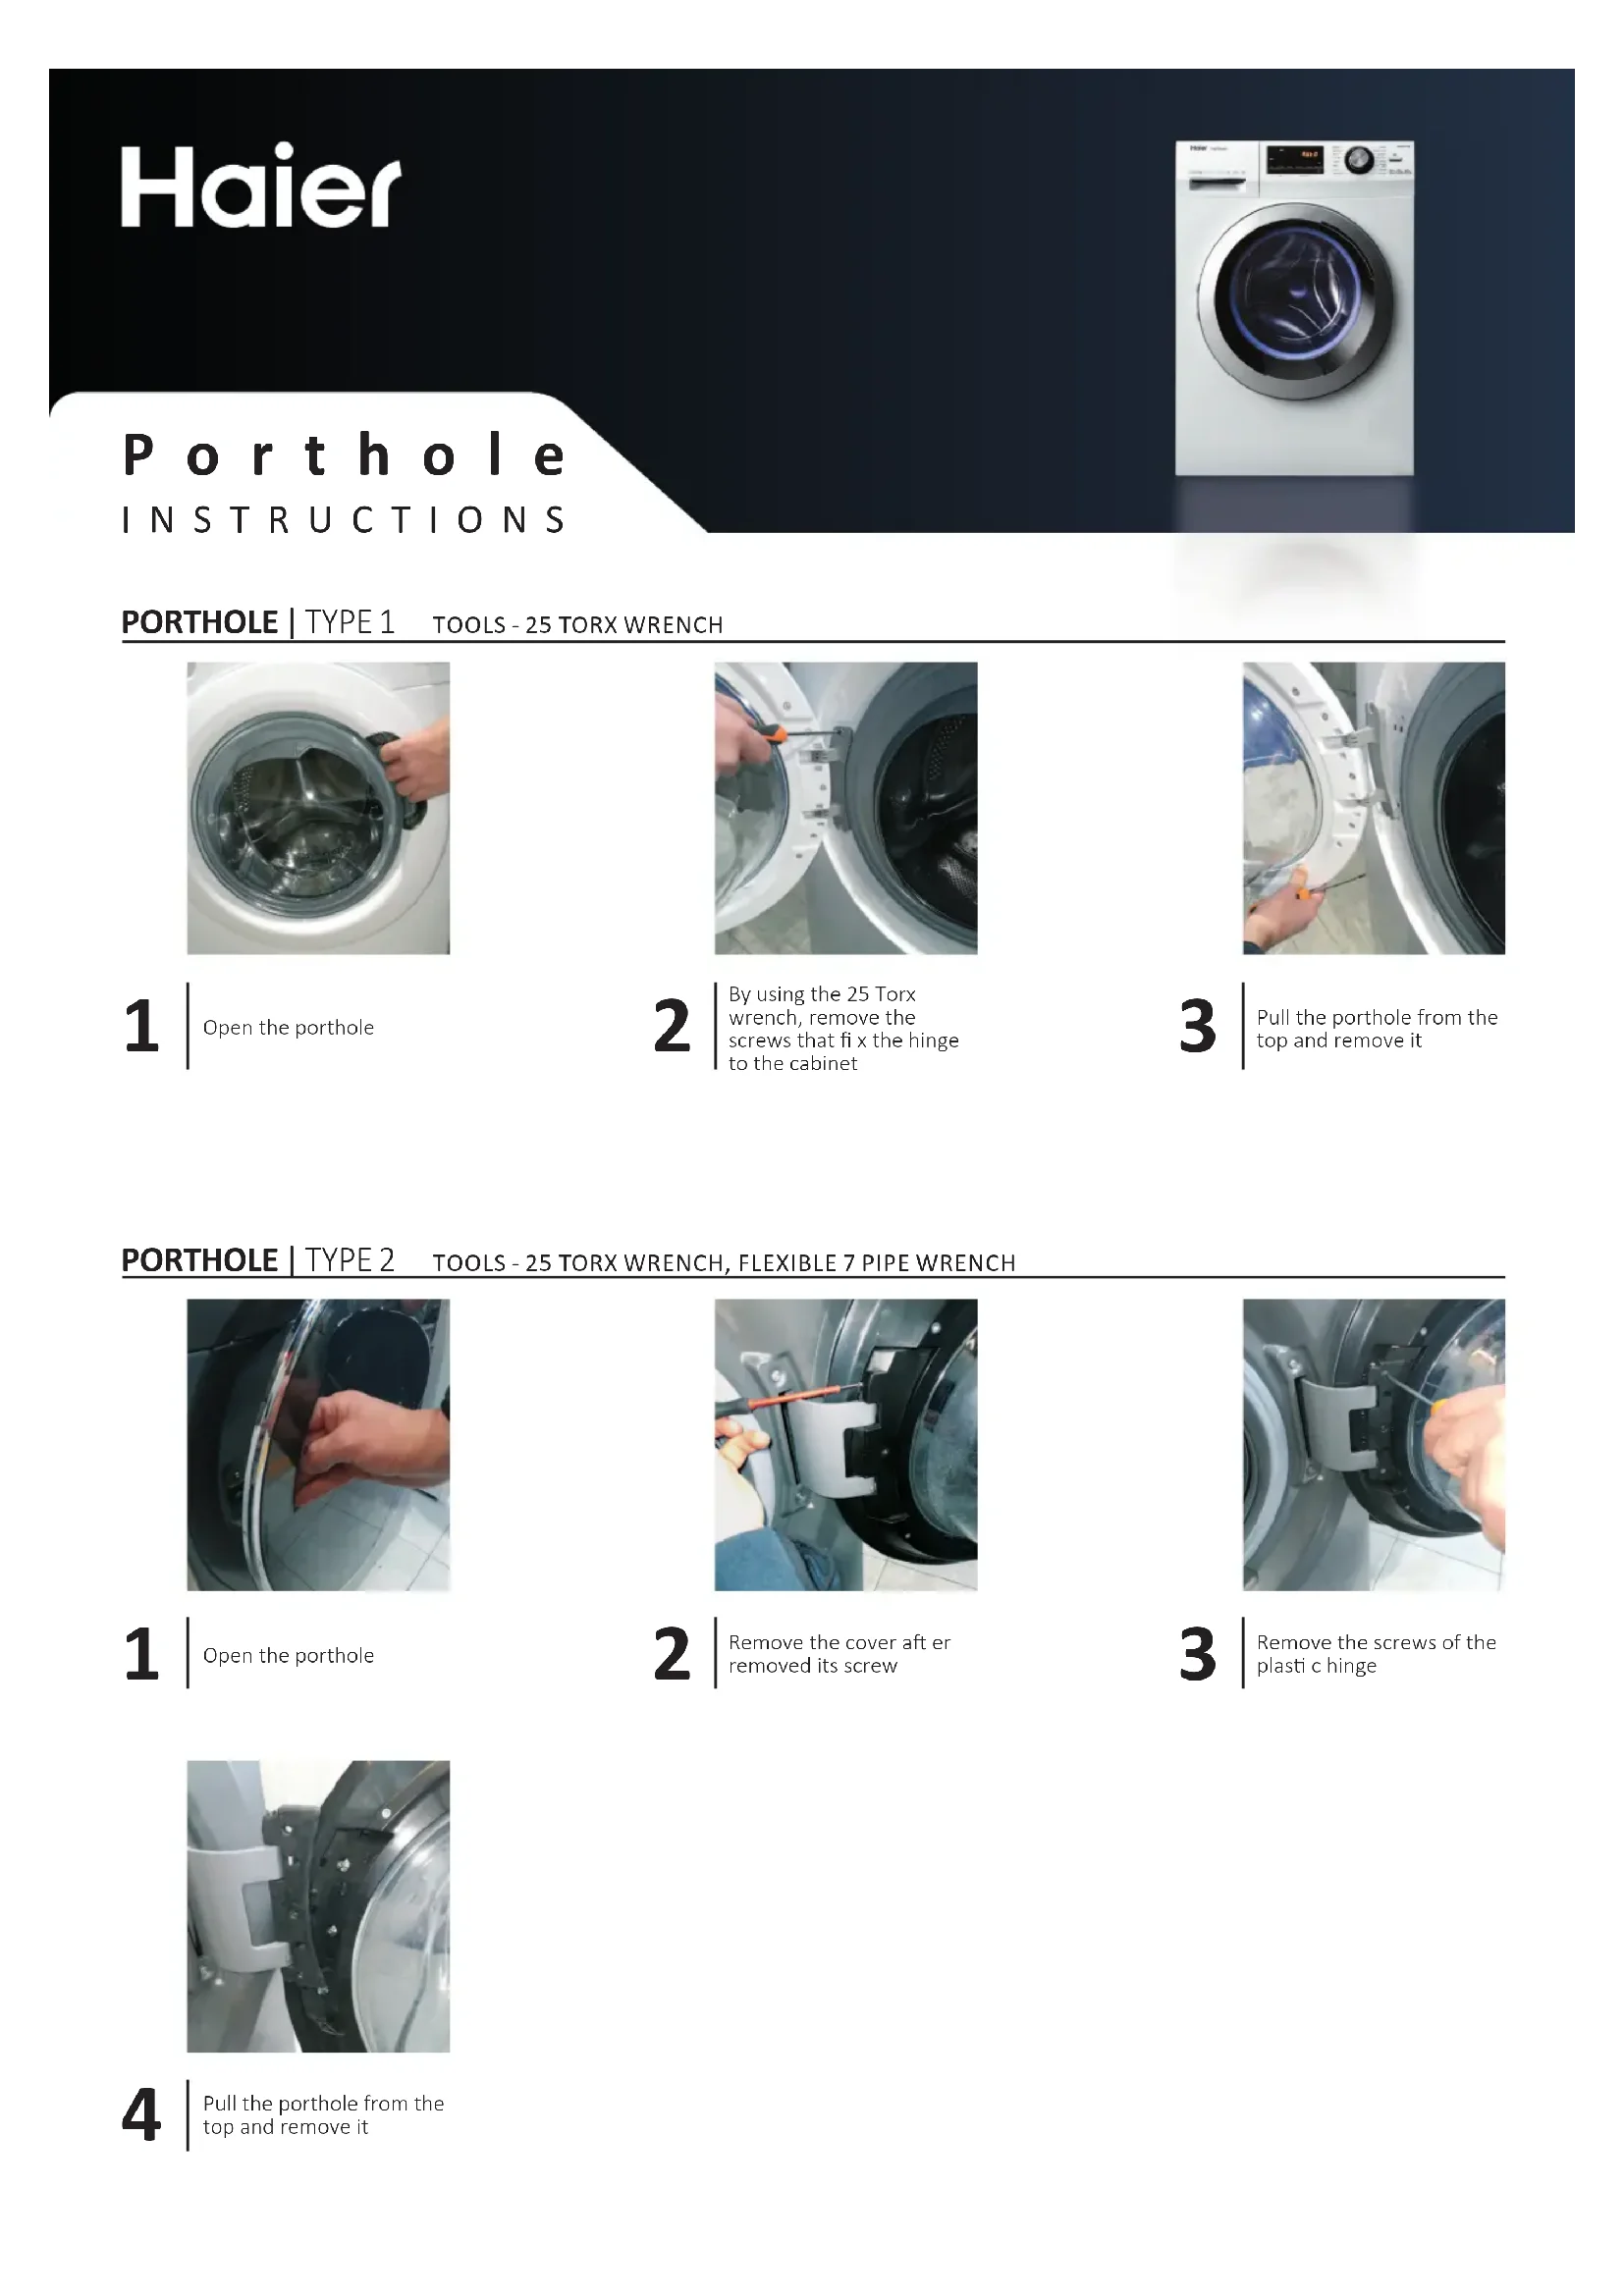


| Brand | Haier |
| Model | HW010CP1439N |
| Product type | Front-loading washing machine |
| Washing capacity | 10 kg |
| Dimensions (W x H x D) | 60 x 85 x 55 cm |
| Net weight | Approximately 70 kg |
| Power supply | 220-240 V ~ 50 Hz, 10 A |
| Energy class | E |
| Wash programs | Cotton, Synthetics, Delicates, Quick, Sport, Wool, Rinse, Spin, Drum Clean |
| Maximum spin speed | 1400 rpm |
| Special functions | Delay start, Child lock, Foam control, Rinse hold |
| Display | LED digital |
| Maintenance and cleaning | Clean the detergent drawer, pump filter and door seal regularly |
| Safety | Child lock, leak protection, door lock |
| Spare parts available | Door seal, hinge, door lock, detergent drawer, belt |
| Repairability | Repairability index: 7.9 / 10 |
| Noise level washing / spinning | 56 dB / 75 dB |
Frequently Asked Questions - HW010CP1439N HAIER
User questions about HW010CP1439N HAIER
0 question about this device. Answer the ones you know or ask your own.
Ask a new question about this device
Download the instructions for your Washing machine in PDF format for free! Find your manual HW010CP1439N - HAIER and take your electronic device back in hand. On this page are published all the documents necessary for the use of your device. HW010CP1439N by HAIER.
USER MANUAL HW010CP1439N HAIER
ENGLISH | REPAIR INSTRUCTIONS
SERBIAN SR | UPUTSTVO ZA POPRAVAK
TURKISH TR | ONARIM TALIMATLARI
Haier
Lid-Hatch
INSTRUCTIONS
LID-HATCH | TOOL 1: INSTRUCTIONS FOR OPENING WITH TORQUE 25
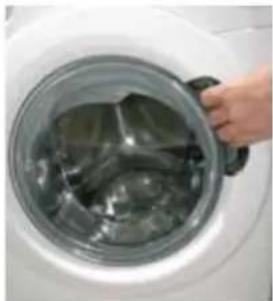
1 Open the lid-hatch
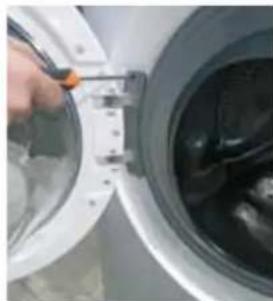
With torque 25, tighten the screws that secure the plate to the housing
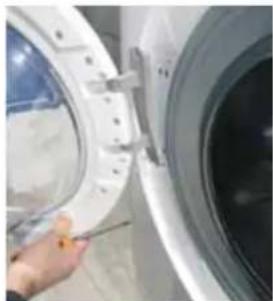
3 Remove the lid-hatch from the top side by pulling
LID-HATCH | TOOL 2: INSTRUCTIONS FOR OPENING WITH TORQUE 25, THEN TIGHTENING WITH TORQUE 7
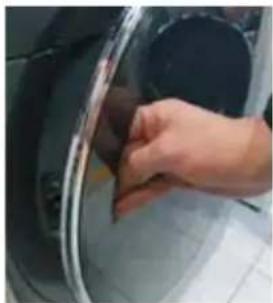
1 Open the lid-hatch
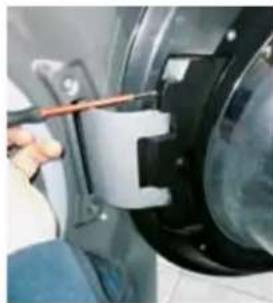
2 Pull the cable, then tighten its screw
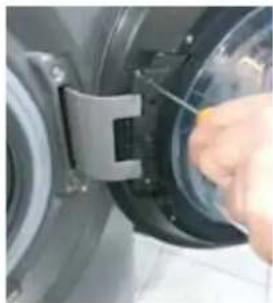
3 Tighten the screws of the plastic plate
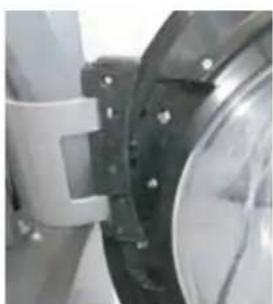
4 Remove the lid-hatch from the top side by pulling

NAHTA|TIN1 INCHTPMENTN-TAEUEH KJIIOU C BbPTRAI MOMEHT25

1
OTBopeteIIOK-BpataTa
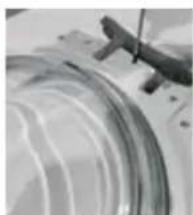
4
CbaIeBCMHKNBHTOBEOTIOK-BpTaTAt
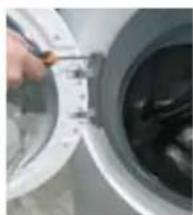
2
C NOMOHTA H Tp6eH KIOH C BbptTMMoHET25CBaTeBHTOBete,KOITKpeRnTnHTATAKbM KopIyCa
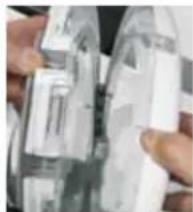
5
OTdenepe pamkata OTHOceuata pamka
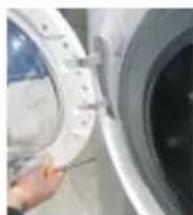
3
NTERNEIHOKA-BpATAOTROPHATACTPAA HIOCBANTE
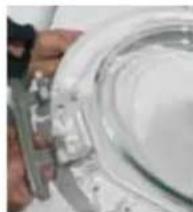
6
CmeheTe naHTata, KATO BHUMABATE da He 3aYbITE BTyJNITE
NAHTA|TIN2 INCHTPMENTN-TAEUEH KJIIOU C BbPTRAI MOMEHT 25,FBBKAB TpBbEH KJIIOU C BbPTRAI MOMEHT7
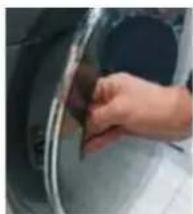
1
Open the door leaf
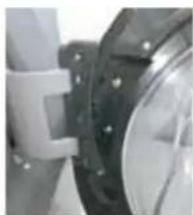
4
Close the door leaf from the opposite side of the hinges
7
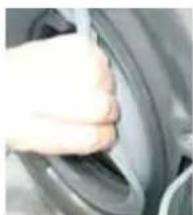
When adjusting with valves, the separation from the adjustment is for the required resistance
2
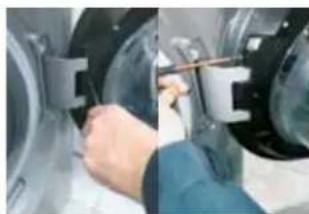
Remove the caps, then insert the screws
5
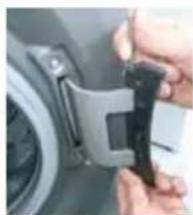
Remove the caps
8
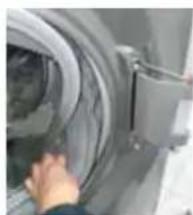
Remove the screws from the plate
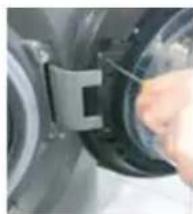
3
Remove the screws from the plastic plate
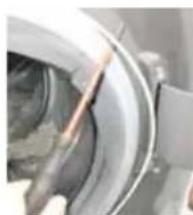
6
Remove the door bracket
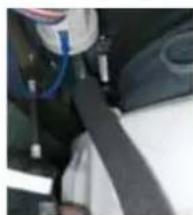
9
Remove the screws from the housing with a screwdriver, turning counterclockwise. 7. Remove the cover

Remove the cover|TIN1 Tools - screwdriver, cross-head screwdriver, pliers, screwdriver, flat-head screwdriver
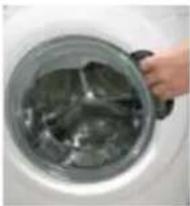
1
Open the cover - turn
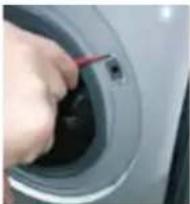
4
Using a screwdriver and a wrench, remove the screws from the hinges of the door and press the lever A.
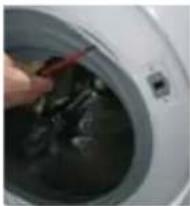
2
Use the flat-head screwdriver to move and remove the retaining clip
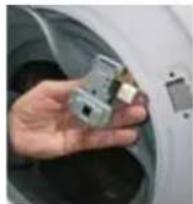
5
Remove the door hinge
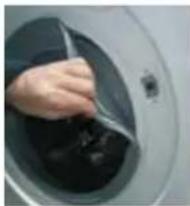
3
When the clip is removed, detach the cable connector to release the tension on the spring
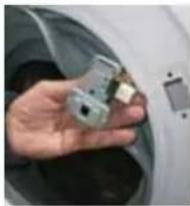
6
Detach the clip, in case of any "faston" type, pay attention to the correct side of the clip
Screwdriver set for hinges, locks, screwdrivers
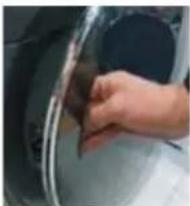
1
Open the door
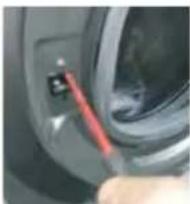
4
Use the key to turn, then tighten the screws from the keyhole on the door

7
Close the door
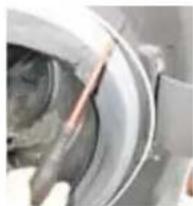
2
Use the flathead screwdriver to lift and remove the top hinge
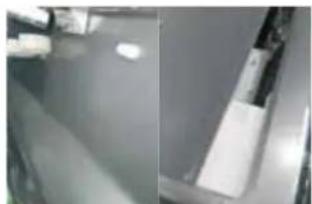
5
Remove the hinge plates and clean them
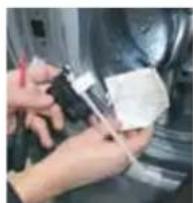
8
Close the door
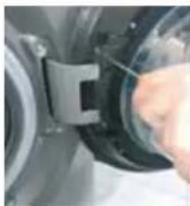
3
When the hinge is removed, detach the handle and the lock, then pull out the door
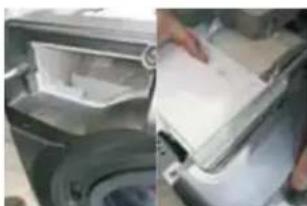
6
Remove the door and the hinge
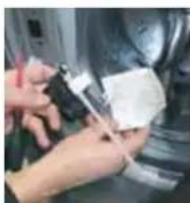
9
Turn the key clockwise, while paying attention to the mechanical connection of the parallel opening and the electrical connections

DOOR HINGE
TOOLS - FLAT KEY, PLIERS, FLAT-HEAD SCREWDRIVER, TWO TORX KEYS, TORQUE WRENCH 7
1
Open the door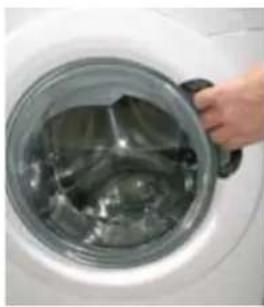
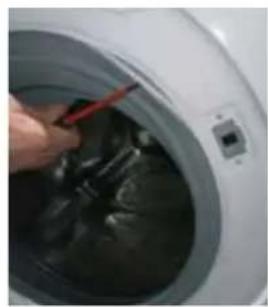
2
Bend the lock with a screwdriver and remove the hinge
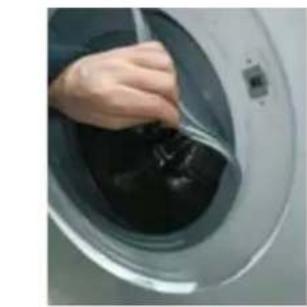
3
When the hinge is removed, take the handle off the hinge to access the inside of the device
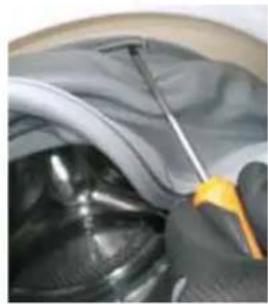
4
As you hold the screwdriver, place the hinge back on the handle
Remove the hinge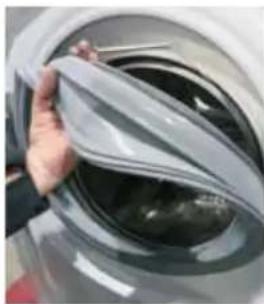

6
Tighten the bolts, paying attention to the correct position of the balance.
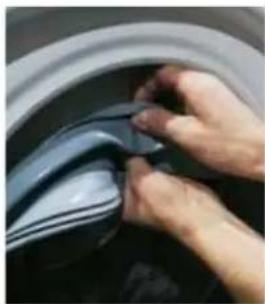
7
Press the bracket down.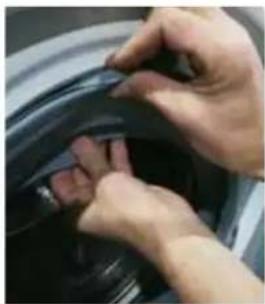
8
Tighten the bracket screw with the tool.
Place the seal inside the body. Insert the bolt and tighten it (if necessary, with the help of glue).
9
SEAL FOR PERIODIC MAINTENANCE
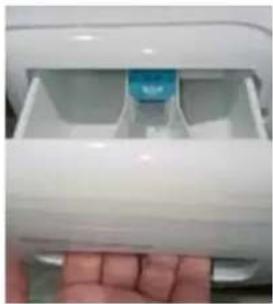
1
Open the seal for periodic maintenance.
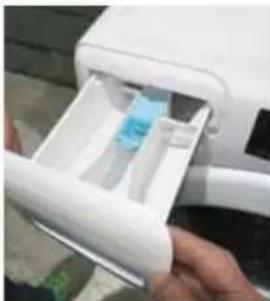
2
With the help of the lever, select the position.
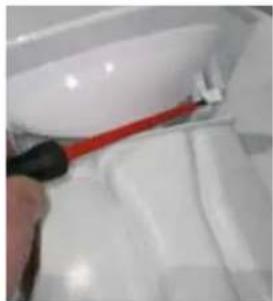
3
Pull the tab from the seal for periodic maintenance, being careful not to break the hooks.

TOOL TYPE 1 - TORX KEY 25
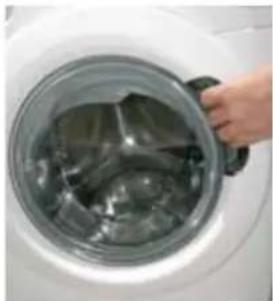
1 Open the door
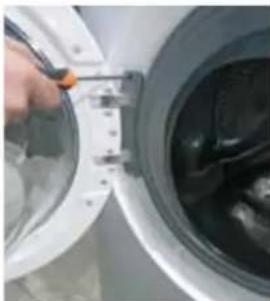
Remove the screw and the cap
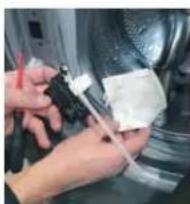
9
Adjust the safety valve, following the instructions for the necessary operation and the maintenance

SPARE PARTS
TOOLS-MECHANICAL WRENCH, LEVER, INSTALLATION, HYDRAULIC WRENCH
PIPE NO. 7
1
Open the plug of the filter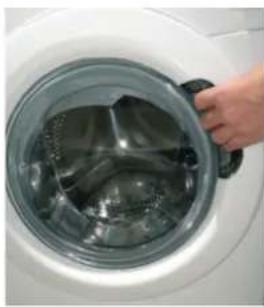
2
Use the tool as a lever to remove the filter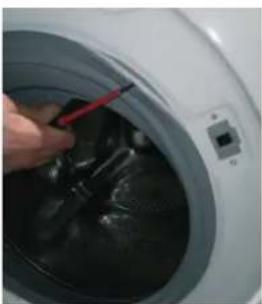
3
Once the filter is removed, dispose of the oil from the filter and allow it to drain into the product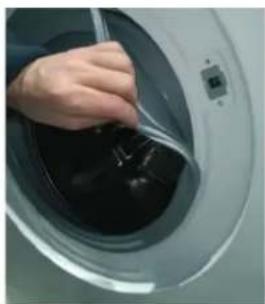
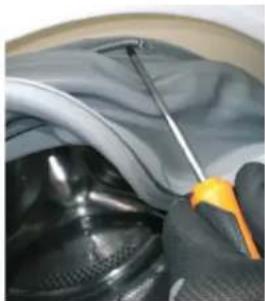
4
Place the device on a flat, stable surface.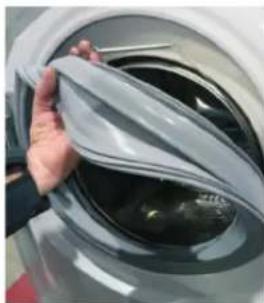
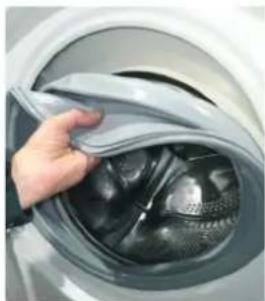
6
Place the device on a flat, stable surface, paying attention to the correct placement.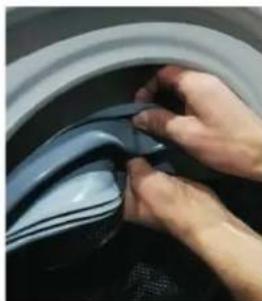
7
Insert the plug into the socket on the device.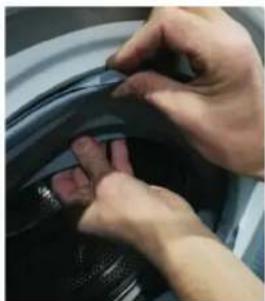
8
Connect the device to the power supply using the provided plug. Tighten the external screw and the nut (if necessary, use pliers).
9

FIRE EXTINGUISHER
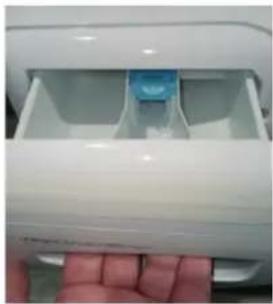
1
Open the fire extinguisher.
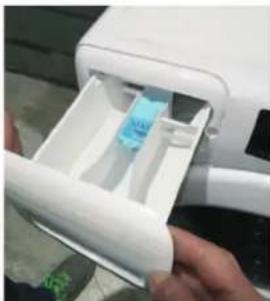
2
Using both hands, pull it with force.
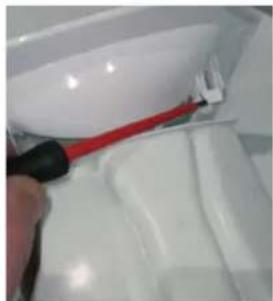
3
Tighten the cap on the fire extinguisher, being careful not to damage the threads.
Haier

Porthole
INSTRUCTIONS
PORTHOLE | TYPE 1 TOOLS - 25 TORX WRENCH
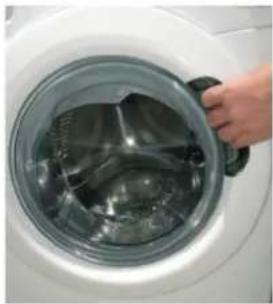
1. Open the porthole.
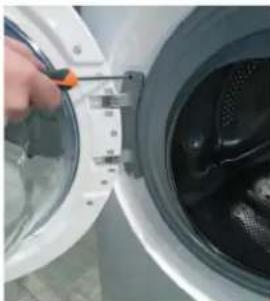
2. Using the 25 Torx wrench, remove the screws that fix the hinge to the cabinet.
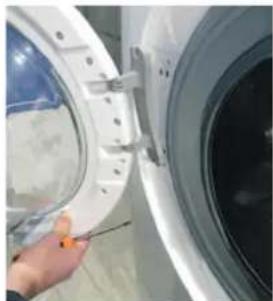
3. Pull the porthole from the top and remove it.
PORTHOLE | TYPE 2 TOOLS - 25 TORX WRENCH, FLEXIBLE 7 PIPE WRENCH
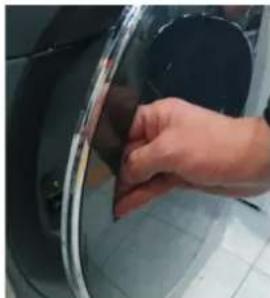
1. Open the porthole.
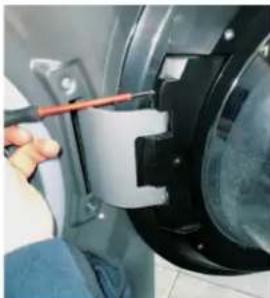
2. Remove the cover after removing its screw.
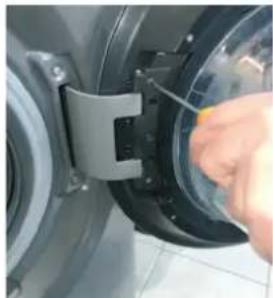
3. Remove the screws of the plastic hinge.
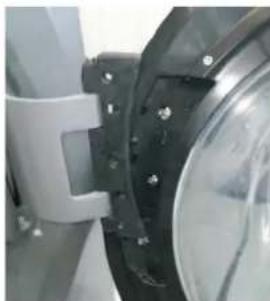
4. Pull the porthole from the top and remove it.

HINGE TYPE 1 TOOLS - 25 TORX WRENCH
1. Open the porthole.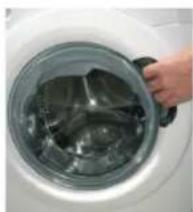
4. Remove all the screws of the porthole.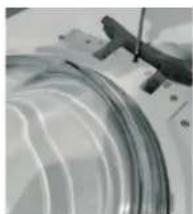
2 By using the 25 pipe wrench, remove the screws that fix the hinge to the cabinet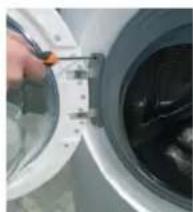
5 Separate the frame from the counter frame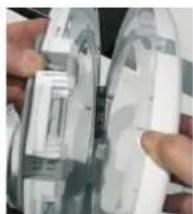
Pull the porthole from the top and remove it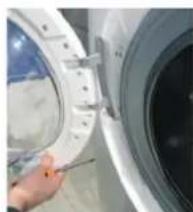
6 Replace the hinge, taking care not to lose the bushes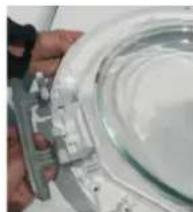
HINGE | TYPE 2 TOOLS - 25 TORX WRENCH, FLEXIBLE 7 PIPE WRENCH
1 Open the porthole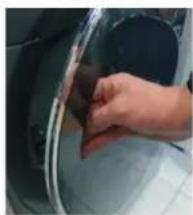
4 Pull the porthole from the top and remove it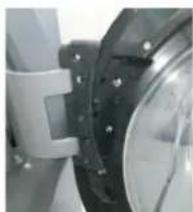
Once the strap is removed, detach the flap from the gasket, to allow access to the inside of the product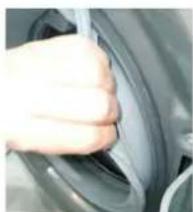
2 Remove the cover after removing its screw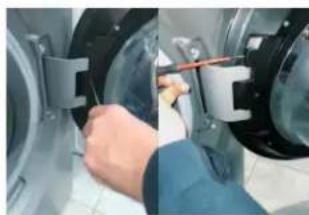
5 Remove the pin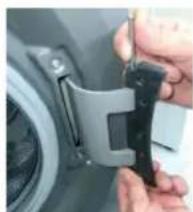
8 Remove the external screws from the hinge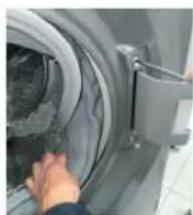
3 Remove the screws of the plastic hinge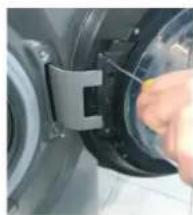
6 Remove the door clip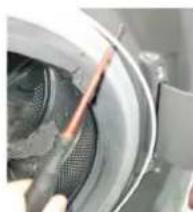
9 Remove the screws inside the cabinet with the 7 pipe wrench. Remove the hinge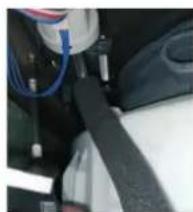

DOOR LOCK | TYPE 1 TOOLS - CROSS-HEADED SCREWDRIVER, TONG, FLAT SCREWDRIVER
1 Open the porthole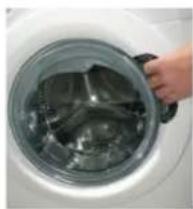
4 By using Torx wrench, remove the fixing screws of the door lock, and press its buckle.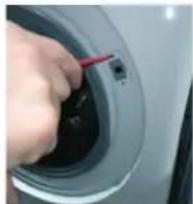
Use the flat screwdriver for leverage, and remove the external clamp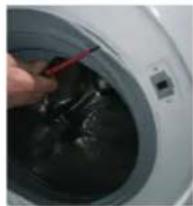
5 Remove the door lock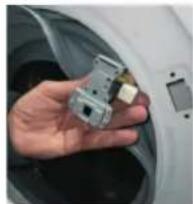
Once the clamp is removed, detach the flap from the gasket, to allow access to the inside of the product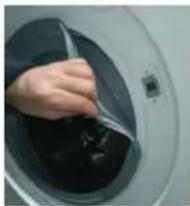
6 Disconnect the wiring, in case of "faston", pay attention to do not invert the wiring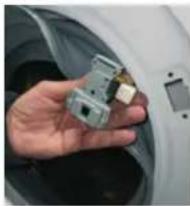
DOOR LOCK | TYPE 2 TOOLS-CROSS-HEADED SCREWDRIVER, TONG, FLAT SCREWDRIVER
1 Open the porthole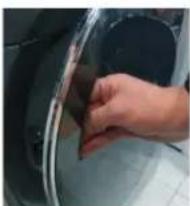
4 By using Torx wrench, remove the fixing screws of the door lock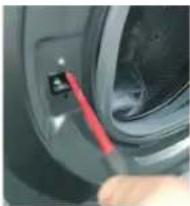
7 Remove the door lock.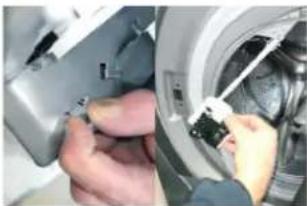
Use the flat screwdriver for leverage, and remove the external clamp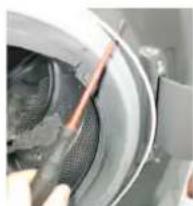
5 Disassemble the work top and trims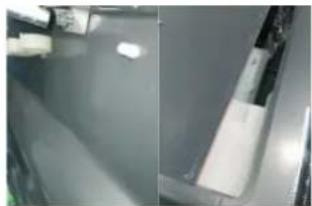
8 Remove the water protection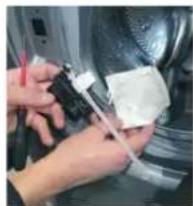
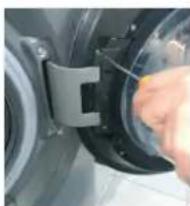
Once the clamp is removed, detach the flap from the gasket, to allow access to the inside of the product Disassemble the dispenser and bezel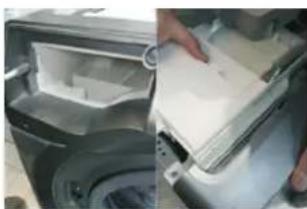
9 Replace the door lock by paying attention to mechanical linkage of emergency opening and electrical connections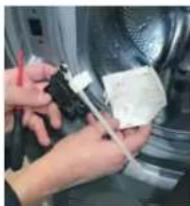
Haier

Door's gasket
INSTRUCTIONS
DOOR'S GASKET TOOLS - TORX WRENCH, TONG, FLAT SCREWDRIVER, TWO 7 PIPE WRENCHES
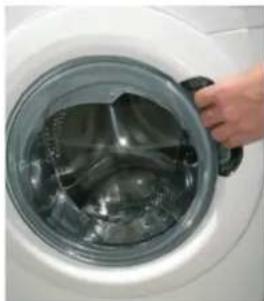
1
Open the porthole
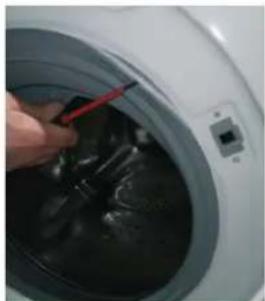
2
Use the flat screwdriver for leverage, and remove the external clamp
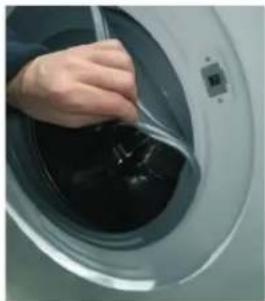
3
Once the clamp is removed, detach the flap from the gasket, to allow access to the inside of the product
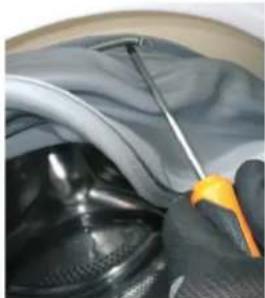
4
By using flat screwdriver, remove the clamp on the tube
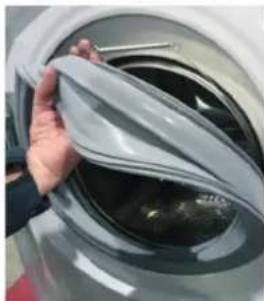
5
Remove the gasket
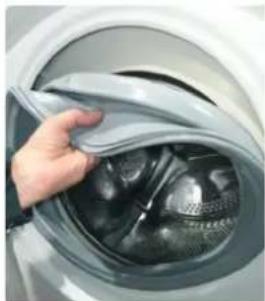
6
Place the new gasket, paying attention to the positioning notches
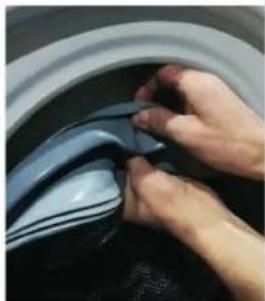
7
Insert wiring clamp on the tube side
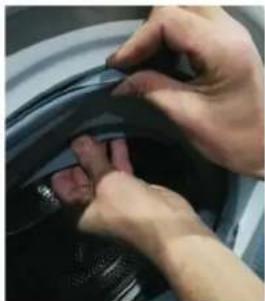
8
Tighten the clamp flush on the tube by using the tooling
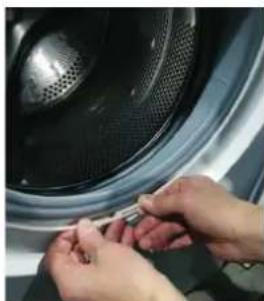
9
Fit the gasket on the cabinet. Fix the external clamp and tighten it (if needed with tong)
Haier

Detergent drawer
INSTRUCTIONS
DETERGENT DRAWER
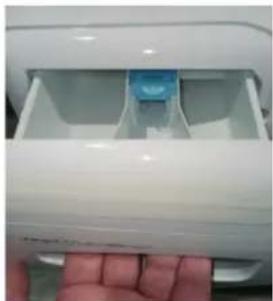
1
Open the detergent drawer
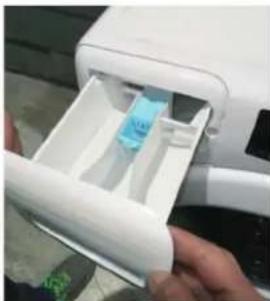
2
By using two hands, pull it out firmly
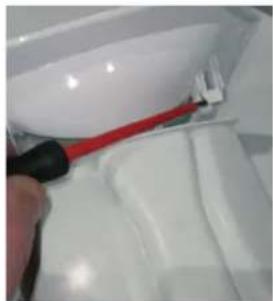
Unhook the mask from the detergent drawer, being careful not to break the hooks.
Haier

Front door
INSTRUCTIONS
7 Remove the door lock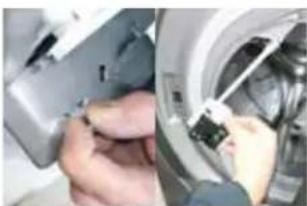
8 Remove the water protection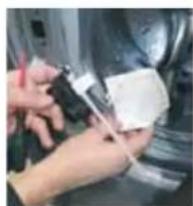
9 Replace the door lock and pay attention to the mechanical connection of the opening for the electrical connection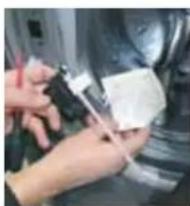
DOOR SEAL, TOOLS - TORX KEY, PLIERS, SCREWDRIVER, TWO PIPE WRENCHES 7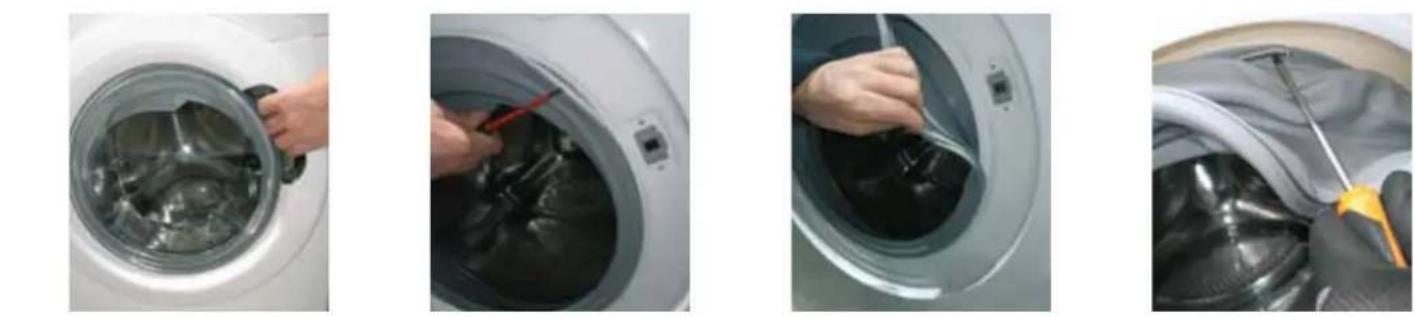
1
Open the window
2
Using a flat screwdriver, make a lever and remove the outer cover
3
After removing the cover, separate the lining from the seal to allow access to the interior of the product
4
- HAIER
- LID-HATCH
- INSTRUCTIONS
- LID-HATCH | TOOL 1: INSTRUCTIONS FOR OPENING WITH TORQUE
- LID-HATCH | TOOL 2: INSTRUCTIONS FOR OPENING WITH TORQUE 25, THEN TIGHTENING WITH TORQUE
- NAHTA|TIN1 INCHTPMENTN-TAEUEH KJIIOU C BBPTRAI MOMEHT
- NAHTA|TIN2 INCHTPMENTN-TAEUEH KJIIOU C BBPTRAI MOMEHT 25,FBBKAB TPBBEH KJIIOU C BBPTRAI MOMEHT
- REMOVE THE COVER|TIN1 TOOLS - SCREWDRIVER, CROSS-HEAD SCREWDRIVER, PLIERS, SCREWDRIVER, FLAT-HEAD SCREWDRIVER
- SCREWDRIVER SET FOR HINGES, LOCKS, SCREWDRIVERS
- DOOR HINGE
- SEAL FOR PERIODIC MAINTENANCE
- TOOL TYPE 1 - TORX KEY
- SPARE PARTS
- FIRE EXTINGUISHER
- PORTHOLE
- PORTHOLE | TYPE 1 TOOLS - 25 TORX WRENCH
- PORTHOLE | TYPE 2 TOOLS - 25 TORX WRENCH, FLEXIBLE 7 PIPE WRENCH
- HINGE TYPE 1 TOOLS - 25 TORX WRENCH
- HINGE | TYPE 2 TOOLS - 25 TORX WRENCH, FLEXIBLE 7 PIPE WRENCH
- DOOR LOCK | TYPE 1 TOOLS - CROSS-HEADED SCREWDRIVER, TONG, FLAT SCREWDRIVER
- DOOR LOCK | TYPE 2 TOOLS-CROSS-HEADED SCREWDRIVER, TONG, FLAT SCREWDRIVER
- DOOR'S GASKET
- DETERGENT DRAWER
- FRONT DOOR
Brand : HAIER
Model : HW010CP1439N
Category : Washing machine