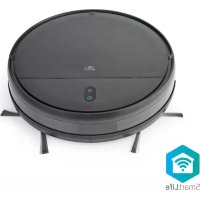
WIFIVCR001CBK - Vacuum Cleaner NEDIS - Free user manual and instructions
Find the device manual for free WIFIVCR001CBK NEDIS in PDF.



| Product type | 3-in-1 Intelligent Wi-Fi Robot Vacuum |
| Brand | Nedis |
| Model | WIFIVCR001CBK |
| Dimensions (L x W x H) | 300 x 300 x 74 mm |
| Weight | 2.5 kg |
| Power supply | 19 V DC, 0.6 A |
| Battery voltage | 14.4 V |
| Battery type | Li-ion 2500 mAh |
| Runtime | Up to 100 minutes |
| Charging time | Up to 5 hours |
| Suction power | 1400 Pa |
| Dustbin capacity | 200 ml |
| Water tank capacity | 230 ml |
| Filter type | HEPA |
| Noise level | ≤ 65 dB |
| Connectivity | Wi-Fi 2.4 GHz, Nedis SmartLife app |
| Cleaning modes | Auto, zigzag, edge, spot |
| Included accessories | Vacuum kit, mopping kit, remote control, charging station, side brushes, cleaning tool |
| Intended use | Indoor, hard floors and carpets, dry or wet (mopping) |
| Safety sensors | Cliff sensors (avoids falls), bumper |
| Auto return to base | Yes, with resume cleaning after charging |
Frequently Asked Questions - WIFIVCR001CBK NEDIS
User questions about WIFIVCR001CBK NEDIS
0 question about this device. Answer the ones you know or ask your own.
Ask a new question about this device
Download the instructions for your Vacuum Cleaner in PDF format for free! Find your manual WIFIVCR001CBK - NEDIS and take your electronic device back in hand. On this page are published all the documents necessary for the use of your device. WIFIVCR001CBK by NEDIS.
USER MANUAL WIFIVCR001CBK NEDIS
Wi-Fi Smart 3-in-1 Robot Vacuum Cleaner
Vacuum cleaning, mopping and sweeping
WIFIVCR001CBK

Quick start guide 6

Kurzanleitung 8

Wi-Fi Smart 3-in-1 Robot Vacuum Cleaner
WIFIVCR001CBK

For more information see the extended manual online:
ned.is/wifvcr001cbk
Intended use
This product is intended for cleaning a wide range of flooring, such as carpet, laminate flooring and tiles.
This product can be operated by using the buttons on the product and through our free Nedis SmartLife app, that you can download on your mobile device.
This product is intended to be used with the original accessories only and is intended for domestic use only.
This product is not intended for use in environments with high humidity, like bathrooms. In humid environments the fan can get damaged, affecting the performance of the product.
This product is intended for indoor use only.
This product is not intended for professional use.
This product can be used by children aged from 8 years and above and persons with reduced physical, sensory or mental capabilities or lack of experience and knowledge if they have been given supervision or instruction concerning use of the product in a safe way and understand the hazards involved. Children shall not play with the product. Cleaning and user maintenance shall not be done by children without supervision.
The product is intended for use in household environments for typical housekeeping functions that may also be used by non-expert users for typical housekeeping functions, such as: shops, offices other similar working environments, farm houses, by clients in
hotels, motels and other residential type environments and/or in bed and breakfast type environments.
Any modification of the product may have consequences for safety, warranty and proper functioning.
Specifications
| Product Wi-Fi Smart 3-in-1 | Robot Vacuum Cleaner |
| Article number WIFIVCR001CBK | |
| Dimensions (I x w x h) 300 x 300 x 74 mm | |
| Weight 2.5 kg | |
| Power input 19 VDC; 0.6 A | |
| Voltage 14.4 V | |
| Maximum power 28 W | |
| Noise level ≤ 65 dB | |
| Filter type HEPA filter | |
| Battery 2500 mAh Li-ion battery | |
| Operating time Up to 100 minutes | |
| Charging time Up to 5 hours | |
| Operating temperature 0 - 40 °C | |
| Suction power 1400 Pa | |
| Floor brush | Rotating side brushes |
| Dust bin capacity | 200 ml |
| Water reservoir capacity | 230 ml |
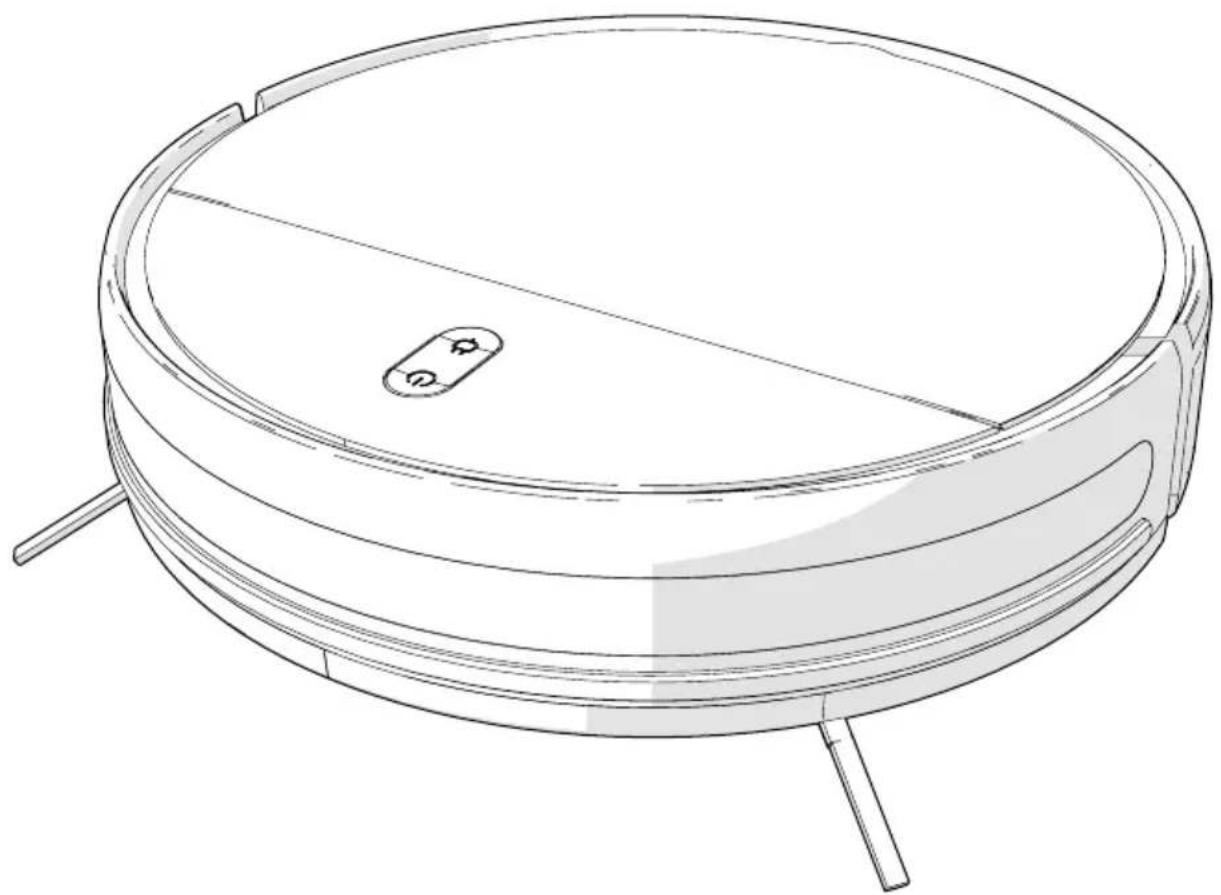
Main parts (image A)
Robot vacuum cleaner
Vacuum kit cover
3 Recharge button
4 On/off button
5 Bumper
6 Wheels
7 Cliff sensors
8 Charging contacts
9 Omnidirectional wheel
10 Side brushes
1 Cleaning tool
12 Charging indicator LED
13 Charging station
14 Power port
15 Charging contacts
Vacuum kit
17 Mopping kit
18 Batteries
19 Power cable
Remote control
Vacuum kit (image B)
HEPA filter
HEPA filter holder
3 Dust bin lid
4 Dust bin locking button
5 Dust bin
Mopping kit (image C)
Water reservoir locking
button
Rubber lid
Water reservoir
Mopping pad
Remote control (image D)
1 On/off button
Automatic cleaning button
3 Directional button
4 Zig-zag cleaning button
Suction power adjustment button
6 Recharge button
Spot cleaning button
8 Edge cleaning button
9 Start/pause button
10 Water flow adjustment button
1 Battery compartment
Different cleaning kits for different cleaning purposes
Vacuum kit (image B): for dry cleaning carpets, laminate floors and tile floors.
- Mopping kit (Image C): for mopping laminate floors and tile floors.
Safety instructions
WARNING
- Ensure you have fully read and understood the instructions in this document before you install or use the product. Keep the packaging and this document for future reference.
- Only use the product as described in this document.
- Check if the voltage is consistent with the product before charging.
- Only charge the product if the plug is compatible with the power outlet. Do not use adapters. Do not change the plug.
- Only use attachments specified by the manufacturer.
- Do not recharge non-rechargeable batteries.
- Do not use the product if a part is damaged or defective. Replace a damaged or defective product immediately.
- Do not drop the product and avoid bumping.
- This product may only be serviced by a qualified technician for maintenance to reduce the risk of electric shock.
- Do not expose the product to water or moisture.
- Do not plug or unplug the power cable with wet hands.
- Disconnect the product from the power source before service and when replacing parts.
- This product may not be used by persons (including children) whose physical, sensory or mental capabilities or lack of experience and knowledge prevents them from using the product safely without supervision or instruction.
Children should be supervised to ensure that they do not play with the product. -
Do not immerse the product, the power cable or plug in water or other liquids.
-
Do not use the product to collect water or other liquids.
- In the event of a leaking battery, do not allow the liquid to come in contact with the skin or eyes. If contact has been made, wash the affected area with copious amounts of water and seek medical advice.
- The product is delivered with a partially charged battery. For optimal battery life, fully charge the battery before first use.
- Do not use any charger other than that specifically provided for use with the equipment.
- The charger must only be plugged into an earthed socket-outlet.
- Stop the charging process if the product gets too warm.
- Only power the product with the voltage corresponding to the markings on the product.
Children of less than 8 years should be kept away. - Cleaning and user maintenance shall not be done by children without supervision.
- Keep hair, loose clothing, fingers and all body parts away from openings and moving parts.
- Keep the product away from heat sources. Do not place the product on hot surfaces or near open flames.
- Do not let the power cable touch hot surfaces.
- Do not let the power cable hang over the edge of a table or counter.
- Do not pull the power cable over sharp edges.
- Do not sit on the product.
- Make sure to remove all loose and fragile objects, cables, wires and cords from the floor to avoid them being damaged by the product.
- Do not place the product in a place where it can easily fall off.
- Check if the power cable is properly connected to the product and the power outlet.
- Make sure to inform other members of the house when the product is in use to prevent tripping over the product.
- Do not exceed the maximum operating temperature of the product.
- Do not vacuum flammable or combustible materials (lighter fluid, gasoline, etc.) or use in the presence of explosive liquids or vapor.
- Do not vacuum toxic material (chlorine bleach, ammonia, drain cleaner, etc.)
- Do not vacuum hot coals, cigarettes, matches or any hot smoking or burning objects.
- Do not use in an enclosed space filled with vapors given off by oil-based paints, paint thinner, moth proofing, flammable dust, or other explosive or toxic vapors.
- Do not vacuum hard or sharp objects such as glass nails, screws, coins etc.
- Do not put any objects into openings. Do not use with any opening blocked.
- Do not disconnect the product by pulling on the cable. Always grasp the connector and pull.
- Do not close a door on the power cable.
- Do not use without filters in place.
- Do not open the battery pack or the motor area. There are no user serviceable parts inside.
- Do not use the product in a highly reflective environment. For example an environment exposed to direct sunlight, or with mirrors nearby.
Explanation of the safety symbols on the product
Icon Description
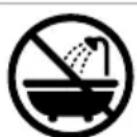
Indication to explain that the product should not be used in a bathtub, shower, or water-filled reservoir.
Installing the charging station
not use the product in a highly reflective environment. For example an environment exposed to direct sunlight, or with mirrors nearby.
A hot place any objects within 1.5m in front of the charging station A 13 and 0.5m of the left and right side of A 13.
- Place A on a stable and flat surface, against a wall or immovable object to prevent it from sliding.
Make sure that the robot vacuum cleaner A1 has a clear path for return at the end of a cleaning cycle. - Insert the power cable A into the power port A14.
- Connect the other end of A 19 to a power outlet.
Installing the Nedis SmartLife app
The functions and details of the Nedis SmartLife app may change slightly due to continuous development and upgrades of the app. The specific functions and details of the app are subject to the actual version.
- Download the Nedis Smartlife app for Android or iOS on your phone via Google Play or the Apple App Store.
- Open the Nedis Smartlife app on your phone.
- Create an account with your mobile phone number or your e-mail address and tap Continue.
- You will receive a verification code on your mobile phone or e-mail address.
- Enter the received verification code.
- Create a password and tap Done.
- Tap Add Home to create a SmartLife Home.
- Set your location, choose the rooms you want to connect with and tap Done.
Adding the product to the SmartLife app (image E)
- Switch on the product.
- Tap + in the Nedis SmartLife app.
- Select the device type you want to add from the list.
- Press and hold the recharge button A3 or D6 for 3 seconds.
- A 4 starts blinking to indicate pairing mode is active.
- Follow the instructions in the Nedis SmartLife app.
Make sure you connect the product to a 2.4 GHz - Rename the product after it has been found and added.
- After confirming you can control the product with your smartphone.
Placing the batteries in the remote control
- Open the battery compartment D 11.
- Place the batteries A 18 in D 11.
3.Close D1
First use
Remove all packaging before use.
Make sure to remove all loose and fragile objects, cables, wires and cords from the floor to avoid them being damaged by the product.
Remove protective strips
The robot is protected with two protection strips that has to be removed before use.
- Pull the two protective strips out of both the sides of A ①
The product is now ready for use.
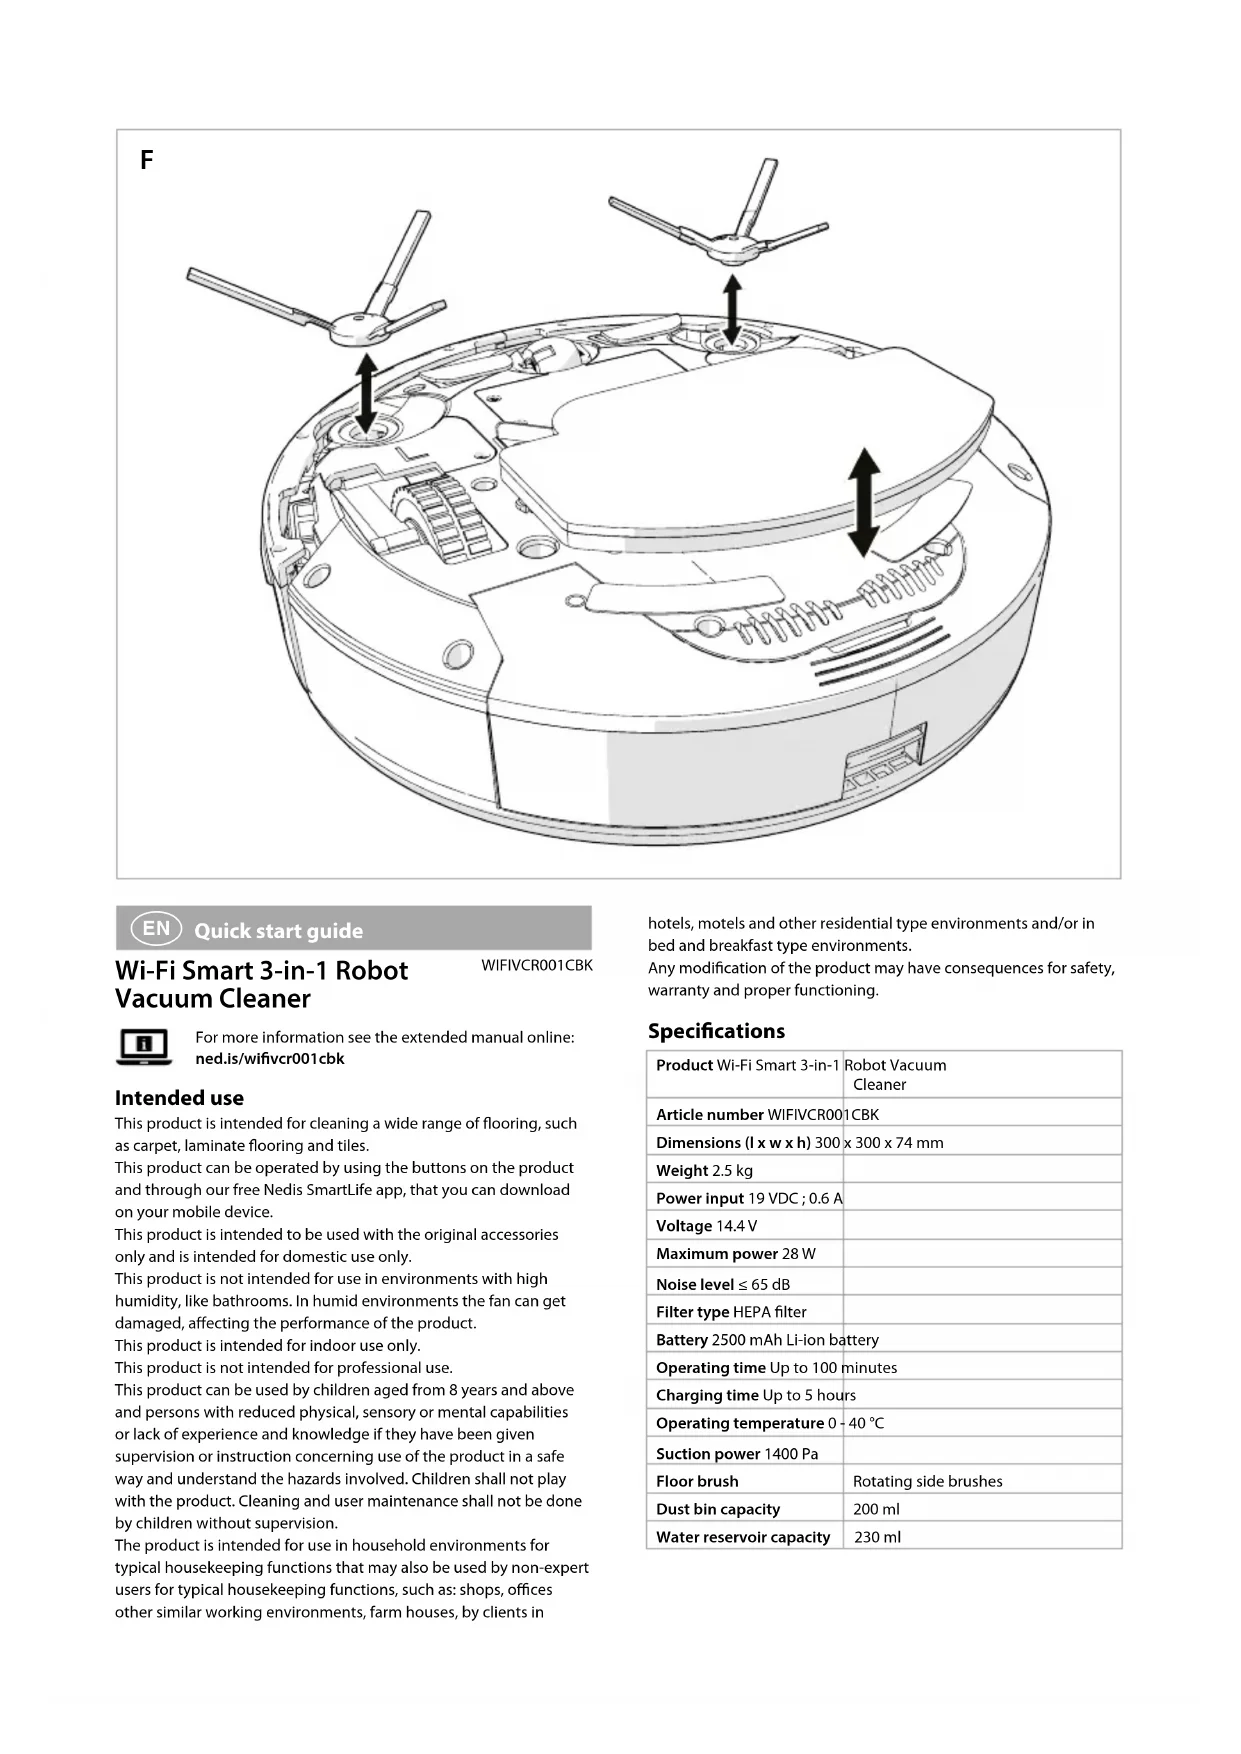
Placing the side brushes (image F)
- Carefully place A upside down on a soft surface.
- Place the side brushes A 10
A10 are indicated with L and R marks. Make sure the mark on the side brush matches the mark on A1.
Charging the product
Move the mopping kit A 17 from A 1 before returning the robot to A3, to ensure safe charging and to prevent the damp mopping pad C4 from damaging the floor.
1A n charging indicator LED A 12 does not switch off after a reasonable time in which the battery should be fully charged, the battery may have a leakage current. In this case, replace the battery with a new one.
When the connected battery is fully charged, the current will be reduced to prevent overcharging and gas development. This allows the battery to stay connected to the charger for a longer period without damaging the battery.
I still recommended to disconnect the charger when the battery is fully charged.
the automatic voltage and current control the connected battery will always stay fully charged.
A product is delivered with a partially charged battery. For optimal battery life, fully charge the battery before first use.
A cannot switch the robot off or to sleep mode while the robot is charging.
- Press the recharge button A or D to return the robot to A.
A ② blinks to indicate that the robot is charging.
When charging is complete, A12 lights up continuously.
The charging time is approximately 5 hours.
The robot needs to be charged for at least 20% to start scheduled cleaning.
When the battery runs low, the robot automatically returns to A13 for charging.
When the robot is recharged, the robot automatically returns to the point where it left off to continue cleaning.
If the robot fails to return to A13, the robot automatically returns to the starting point.
Declaration of Conformity
We, Nedis B.V. declare as manufacturer that the product WIFIVCR001CBK from our brand Nedis, produced in China, has been tested according to all relevant CE standards and regulations and that all tests have been passed successfully. This includes, but is not limited to the RED 2014/53/EU regulation.
The complete Declaration of Conformity (and the safety datasheet if applicable) can be found and downloaded via:
nedis.com/WIFIVCR001CBK#support
For additional information regarding the compliance, contact the customer service:
Web: www.nedis.com
E-mail: service@nedis.com
Nedis B.V., de Tweeling 28
5215 MC's-Hertogenbosch, the Netherlands

Kurzanleitung
Smart-WLAN-3-in1-Saugroboter
WIFIVCR001CBK

Colocar as bacterias no controlo remoto
1 Laseknapp for vannreser
voar
Gummilokk
3 Vannbeholder
4 Våtklut
Fjernkontroll (bilde D)
1 På-/av-knapp
Knapp for automatisk rengjoring
Retningsknapp
Knapp for zig-zag-reng-joring
5 Justeringsnapp for sugekraft
6 Lade-knapp
7 Knapp for flekk-rengjoring
Knapp for Kant-rengjoring
9 Start-/pause-knapp
10 Justeringsknapp for vannfly
1 Batterirom
A lyser for a indikere at roboten lader.
Fjernbetjening (billed
Installation of Nedis SmartLife-appen
5215 MC 's-Hertogenbosch, the Netherlands

5215 MC's-Hertogenbosch, the Netherlands

Rychly námod
WIFIVCR001CBK
Inteligentny roboticky vysávač 3 v 1 s funkciou Wi-Fi

Viac informaci najdete v rozsfirenom navode online:ned.is/wifivcr001cbk
Urcené pouzitie
Tento vyrobok je urceny na Čistenie širokej škály podlahovych materiálov, akoukoberce, laminatové podlady a dlaždice.
Robot aspirator intelligent 3-in-1 Wi-Fi
WIFIVCR001CBK

- Wi-Fi Smart 3-in-1 Robot Vacuum Cleaner
- Intended use
- Main parts (image A)
- Vacuum kit (image B)
- Mopping kit (image C)
- Remote control (image D)
- Different cleaning kits for different cleaning purposes
- Safety instructions
- WARNING
- Explanation of the safety symbols on the product
- Icon Description
- Installing the charging station
- Installing the Nedis SmartLife app
- Adding the product to the SmartLife app (image E)
- Placing the batteries in the remote control
- First use
- Remove protective strips
- Placing the side brushes (image F)
- Charging the product
- Declaration of Conformity
- Kurzanleitung
- Smart-WLAN-3-in1-Saugroboter
- Colocar as bacterias no controlo remoto
- Fjernkontroll (bilde D)
- Fjernbetjening (billed
- Installation of Nedis SmartLife-appen
- Rychly námod
- Inteligentny roboticky vysávač 3 v 1 s funkciou Wi-Fi
- Urcené pouzitie
- Robot aspirator intelligent 3-in-1 Wi-Fi
Brand : NEDIS
Model : WIFIVCR001CBK
Category : Vacuum Cleaner