
SmartRack SRW6UKD - Wall network cabinet Tripp Lite - Free user manual and instructions
Find the device manual for free SmartRack SRW6UKD Tripp Lite in PDF.

| Product Type | Wall-Mount Network Enclosure |
| Brand | Tripp Lite |
| Model | SmartRack SRW6UKD |
| Capacity | 6U (rack units) |
| Height | 26.7 cm (6U) |
| Width | 48.26 cm (19 inches) |
| Depth | Adjustable (depth-adjustable mounting rails) |
| Approximate Weight | 12 kg |
| Material | Steel |
| Color | Black |
| Warranty | 5 years limited |
| Package Contents | Top/bottom panels (x2), side panels (x2), front door (x1), vertical mounting rails (x2), hardware (M6 screws, M6 cage nuts, M6 washers, keys, 12-24 screws) |
| Assembly Required | Yes, manual assembly with Phillips screwdriver (not included) |
| Wall Mounting | Yes, designed for wall attachment |
| Door | Reversible (opens left or right) |
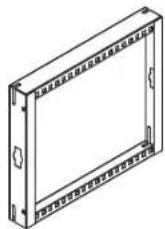
| Mounting Rails | Depth adjustable, with square and threaded holes |
| Safety | Use cage nuts and washers; do not move without assistance |
| Usage | Installation of 19-inch network equipment |
Frequently Asked Questions - SmartRack SRW6UKD Tripp Lite
User questions about SmartRack SRW6UKD Tripp Lite
0 question about this device. Answer the ones you know or ask your own.
Ask a new question about this device
Download the instructions for your Wall network cabinet in PDF format for free! Find your manual SmartRack SRW6UKD - Tripp Lite and take your electronic device back in hand. On this page are published all the documents necessary for the use of your device. SmartRack SRW6UKD by Tripp Lite.
USER MANUAL SmartRack SRW6UKD Tripp Lite
Assembly Instructions
SmartRack® 6U Low-Profile Switch-Depth Knock-Down Wall-Mount Rack Enclosure Cabinet
Model: SRW6UKD
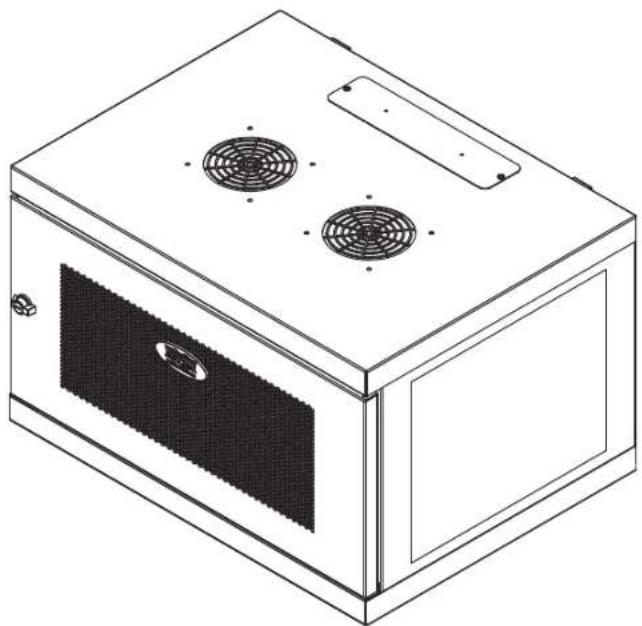
natural_image
Line drawing of a microwave oven with two fans and a door (no text or symbols)Español.....7 • Français.....13 • Русский.....19
PROTECT YOUR INVESTMENT!
Register your product for quicker service and ultimate peace of mind.
You could also win an ISOBAR6ULTRA surge protector—a \$100 value!
www.tripplite.com/warranty


text_image
TRIPP·LITE
Manufacturing Excellence.
1111 West 35th Street, Chicago, IL 60609 USA • www.tripplite.com/support
Copyright © 2015 Tripp Lite. All rights reserved.
Parts List
Assembly Hardware
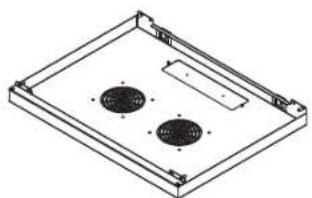
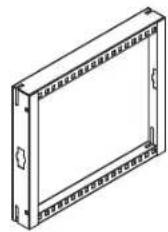
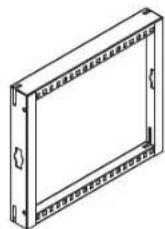
natural_image
Isometric technical drawing of a rectangular enclosure with two circular cutouts and mounting brackets (no text or symbols)
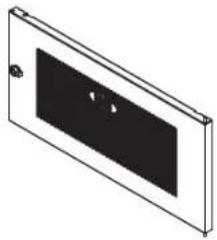
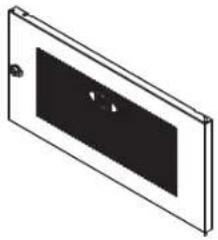
natural_image
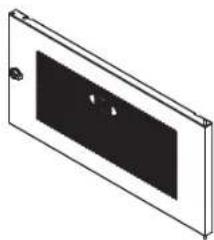
Isometric view of a rectangular panel with a black rectangular cutout and a small hole, no text or symbols present.
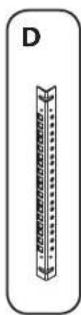
ABCD
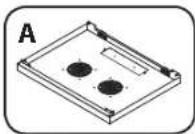
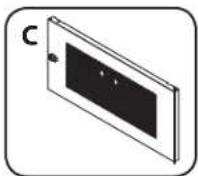
Top/Bottom Panels Side Panels Front Door Vertical Mounting Rails
x2
x2
x1
x2
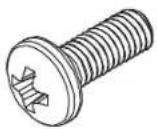
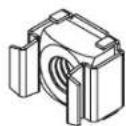
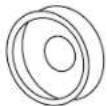
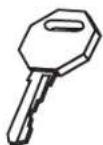
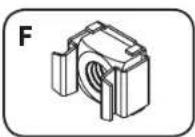
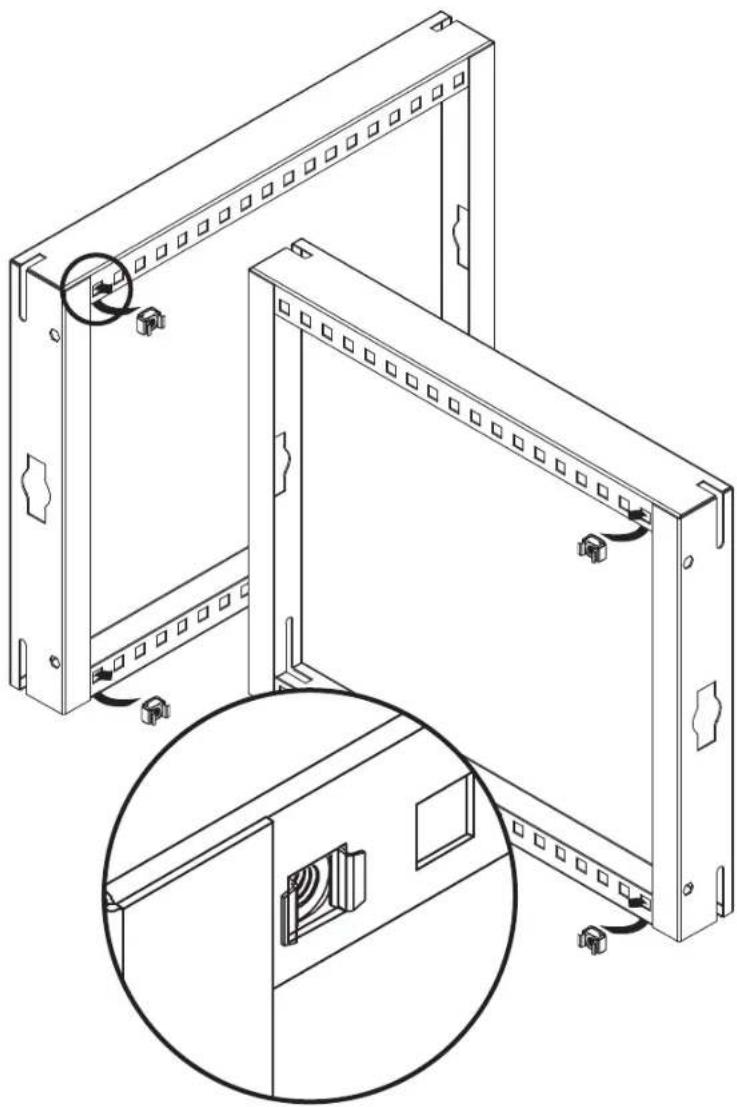
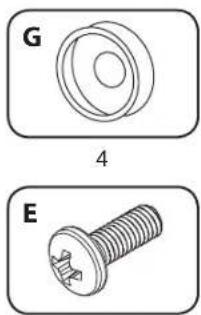
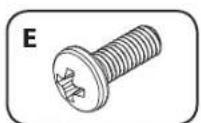
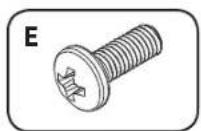
EFGH
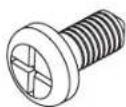
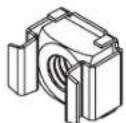
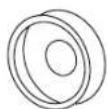
M6 Screws M6 Cage Nuts M6 Cup Washers Keys
x24
x4
x4
x2
Equipment Mounting Hardware
IJ
12-24 Screws M6 Cage Nuts M6 Cup Washers
x12
K
x12
x12
Required Tools (User Supplied):
• Phillips-Head Screwdriver

WARNING: The rack enclosure is extremely heavy. Do not attempt to unpack, move, assemble or install the enclosure without assistance. Until it has been properly assembled and stabilized, the enclosure is prone to tipping and could cause property damage and/or personal injury. Use extreme caution when assembling the enclosure. Do not attempt to install equipment without first stabilizing the enclosure.
step
1
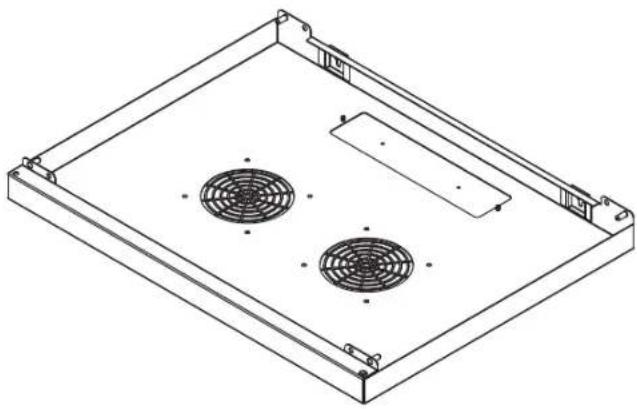
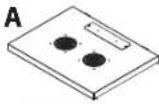
Place Bottom Panel A on the floor or a stable work surface.
1
natural_image
Isometric line drawing of a rectangular enclosure with two circular fans and mounting brackets (no text or symbols)step
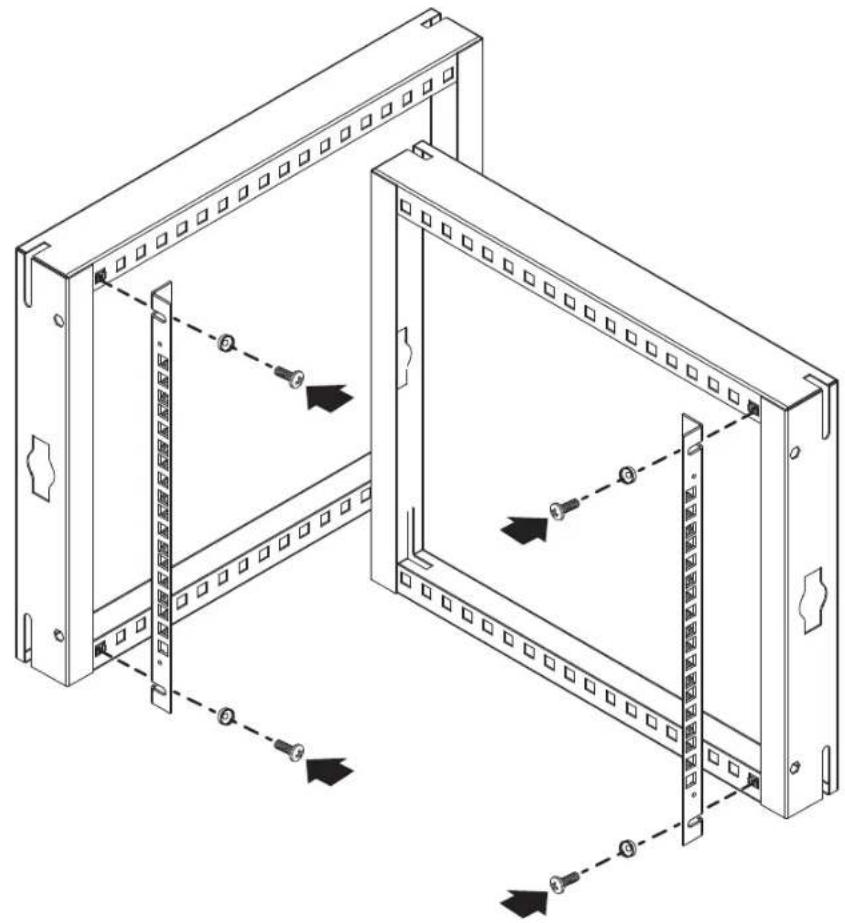
2
Before attaching Vertical Mounting Rails D to Side Panels B, you must decide how deep to install the rail using the square holes along the preinstalled horizontal rails at the top and bottom of the Side Panels. Place an M6 Cage Nut F through the square hole at the top and bottom from behind the rail. Make sure all Cage Nuts are aligned.
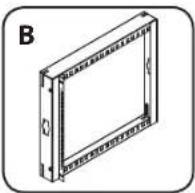
2
4
natural_image
Technical line drawing of a server rack with mounting holes and internal components, showing assembly and mounting details (no text or symbols)step
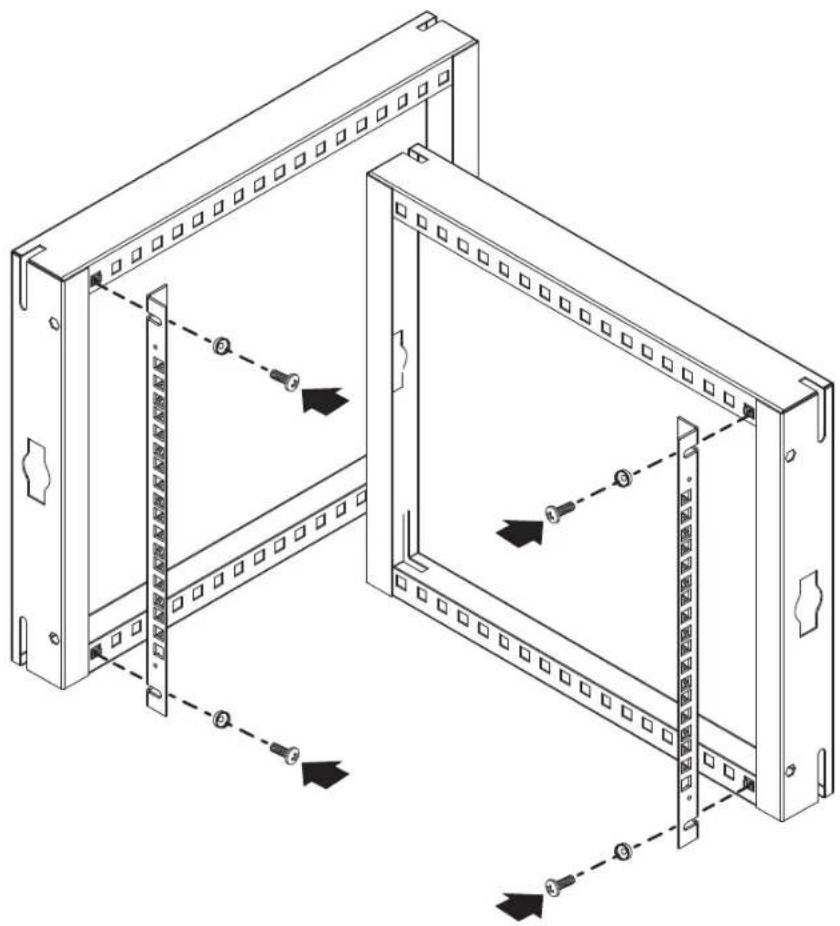
3
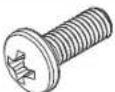
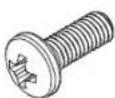
Align the Vertical Mounting Rail's holes with the cage nuts. Secure the Vertical Mounting Rails D to the Side Panels using 2 M6 cup washers G and 2 M6 screws E. Make sure both Vertical Mounting Rails are aligned.
Note: We recommend installing the Vertical Mounting Rails with its square holes facing front. If you choose to install them with the threaded holes facing front, use the M6 screws to install the rails, as stated above, and the included 12-24 screws to mount equipment to the rails.
2
natural_image
Two technical illustrations of a screw: one with a circular head and labeled section G, the other with a threaded screw (no text or symbols present)4
natural_image
Technical line drawing of a server rack cabinet with mounting holes and internal panel (no text or symbols)step
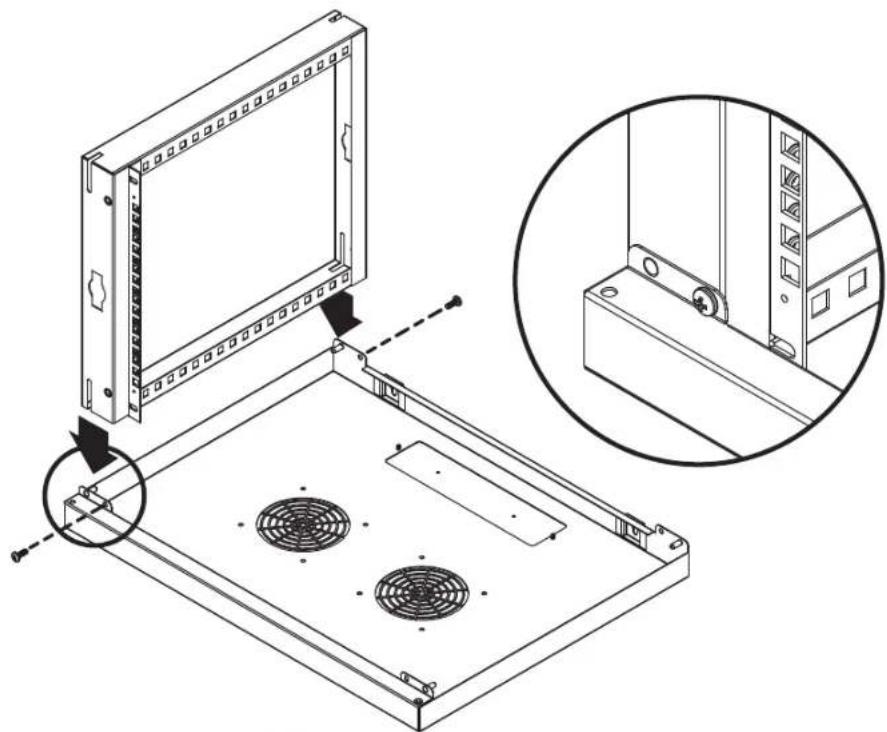
4
Insert slots of Side Panel B into pins of Bottom Panel A. Secure the panels using 2 M6 screws E.
1
2
natural_image
Technical line drawing of a mechanical assembly with a component and inset view (no text or symbols)4
step
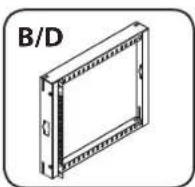
5
Insert slots of Side Panel B into opposite pins of Bottom Panel A. Secure the panels using 2 M6 screws E, as in step 4.
B/D
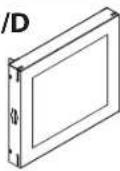
1
E
2
natural_image
Technical line drawing of a mechanical assembly with a magnified inset showing detail (no text or symbols)step
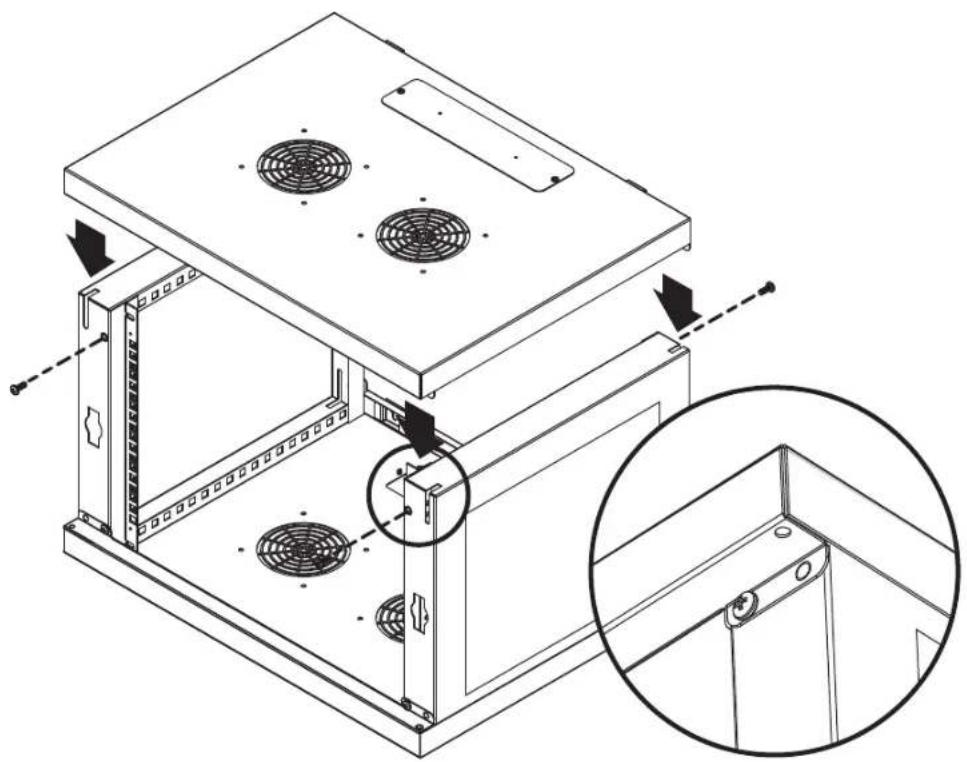
6
Lower Top Panel A onto Side Panels so that its pins fit into the slots. Be sure the rectangular cable access port is directly above the cable access port on the Bottom Panel. Secure Top Panel to Side Panels using 4 M6 screws E.
1
E
4
natural_image
Technical line drawing of a server rack unit with fan dividers and mounting brackets (no text or symbols)step
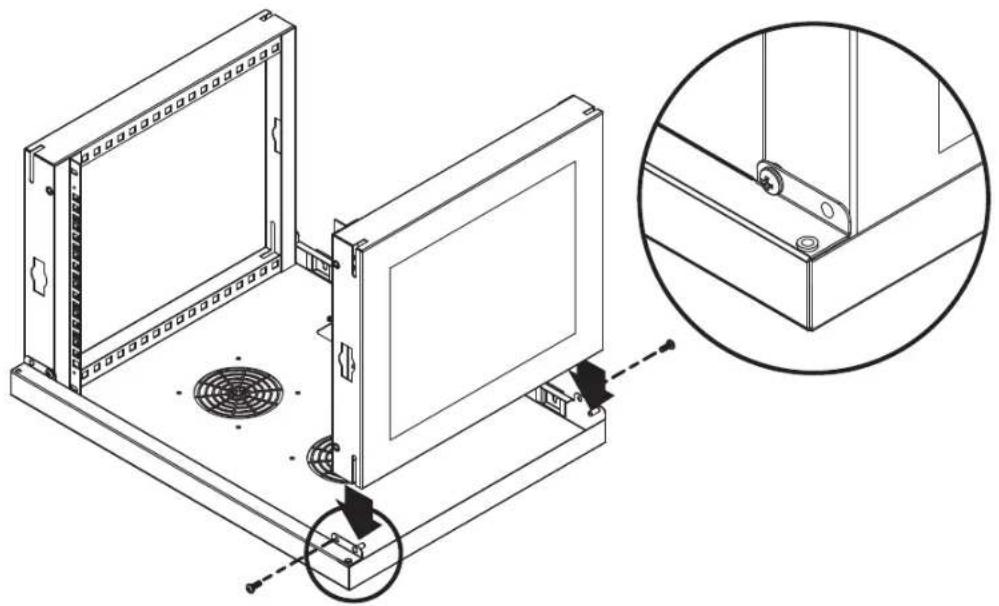
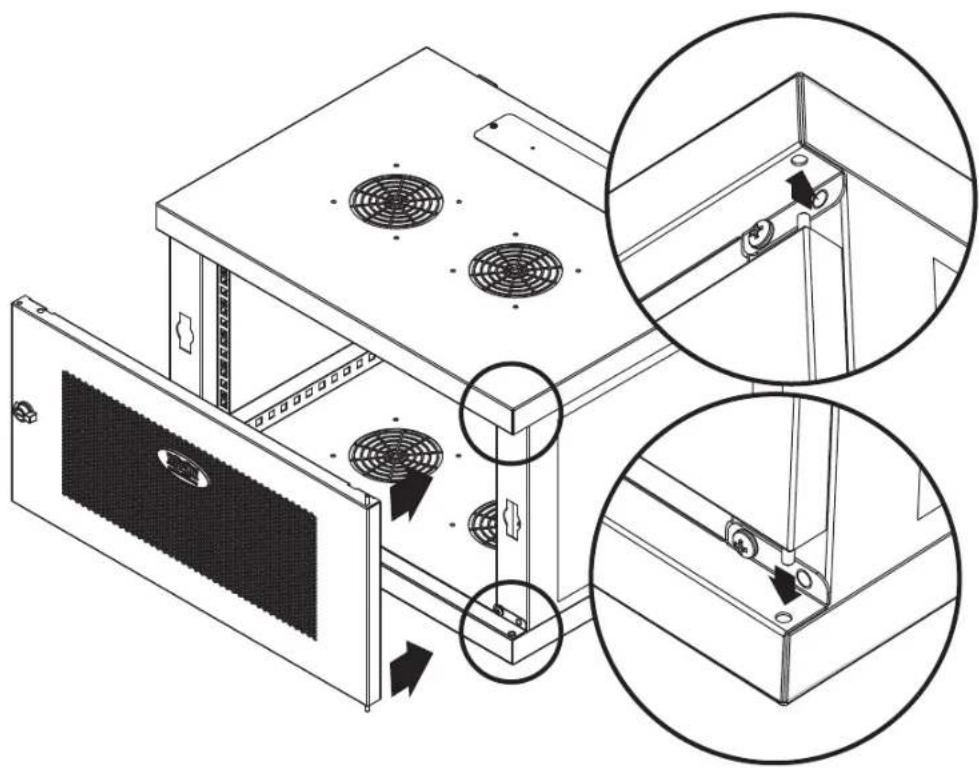
7
Front Door C can be assembled to open either left or right. Insert pins into slots on Top and Bottom Panels.
1
natural_image
Technical line drawing of a computer rack with fan mounting holes and ventilation system (no text or symbols)Warranty and Product Registration
5-Year Limited Warranty
TRIPP LITE warrants its products to be free from defects in materials and workmanship for a period of five (5) years from the date of initial purchase. TRIPP LITE's obligation under this warranty is limited to repairing or replacing (at its sole option) any such defective products. To obtain service under this warranty, you must obtain a Returned Material Authorization (RMA) number from TRIPP LITE or an authorized TRIPP LITE service center. Products must be returned to TRIPP LITE or an authorized TRIPP LITE service center with transportation charges prepaid and must be accompanied by a brief description of the problem encountered and proof of date and place of purchase. This warranty does not apply to equipment, which has been damaged by accident, negligence or misapplication or has been altered or modified in any way.
EXCEPT AS PROVIDED HEREIN, TRIPP LITE MAKES NO WARRANTIES, EXPRESS OR IMPLIED, INCLUDING WARRANTIES OF MERCHANTABILITY AND FITNESS FOR A PARTICULAR PURPOSE. Some states do not permit limitation or exclusion of implied warranties; therefore, the aforesaid limitation(s) or exclusion(s) may not apply to the purchaser. EXCEPT AS PROVIDED ABOVE, IN NO EVENT WILL TRIPP LITE BE LIABLE FOR DIRECT, INDIRECT, SPECIAL, INCIDENTAL OR CONSEQUENTIAL DAMAGES ARISING OUT OF THE USE OF THIS PRODUCT, EVEN IF ADVISED OF THE POSSIBILITY OF SUCH DAMAGE. Specifically, TRIPP LITE is not liable for any costs, such as lost profits or revenue, loss of equipment, loss of use of equipment, loss of software, loss of data, costs of substitutes, claims by third parties, or otherwise.
Product Registration
Visit www.tripplite.com/warranty today to register your new Tripp Lite product. You'll be automatically entered into a drawing for a chance to win a FREE Tripp Lite product!*
* No purchase necessary. Void where prohibited. Some restrictions apply. See Web site for details.
Regulatory Compliance Identification Numbers
For the purpose of regulatory compliance certifications and identification, your Tripp Lite product has been assigned a unique series number. The series number can be found on the product nameplate label, along with all required approval markings and information. When requesting compliance information for this product, always refer to the series number. The series number should not be confused with the marketing name or model number of the product.
Use of this equipment in life support applications where failure of this equipment can reasonably be expected to cause the failure of the life support equipment or to significantly affect its safety or effectiveness is not recommended. Do not use this equipment in the presence of a flammable anesthetic mixture with air, oxygen or nitrous oxide.
Tripp Lite has a policy of continuous improvement. Specifications are subject to change without notice.

text_image
TRIPP·LITE
Manufacturing Excellence.
1111 West 35th Street, Chicago, IL 60609 USA • www.tripplite.com/support
natural_image
Line drawing of a microwave oven with two fans and a door (no text or symbols)English.....1 • Français.....13 • Русский.....19

text_image
TRIPP·LITE
1111 West 35th Street, Chicago, IL 60609 USA • www.tripplite.com/support
natural_image
Isometric line drawing of a rectangular enclosure with two circular cutouts and mounting holes (no text or symbols)ABCD

natural_image
Isometric view of a rectangular panel with a black screen and a small hole (no text or symbols)
natural_image
Isometric line drawing of a rectangular electronic device with two circular fans and mounting brackets (no text or symbols)Paso
2
natural_image
Technical line drawing of a server rack with mounting holes and a close-up inset showing internal components (no text or symbols)Paso
3
natural_image
Two technical drawings of a mechanical component: a circular component labeled G and a threaded screw labeled E, both without any text or symbols.4
natural_image
Technical line drawing of a server rack with mounting holes and internal panel structures (no text or symbols)Paso
4
natural_image
Technical line drawing of a server rack with mounting bracket and fan base, showing internal components and assembly (no text or symbols)10
Paso
5
natural_image
Technical line drawing of a mechanical assembly with a magnified inset showing a detail view (no text or symbols present)Paso
6
natural_image
Technical line drawing of a multi-level electronic device with fan mounting and ventilation slots, showing internal components and mounting details (no text or symbols)Paso
7
natural_image
Technical line drawing of a server rack with fan dividers and mounting brackets, showing structural details (no text or symbols)Garantía
1111 West 35th Street, Chicago, IL 60609 USA • www.tripplite.com/support
natural_image
Line drawing of a microwave oven with two fans and a door (no text or symbols)English.....1 • Español.....7 • Русский.....19

text_image
TRIPP·LITE
1111 West 35th Street, Chicago, IL 60609 USA • www.tripplite.com/support
natural_image
Isometric line drawing of a rectangular enclosure with two circular cutouts and mounting holes (no text or symbols)ABCD
natural_image
Isometric view of a rectangular panel with a black central section and a small circular element on the top (no text or symbols)
natural_image
Isometric line drawing of a rectangular electronic device with two circular fans and mounting brackets (no text or symbols)Étape

natural_image
Technical line drawing of a server rack with mounting holes and a close-up inset showing internal components (no text or symbols)Étape

natural_image
Technical line drawing of a server rack with two panels, showing mounting hardware and connection points (no text or symbols)Étape

natural_image
Technical line drawing of a server rack with mounting bracket and fan base, showing internal components and assembly (no text or symbols)Étape

natural_image
Simple line drawing of a rectangular frame with labeled section B/D (no other text or symbols)1
2

natural_image
Technical line drawing of a mechanical assembly with a magnified inset showing a detail view (no text or symbols present)Étape

natural_image
Technical line drawing of a server rack with fan dividers and mounting bracket (no text or symbols)Étape
7
natural_image
Technical line drawing of a computer rack with fan mounting holes and ventilation slots, showing two magnified views (no text or symbols)Garantie

Manufacturing Excellence.
1111 West 35th Street, Chicago, IL 60609 USA • www.tripplite.com/support
Указания по сборке
natural_image
Line drawing of a microwave oven with two fans and a door (no text or symbols)English.....1 • Español.....7 • Français.....13

text_image
TRIPP·LITE
1111 West 35th Street, Chicago, IL 60609 USA • www.tripplite.com/support
natural_image
Isometric line drawing of a rectangular enclosure with two circular cutouts and a rectangular slot (no text or symbols)ABCD
natural_image
Isometric line drawing of a rectangular panel with a black panel and two small holes (no text or symbols)
natural_image
Isometric line drawing of a rectangular electronic device with two circular fans and mounting brackets (no text or symbols)War
2
natural_image
Technical line drawing of a server rack with mounting holes and a close-up inset showing internal components (no text or symbols)War
3
natural_image
Technical line drawing of a server rack with two panels and directional arrows indicating movement (no text or symbols)War
4
natural_image
Technical line drawing of a device mounting base with fan and panel, showing internal components and a magnified inset (no text or symbols)22
War
5
natural_image
Technical line drawing of a mechanical assembly with an inset close-up showing a bracket detail (no text or symbols present)War
6
natural_image
Technical line drawing of a server rack unit with fan dividers and mounting brackets (no text or symbols)War
7
natural_image
Technical line drawing of a microwave oven with fan mounting holes and ventilation system (no text or symbols)
Manufacturing Excellence.
1111 West 35th Street, Chicago, IL 60609 USA • www.tripplite.com/support
15-09-233-93-3500 revA