RR 511 DAB - Radio Trevi - Free user manual and instructions
Find the device manual for free RR 511 DAB Trevi in PDF.
| Product type | Radio |
| Brand | Trevi |
| Model | RR 511 DAB |
| Category | Radio |
| Power supply | 230 V ~ 50 Hz or 4 D (UM-1) batteries (not included) |
| Dimensions (W x H x D) | 317 x 114 x 89 mm |
| FM reception range | 87.5 - 108.0 MHz |
| DAB reception range | 174 - 240 MHz |
| Bluetooth | Yes, 2.4 GHz version, 2.5 mW power |
| USB/SD player | Yes, MP3 support |
| Cassette player | Yes, playback and recording |
| Built-in microphone | Yes, for voice recording |
| LCD display | Yes, information display |
| Telescopic antenna | Yes, for FM/DAB |
| Headphone jack | Yes, 3.5 mm jack |
| Additional functions | Alarm, sleep, time setting, DRC equalizer |
| Maintenance and cleaning | Slightly damp soft cloth, avoid solvents |
| Safety | Do not expose to water, do not open, unplug if overheating |
| Included accessories | Power cable, user manual |
Frequently Asked Questions - RR 511 DAB Trevi
User questions about RR 511 DAB Trevi
0 question about this device. Answer the ones you know or ask your own.
Ask a new question about this device
Download the instructions for your Radio in PDF format for free! Find your manual RR 511 DAB - Trevi and take your electronic device back in hand. On this page are published all the documents necessary for the use of your device. RR 511 DAB by Trevi.
USER MANUAL RR 511 DAB Trevi
WARNING: DO NOT OPEN THE SET. NEITHER CONTROLS OR SPARE PARTS TO BE USED BY THE USER ARE TO BE FOUND INSIDE IT. APPLY TO AUTHORISED TREVI CENTERS FOR SERVICE OPERATIONS.

ATTENTION
RISQUE DE DECHARGES ELECTRIQUES NE PAS EXPOSER A LA PLUIE ET A L'HUMIDITE

ATTENTION: NE PAS OUVRIR L'APPAREIL, A L'INTERIEUR IL N'Y A PAS DE COMMANDES A MANIPULER PAR L'UTILISATEUR OU DE PIECES DE RECHANGE. POUR TOUTES LES OPERATIONS DE SERVICE IL FAUT S'ADRESSER A UN SERVICE D'ASSISTANCE AUTORISE TREVI.

ATENCION
PELIGRO DE CHOQUES ELECTRICOS NO EXPONER A LLUVIA Y HUMEDAD

natural_image
Illustration of a cassette tape with a magnified inset showing a small scale (no text or symbols)natural_image
Warning symbol with a triangle containing a stylized 'e' and sound waves, no text or numbers present.This symbol on the back of the unit and in this manual indicate the presence on them of important instructions for safe use. Please read them carefully before using the appliance.

DANGEROUS
VOLTAGE
This symbol on the back of the unit and in this manual indicates the presence in this equipment components operating at high voltage, do not open it to avoid the risk of electric shock.
USE NOTES
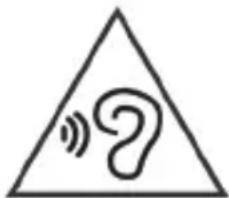
Do not listen at high volumes for a long time, it could damage your hearing.
Avoid placing the player:
• Near magnetic fields.
• Near heat sources such as heaters and stoves.
• In very humid places such as bathrooms, swimming pools, etc ...
• In very dusty places.
• In places subject to strong vibrations.
- Do not bring your ear close to the speaker during the adjustment and volume adjustment phases, and in particular to keep the volume to a minimum in the ignition phase.
- Position the appliance so that there is always enough space on its sides for the free circulation of air (at least 5 cm).
- If liquids penetrate inside the appliance, immediately disconnect the plug from the socket and take the appliance to the nearest authorized TREVI service center.
- Always check before recharging the appliance, that the power and connection cables are installed correctly.
• No naked flame sources, such as lighted candles, should be placed on the appliance.
- The appliance must not be exposed to dripping or splashing water and no objects filled with liquid, such as vases, must be placed on the appliance.
- Before turning on the appliance, always check that the power cable and the connection cable are installed correctly.
- The power adapter must be connected to an outlet near the device and must be easily accessible.
- If you notice excessive heat on the device or on the power adapter, immediately disconnect the plug from the main power socket.
- Do not pull on the power cable
- Keep this manual for future reference.
CARE AND MAINTENANCE
For cleaning we recommend the use of a soft, slightly moistened cloth. Avoid solvents or abrasive substances.
IMPORTANT
The good construction of this appliance guarantees perfect operation for a long time. However, should any inconvenience arise, it is advisable to consult the nearest authorized Service Center.
TREVI pursues a policy of continuous research and development. Therefore the products may have different characteristics from those described.
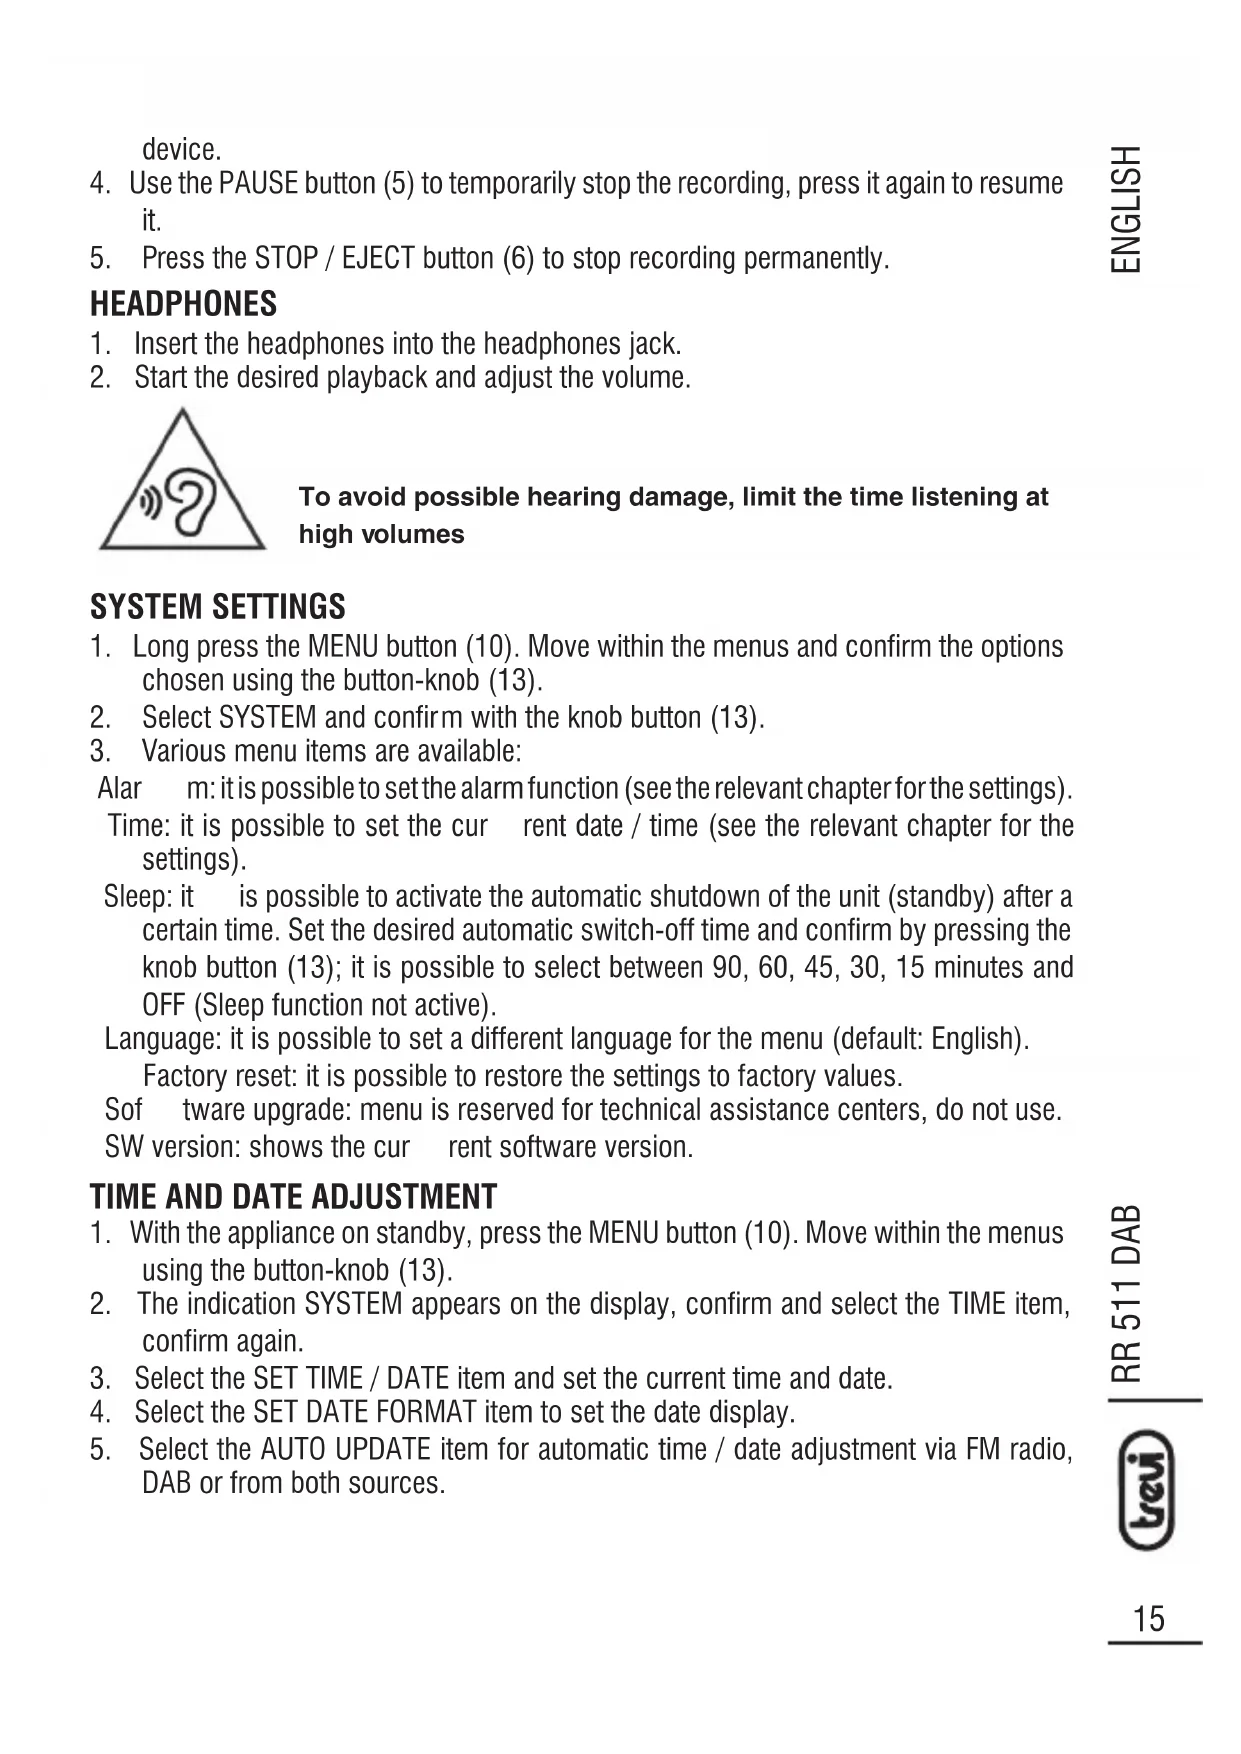
- SPEAKERS
- VOLUME ADJUSTMENT
- BASS ADJUSTMENT
- CASSETTE COMPARTMENT
- CASSETTE PAUSE
- STOP/EJECT CASSETTE
- CASSETTE FAST FORWARD
- CASSETTE FAST REWIND
-
CASSETTE PLAY
-
CONTROL SECTION AND LCD DISPLAY
- FUNCTION SELECTOR
- NOT USED
- UP/DOWN KNOB/CONFIRMATION BUTTON
- MICROPHONE
- SD INPUT
- USB INPUT
- AC SOCKET
BATTERY POWER
Open the battery compartment and insert 4 “D” (UM-1) batteries, taking care to carefully respect the polarities indicated. Immediately replace exhausted batteries and remove them if you do not intend to use the appliance for a long time.
POWER ON
Connect the power cable to the AC IN socket (17). Insert the plug into a 230V \~ 50Hz power outlet. Do not connect the appliance to sockets with a voltage other than that indicated.
VOLUME ADJUSTMENT - LOW TONES
Turn the volume control (2) clockwise or counterclockwise to increase or decrease the volume.
Turn the bass adjustment (3) clockwise or counterclockwise to increase or decrease the bass tones.
SOURCE SELECTION
Use the function selector (11) to select DAB / FM or BT / USB / SD or TAPE / OFF.
DAB / FM RADIO
- Turn the function selector (11) to the DAB / FM position.
- Press the MODE button (10) to select the DAB digital radio or the FM radio.
- Turn off the radio by turning the selector (11) to the "TAPE / OFF" position
FM RADIO
- Open the telescopic antenna along its entire length.
- Long press the SCAN button (10) to automatically tune in and store radio stations. Up to 30 radio stations can be saved.
- To select a saved radio station, press the PRESET button in the control section (10), select and confirm with the button / knob (13).
- To manually search for a radio station, turn the knob (13) to search for the desired frequency and confirm by pressing the knob.
- To save a radio station, long press the PRESET button (10) until the "Preset store" appears on the display and select / confirm the memory location using the button / knob (13).
- Press the INFO button (10) to view various information transmitted by radio stations on the display.
- Press the MENU 'button (10) to access the FM radio settings menu, move within the menus and confirm with the button / knob (13).
The following settings are available:
- SCAN SETTING: it is possible to select whether all the stations (All station) or only those with strong signal (Strong station) are stored during the automatic search.
- AUDIO SETTING: it is possible to select listening in MONO (Forced mono) or STEREO (Stereo allowed).
RADIO DAB
- The first time the device is turned on it will automatically scan the available radio channels.
- Use the button / knob (13) to select a radio from those available, press the knob to confirm the selected station.
- If necessary, press the SCAN button (10) to perform a new automatic tuning of the radio stations.
- To save a radio station, long press the PRESET key (10) until the "Preset store" appears on the display and select / confirm the memory location using the key / knob (13). 30 memory locations are available.
- To select a saved radio station, press the PRESET button (10), the display shows "Preset recall". Select and confirm with the button / knob (13).
- Press the INFO button (10) to view various information transmitted by radio stations on the display.
- Press the MENU 'button (10) to access the DAB radio settings menu, move within the menus and confirm with the button / knob (13).
The following settings are available:
- FULL SCAN: to carry out a new scan of the available DAB radio stations.
- MANUAL TUNE: to perform a manual search of the DAB stations present.
- DRC: allows you to enable / disable the DRC function to improve the sound when listening in noisy environments. You can set the DRC level to high (high), low (low) or Off (off).
- PRUNE: allows you to delete all the radios found but not available from the list of stored stations (poor signal).
NOTE: To obtain the best reception, extend and orient the antenna. If the reception is not good, try adjusting the length and orientation of the antenna differently, however the quality of reception depends a lot on the place where the device is placed.
USB / SD MP3 PLAYER
- Set the function switch (11) to the BT / USB / SD position.
- Press the MODE key (10) to select the active input (USB or SD).
- Connect the USB Flash Disk or SD memory to the USB input (16) or the SD input (15).
- Wait a few seconds, the playback will start automatically.
- Press the PLAY key (10) to activate the pause in reading (display flashing), press it again to resume playback.
- Turn the knob (13) to select a different song.
BLUETOOTH
- Set the function switch (11) to the BT / USB / SD position.
- Press the MODE button (10) to select the Bluetooth input.
- Search for the device named "RR 511 DAB", pair with your smartphone and enter the PIN "0000" if required.
- Once paired, the appliance will emit a response sound.
- Activate music playback from your device. It is possible to select the songs to be played by turning the knob (13) and suspending / activating the reading via the PLAY button (10).
CASSETTE PLAYER
CASSETTE REPRODUCTION
- Position the selector on the TAPE / OFF position and open the cassette compartment with the key (6).
- Insert a cassette into the compartment with the side you wish to listen facing outwards.
- Adjust the volume to your liking.
- Press the PLAY (9) button to start playback.
- Press the PAUSE (5) button to stop playback momentarily, press it again to resume it.
- To fast forward the tape, press the F.FWD button (7).
- To rewind the tape quickly, press the REW (8) button.
- Press the STOP / EJECT button (6) to stop playback permanently, press it again to eject the cassette.
REGISTRATION FROM OTHER SOURCES
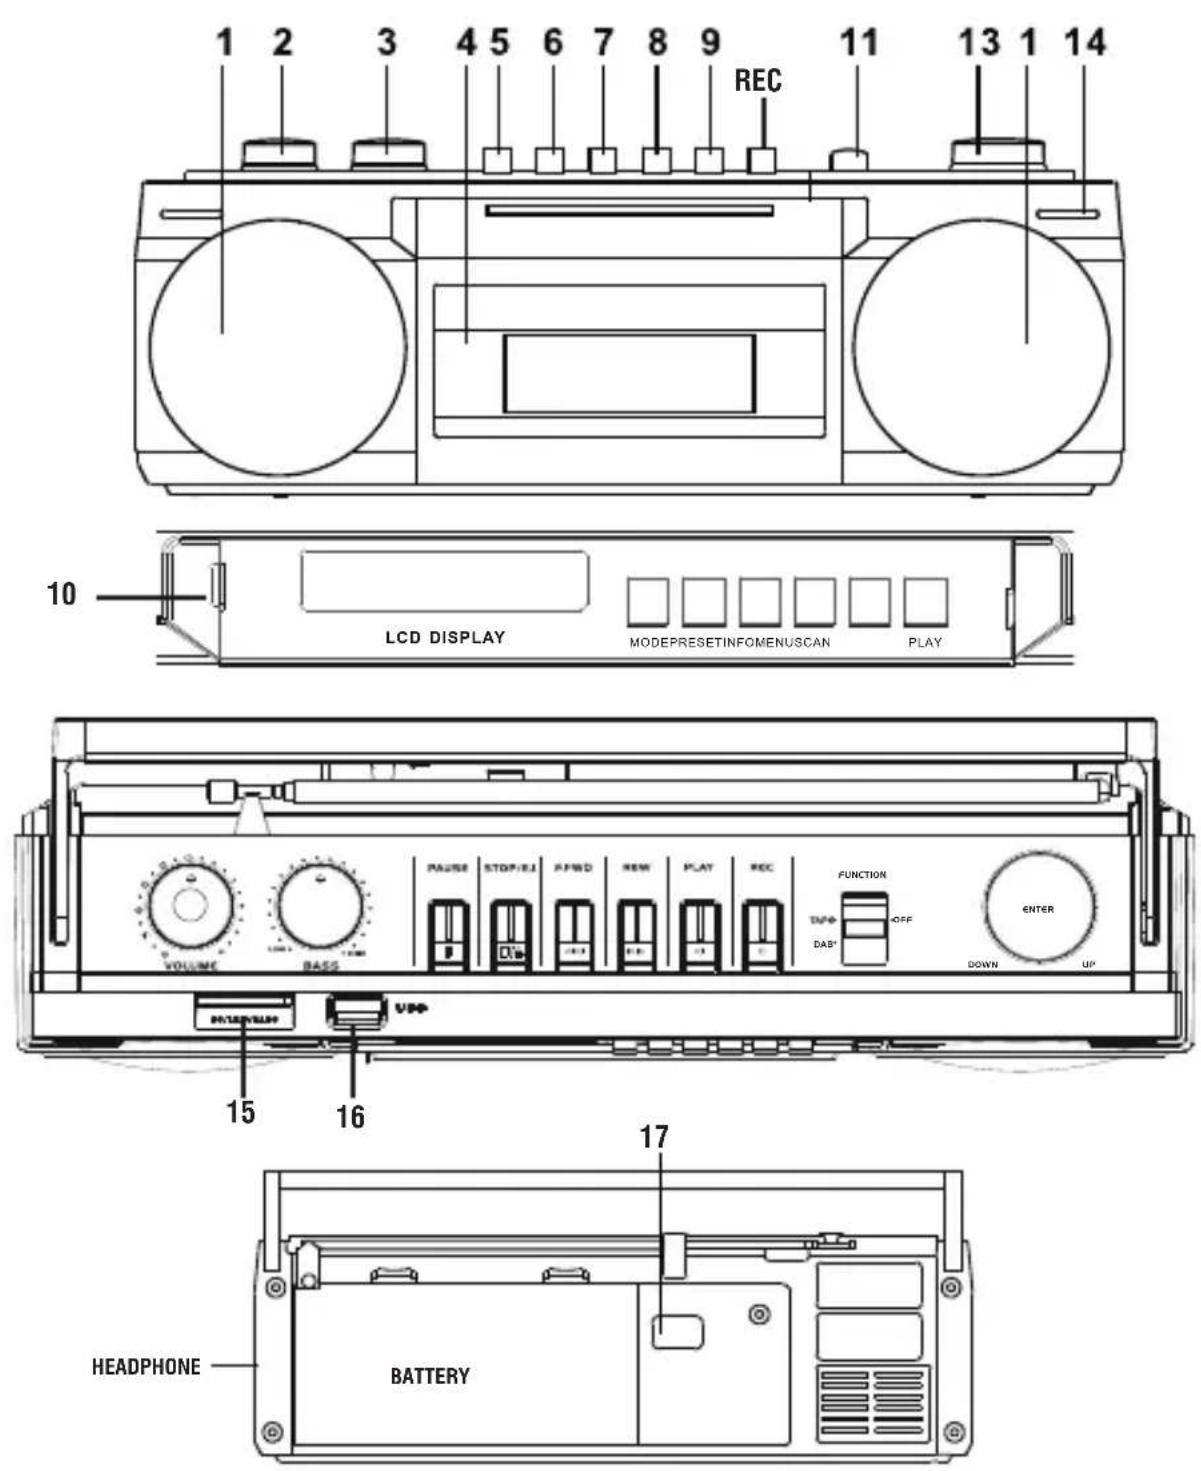
Note: make sure that the record enabling tab is present otherwise it will not be possible to record the cassette.
natural_image
Illustration of a cassette tape being inserted into a slot, showing the cable and slot (no text or symbols)- Position the selector on the desired source (Radio, Usb reader, SD, Bluetooth) and start playback.
- Insert the cassette into the compartment.
- Press the REC button to start recording.
- Use the PAUSE button (5) to temporarily stop the recording, press it again to resume it.
- Press the STOP / EJECT button (6) to stop recording permanently.
RECORDING FROM BUILT-IN MICROPHONE
- Place the switch in the TAPE position.
- Insert the cassette into the compartment.
- Press the REC button to start recording and start speaking from the front of the
device.
- Use the PAUSE button (5) to temporarily stop the recording, press it again to resume it.
- Press the STOP / EJECT button (6) to stop recording permanently.
HEADPHONES
- Insert the headphones into the headphones jack.
- Start the desired playback and adjust the volume.
natural_image
Warning symbol with a triangle containing a stylized 'e' and sound waves (no text or numbers)To avoid possible hearing damage, limit the time listening at high volumes
SYSTEM SETTINGS
- Long press the MENU button (10). Move within the menus and confirm the options chosen using the button-knob (13).
- Select SYSTEM and confirm with the knob button (13).
- Various menu items are available:
Alarm: it is possible to set the alarm function (see the relevant chapter for the settings).
Time: it is possible to set the current date / time (see the relevant chapter for the settings).
Sleep: it is possible to activate the automatic shutdown of the unit (standby) after a certain time. Set the desired automatic switch-off time and confirm by pressing the knob button (13); it is possible to select between 90, 60, 45, 30, 15 minutes and OFF (Sleep function not active).
Language: it is possible to set a different language for the menu (default: English).
Factory reset: it is possible to restore the settings to factory values.
Software upgrade: menu is reserved for technical assistance centers, do not use.
SW version: shows the current software version.
TIME AND DATE ADJUSTMENT
- With the appliance on standby, press the MENU button (10). Move within the menus using the button-knob (13).
- The indication SYSTEM appears on the display, confirm and select the TIME item, confirm again.
- Select the SET TIME / DATE item and set the current time and date.
- Select the SET DATE FORMAT item to set the date display.
- Select the AUTO UPDATE item for automatic time / date adjustment via FM radio, DAB or from both sources.
ALARM FUNCTION
This appliance is equipped with an alarm alarm function; up to two alarm alarms can be set.
- With the appliance on standby, press the MENU button (10). Move within the menus and confirm the options chosen using the button-knob (13).
- The indication SYSTEM appears on the display, confirm. Select the ALARM item and confirm.
- Select ALARM1 SETUP or ALARM2 SETUP.
- Set the alarm activation time (ON TIME).
- Set the duration of the alarm (DURATION).
- Set the activation frequency DAIL Y (every day), ONCE (once), WEEKENDS (Saturday and Sunday), WEEKDAYS (from Monday to Friday). Confirm / set the alarm date if required.
- Select the activation (ON) of the alarm (alarm deactivated = OFF).
At the end, the set alarm will be saved (SAVED) and an indication will appear on the display when the alarm is active. To turn off the alarm, press the button-knob (13).
TECHNICAL FEATURES
Power supply: 230V \~ / 50Hz - 4 D batteries (UM-1) batteries not included
Reception range: FM 87.5 - 108.0 MHz .....DAB 174 - 240 MHz
Bluetooth transmission power: 2.5mW
Bluetooth transmission frequency: .....2.4GHz
Dimensions: 317 x 114 x 89mm
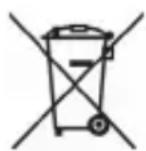
Precautions for correct disposal of the product.
The symbol shown on the equipment indicates that waste must be disposed of in “separate collection” and so the product must not be disposed of together with urban waste. The user must take the product to special “separate waste collection centres” provided by local government, or deliver it to the retailer against the purchase of a new product. Separate collection of waste and subsequent treatment, recycling and disposal operations promotes the production of equipment with recycled materials and limits negative effects on the environment and on health caused by improper handling of waste.
Illegal disposal of the product leads to the enforcement of administrative penalties.

VOLTAGE DANGEREUX
natural_image
Illustration of a cassette tape with an inset showing the cable being inserted (no text or symbols present)natural_image
Warning symbol with a question mark inside a triangle (no text or numbers)natural_image
Illustration of a CD-ROM drive with a magnified inset showing the internal structure (no text or symbols)natural_image
Warning symbol with a question mark inside a triangle (no text or numbers)natural_image
Illustration of a hard drive with a magnified inset showing the internal components (no text or symbols)text_image
Warning symbol with a sine wave inside a triangle, indicating sound or audio hazard.SIMPLIFIED EU DECLARATION OF CONFORMITY
Hereby TREVI Spa declares that the radio equipment type RR 511 DAB is in compliance with directive 2014 / 53 / EU.
The full text of the EU declaration of conformity is available at the following internet address https://www.trevi.it/dms/zidi/TREVI/DOCRR511DAB.pdf

text_image
Grid of nine country flags with speech bubbles, likely representing international or regional contexts.EN If you will not find your language on the instruction manual, please go on our website www.trevi.it to find it

text_image
CE©Made in CHINA
Trevi S.p.A.
Strada Consolare Rimini-San Marino, 62 47924 Rimini (RN) Italy
Tel. 0541/756420 - Fax 0541/756430 - www.trevi.it - e-mail: info@trevi.it