JNIB375C144UQRH - Monitor Japannext - Free user manual and instructions
Find the device manual for free JNIB375C144UQRH Japannext in PDF.
Download the instructions for your Monitor in PDF format for free! Find your manual JNIB375C144UQRH - Japannext and take your electronic device back in hand. On this page are published all the documents necessary for the use of your device. JNIB375C144UQRH by Japannext.
USER MANUAL JNIB375C144UQRH Japannext
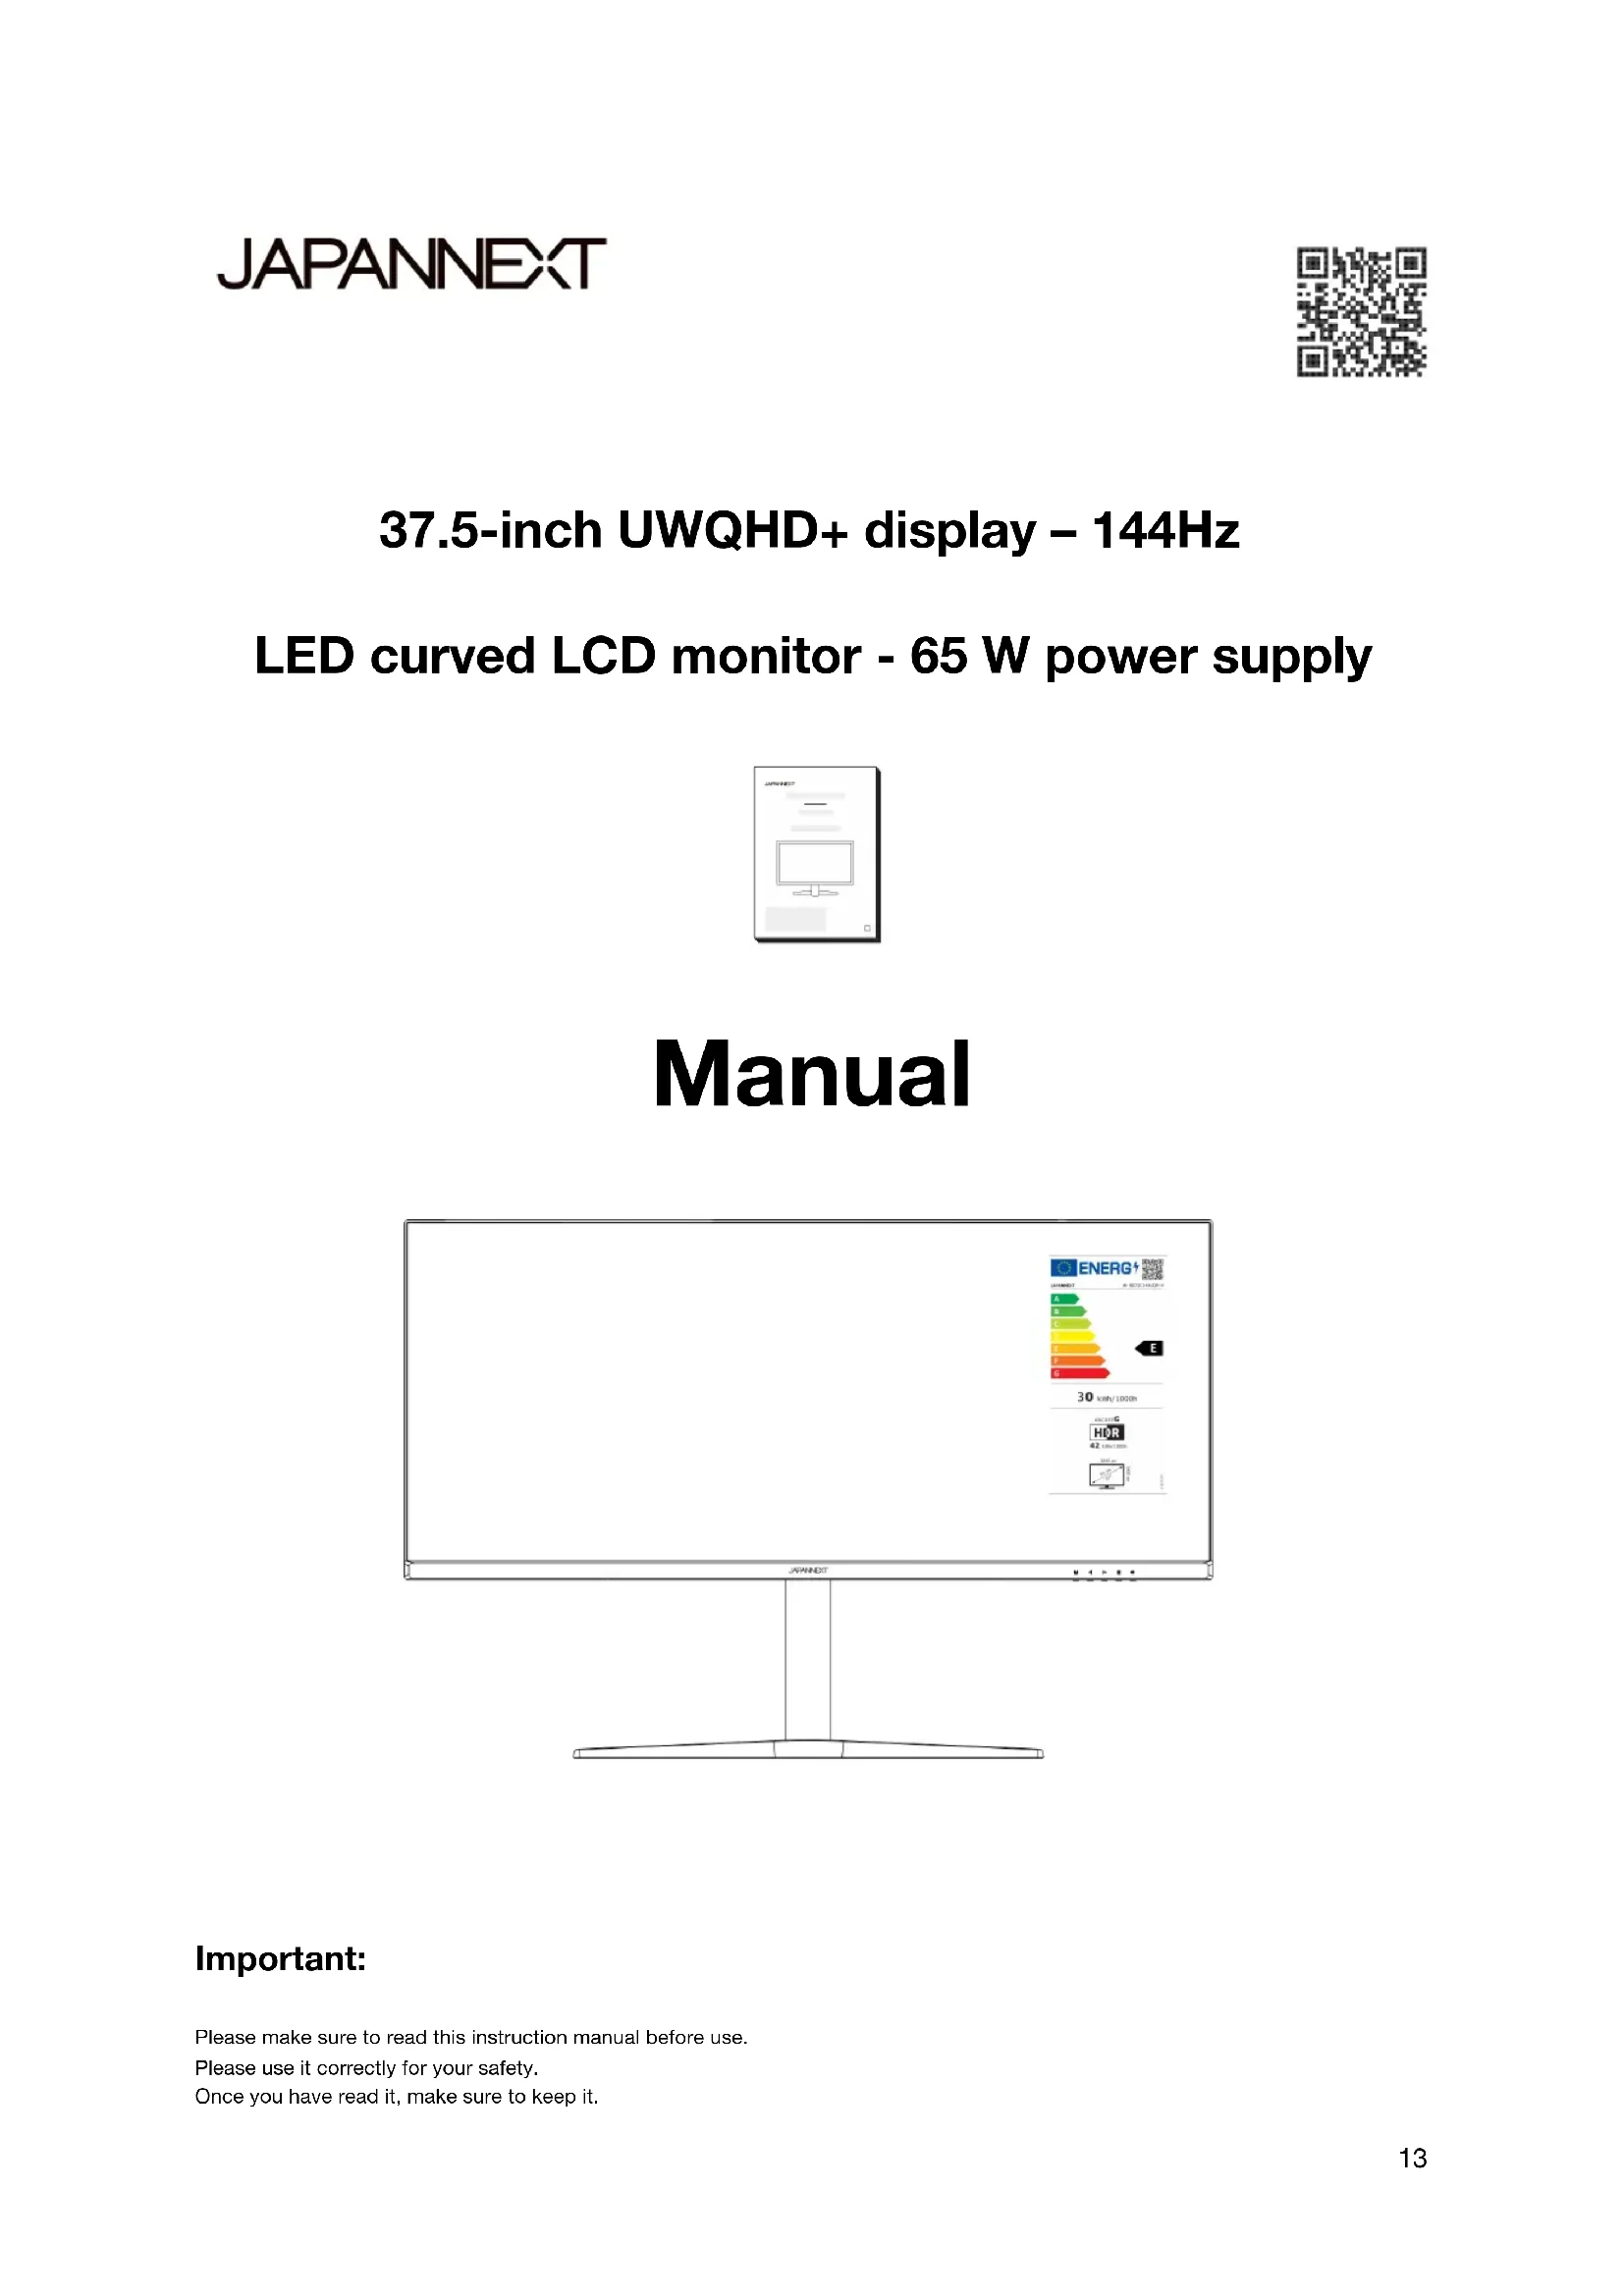
1237.5-inch UWQHD+ display – 144Hz LED curved LCD monitor - 65 W power supply
Important: Please make sure to read this instruction manual before use. Please use it correctly for your safety. Once you have read it, make sure to keep it. 13Safety
Please read all included instruction manuals carefully before use.
- Place the monitor on a flat, stable surface. To avoid the risk of fire or electric shock, avoid high temperatures, low temperatures, high humidity and accumulation of dust. Do not use the monitor where it may become wet or exposed to water.
- Do not open and never cover the monitor case because it contains high voltage parts inside which could cause serious injury or fire if you come into contact with them.
- If the power supply is damaged, please contact our customer service or your dealer. Never attempt to inspect or repair the product yourself.
- Before use, please ensure that all cables are properly connected and the power cord is not damaged. If you discover any damage or blurred areas, please contact your dealer immediately.
- The slots and openings on the top or back of the monitor are required ventilation holes for this product. Do not cover these holes. Do not place this product near or above a heat source such as a radiator without adequate ventilation.
- Do not insert foreign objects or spill liquids into any openings in the monitor case. This could cause damage or malfunction.
- Always operate the monitor using the type of power source indicated on the product label. If you are unsure of the type of power supply you have, please contact your local power company.
- Do not apply excessive current to sockets or extension cords. Use caution as excessive current can cause electric shock and is very dangerous.
- To protect your monitor from damage caused by power surges, turn off power to the device during long periods of inactivity or during lightning storms.
- To ensure satisfactory operation of the monitor, the computer must be equipped with a properly configured outlet marked in the AC100-240V range.
- If you experience technical problems or concerns with your monitor, please contact our customer service or authorized reseller.
14• To work safely, make sure to establish the ground connection before connecting the power plug to the power source. Also, when disconnecting the ground connection, make sure to unplug the power plug first.
- This product is not intended for continuous use for 24 hours. Please unplug the power plug when you do not use the product for a long time.
- The included AC adapter and cord are intended for this product only. Do not use it for other equipment.
- Do not use cleaners or detergents containing alcohol or acetone to clean your monitor. Make sure to use a cleaner specifically designed for LCD monitors. Do not spray liquid cleaner directly on the screen. Please note that if the cleaning fluid drips and gets inside the monitor, it is very dangerous as it may cause electric shock or fire. LCD panels are easily damaged, so do not rub it with hard objects.
- Before lifting or moving the monitor, turn off the power switch and unplug all cables and power cords. When installing the monitor, lift it using the appropriate method. When lifting or carrying the monitor, make sure to grip it by the edges. Never lift the monitor by its stand or cord.
- Using the monitor in a dark room, or using it continuously for long periods of time, may cause eye fatigue.
- Take a break of 5 to 10 minutes every hour and use the monitor in a reasonably bright room.
15Cleaning and maintaining the monitor
Before cleaning the monitor, turn off the power and unplug all cables and cords. How to maintain the monitor:
- LCD panel area: Do not use tissue paper, etc., instead use a clean, soft cloth specially designed for LCD panels. Please wipe the monitor gently. For difficult-to-remove stains, use a neutral cleaner specifically designed for LCD panels. • Monitor frame: Wipe with a soft cloth dampened with a mild cleaner.
The symptoms listed below are normal conditions for the monitor
- When first used, the screen may flicker due to the nature of the backlight. If this symptom appears, please turn off the monitor and then turn it on again. • Depending on your desktop setup, displayed colors, and brightness, brightness may appear uneven. • Several pixels may or may not always be lit. • If you display the same image for a long time, an afterimage from the previous image may persist even after switching to a different image. In this case, the screen will recover slowly. Otherwise, turn off the power for a few hours and the problem will be fixed. Instead of trying to repair the monitor yourself, contact customer service or the dealer. 16Welcome Thank you for purchasing the 37.5 inch LCD monitor JAPANNEXT. The installed panel supports UWQHD+ resolution (3840 x 1600). We recommend using it in UWQHD+ resolution for maximum performance. If the resolution is lower than UWQHD+, the original performance cannot be achieved.
Assembling the Monitor Base
1. Spread a soft cloth on a flat, stable table and place the monitor on it, side down.
2. Insert the hook at the top of the stand into the stand attachment part on the back of the monitor.
Insert the stand until it clicks into place.
3. Attach the bottom stand to the stand using the screw provided.
4. Make sure the monitor and stand are firmly attached.
*Screws to attach the stand to the post are included. *Supports tilt adjustment. Hold the upper and lower bezels of the monitor with both hands and adjust tilt by applying pressure little by little. Be careful not to apply too much force and cause the device to fall.
18Connection with a computer
1. Make sure the monitor and computer are turned off before connecting the cable.
2. Connect the power cable and compatible cables (HDMI, DP, Type-C) to the monitor.
Also connect the cable (HDMI, DP, Type-C) to the computer.
3. Turn on the monitor and computer.
Notice : Since problems may occur, do not connect Type-C, HDMI and DP cables at the same time. Please connect only one to a computer.
Manual | Power cable | Power Adapter | HDMI cable |Type-C cable|USB B-A cable|VESA*1 *The included power adapter cable is intended for use with this product only. Do not use it for other equipment. *1 Used to absorb irregularities on the back of the monitor and secure the space when installing the monitor arm plate. Attach the 4 spacers to the back of the monitor, then install the monitor arm plate.
1: Port HDMI: compatible HDMI. 2: Port DP: compatible DP. 3: Type-C port: USB Type-C compatible port. It can be used to power (65W) external devices. 4: Port USB-B: By connecting to a laptop with a USB-B to USB-A cable, you can connect a mouse or keyboard to the USB port at the back of the monitor even when HDMI or DP is connected. 5:Port USB x2: You can connect and use a mouse and keyboard when using a Type-C swap device. 6: Audio output port: Possibility to connect headphones or speakers. 7: Power socket: Please connect the power adapter before use.
● When the On-Screen Menu (OSD) is not open
Show input source Turn on/off ● When the on-screen menu (OSD) is displayed
0/25/50/75/100 Adjust blue light reduction Image quality settings Sharpness 0-100 Adjust sharpness Response time Off/High/Medium/Low Set response speed noise reduction Off/High/Medium/Low Set noise reduction Dynamic light control on/off Set dynamic light control Display settings aspect ratio Widescreen/4:3/1:1/Auto Select aspect ratio Audio settings mute on/off Mute volume 0-100 Adjust the volume source audio Type-C/DP/HDMI Select audio source Multi-window multi-window Off/PIP/PBP Mode Screen 2 Multi-window settings *1 2-input subscreen Type-C/DP/HDMI Set panel source PIP size small/medium/large Set pane size Localisation PIP Top left/bottom left/top right/bottom right Set the pane position OSD Language French/English OSD language definition OSD horizontal position 0-100 Adjust the horizontal position of the OSD OSD vertical position 0-100 Adjust the vertical position of the OSD OSD transparency 0-100 Adjust OSD transparency OSD time setting 5-60 Adjust OSD display time Rotation OSD Normal/90/180/270 Rotate OSD Others FreeSync on/off Set FreeSync *1 HDR Off/Auto/On Set HDR RGB light on/off Turn the backlight on/off KVM Auto/Type-C/PC Configure KVM reset
*1. When a feature is enabled in the OSD (in the case of picture mode, when set to anything other than standard), some OSD features such as brightness may not be able to be changed. (It depends on the model.) Additionally, if you disable an enabled feature, the values of some features such as brightness may be reset. *The MPRT function can be used at a refresh rate of 100 Hz or higher. *When the MPRT function is activated, the screen brightness becomes slightly darker. *Please note that product design, specifications and appearance are subject to change without notice due to product improvement. If the information listed differs from the actual item, priority will be given to the actual item. 22Dysfunction
Symptoms Checkpoint Power LED does not light up
- Is the device turned on by pressing the power button?
- Make sure the power cord is securely connected to the monitor and the outlet. No image appears even though the power indicator is on
- Is the blank screen saver running? Please move your mouse or keyboard
- Make sure the brightness and contrast are not set to minimum.
- Please make sure the signal cable is properly connected to your monitor and computer.
- Check if the signal cable pins are bent or the cable is damaged.
- Is your computer turned on? If you have another monitor, try connecting it to see if the computer works properly.
- Does the computer signal timing match the monitor specifications? The image is distorted or ripples appear in the image.
- Please make sure the signal cable is well connected to your monitor and computer.
- Keep electrical devices that may cause electrical interference away from the monitor.
- Does the computer signal timing match the monitor specifications? The image position is off-center. Image size is incorrect
- Is your computer resolution correct?
- Does the computer signal timing match the monitor specifications? The screen is too bright/too dark
- Screen (OSD): Adjust brightness and contrast settings from the menu. The image is blurry or unclear
- Set the display resolution on your PC to the same as the recommended native screen resolution for the monitor.
- Does the computer signal timing match the monitor specifications?
- Check if the signal cable pins are bent or the cable is damaged. The color of the image is incorrect
- Check if the signal cable pins are bent or the cable is damaged.
- Screen (OSD): Please adjust the red/blue/green color settings in the menu (color temperature).
- Screen (OSD): Please reset the settings from the menu.
- Does the computer signal timing match the monitor specifications? UWQHD+unable to display
- This product supports resolutions up to 3840 x 1600 (UWQHD+), including HDMI, DP and TYPE-C. However, some graphics cards may not support 3840 x 1600 resolution. Please check with your local distributor or manufacturer for the hardware limitations of your computer. Abnormal image noise
- Are the cables correctly connected? The aspect ratio cannot be changed
- Depending on the device, such as PS5 or Xbox, the aspect ratio will automatically be set to 1:1 when FreeSync is enabled.
TEL: 09 70 70 80 90 Hours 9:00 a.m. to 5:00 p.m. (Closed Saturdays, Sundays and public holidays) Contact form https://japannext.fr/en/pages/contact
You can easily access the application form by scanning the QR code.