Anzio - Radio Audizio - Free user manual and instructions
Find the device manual for free Anzio Audizio in PDF.
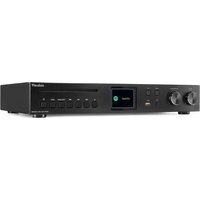
| Product type | DAB+ / FM Digital Radio |
| Brand | Audizio |
| Model | Anzio |
| Power supply | Micro USB 5 V / 1 A (adapter not included) |
| Battery | Rechargeable internal battery (first charge: 8 h) |
| Output power | 15 W |
| Impedance | 4 Ω |
| Display | TFT LCD screen |
| Audio sources | DAB / DAB+, FM, Bluetooth, auxiliary input (AUX) |
| Preset stations | 30 DAB + 30 FM |
| Connectivity | Bluetooth, 3.5 mm auxiliary input, micro USB port |
| Inputs | AUX (3.5 mm jack) |
| Outputs | Headphone (3.5 mm jack), built-in speaker |
| Package contents | Anzio radio, micro USB cable, antenna, user manual |
| Maintenance | Clean with a dry cloth; do not use chemical products |
| Safety | Do not open the casing; avoid moisture; indoor use only |
| Repairability | Repairs exclusively by a qualified technician; use original parts |
| General information | Do not dispose of with household waste; follow recycling instructions |
Frequently Asked Questions - Anzio Audizio
User questions about Anzio Audizio
0 question about this device. Answer the ones you know or ask your own.
Ask a new question about this device
Download the instructions for your Radio in PDF format for free! Find your manual Anzio - Audizio and take your electronic device back in hand. On this page are published all the documents necessary for the use of your device. Anzio by Audizio.
USER MANUAL Anzio Audizio
natural_image
Black and white portable radio with a digital display and antenna, no visible text or symbols on the device itself.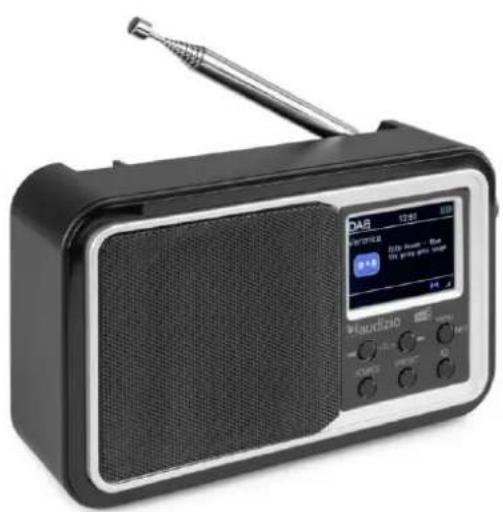
natural_image
Black and white portable radio with antenna, no visible text or symbols on device bodyINSTRUCTION MANUAL
GEBRUIKSAANWIJZING
BEDIENUNGSANLEITUNG
MANUEL D'INSTRUCTIONS
ENGLISH 4
UNPACKING INSTRUCTION....5
PRODUCT OVERVIEW 5
QUICK SETUP....5
SOURCE MENU 5
CHANGING THE INFORMATION SHOWN ON SCREEN....6
LISTENING TO DIGITAL OR FM RADIO....6
CHANGING FM STATIONS....7
USING RADIO PRESETS....7
USING THE AUXILIARY INPUT 7
USING THE BT INPUT 7
SETTING ALARMS AND TIMERS....7
SNOOZING A SOUNDING ALARM....8
TIME AND DATE SETTINGS 8
TIME AND DATE SYNCHRONIZATION OPTIONS....8
CHANGING THE TIME FORMAT 8
CHANGING THE DATE FORMAT 8
CHANGING YOUR PREFERRED LANGUAGE 8
BACKLIGHT 8
DAB SETTINGS....9
FM RADIO SETTINGS....9
NEDERLANDS....10
UITPAKKEN 11
PRODUCT OVERZICHT....11
QUICK SETUP 11
SOURCE MENU 11
WIJZIGEN VAN DE INFORMATIE OP HET BEELDSCHERM....12
LUISTEREN NAAR DIGITALE OF FM-RADIO....12
WISSELEN TUSSEN FM STATIONS....12
MET BEHULP VAN RADIOPRESETS....13
MET BEHULP VAN AUX INGANG 13
MET BEHULP VAN DE BT-INGANG....13
INSTELLEN VAN ALARMEN EN TIMERS....13
EEN ALARMSIGNAAL GEVEN 14
TIJD- EN DATUMINSTELLINGEN....14
OPTIES VOOR TIJD- EN DATUMSYNCHRONISATIE....14
DAS EINNICKEN EINES ALARMTONS 20
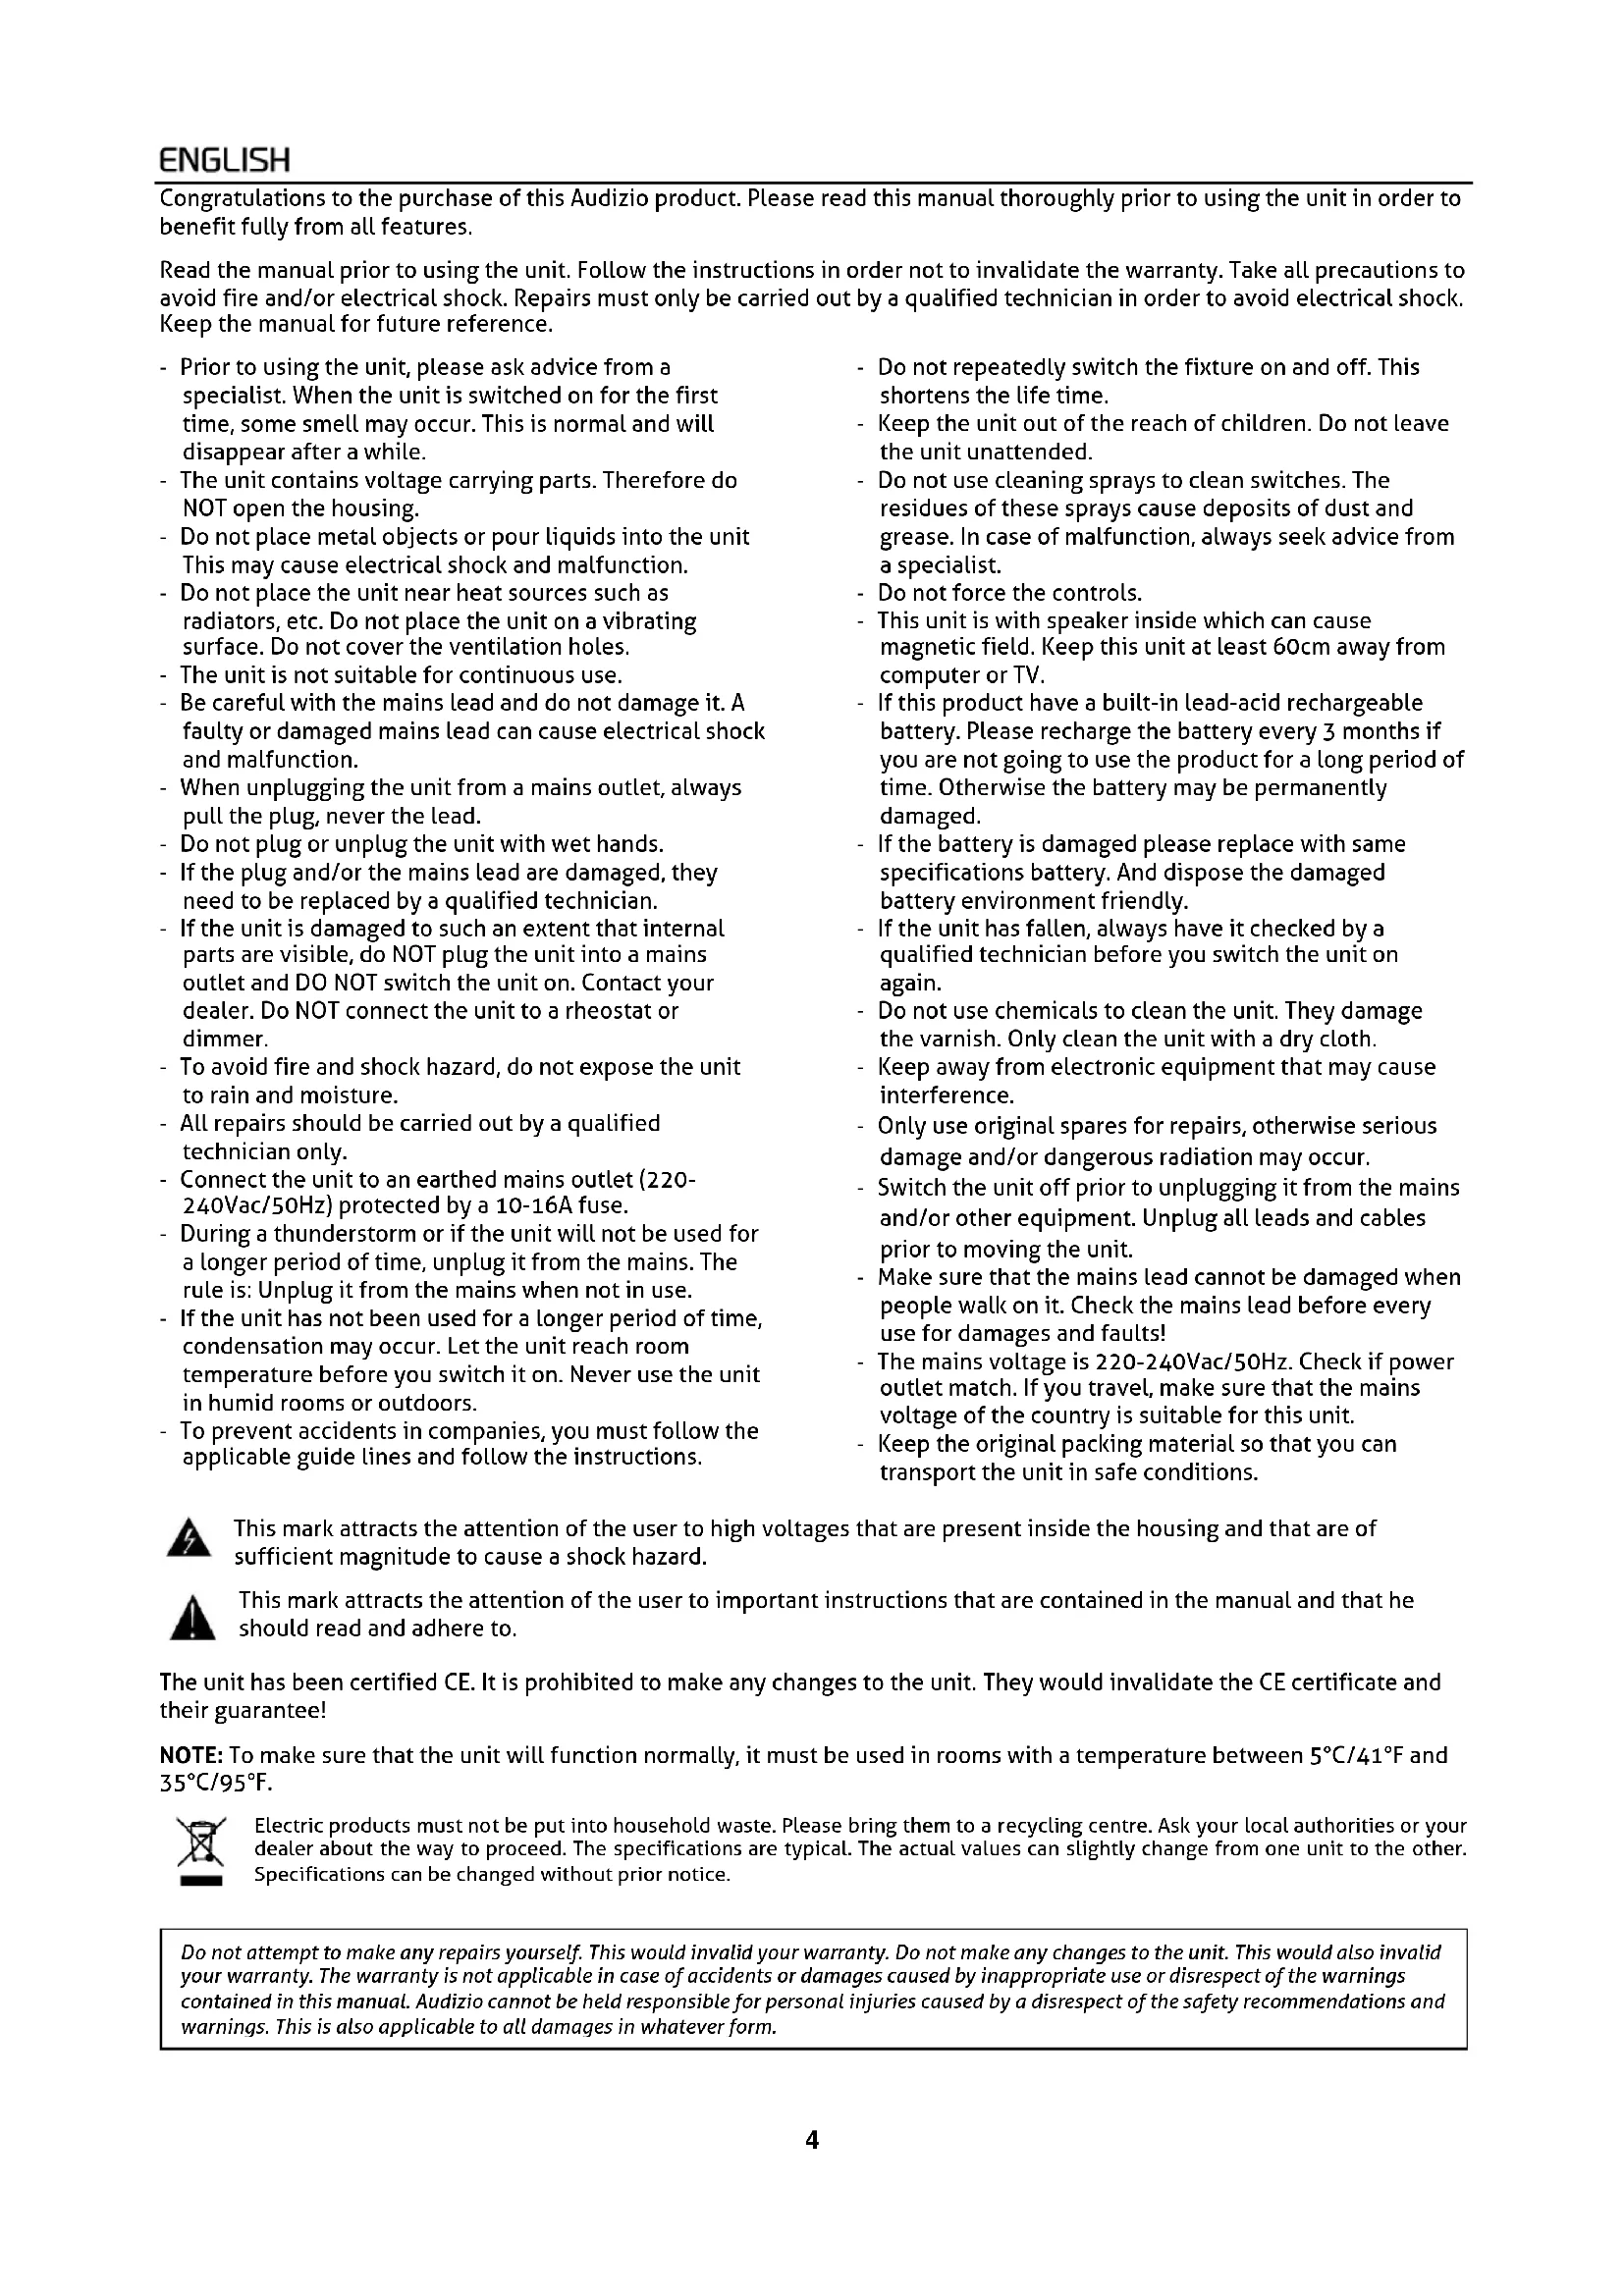
Congratulations to the purchase of this Audizio product. Please read this manual thoroughly prior to using the unit in order to benefit fully from all features.
Read the manual prior to using the unit. Follow the instructions in order not to invalidate the warranty. Take all precautions to avoid fire and/or electrical shock. Repairs must only be carried out by a qualified technician in order to avoid electrical shock. Keep the manual for future reference.
- Prior to using the unit, please ask advice from a specialist. When the unit is switched on for the first time, some smell may occur. This is normal and will disappear after a while.
- The unit contains voltage carrying parts. Therefore do NOT open the housing.
- Do not place metal objects or pour liquids into the unit This may cause electrical shock and malfunction.
- Do not place the unit near heat sources such as radiators, etc. Do not place the unit on a vibrating surface. Do not cover the ventilation holes.
- The unit is not suitable for continuous use.
- Be careful with the mains lead and do not damage it. A faulty or damaged mains lead can cause electrical shock and malfunction.
- When unplugging the unit from a mains outlet, always pull the plug, never the lead.
- Do not plug or unplug the unit with wet hands.
- If the plug and/or the mains lead are damaged, they need to be replaced by a qualified technician.
- If the unit is damaged to such an extent that internal parts are visible, do NOT plug the unit into a mains outlet and DO NOT switch the unit on. Contact your dealer. Do NOT connect the unit to a rheostat or dimmer.
- To avoid fire and shock hazard, do not expose the unit to rain and moisture.
- All repairs should be carried out by a qualified technician only.
- Connect the unit to an earthed mains outlet (220-240Vac/50Hz) protected by a 10-16A fuse.
- During a thunderstorm or if the unit will not be used for a longer period of time, unplug it from the mains. The rule is: Unplug it from the mains when not in use.
- If the unit has not been used for a longer period of time, condensation may occur. Let the unit reach room temperature before you switch it on. Never use the unit in humid rooms or outdoors.
-
To prevent accidents in companies, you must follow the applicable guide lines and follow the instructions.
-
Do not repeatedly switch the fixture on and off. This shortens the life time.
- Keep the unit out of the reach of children. Do not leave the unit unattended.
- Do not use cleaning sprays to clean switches. The residues of these sprays cause deposits of dust and grease. In case of malfunction, always seek advice from a specialist.
- Do not force the controls.
- This unit is with speaker inside which can cause magnetic field. Keep this unit at least 60cm away from computer or TV.
- If this product have a built-in lead-acid rechargeable battery. Please recharge the battery every 3 months if you are not going to use the product for a long period of time. Otherwise the battery may be permanently damaged.
- If the battery is damaged please replace with same specifications battery. And dispose the damaged battery environment friendly.
- If the unit has fallen, always have it checked by a qualified technician before you switch the unit on again.
- Do not use chemicals to clean the unit. They damage the varnish. Only clean the unit with a dry cloth.
- Keep away from electronic equipment that may cause interference.
- Only use original spares for repairs, otherwise serious damage and/or dangerous radiation may occur.
- Switch the unit off prior to unplugging it from the mains and/or other equipment. Unplug all leads and cables prior to moving the unit.
- Make sure that the mains lead cannot be damaged when people walk on it. Check the mains lead before every use for damages and faults!
- The mains voltage is 220-240Vac/50Hz. Check if power outlet match. If you travel, make sure that the mains voltage of the country is suitable for this unit.
- Keep the original packing material so that you can transport the unit in safe conditions.

This mark attracts the attention of the user to high voltages that are present inside the housing and that are of sufficient magnitude to cause a shock hazard.

This mark attracts the attention of the user to important instructions that are contained in the manual and that he should read and adhere to.
The unit has been certified CE. It is prohibited to make any changes to the unit. They would invalidate the CE certificate and their guarantee!
NOTE: To make sure that the unit will function normally, it must be used in rooms with a temperature between 5^ C/41°F and 35^ C/95°F.

Electric products must not be put into household waste. Please bring them to a recycling centre. Ask your local authorities or your dealer about the way to proceed. The specifications are typical. The actual values can slightly change from one unit to the other. Specifications can be changed without prior notice.
Do not attempt to make any repairs yourself. This would invalid your warranty. Do not make any changes to the unit. This would also invalid your warranty. The warranty is not applicable in case of accidents or damages caused by inappropriate use or disrespect of the warnings contained in this manual. Audizio cannot be held responsible for personal injuries caused by a disrespect of the safety recommendations and warnings. This is also applicable to all damages in whatever form.
UNPACKING INSTRUCTION
CAUTION! Immediately upon receiving the product, carefully unpack the carton, check the contents to ensure that all parts are present, and have been received in good condition. Notify the shipper immediately and retain packing material for inspection if any parts appear damage from shipping or the package itself shows signs of mishandling. Save the package and all packing materials. In the event that the product must be returned to the factory, it is important that the product be returned in the original factory box and packing.
If the device has been exposed to drastic temperature fluctuation (e.g. after transportation), do not switch it on immediately. The arising condensation water might damage your device. Leave the device switched off until it has reached room temperature.
PRODUCT OVERVIEW

text_image
Maudizio HIVU- HIVU+ INFORMEN SOURCE PROSET 1 2 3 4 5 6 7 8 SOURCE ORDER NO.5 VOL- VOL+ SOLIN SW+0 11 12 10 9- Speaker
- Tuner - / BT / Button
- Source Button
- Tuner + / BT / Button
- Presets Button
- Menu/Info Button
- Power button
- TFT LCD Display
- Volume / Select / Enter dial/button
- Phones out Jack
- Aux input
- 5V/1A DC jack
QUICK SETUP
- Connect the micro-USB cable to the micro-USB port.
- Connect the other end of the micro-USB cable to a power outlet, using a USB power adapter (not included). You can also charge the battery by connecting DAB to a computer's USB port.
- Pull out the antenna and position the antenna in a good reception direction.
- Turn radio on by pressing the [POWER] button for DC power mode. Or turn radio on by pressing and hold the [POWER] button for battery mode.
Note:
- Before you switch on the first time, charge the battery for at least 8 hours.
-
The first time the radio is switched on, it will start up in DAB mode. It will automatically scan for the available radio stations.
-
In DAB mode, the [▶▶] or [◀◀] button allows you to navigate between different stations. Push [ENTER] to choose the one you want to listen to.
SOURCE MENU
Press the [SOURCE] button to display the 'Source' menu. Turn and press the [SELECT] dial to switch between input sources.
Description Function
DAB Radio Listen to a digital radio station.
FM Radio Listen to an FM radio station.
BT Listening to a BT device
AUX Listen to content from a device connected to your Aux in connection
When listening to a digital or FM radio station, you can change the information that is displayed on the screen.
Digital radio
When listening to digital radio, press the Select dial to toggle the information displayed on screen between Scrolling text, Programme, Channel / frequency, Signal strength / error, Bitrate or Date.
When listening to digital radio, you can also press and hold the [SELECT] dial to toggle the display to show the 'Now playing' screen, a full screen version of the radio station artwork and a screen that shows information about the show that is being broadcast along with the radio station artwork.
FM radio
When listening to FM radio, press the [SELECT] dial to toggle the information displayed on the screen between 'Scrolling text', 'Programm type', 'Frequency', 'Stereo/Mono' and 'Date'.
LISTENING TO DIGITAL OR FM RADIO
Power
Press [POWER] button to turn on the DAB Digital Radio.
Changing digital DAB stations
1 Press the [SOURCE] button and turn and press the [SELECT] dial to select 'DAB radio' from the Home screen.
text_image
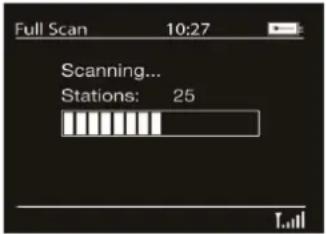
Full Scan 10:27 Scanning... Stations: 25- Press the [▶▶] or [◀◀] button for station list.
text_image
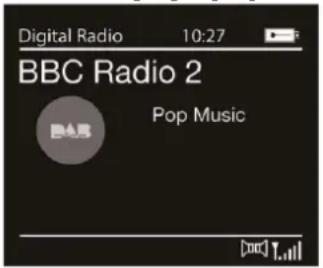
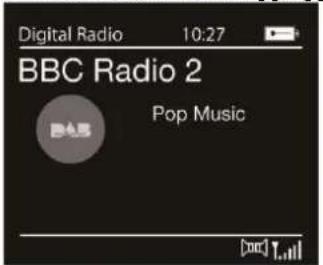
Digital Radio 10:27 BBC Radio 2 Pop Music- Press the [▶▶] or [◀◀] button or [SELECT] dial to select your favorite radio station.
text_image
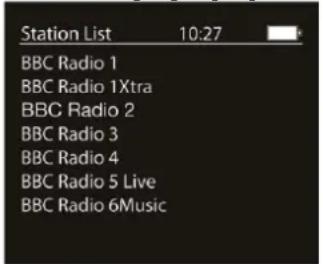
Station List 10:27 BBC Radio 1 BBC Radio 1Xtra BBC Radio 2 BBC Radio 3 BBC Radio 4 BBC Radio 5 Live BBC Radio 6Music- Press the [ENTER/SELECT] button to listen to your favorite radio station
CHANGING FM STATIONS
Seek tuning
- Press the [SOURCE] button the Select 'FM radio'.
- Press the [▶▶] or [◀◀] button FM radio station that has a strong signal.
USING RADIO PRESETS
You can store up to 30 digital radio and 30 FM radio stations for quick access.
To store a station to the preset list:
- Tune to the digital or FM radio station you want to store.
- Hold the [PRESET] button to view the numerical list of stored presets, then turn and press the [SELECT] dial to choose any Preset number between 1 and 30. You can overwrite existing presets.
To recall a preset when listening to digital radio or FM radio
Hold the [PRESET] button, turn the [SELECT] dial right or left to scroll through the list of presets, then push and release the [SELECT] dial to tune to the selected preset.
USING THE AUXILIARY INPUT
You can use the auxiliary input play any music from your phone or tablet.
Selecting the auxiliary input
- Press the [SOURCE] button and turn and press the [SELECT] dial to select 'AUX' from the Home screen.
- On your auxiliary device, start to play the content that you selected on your auxiliary device.
USING THE BT INPUT
You can use BT to wirelessly connect to a device, such as a mobile phone or tablet. You can then stream music from your mobile phone or tablet through.
Note: The first time you connect a BT device, you need to pair them. After you've paired a device, remembers it for the next time.
Listening to a BT device
- Press the [SOURCE] button and select 'BT'.
- On your BT device Anzio, switch BT on and connect.
- Select your favorite song, tap the [ENTER] button on your BT device or the [ENTER] button on the Anzio to play or pause the song from your BT device.
- Press the [▶▶] or [◀◀] button to select the next or previous track. If you want to pair (link) the Anzio with another BT device, press and hold the pairing button a few seconds. The "connected" will flash. The Anzio will go into Pairing/Discoverable mode.
Note: For more information, see your BT device's user manual. If you are asked to enter a passcode, enter 0000.
Disconnecting a BT device
To disconnect a BT device, do one of the following:
- Press source to switch to digital radio or FM radio.
- Switch off BT on the connected device.
SETTING ALARMS AND TIMERS
Setting an alarm
- Press and hold the [MENU] button to view the main menu.
- Turn and press the [SELECT] dial to select 'Alarm'.
- From the 'Alarm' menu, turn and press the [SELECT] dial to select either 'Alarm 1' or 'Alarm 2'.
- Select 'ON time' by turning and pressing the [SELECT] dial, turn the dial to adjust the hours and minutes, pressing [SELECT] to confirm each section.
- Turn and press the [SELECT] dial to select 'Duration'. Turn and press the [SELECT] to set the duration that the alarm will sound in minutes
- Turn and press the [SELECT] dial to select 'Source'. Turn and press the [SELECT] dial to choose between = 'Buzzer', 'DAB' or 'FM', then press the [SELECT] dial to confirm.
- If you've chosen 'DAB' or 'FM' radio, turn and press the [SELECT] dial to select 'Preset'. To play the station you last listened to, turn and press the [SELECT] dial to select 'Last listened' or turn and press the [SELECT] dial to choose a radio station from the preset list.
Note: Skip this step if you are setting a Tone alarm.
- Turn and press the [SELECT] dial to select 'Cycle', Turn and press the [SELECT] dial to choose between 'Daily', 'once', 'weekends' or 'weekdays'.
- Turn and press the [SELECT] dial to select 'Volume'. Turn and press the [SELECT] the dial to set the volume of the alarm.
- Press [SELECT] to turn 'Alarm' to 'ON'.
SNOOZING A SOUNDING ALARM
To snooze a sounding alarm, press the [SELECT] dial. The display will show a countdown timer to show and the alarm will restart again after 9 minutes on each press. To cancel a snoozing alarm press the [STANDBY] button.
Setting the sleep timer
- Press the Menu button and turn and press the Select dial to select 'System Settings'.
- Turn and press the [SELECT] dial to select 'Sleep'.
- Turn and press the [SELECT] dial to adjust the length of the sleep timer.
Cancelling a sounding alarm
Press [STANDBY] to cancel any sounding alarm or press [SOURCE] to cancel and leave the radio on.
TIME AND DATE SETTINGS
The clock will automatically set itself using your digital or FM radio signal. If the time or date does not update automatically, you can manually set it using this option.
Note: Any time or date updates received by a digital broadcast will override manual settings.
Setting the time and date manually
- Press and hold the [MENU] button to view the main menu.
- Turn and press the [SELECT] dial to select 'System settings' > 'Time'.
- Turn and press the [SELECT] dial to choose 'Set Time/Date'.
- Turn and press the [SELECT] dial to set the day of the month. Repeat to set the month and year.
- Turn and press the [SELECT] dial to set the hour. Repeat to adjust the minutes.
Note: If you have set your the 12 hour time format, make sure that you select the 'AM' or 'PM' version of the hour before pressing the Select dial.
TIME AND DATE SYNCHRONIZATION OPTIONS
You can synchronize the time and date on the FM or digital radio signal.
To specify the clock synchronization options:
- Press and hold the [MENU] button to view the main menu.
- Turn and press the [SELECT] dial to select 'System settings' > 'Time'.
- Turn and press the [SELECT] dial to choose 'Auto update'.
- Turn and press the [SELECT] dial to choose between the 'update from Any', 'update from DAB', 'update from FM' and 'No Update' clock synchronization options.
CHANGING THE TIME FORMAT
- Press and hold the [MENU] button to view the main menu.
- Turn and press the [SELECT] dial to select 'System settings' > 'Time'.
- Turn and press the [SELECT] dial to choose 'Set 12/24 hour'.
- Turn and press the [SELECT] dial to choose between '12' or '24' hours.
CHANGING THE DATE FORMAT
- Press and hold the [MENU] button to view the main menu.
- Turn and press the [SELECT] dial to select 'System settings' > 'Time'.
- Turn and press the [SELECT] dial to choose 'Set date format'.
- Turn and press the [SELECT] dial to choose between 'DD-MM-YYYY' and 'MM-DD-YYYY'.
CHANGING YOUR PREFERRED LANGUAGE
You can select the language for menus and options.
- Press and hold the [MENU] button to view the main menu.
- Turn and press the [SELECT] dial to choose 'System settings' > 'Language'.
- Turn and press the [SELECT] dial to select a menu language.
BACKLIGHT
You can adjust the duration that the screen is illuminated for and the brightness of the screen when:
Timeout
To adjust the duration of the screen backlight before dimming:
- Press and hold the [MENU] button to view the main menu
- Turn and press the [SELECT] dial to choose 'System settings' > 'Backlight'.
- Turn and press the [SELECT] dial to choose 'Timeout'.
- Turn and press the [SELECT] dial to choose a timeout setting. To specify that the backlight should always remain on, choose 'On'.
On level
- Press and hold the [MENU] button to view the main menu
- Turn and press the [SELECT] dial to choose 'System settings' > 'Backlight'.
- Turn and press the [SELECT] dial to choose 'On Level'.
- Turn and press the [SELECT] dial to choose between 'High', 'Medium' or 'Low'.
Dim level
- Press and hold the [MENU] button to view the main menu.
- Turn and press the [SELECT] dial to choose 'System settings' > 'Backlight'.
- Turn and press the [SELECT] dial to choose 'Dim Level'.
- Turn and press the [SELECT] dial to choose between 'High', 'Medium', 'Low'.
Carrying out a factory reset
Resetting removes all presets, stored stations, alarms and resets all other options to default settings.
- Press and hold the [MENU] button to view the main menu...
- Turn and press the [SELECT] dial to choose 'System settings' > 'Factory Reset'.
- Turn and press the [SELECT] dial to select 'Yes' to reset factory settings. Select 'No' if you do not want to reset to factory settings.
DAB SETTINGS
Note: You can only see the DAB settings when you have selected "DAB" as the radio source.
Full scan
You can use the "Full Scan" (auto tune) function to automatically scan for new digital radio stations and remove inactive ones. To carry out an auto tune, press the [SCAN/ENTER] button .The number of stations found will be displayed during the auto tune. When the auto tune has finished, the last station that you were listening to. If the last station you were listening to is no longer available, will tune into the first station in the alphabetical list.
Manual tuning
To manually check the signal strength of a known channel:
1. Press and hold the [MENU] button to view the main menu.
2. Turn and press the [SELECT] dial to choose 'Manual tune'.
3. Turn and press the [SELECT] dial to choose the channel
Dynamic range control
Dynamic Range Control (DRC) is used to make quieter sounds in a digital radio broadcast easier to hear at low volume or in a noisy environment. Check with the broadcasters to find out if they use DRC.
To change the DRC settings:
- Press and hold the [MENU] button to view the main menu.
- Turn and press the [SELECT] dial to choose 'DRC'.
- Turn and press the [SELECT] dial to choose between one of the following options:
DRC high: Applies maximum compression to the DRC level.
DRC low: Applies reduced compression to the DRC level.
DRC off: Removes DRC compression.
FM RADIO SETTINGS
Note: You can only see the FM radio settings when you have selected 'FM' as the radio source.
FM stereo option
You can choose between stereo or mono reception when listening to FM radio. Mono may improve clarity where stereo signals are weak.
To change between Stereo or Mono reception:
- Press and hold the Menu button to view the main menu.
- Turn and press the Select dial to choose 'Audio Setting'.
- Select between 'Stereo Allowed' or 'Forced Mono'.
FM scan
You can choose whether automatically stops at the next available FM station or the next available FM station with a strong signal when scanning for an FM station. To change the FM scan setting:
- Press and hold the [MENU] button to view the main menu.
- Turn and press the [SELECT] dial to choose 'Scan Setting'.
- Select between 'Strong Stations Only' or 'All Stations'.
text_image
Full Scan 10:27 Scanning... Stations: 25-
Press the [SOURCE] button the Select 'FM radio'.
-
Press the [TUNER+/-] button FM radio station that has a strong signal.
Zoek afstemming
text_image
Full Scan 10:27 Scanning... Stations: 25 TallDAS EINNICKEN EINES ALARMTONS
You can select the language for menus and options.
-
Press and hold the [MENU] button to view the main menu.
-
Turn and press the [SELECT] dial to choose 'System settings' > 'Language'.
-
Turn and press the [SELECT] dial to select a menu language.
text_image
Full Scan 10:27 Scanning... Stations: 25 Tull- Presione los botones [▶] ▶ [ ] pôla la lista de emisoras.
text_image
Digital Radio 10:27 BBC Radio 2 Pop MusicCarrying out a factory reset
Dynamic range control
FM Ecoute radio : station FM
BT Ecoute appareil BT
text_image
Full Scan 10:27 Scanning... Stations: 25 Tulltext_image
Digital Radio 10:27 BBC Radio 2 Pop Music [ABC] 7.111Built-in battery : 2000mA lithium-ion rechargeable battery
Power Supply : 5Volt via USB
Dimensions per unit : 155 x 45 x 115mm
Weight (per unit) : 0,38 kg
The specifications are typical. The actual values can slightly change from one unit to the other. Specifications can be changed without prior notice.
The products referred to in this manual conform to the European Community Directives to which they are subject:
European Union
Tronios B.V.,
7602KR Almelo, The Netherlands
2014/35/EU
2014/30/EU
2011/65/EC
2014/53/EU

United Kingdom
Tronios Ltd.,
130 Harley Street,
London W1G 7JU, United Kingdom
S.I. 2016:1101
S.I. 2016:1091
S.I. 2012:3032
S.I. 2017:1206

Specifications and design are subject to change without prior notice.
www.tronios.com
Copyright © 2022 by Tronios The Netherlands