Predator - Chair Prixton - Free user manual and instructions
Find the device manual for free Predator Prixton in PDF.

User questions about Predator Prixton
0 question about this device. Answer the ones you know or ask your own.
Ask a new question about this device
Download the instructions for your Chair in PDF format for free! Find your manual Predator - Prixton and take your electronic device back in hand. On this page are published all the documents necessary for the use of your device. Predator by Prixton.
USER MANUAL Predator Prixton
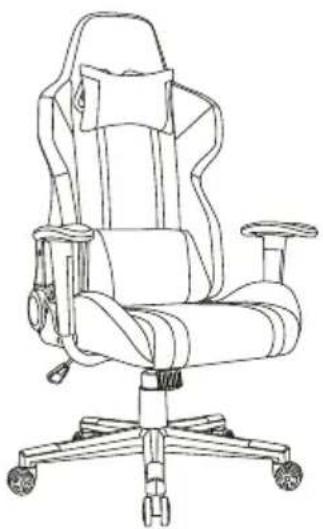
SILLA GAMING GAMING CHAIR
Cuidado!
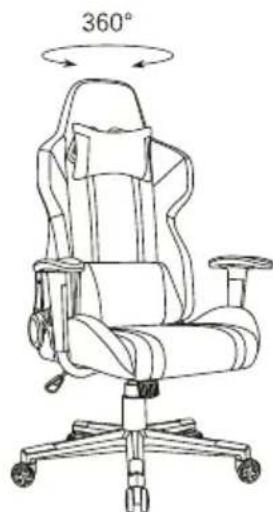
4-Giro 360^
Please read the instructions carefully before assembly, and assemble the product properly according to the instructions, don't put in use of the product before it is fully assembled.
For any damage or defective, kindly contact our online after-sale service staff.
The features and specifications of the product are subjects to changes without prior notice.
To avoid product damage and personal injury, assemble the product properly.
To avoid product damage and personal injury, please check the product's load capacity and do not support user's whole body on the chair arms.
To avoid personal injury, place the product on the flat ground.
Do not stand on the product.
To avoid personally injury, don't use the damaged product, and dispose it properly. Indoor use only.
Only trained people should repair or replace the back angle adjustment component with energy accumulator contained.
Please keep the instructions in case of further use.
Please keep the product out of reach of the chil dren. it's notable toy!
Please be careful when unpacking, to avoid personal injury and other risks, do not touch the handle during assembly and keep the parts out of reach of children.

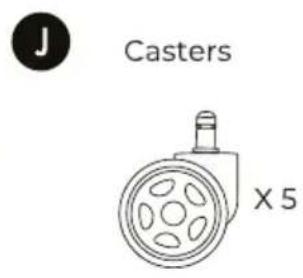
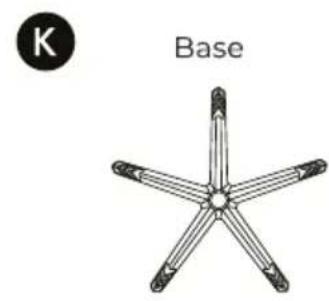
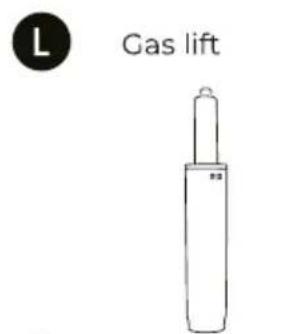
Parts
Check and make sure you get the components on the list, contact us for any missing.

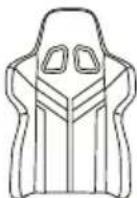
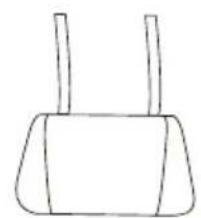
Backrest

Seat

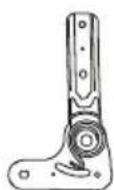
Angle adjuster

Connector

Right plastic cover

Right plastic cover
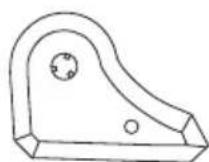

Left plastic cover


Left plastic cover
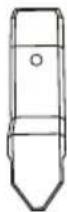


X6


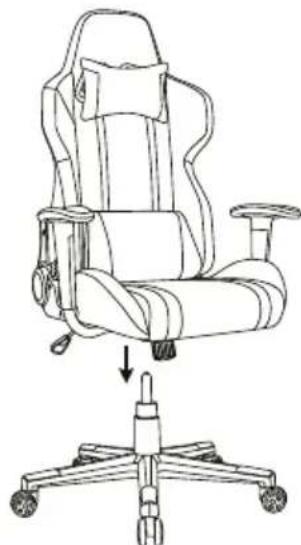
Installation step
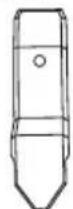
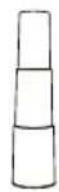
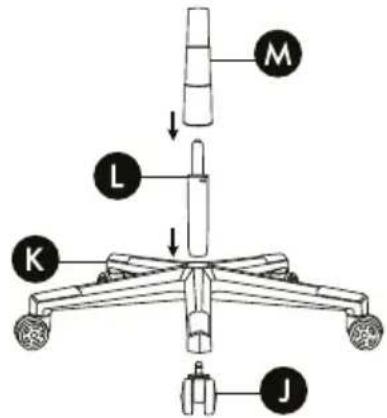
1-Attach wheels to the fivestar base then install the gas lift and put on the plastic cover.
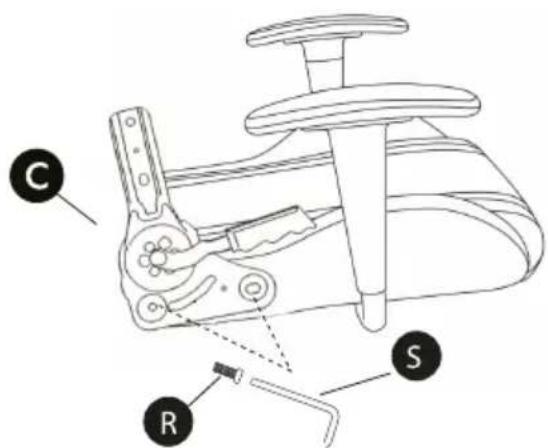
3-Fix the angle adjuster(C) to the right side of the seat.
2-Fix the armrests to the base of seat.
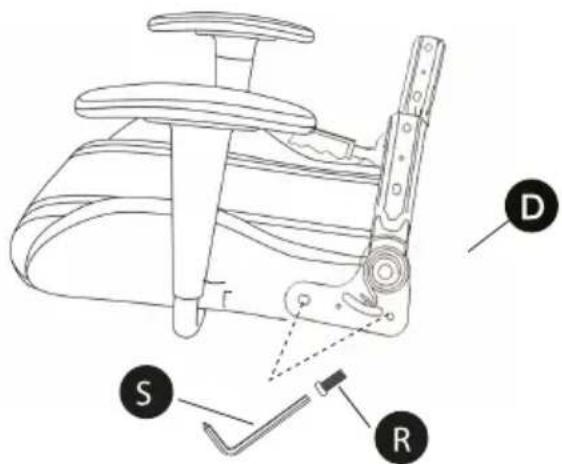
4-Fix the connector(D)to the left side.
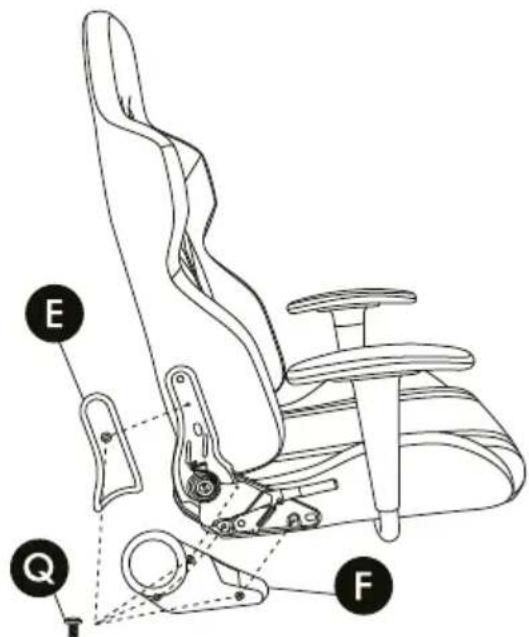
6-Fix the plastic covers(E&F) to right side of the backrest.
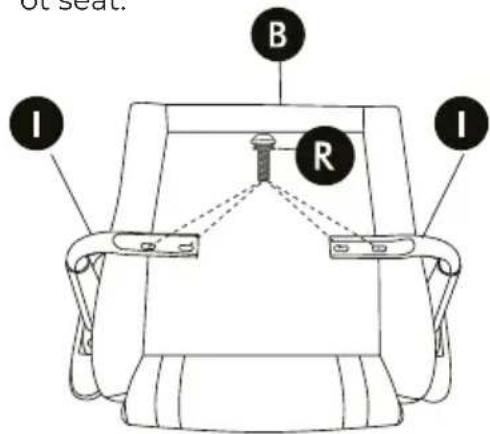
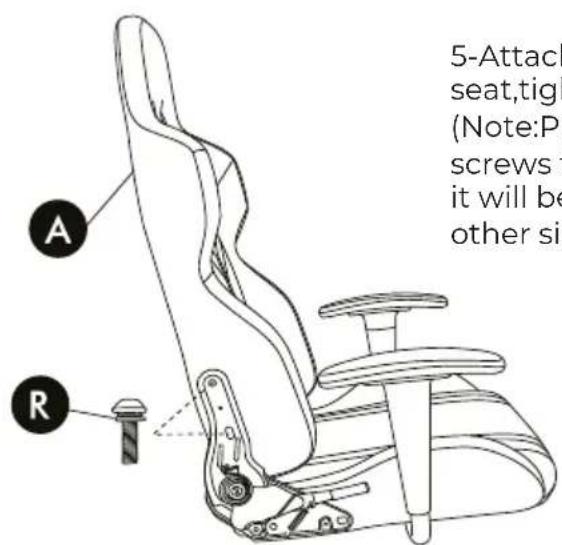
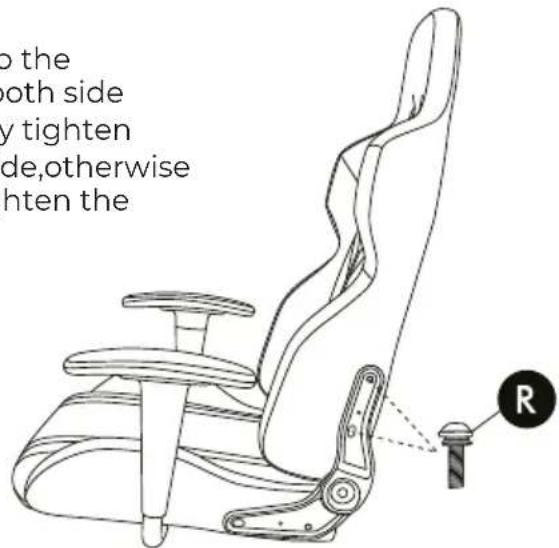
5-Attach the backrest to the seat,tighten screws of both side (Note:Please do not only tighten screws tightly on one side,otherwise it will be difficulty to tighten the other side).
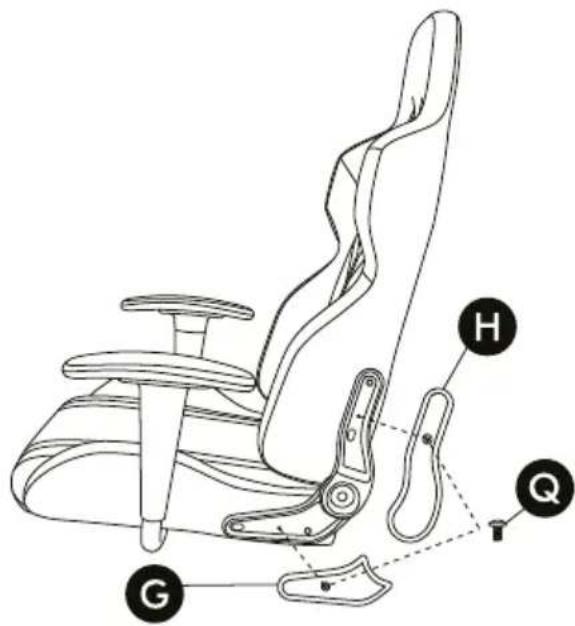
7-Fix the plastic covers(G&H) to the left side.
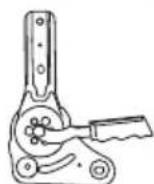
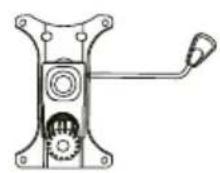
8-Fix the Control unit to the base of the seat (Note:The lever of the control unit should be on the right).
9-Insert the gas lift in the control unit.

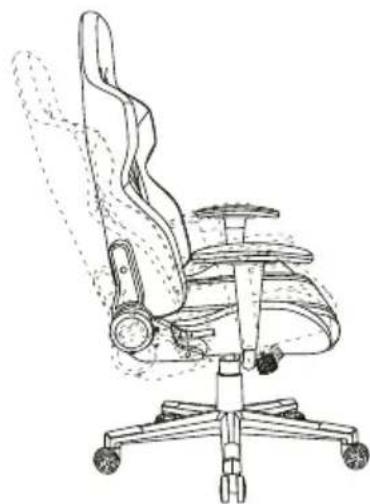
Function
I-Load capacity up to 136 kg
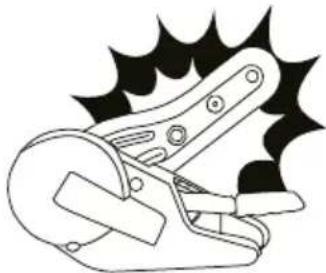
3-Rocking: Pull out the handle to start rocking. Insert to stop rocking.

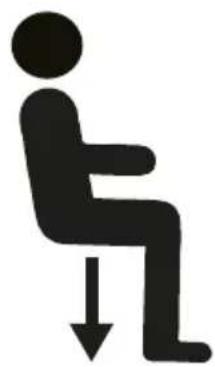
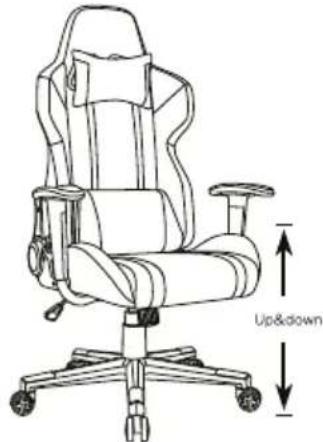
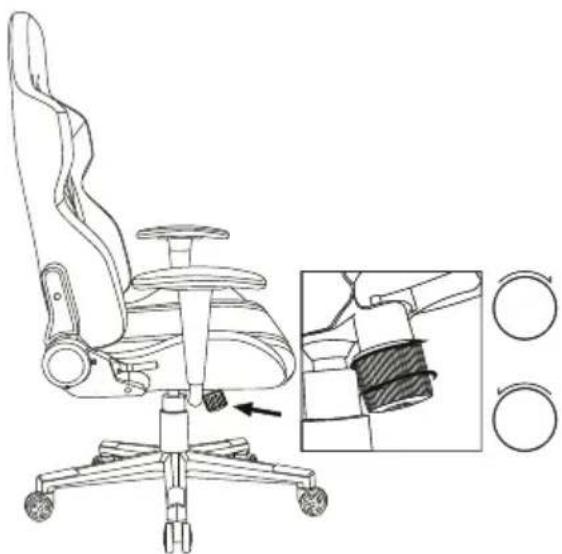
2-Seat Height adjustment (Adjusting knob on the right).
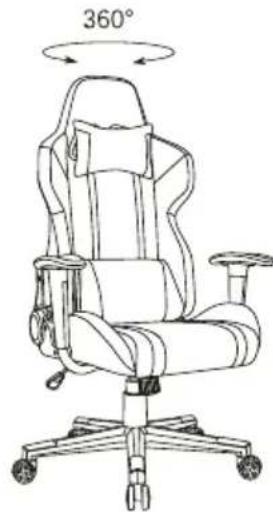
4-360 degree swivel.
Rocking function
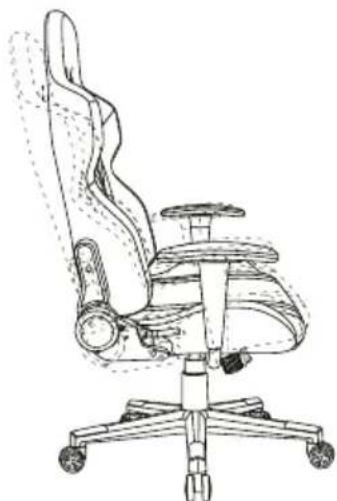
Clockwise rotation. Rocking angle 0 - 10^
Counterclockwise rotation. Rocking angle 0 - 30^
Clockwise rotation. Rocking angle 0 - 10^
Counterclockwise rotation. Rocking angle 0 - 30^
Installation step
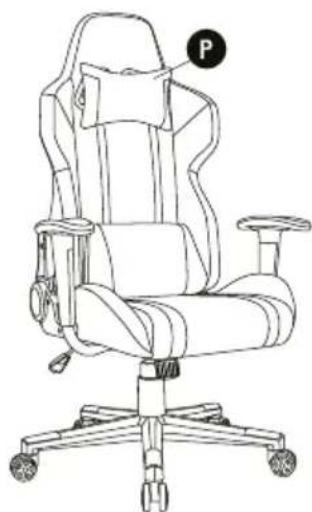
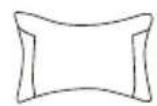
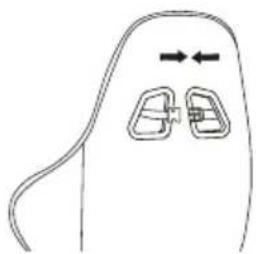
Attach headrest cushion Method One
Attach headrest cushion Method Two
Insert the elastic through the plastic hale. Tighten the elastic.
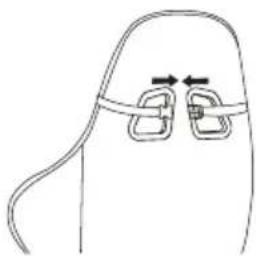
Put headrest cushion on the backrest.
Instruction during use
I. Please move the product gently to avoid collision.
2. Please keep out of direct sunlight.
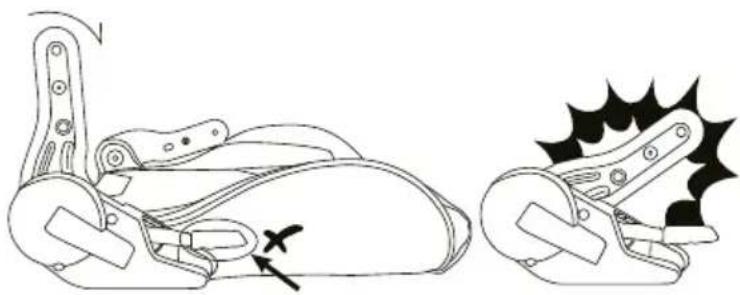
3. Please ensure the centre of gravity is on the hydrauli during use.
4. Please watch your fingers when you adjusting the backrest angle.
5. Please toggle the handle under your seat when adjusting the cha ir height. Do not press it down roughly.
6. Please lift the lever gently to raise or lower the height of the chair. Do not pull it roughly.
7. Do not place any heavy objects on the cha ir or armrest.
8. Plastic parts will split if cha ir is exposed to direct sunlight.
9. Please do not use abrasive cleaners on the chairs.
It is advised that the users check the screws and tighten them up every 6 months, for any parts missing or defective, kindly contact us and we will be glad to be helpful.
Q: How to assemble the cha ir seat and the cha ir back?
A: Put all the seat screws in position and do not tighten, put all the back screws in position and do not tighten, adjust the seat and back well and tighten all the screws.
Q: How to assemble the seat base and seat?
A: Find the mark "Front". Find the base side with mark "Front", put all the base screws in position and tight them a little, adjust the seat and seat base well, tighten all the screws.

Warning!
Keep the cha ir out of reach of the children!
To avoid personal damage, do not pull the handle during assembly.
Warranty policy
This product is guaranteed for 2 years from the date of purchase. When you have a problem that you can not solve, you must access the web www.prixton.com and click on the contact option to send us your assistance form.
These technical and electrical specifications are those of typical units and may be changed without prior notice in order to provide improved equipment.
Simplified eu declaration of conformity
We, La Trastienda Digital located in Avenida Cervantes 49, modulo 25, Basauri 48970, Bizkaia hereby declare that the following goods, imported and selling at European market:
| BRAND | MODEL NAME DESCRIPTION | CATEGORY | |
| PRIXTON | PREDATOR | GAMING CHAIR | GAMING |
Are in compliance with the EC Council Directive of 2014/53/EU (EM DIRECTIVE) and harmonized standards and with the board of the 16th of April 2014.
The complete text of the UE Declaration of conformity is available anytime at this website address:
www.prixton.com
LA TRASTIENDA DIGITAL