
OJU 102 - Juicer OK - Free user manual and instructions
Find the device manual for free OJU 102 OK in PDF.
| Product type | Juice extractor (electric citrus press) |
| Brand | OK |
| Model | OJU 102 |
| Rated power | 40 W |
| Protection class | Class II |
| Juice container capacity | 500 ml |
| Suitable fruit types | Citrus fruits (oranges, lemons, grapefruits) |
| Operation | Automatic start by pressing on the extraction cone |
| Main materials | ABS plastic, stainless steel (strainer), rubber (non-slip feet) |
| Dimensions (approx.) | 20 x 17 x 25 cm |
| Weight (approx.) | 1.0 kg |
| Color | Varies by batch |
| Power cord length | Approximately 80 cm |
| Cord storage compartment | Yes, under the base |
| Cleaning | Accessories washable with clean water; base wiped with a damp cloth |
| Maintenance | Empty the filter regularly to prevent clogging |
| Safety | Do not immerse the base; use on a stable surface; unplug before cleaning |
| Available spare parts | Lid, extraction cone, strainer, container, drive shaft |
| Repairability | Repairs exclusively by the manufacturer or a qualified professional |
| Warranty | 2 years (in accordance with applicable legislation) |
| Usage | Domestic use only, indoors |
Frequently Asked Questions - OJU 102 OK
User questions about OJU 102 OK
0 question about this device. Answer the ones you know or ask your own.
Ask a new question about this device
Download the instructions for your Juicer in PDF format for free! Find your manual OJU 102 - OK and take your electronic device back in hand. On this page are published all the documents necessary for the use of your device. OJU 102 by OK.
USER MANUAL OJU 102 OK
natural_image
Transparent glass juice maker with a wooden spoon and lid, no visible text or symbols on the device itself.DE SERBAUCHSANADISUNG
EL DUNLL 09127
EN 1950 MANUE 12
FP MANUAL DE INSTRUMENTS 12
三
P
HU FULHASSZKALDIREZHCKWY 27
IT MANIALE DELL'UTENTE 32
NL GUHSSSWJING 17
P1 INSULICIA CHINECH
PT. AMERICAN PCT (TUES 2015)
二
DV
TR KILLANIS KLA9/U2U 57

21534 11:58 AM
P3_CJU102_140515_408 mls 5-8
21534 11:58 AM
A. Deckel
B. Presskegel
C. Saftsieb
A. Капáкі
B. Κώνος αποχυμωτή
C. Κόσκινο χυμού
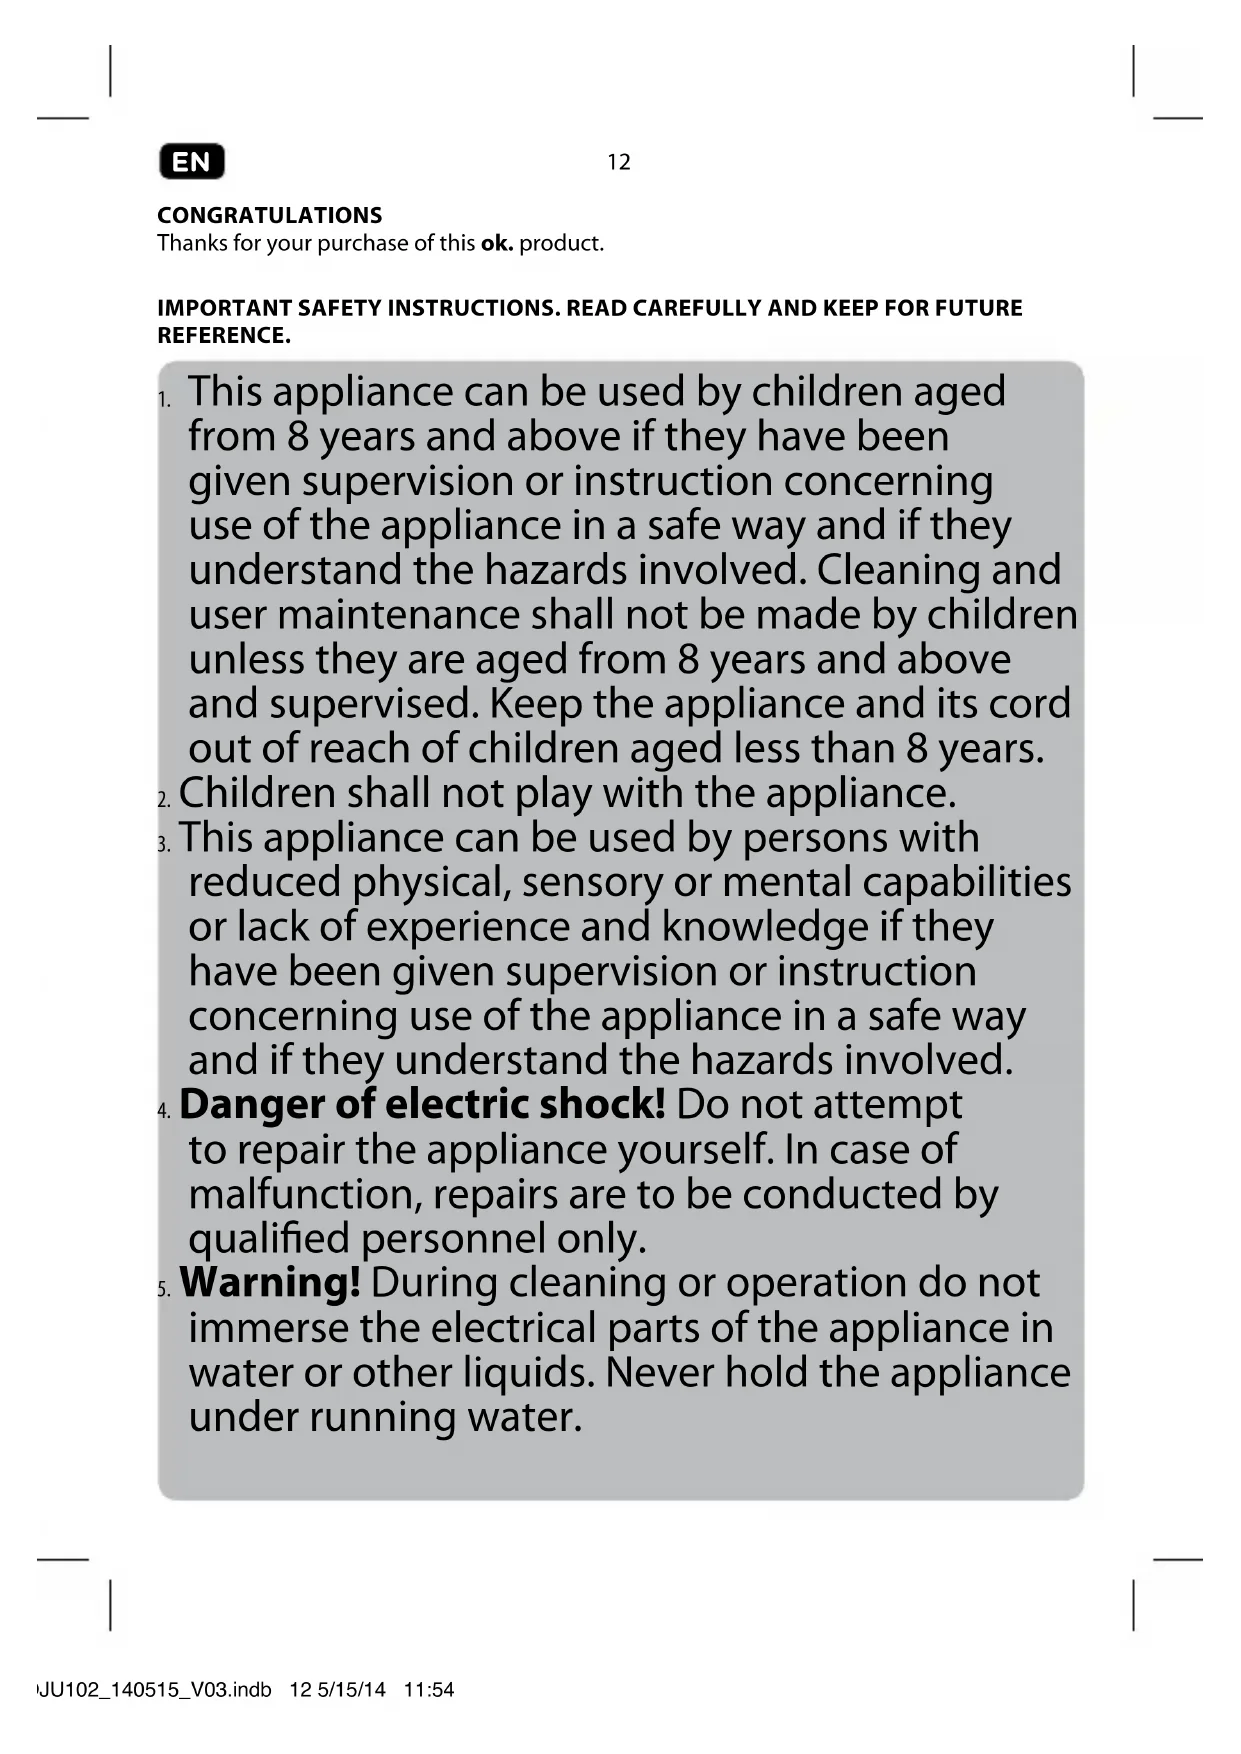
Thanks for your purchase of this ok. product.
IMPORTANT SAFETY INSTRUCTIONS. READ CAREFULLY AND KEEP FOR FUTURE REFERENCE.
- This appliance can be used by children aged from 8 years and above if they have been given supervision or instruction concerning use of the appliance in a safe way and if they understand the hazards involved. Cleaning and user maintenance shall not be made by children unless they are aged from 8 years and above and supervised. Keep the appliance and its cord out of reach of children aged less than 8 years.
- Children shall not play with the appliance.
- This appliance can be used by persons with reduced physical, sensory or mental capabilities or lack of experience and knowledge if they have been given supervision or instruction concerning use of the appliance in a safe way and if they understand the hazards involved.
- Danger of electric shock! Do not attempt to repair the appliance yourself. In case of malfunction, repairs are to be conducted by qualified personnel only.
-
Warning! During cleaning or operation do not immerse the electrical parts of the appliance in water or other liquids. Never hold the appliance under running water.
-
Regularly check the power plug and power cord for damage. If the supply cord is damaged, it must be replaced by the manufacturer, its service agent or similarly qualified persons in order to avoid a danger or injury.
-
Observe all safety instructions to avoid damage through improper use! Follow all safety warnings on the appliance and in this instruction manual.
- Keep this instruction manual for future use. Should this appliance be passed on to a third party, then this instruction manual must be included.
- No liability will be accepted for damage resulting from improper use or non-compliance with these instructions.
- Only use this appliance for its intended use. The appliance is not suitable for commercial use. This appliance is only suitable for indoor and household use.
- Before connecting the appliance to the power supply, check that the power supply voltage and current rating corresponds with the power supply details shown on the appliance rating label.
- Never use a damaged appliance! Disconnect the appliance from the electrical outlet and contact your supplier if it is damaged.
- To avoid damaging to the power cord, do not squeeze, bend or rub it on sharp edges. Keep it away from hot surfaces and open flames as well.
- Lay out the cord in such a way that no unintentional pulling or tripping over it is possible. Keep the appliance and its cord out of reach of children.
- If an extension cord is used, its capacity needs to be suitable for the power consumed by the appliance.
- Do not operate the appliance with wet hands or while standing on a wet floor. Do not touch the power plug with wet hands.
- Do not open the appliance casing under any circumstances. Do not insert any foreign objects into the inside of the casing.
- Never use accessories which are not recommended by the manufacturer. They could present a safety risk to the user and might damage the appliance. Only use original parts and accessories.
- For additional protection, we recommend the use of a residual current device (RCD) with a tripping current not exceeding 30mA in the electrical circuit supplying power to your appliance. The installation should be done by an experienced electrician.
- Keep the appliance away from any hot surfaces and open flames. Always operate the appliance on a level, stable, clean and dry surface.
- Do not pull the power plug out of the electrical outlet by the power cord and do not wrap the power cord around the appliance.
- Connect the power plug to an easily reachable electrical outlet so that in case of an emergency the appliance can be unplugged immediately. Pull the power plug out of the electrical outlet to completely switch off the appliance. Use the power plug as the disconnection device.
- Always disconnect the appliance from the power supply, if it is left unattended and prior to assembling, disassembling or cleaning.
- Dry the appliance and all accessories before connecting to the power supply and prior to attaching the accessories.
- Clean the appliance thoroughly prior to using it.
- Do not use the appliance if the rotating sieve is damaged.

INTeNDeD USe
This appliance is exclusively designed for squeezing citrus fruits – such as oranges, lemons, grapefruits, etc. Do not use it for other purposes.
Any other use might lead to damage of the appliance or personal injury.
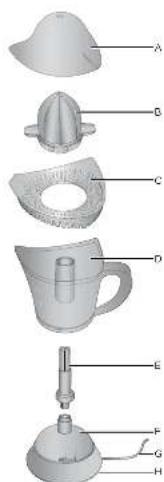
COmpONeNTS
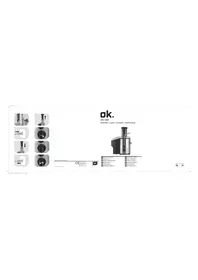
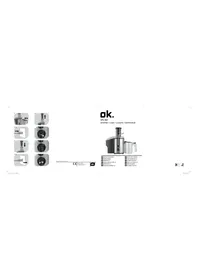
Fold out front and rear page for product illustrations.
A. Lid
E. Drive shaft
B. Juicing cone
F. Motor base
C. Juice sieve
G. Power cord with plug
D. Juice collector with handle
H. Cord storage (underneath the base)
The product may be available in different colours.
BefORe FIRST Time USe
- Remove all packaging materials and retain for future use.
- Check for completeness and transport damage. In case of damages or incomplete delivery please contact your dealer.
- Clean the appliance (→ Cleaning and care).
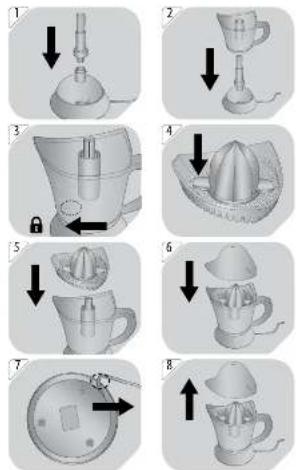
ASSEMBLY AND OPERATION
1 Place the motor base on a flat surface. Insert the drive shaft.
2 Place the juice collector on the motor base.
3 Turn the juice collector leftward to lock it in place.
4 Place the juicing cone on the juice sieve.
5 Place the sieve on the collector.
6 Place the lid over the juicing cone.
The appliance is now ready for use.
Preparing fruits
• Carefully clean citrus fruits before juicing.
• Cut the fruits into halves.
Getting started
7 Unwind the power cord from the cord storage underneath the base. Run the power cord through the recess on the bottom of the motor base.
8 Place the base on a level, stable, dry and heat-resistant surface. Remove the lid.
9 Connect the power plug to a suitable electrical outlet.
10 Press the fruit halve with one hand gently over the juicing cone.
Stabilise the appliance by holding the base with the other hand. When the pressing cone is pressed down, the appliance switches on automatically and the juicing cone starts to move and extracts the juice.
11 Once you have desired amount of juice, remove the sieve from the collector.
12 Turn the juice collector rightward to unlock it. Then, remove the collector.
13 Pour the juice into a glass and enjoy.
14 Unplug the appliance and let it cool before cleaning and storage.
Tips:
• Empty the juice sieve regularly to avoid jamming.
- Ensure the juice collector does not overflow during use.
• During use, do not press the juicing cone too hard.
CLeANING AND CARE
Warning! • Before cleaning: Always switch off the appliance. Unplug it and let it cool completely.
- Never immerse the base or power cord in water or any other liquid.
- For cleaning, never use strong or abrasive cleaning products or sharp edged objects.
- Clean the base with a slightly damp cloth.
- Rinse all the accessories under running water.
• Dry the appliance thoroughly after cleaning.
15 Wind the power cord around the cord storage underneath the base.
• Store the appliance in a cool, dry and clean place, out of the reach of children and pets.
TeCHNICAL DATA
Rated voltage: 230 V\~, 50 Hz
Rated power: 40 W
Protection class: Class II
Collector capacity: 500 ml
DISpOSAL
The crossed-out wheeled bin logo requires the separate collection of waste electric and electronic equipment (WEEE). Electric and electronic equipment may contain dangerous and hazardous substances. Do not dispose of this appliance as unsorted municipal waste. Return it to a designated collection point for the recycling of WEEE. By doing so, you will help to conserve resources and protect the environment. Contact your retailer or local authorities for more information.
FELICIDADES
A. Tapa
B. Cono exprimidor
C. Colador de zumo
A. Fedél
B. Facsarókúp
A. Coperchio
A. Deksel
B. Perskegel
C. Sapzeef
A. Pokrywka
A. Tampa
B. Cone espremedor
C. Filtro de sumo
A. Lock
B. Juicekon
C. Juice-såll
D. Juiceuppsamlare med handtag
E. Drivaxel
F. Motorbas
A. Kapak
Brand : OK
Model : OJU 102
Category : Juicer