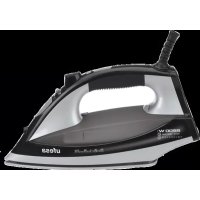
Axis 35 PV1535 - Iron UFESA - Free user manual and instructions
Find the device manual for free Axis 35 PV1535 UFESA in PDF.

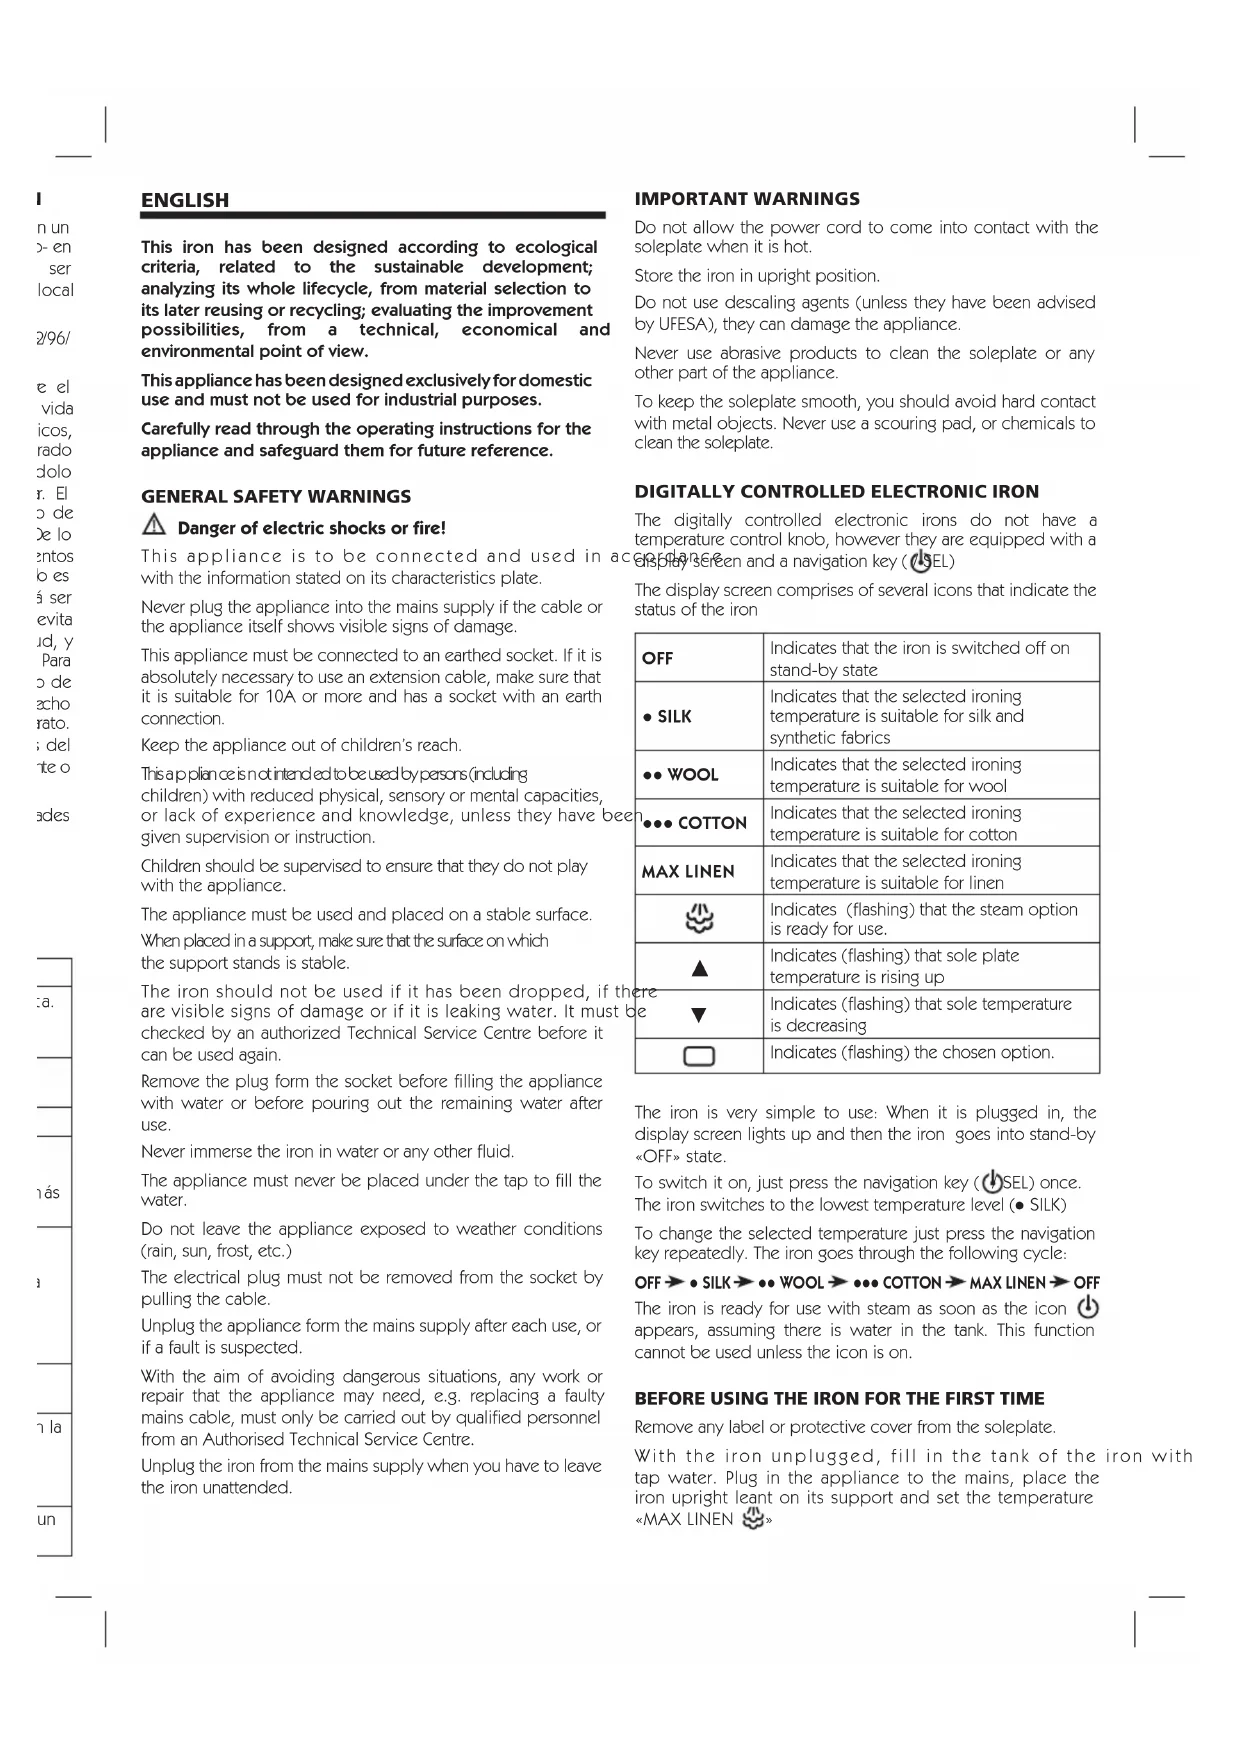


| Brand | Ufesa |
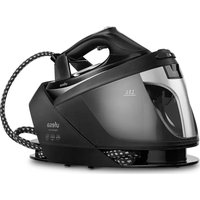
| Model | Axis 35 PV1535 |
| Category | Iron |
| Type | Electronic steam iron |
| Power supply | 220-240 V ~ 50/60 Hz |
| Power | 2400 W |
| Water tank capacity | 300 ml |
| Soleplate | Ceramic soleplate |
| Display | LCD screen with temperature icons |
| Temperature settings | Silk (SILK), Wool (WOOL), Cotton (COTTON), Linen (MAX LINEN) |
| Functions | Steam ironing, water spray, vertical steaming, continuous steam |
| Anti-drip system | Yes |
| Auto shut-off | Yes (8 min vertical, 30 sec horizontal) |
| Descaling system | Multiple system: Self-clean, Calc function, anti-calc cassette (depending on version) |
| Weight | 1.2 kg |
| Dimensions (L x W x H) | 30 x 12 x 15 cm |
| Maintenance | Clean soleplate with a damp cloth, regular descaling |
| Safety | Auto shut-off, grounded plug, overheating protection |
| Included accessories | Rest base, water tank, anti-calc cassette |
| Repairability | Contact an authorized technical support center |
Frequently Asked Questions - Axis 35 PV1535 UFESA
User questions about Axis 35 PV1535 UFESA
0 question about this device. Answer the ones you know or ask your own.
Ask a new question about this device
Download the instructions for your Iron in PDF format for free! Find your manual Axis 35 PV1535 - UFESA and take your electronic device back in hand. On this page are published all the documents necessary for the use of your device. Axis 35 PV1535 by UFESA.
USER MANUAL Axis 35 PV1535 UFESA
natural_image
Illustration of a steam iron with labeled parts (no text or symbols on the device itself)PV1530
PV1535
INSTRUCCIONES DE USO
OPERATING INSTRUCTIONS
MODE D'EMPLOI
INSTRUÇÕES DE USO
GEBRAUCHSANLEITUNG
HASZNÁLATI UTASÍTÁS
This iron has been designed according to ecological criteria, related to the sustainable development; analyzing its whole lifecycle, from material selection to its later reusing or recycling; evaluating the improvement possibilities, from a technical, economical and environmental point of view.
This appliance has been designed exclusively for domestic use and must not be used for industrial purposes.
Carefully read through the operating instructions for the appliance and safeguard them for future reference.
GENERAL SAFETY WARNINGS

Danger of electric shocks or fire!
This appliance is to be connected and used in with the information stated on its characteristics plate.
Never plug the appliance into the mains supply if the cable or the appliance itself shows visible signs of damage.
This appliance must be connected to an earthed socket. If it is absolutely necessary to use an extension cable, make sure that it is suitable for 10A or more and has a socket with an earth connection.
Keep the appliance out of children's reach.
This appliance is not intended to be used by persons (including children) with reduced physical, sensory or mental capacities, or lack of experience and knowledge, unless they have been given supervision or instruction.
Children should be supervised to ensure that they do not play with the appliance.
The appliance must be used and placed on a stable surface.
When placed in a support, make sure that the surface on which the support stands is stable.
The iron should not be used if it has been dropped, if there are visible signs of damage or if it is leaking water. It must be checked by an authorized Technical Service Centre before it can be used again.
Remove the plug form the socket before filling the appliance with water or before pouring out the remaining water after use.
Never immerse the iron in water or any other fluid.
The appliance must never be placed under the tap to fill the water.
Do not leave the appliance exposed to weather conditions (rain, sun, frost, etc.)
The electrical plug must not be removed from the socket by pulling the cable.
Unplug the appliance form the mains supply after each use, or if a fault is suspected.
With the aim of avoiding dangerous situations, any work or repair that the appliance may need, e.g. replacing a faulty mains cable, must only be carried out by qualified personnel from an Authorised Technical Service Centre.
Unplug the iron from the mains supply when you have to leave the iron unattended.
IMPORTANT WARNINGS
Do not allow the power cord to come into contact with the soleplate when it is hot.
Store the iron in upright position.
Do not use descaling agents (unless they have been advised by UFESA), they can damage the appliance.
Never use abrasive products to clean the soleplate or any other part of the appliance.
To keep the soleplate smooth, you should avoid hard contact with metal objects. Never use a scouring pad, or chemicals to clean the soleplate.
DIGITALLY CONTROLLED ELECTRONIC IRON
The digitally controlled electronic irons do not have a temperature control knob, however they are equipped with a display screen and a navigation key (JSEL)
The display screen comprises of several icons that indicate the status of the iron
| OFF | Indicates that the iron is switched off on stand-by state |
| • SILK | Indicates that the selected ironing temperature is suitable for silk and synthetic fabrics |
| •• WOOL | Indicates that the selected ironing temperature is suitable for wool |
| n••• COTTON | Indicates that the selected ironing temperature is suitable for cotton |
| MAX LINEN | Indicates that the selected ironing temperature is suitable for linen |
| Indicates (flashing) that the steam option is ready for use. | |
| Indicates (flashing) that sole plate temperature is rising up | |
| ere ▼ | Indicates (flashing) that sole temperature is decreasing |
| Indicates (flashing) the chosen option. |
| OFF | Indicates that the iron is switched off on stand-by state |
| • SILK | Indicates that the selected ironing temperature is suitable for silk and synthetic fabrics |
| •• WOOL | Indicates that the selected ironing temperature is suitable for wool |
| n••• COTTON | Indicates that the selected ironing temperature is suitable for cotton |
| MAX LINEN | Indicates that the selected ironing temperature is suitable for linen |
| Indicates (flashing) that the steam option is ready for use. | |
| Indicates (flashing) that sole plate temperature is rising up | |
| ere ▼ | Indicates (flashing) that sole temperature is decreasing |
| Indicates (flashing) the chosen option. |
The iron is very simple to use: When it is plugged in, the display screen lights up and then the iron goes into stand-by «OFF» state.
To switch it on, just press the navigation key (SEL) once. The iron switches to the lowest temperature level (• SILK)
To change the selected temperature just press the navigation key repeatedly. The iron goes through the following cycle:
OFF → • SILK → • • WOOL → • • • COTTON → MAX LINEN → OFF
The iron is ready for use with steam as soon as the icon 🔊 appears, assuming there is water in the tank. This function cannot be used unless the icon is on.
BEFORE USING THE IRON FOR THE FIRST TIME
Remove any label or protective cover from the soleplate.
With the iron unplugged, fill in the tank of the iron with tap water. Plug in the appliance to the mains, place the iron upright leant on its support and set the temperature «MAX LINEN »
When the steam iron has reached the desired temperature (flashing icon ▲ will disappear), start steaming by setting the steam regulator to «MAX» and by repeatedly pressing the steam button 🌿
When using the steam function for the first time, do not apply it on the laundry, as there could still be dirt in the steam dispenser.
Your new iron may smell and give off some smoke when you use it for the first time, this is normal and will cease after a short while.
HOW TO USE THE IRON
«▲» icon blinks while the iron is in process of heating up, and dissapears as soon as the desired temperature is reached. Now you can start ironing
«▼» icon blinks while the iron is in process of cooling down, and dissapears as soon as the desired temperature is reached (it could take several minutes to go from a higher temperature to a lower one)
Check the laundry care label for the required ironing temperature. If you do not know what kind or kinds of fabric an article is made of, determine the right ironing temperature by ironing a part that will not be visible when you wear or use the article.
Start ironing the articles that require the lowest ironing temperature, such as those made of synthetic fibres.
Silk, woollen or synthetic materials: iron the reverse side of the fabric to prevent shiny patches. Avoid using the spray function to prevent stains.
FILLING THE WATER TANK 1
i Set the steam regulator to the position and unplug the iron from the mains!
Use only clean water from the tap without mixing anything with it. The addition of other liquids, such as perfume, will damage the appliance.
Do not use condensation water from tumble dryers, air conditionings or similar. This appliance has been designed to use normal tap water.
To prolong the optimum steam function, mix tap water with distilled water 1:1. If the tap water in your district is very hard, mix tap water with distilled water 1:2.
Never fill beyond the «MAX» water level mark.
GETTING READY
Remove any label or protective cover from the soleplate.
Wait for the iron to reach the desired temperature (flashing icon ▲ or ▼ will disappear)
IRONING WITHOUT STEAM 2
IRONING WITH STEAM 3
Only when the temperature on the display is placed in the areas with the steam symbol 🌐

4
Do not use the spray function with silk.
SHOT OF STEAM 5
Set the temperature in the «MAX LINEN

Interval between shots of steam should be 5 sec.
VERTICAL STEAM 6
Do not iron clothing while it is being worn!
Never direct the steam at persons or animals!
Interval between shots should be 5 sec.
Wait 10 sec. after a cycle of 4 shot.
MULTIPLE DESCALING SYSTEM 7
Depending on the model, this range is equipped with the «Aquacalc2» (=component 1 + 2) or «Aquacalc3» (=component 1 + 2 + 3) descaling system.
1. Self-clean
Each time you use the steam regulator, the «self-clean» system cleans the mechanism of scale deposits.
2. Función Calc
The «Función Calc» function helps to remove scale particles out of the steam chamber. Use this function approximately every 2 weeks, if the water in your area is very hard.
Fill the water tank, plug in the iron and set the temperature to the «MAX LINEN 🎨». position.
After the necessary warm-up period, unplug the iron and hold it over a sink. Press «Función Calc» button and gently shake the iron. Boiling water and steam will come out, carrying scale or deposits that might be there. When the iron stops dripping, release the button, plug the iron in and heat it up again until the remaining water has evaporated.
3. Anti-calc
The «anti-calc» cartridge has been designed to reduce the build-up of scale produced during steam ironing, helping to extend the useful life of your iron. Nevertheless the «anti-calc» cartridge cannot remove all of the scale that is produced naturally over time.
AUTO SHUT-OFF FUNCTION 8
The auto shut-off function switches off the iron when it is left unattended, thus increasing security and saving energy. After plugging in the appliance, this function will be inactive for the first 2 minutes in order to give the appliance time to reach the set temperature.
After this time, if the iron is not moved for 8 minutes while in the upright position or 30 seconds while resting on its soleplate or on its side, then the safety circuit will switch the appliance off automatically and display's light and icon ⏻ will start flashing.
To reconnect the iron, just move it about gently.
ANTI-DRIP SYSTEM
9
If the temperature is set too low, the steam is automatically switched off to avoid dripping.
STORING
10
Turn the steam regulator to position

CLEANING
11
ADVICE ON DISPOSAL:

Our goods come in optimised packaging. This basically consists in using non-contaminating materials
which should be handed over to the local waste
disposal service as secondary raw materials.

This product complies with EU Directive 2002/96/CE. The crossed wheelie bin symbol shown on the appliance indicates that when it comes to dispose of the product it must not be included in with household refuse. It must be taken to a special refuse collection
point for electric and electronic appliances or returned to the distributor when purchasing a similar appliance. Under current refuse disposal regulations, users who fail to take discarded
appliances to special refuse collection points may be
penalised. Correct disposal of discarded appliances means that they can be recycled and processed ecologically, helping the environment and allowing materials used in the product to be reused. For more information on available waste disposal schemes contact your local refuse service or the shop where the product was purchased. Manufacturers and importers are responsible for ecological recycling, processing and disposal of products, whether directly or via a public system.
Your local town council can provide you with information about how to dispose of obsolete appliances.
| Problem Probable cause Solution | ||
| The iron does not heat. 1. Temperature control in very low position.2. No mains supply. | 1. Turn to a higher position.2. Check with another appliance or plug the iron into a different socket. | |
| Display light flashes and only shows «OFF» | 1. Auto shut-off function enabled move the iron about gently | |
| The clothes tend to stick. 1. Very high temperature. 1. Turn the temperature to a lower temperature. | ||
| Water comes out together with steam. | 1. Temperature regulator in very low position.2. Steam regulator in very high position with low temperature. | 1. Turn the temperature regulator to a higher position2. Turn the steam regulator to a lower position. |
| Steam does not come out. | 1. Steam regulator in closed position.2. Temperature regulator in very low position3. No water in the tank.4. Obstructed mechanism. | 1. Turn the steam regulator to an open steam position.2. Turn the temperature regulator to a steam position3. Fill the tank.4. Remove the needle and clean it, if this does not help, contact the Technical Service. |
| Spray does not work. | 1. No water in the tank.2. Obstructed mechanism. | 1. Fill the tank.2. Contact the Technical Service. |
| Water comes out from the soleplate before connecting the iron. | 1. The steam regulator is not properly closed. | 1. Make sure to place the steam regulator in positionDo not forget to empty the tank when you have finished ironing. |
| Smoke comes out when connecting the iron for the first time. | 1. Lubrication of some of the inner parts. | 1. Do not worry. It will disappear in a short period of time, after the first usage. |
FRANÇAIS

- GENERAL SAFETY WARNINGS
- Danger of electric shocks or fire!
- IMPORTANT WARNINGS
- DIGITALLY CONTROLLED ELECTRONIC IRON
- OFF → • SILK → • • WOOL → • • • COTTON → MAX LINEN → OFF
- BEFORE USING THE IRON FOR THE FIRST TIME
- HOW TO USE THE IRON
- FILLING THE WATER TANK 1
- i Set the steam regulator to the position and unplug the iron from the mains!
- GETTING READY
- IRONING WITHOUT STEAM 2
- IRONING WITH STEAM 3
- SHOT OF STEAM 5
- VERTICAL STEAM 6
- MULTIPLE DESCALING SYSTEM 7
- Self-clean
- Función Calc
- Anti-calc
- AUTO SHUT-OFF FUNCTION 8
- ANTI-DRIP SYSTEM
- STORING
- CLEANING
- ADVICE ON DISPOSAL:
- FRANÇAIS
Brand : UFESA
Model : Axis 35 PV1535
Category : Iron