
Elegance Pro 186318 - Radio HAMA - Free user manual and instructions
Find the device manual for free Elegance Pro 186318 HAMA in PDF.
| Product type | Radio-controlled alarm clock |
| Brand | Hama |
| Model | Elegance Pro 186318 |
| Power supply | 1 LR6/AA battery (1.5 V) |
| Reception frequency | 77.5 kHz (DCF77) |
| Time setting | Automatic via DCF77 signal or manual |
| Alarm function | Yes, with crescendo alarm (2 min) and snooze |
| Alarm repeat | Up to 6 times, 5-minute interval |
| Backlight | Yes, touch activation (approx. 5 seconds) |
| Alarm indicator | Red LED (activated) / Green LED (deactivated) |
| Reset | Via Reset button (short circuit) |
| Manual reception | REC button (3 seconds) |
| Housing material | Plastic |
| Intended use | Domestic, dry indoor |
| Protection | Against moisture, heat and shocks |
| Cleaning | Slightly damp lint-free cloth, no detergent |
| Package contents | Clock, 1 AA battery, instruction manual |
| Warranty | Excluded in case of misuse |
| Battery recycling | Remove and recycle according to local regulations |
| Operating temperature | Temperate climate |
Frequently Asked Questions - Elegance Pro 186318 HAMA
User questions about Elegance Pro 186318 HAMA
0 question about this device. Answer the ones you know or ask your own.
Ask a new question about this device
Download the instructions for your Radio in PDF format for free! Find your manual Elegance Pro 186318 - HAMA and take your electronic device back in hand. On this page are published all the documents necessary for the use of your device. Elegance Pro 186318 by HAMA.
USER MANUAL Elegance Pro 186318 HAMA
Operating Instructions
Bedienungsanleitung
Moded'emploi
Instruccionesdeuso
Gebruiksaanwijzing
Istruzioniper'uso
Instrukcjaobsfugi
Hasznalatiutmutato
Manualdeutilizare
Návodkpoužiti
Návodnapoužitie
Manualdeinstruções
Bruksanvisning
PykoBODCTBOONO3KcnpnyatauH
Pa6oTHaHnHcTpkyuia
O8nyiecxpnonc
Käytöohje
1
PL
H
RO
CZ
SK
P
S
RUS
BG
GR
FIN
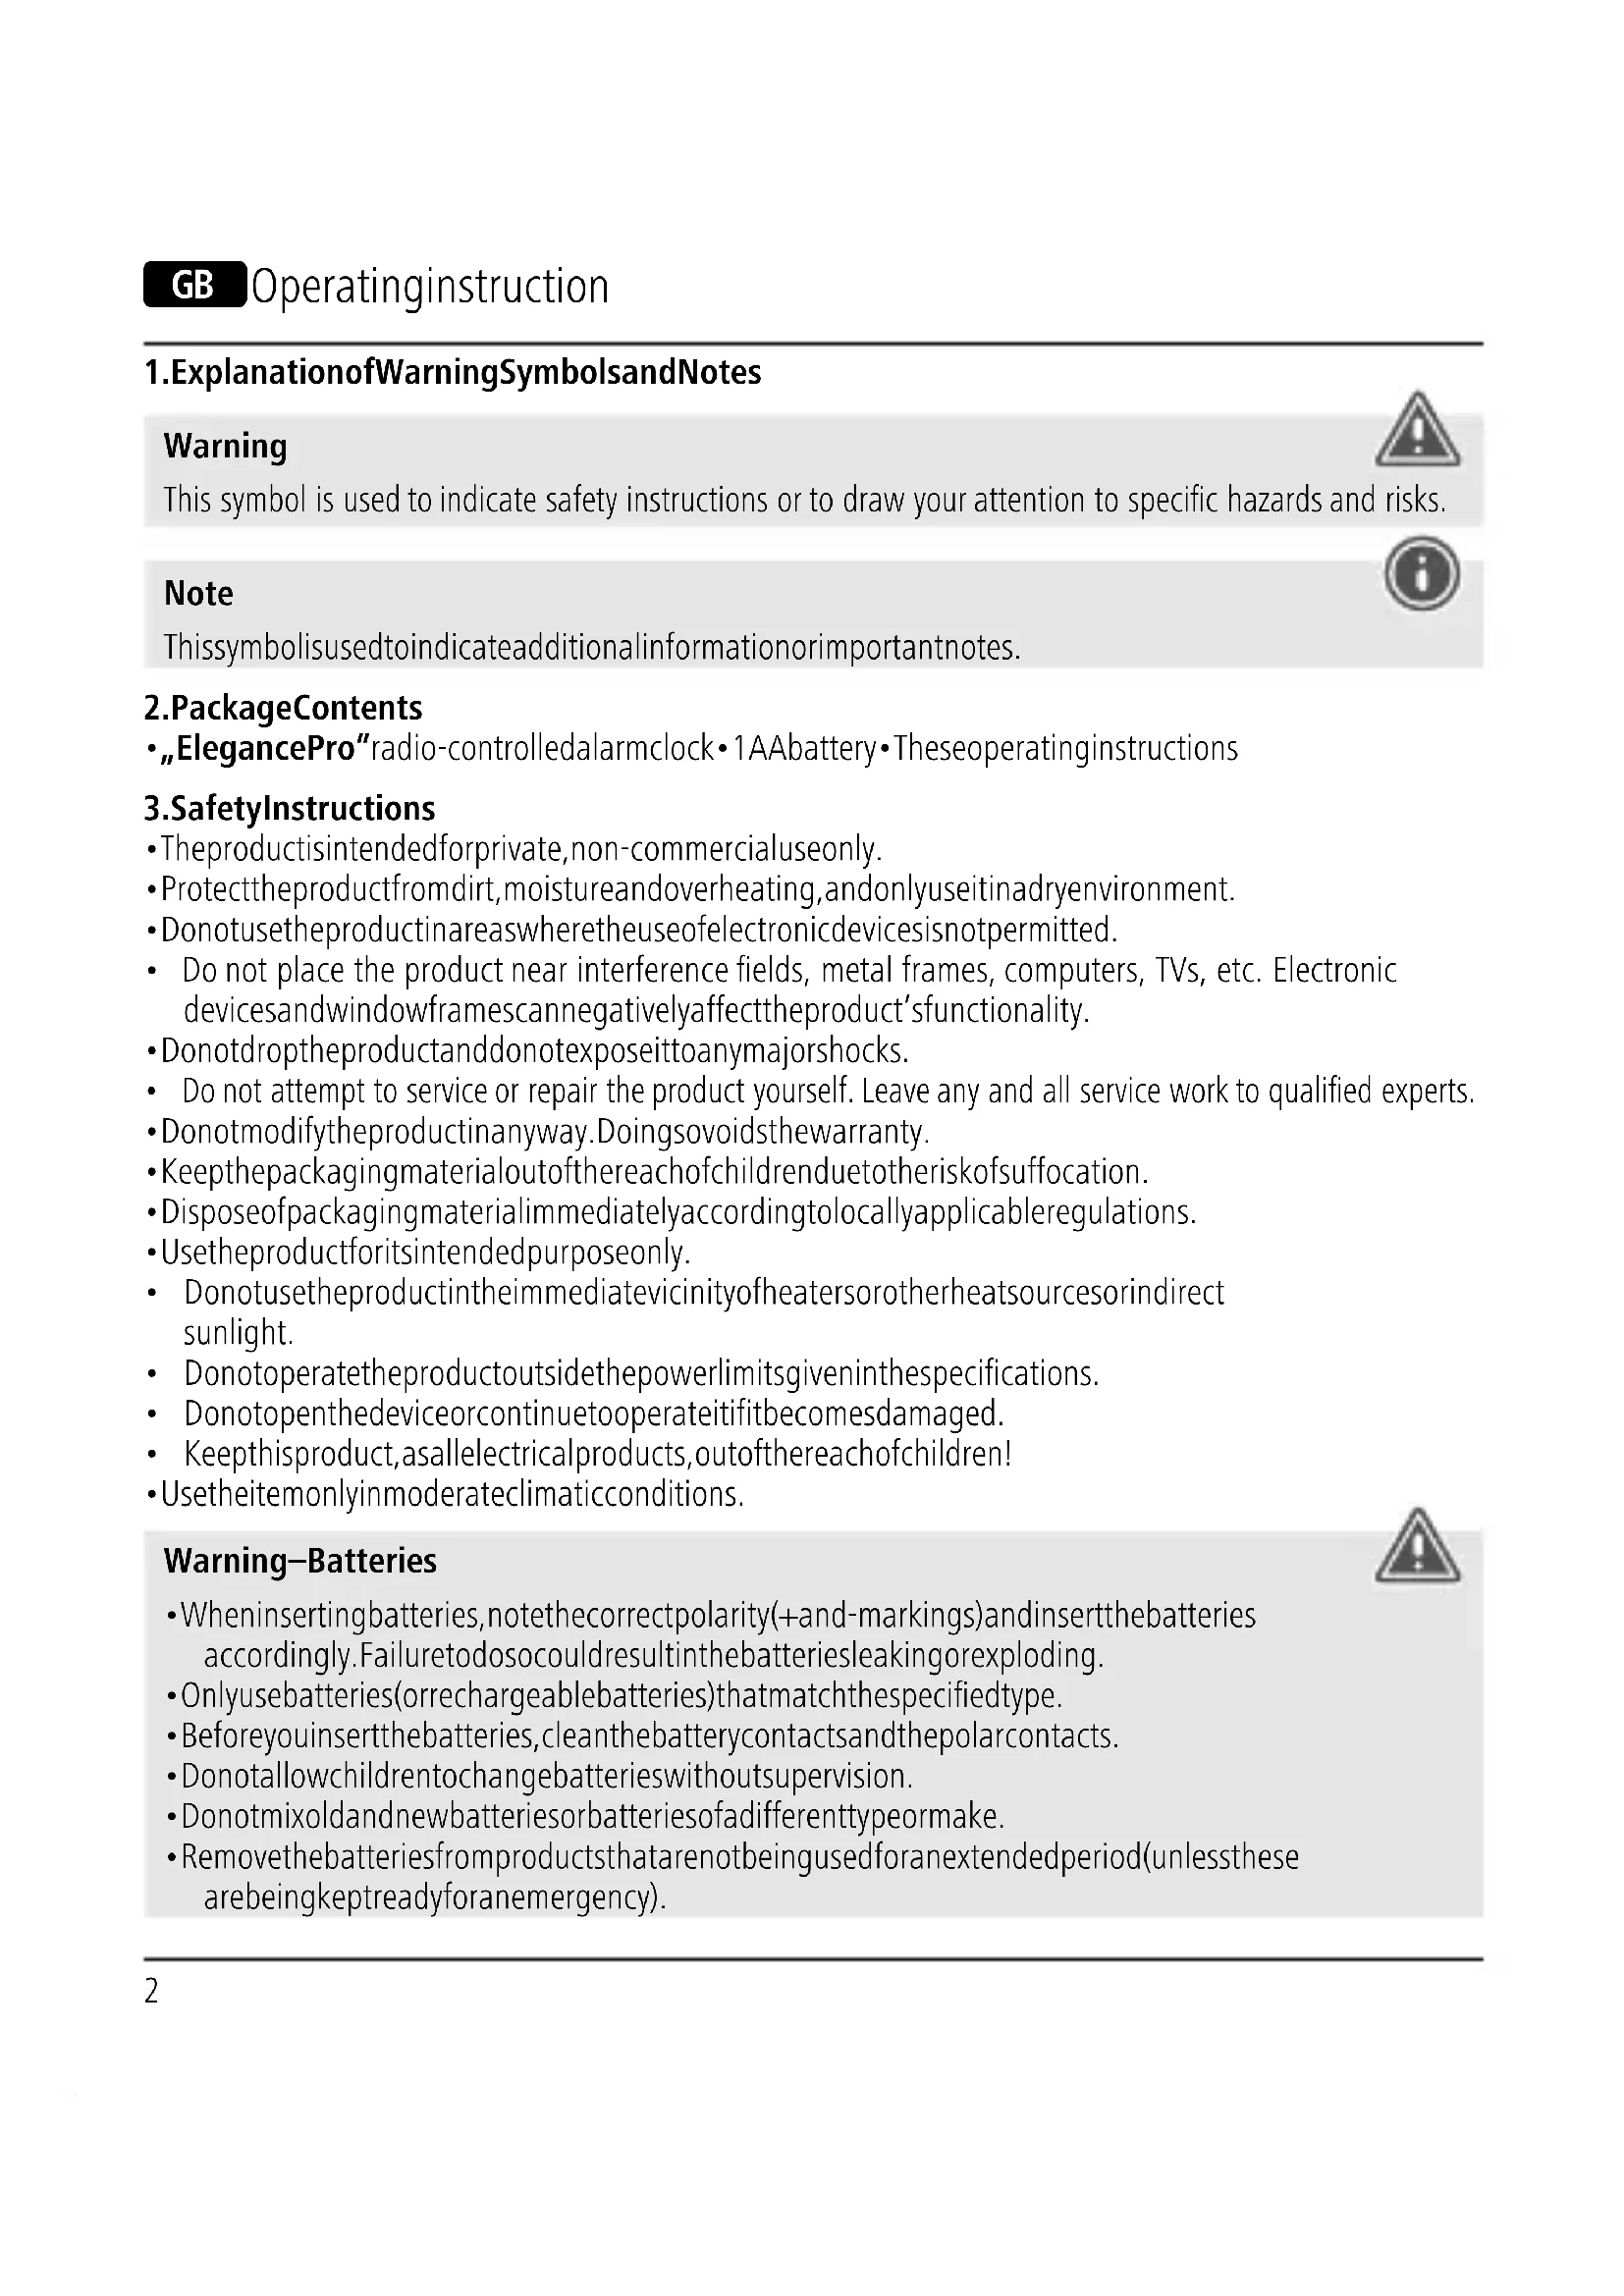
1.ExplanationofWarningSymbolsandNotes
Warning

This symbol is used to indicate safety instructions or to draw your attention to specific hazards and risks.
Note

This symbolis used to indicate additional information or important notes.
2.PackageContents
ElegancePro"radio-controlledalarmclock·1AAbattery·Theseoperatinginstructions
3.SafetyInstructions
The product is intended for private, non-commercial use only.
- Protect the product from dirt, moisture and overheating, and only use it in adry environment.
- Donotusetheproductinareaswheretheuseofelectronicdevicesisnot permitted.
- Do not place the product near interference fields, metal frames, computers, TVs, etc. Electronic devices and windowframes can negatively affect the product's functionality.
- Donotdroptheproductanddonotexposeittoanymajorshocks.
- Do not attempt to service or repair the product yourself. Leave any and all service work to qualified experts.
- Donotmodifytheproductinyway.Doingsovoidstthewarranty.
- Keepthepackagingmaterialoutofthereachofchildrenduetotheriskofsuffocation.
- Disposeofpackagingmaterialimmediatelyaccordinglylocallyapplicableregulations.
- Usetheproductforitsintendedpurposeonly.
- Donotusetheproductintheimmediatevicinityofheatersorotherheatsourcesorindirect sunlight.
- Donotoperatetheproductoutsidethepowerlimitsgiveninthespecifications.
- Donotopenthedeviceorcontinuetooperateititifitbecomesdamaged.
- Keepthisproduct,asallelectricalproducts,outofthereachofchildren!
- Usetheitemonlyinmoderateclimaticconditions.
Warning-Batteries

- When inserting batteries, notethe correct polarity(+and-markings) and insert the batteries accordingly. Failure to do so could result in the batteries leaking or exploding.
- Onlyusebatteries(orrechargeablebatteries)thatmatchthespecifiedtype.
- Beforeyouinsertthebatteries,cleanthebatterycontactsandthepolarcontacts.
- Donotallowchildrentochangebatterieswithoutsupervision.
- Donotmixoldandnewbatteriesorbatteriesofadifferenttypeormake.
- Removethebatteriesfromproductsthatarenotbeingusedforanextendedperiod(unlessthes arebeingkeptreadyforanemergency).
Warning-Batteries
- Donotshort-circuitbatteries.
- Donotchargebatteries.
- Donotthrowbatteriesinafire.
- Keepbatteriesoutofthereachofchildren.
- Neveropen,damageorswallowbatteriesorallowthemtoentertheenvironment.Theycan containtoxic,environmentallyharmfulheavymetals.
- Immediatelyremoveanddisposeofdeadbatteriesfromtheproduct.
- Avoidstoring, charging or using the device in extremetemperatures and extremely low atmospheric pressure (forexample, athighaltitudes).
4. Getting Started
Open the battery compartment cover, remove the contact breaker and then close the battery compartmentcoveragain.
5. Operation
5.1.AutomatictimessettingusingtheDCFsignal
- Onceyouhavenotemovedthecontactbreaker,anacousticsignalsoundsandthealarmclock automaticallystartssearchingforaDCFsignal.
Afterapprox.5-10minutes(dependingonhowquicklytheradiosignalwasreceived),thehandswill setthemselvestothecorrecttime.
5.2.Settingthetimemanually
- If the correct time has not been set after approx. 10 minutes, this means the clock could not find a DCF signal.
- Press and hold the M. SET button to manually set the correct time. Release the M. SET button once you havereachedtherequiredtime.
- TheclockautomaticallycontinuestosearchfortheDCFsignalonadailybasis.Ifthesignalis receivedsuccessfully,themeanuallysettimewisoverwritten.
- Youmayneedtochangetheinstallationlocationandavoidareaswithpossiblyourcesofinterference(cordlessandmobiletelephones,wirelessspeakers,etc.).
5.3.Startingmanualreception
- Once the clock is running, press the REC button for 3 seconds. This will set the hands to the 12:00 position. Now the clock starts searching for the DCF signal.
- Ifnosignalhasbeenreceived, the clockwillshowthetimepreviouslysaved.
5.4.Alarm
Settingthealarm
- Movethesettingwheelonthebackofthealarmclocktosettherequiredalarmtime.
-
To activate/deactivate the alarm, move the slide switch to the ON or OFF position.
-
Thestatusindicatornexttothethirddigitisredwhenthealarmisactivatedandgreenwhenitis deactivated.
Stoppingthealarm/snoozefunction
- Ifthealarmisactivated, itstriggeredatthesetimeandanalarmsignalsoundsfortwominutes withincreasingvolume. Thealarmautomaticallyystopsafterthistimeandisthentriggeredagainat thesetalarmtime.
Tostopthealarmearly, movetheslideswitchtotheOFFposition. - MovetheslideswitchbacktotheONpositiontoactivatehealarmforthesetalarmtime.
Note-Snoopzefunction

- While the alarmsignalissounding, pressthe SNOOZE/LIGHT buttontoactivatethesnooze function. The alarmsignalwillbestoppedfor5minutes, afterwhichitwillsoundagain.
- Thesnoozefunctioncanbeactivatedsixconsecutivetimes.
5.5.Backlight
- IfyoupresstheSNOOZE/LIGHTbutton,theclockfacewilllightupforapprox.5seconds.
6.RESEFunction:
- If, for whatever reason, the clock has not been set correctly, you can reset it.
- Use a metal object (such as a needle) to short-circuit the clock by means of the ,RESET' button on therearside. Allhandswillmovetothe12:00position.
Afterapprox.5-10minutes(dependingonhowquicklythesignalwasreceived),thehandswill automaticallysetthemselvesestothecorrecttime.
7.CareandMaintenance
Onlycleanthisproductwithaslightlymoist,lint-freecloth,anddonotuseaggressivecleaningagents.
Makesurethatwaterdoesnotgetintotheproduct.
8.WarrantyDisclaimer
HamaGmbH&CoKGassumesnoliabilityandprovidesnowwarrantyfordamageresultingfrom improperinstallation/mounting,improperuseoftheproductorfromfailuretoobservetheoperating instructionsand/orsafetynotes.
9. Technical Data

Powersupply1.5V, 1AAbattery
EleganceProradio-controlledalarmclock
10.DeclarationofConformity

Hereby, HamaGmbH&CoKGdeclaresthattheradioequipmenttype[00113970, 00113972,00113979,00186317,00186318]isincompliancewithDirective2014/53/EU.ThefulltextoftheEUdeclarationofconformityisavailableatthefollowinginternet
address: www.hama.com->00113970,00113972,00113979,00186317,00186318->Downloads.
Frequencyband(s)77,5kHz
www.hama.com->00113970,00113972,00113979,00186317,00186318->Downloads.
Az(ok)afrekvenciasav(ok)77,5kHz
1.Explicareasimbolurilordeavertizaresiindicati
Avertizare
Se foloseste la marcarea instruţiunilor de siguranta sau la concentrarea atentiei in caz de pericolsiriscurimari.

Instructiune
www.hama.com->00113970,00113972,00113979,00186317, 00186318->Downloads.

- 1.ExplanationofWarningSymbolsandNotes
- Warning
- Note
- 2.PackageContents
- 3.SafetyInstructions
- Warning-Batteries
- Getting Started
- Operation
- 5.1.AutomatictimessettingusingtheDCFsignal
- 5.2.Settingthetimemanually
- 5.3.Startingmanualreception
- 5.4.Alarm
- Settingthealarm
- Stoppingthealarm/snoozefunction
- Note-Snoopzefunction
- 5.5.Backlight
- 6.RESEFunction:
- 7.CareandMaintenance
- 8.WarrantyDisclaimer
- Technical Data
- 10.DeclarationofConformity
- 1.Explicareasimbolurilordeavertizaresiindicati
- Avertizare
- Instructiune
Brand : HAMA
Model : Elegance Pro 186318
Category : Radio