
TMULD300 - Detector Amprobe - Free user manual and instructions
Find the device manual for free TMULD300 Amprobe in PDF.
| Product type | Ultrasonic leak detector (ULD-300 receiver + UT-300 transmitter kit) |
| Brand | Amprobe |
| Model | TMULD300 |
| Weight (ULD-300 receiver) | 180 g (with battery) |
| Weight (UT-300 transmitter) | 176 g (with battery) |
| Dimensions (ULD-300) | 185.4 x 63.5 x 25.4 mm |
| Dimensions (UT-300) | 165 x 63.5 x 25.4 mm |
| Power supply | 2 9V batteries (NEDA 1604 or equivalent) included |
| Frequency response (ULD-300) | 35 kHz to 45 kHz ± 6 dB |
| Frequency (UT-300) | 40 kHz |
| Battery life (ULD-300) | 33 hours with 9V alkaline battery |
| Battery life (UT-300) | 60 hours with 9V alkaline battery |
| Operating temperature | 0°C to 38°C |
| Storage temperature | -40°C to 66°C |
| Housing | Rugged ABS plastic |
| Display | 10 LED indicator bar, battery indicator |
| Included accessories | HP-1 headphones, PB-1 parabolic dish, TEA-1 adapter, TE-1 extension tube, carrying case |
| Main functions | Ultrasonic air/gas leak detection, precise localization, conversion to audible sound |
| Safety | Do not use on explosive gases; exercise caution near pressurized gas/air, rotating equipment, electrical devices |
| Maintenance and cleaning | Clean with a soft cloth and mild water/detergent solution; do not use chlorinated solvents |
| Warranty | 1 year against defects in materials and workmanship |
Frequently Asked Questions - TMULD300 Amprobe
User questions about TMULD300 Amprobe
0 question about this device. Answer the ones you know or ask your own.
Ask a new question about this device
Download the instructions for your Detector in PDF format for free! Find your manual TMULD300 - Amprobe and take your electronic device back in hand. On this page are published all the documents necessary for the use of your device. TMULD300 by Amprobe.
USER MANUAL TMULD300 Amprobe
Limited Warranty and Limitation of Liability
Your Amprobe product will be free from defects in material and workmanship for 1 year from the date of purchase. This warranty does not cover fuses, disposable batteries or damage from accident, neglect, misuse, alteration, contamination, or abnormal conditions of operation or handling. Resellers are not authorized to extend any other warranty on Amprobe's behalf. To obtain service during the warranty period, return the product with proof of purchase to an authorized Amprobe Test Tools Service Center or to an Amprobe dealer or distributor. See Repair Section for details. THIS WARRANTY IS YOUR ONLY REMEDY. ALL OTHER WARRANTYES - WHETHER EXPRESS, IMPLIED OR STAUTORY - INCLUDING IMPLIED WARRANTY OF FITNESS FOR A PARTICULAR PURPOSE OR MERCHANTABILITY, ARE HEREBY DISCLAIMED. MANUFACTURER SHALL NOT BE LIABLE FOR ANY SPECIAL, INDIRECT, INCIDENTAL OR CONSEQUENTIAL DAMAGES OR LOSSES, ARISING FROM ANY CAUSE OR THEORY. Since some states or countries do not allow the exclusion or limitation of an implied warranty or of incidental or consequential damages, this limitation of liability may not apply to you.
Repair
All test tools returned for warranty or non-warranty repair or for calibration should be accompanied by the following: your name, company's name, address, telephone number, and proof of purchase. Additionally, please include a brief description of the problem or the service requested and include the test leads with the meter. Non-warranty repair or replacement charges should be remitted in the form of a check, a money order, credit card with expiration date, or a purchase order made payable to Amprobe® Test Tools.
In-Warranty Repairs and Replacement - All Countries
Please read the warranty statement and check your battery before requesting repair. During the warranty period any defective test tool can be returned to your Amprobe® Test Tools distributor for an exchange for the same or like product. Please check the "Where to Buy" section on www.amprobe.com for a list of distributors near you. Additionally, in the United States and Canada In-Warranty repair and replacement units can also be sent to a Amprobe® Test Tools Service Center (see address below).
Non-Warranty Repairs and Replacement - US and Canada
Non-warranty repairs in the United States and Canada should be sent to a Amprobe® Test Tools Service Center. Call Amprobe® Test Tools or inquire at your point of purchase for current repair and replacement rates.
In USA In Canada
Amprobe Test Tools Amprobe Test Tools
Everett, WA 98203 Mississauga, ON L4Z 1X9
Tel: 877-AMPROBE (267-7623) Tel: 905-890-7600
Non-Warranty Repairs and Replacement - Europe
European non-warranty units can be replaced by your Amprobe® Test Tools distributor for a nominal charge. Please check the "Where to Buy" section on www.amprobe.com for a list of distributors near you.
European Correspondence Address*
Amprobe® Test Tools Europe
In den Engematten 14
79286 Glottertal, Germany
Tel.: +49 (0) 7684 8009 - 0
^* (Correspondence only – no repair or replacement available from this address. European customers please contact your distributor.)
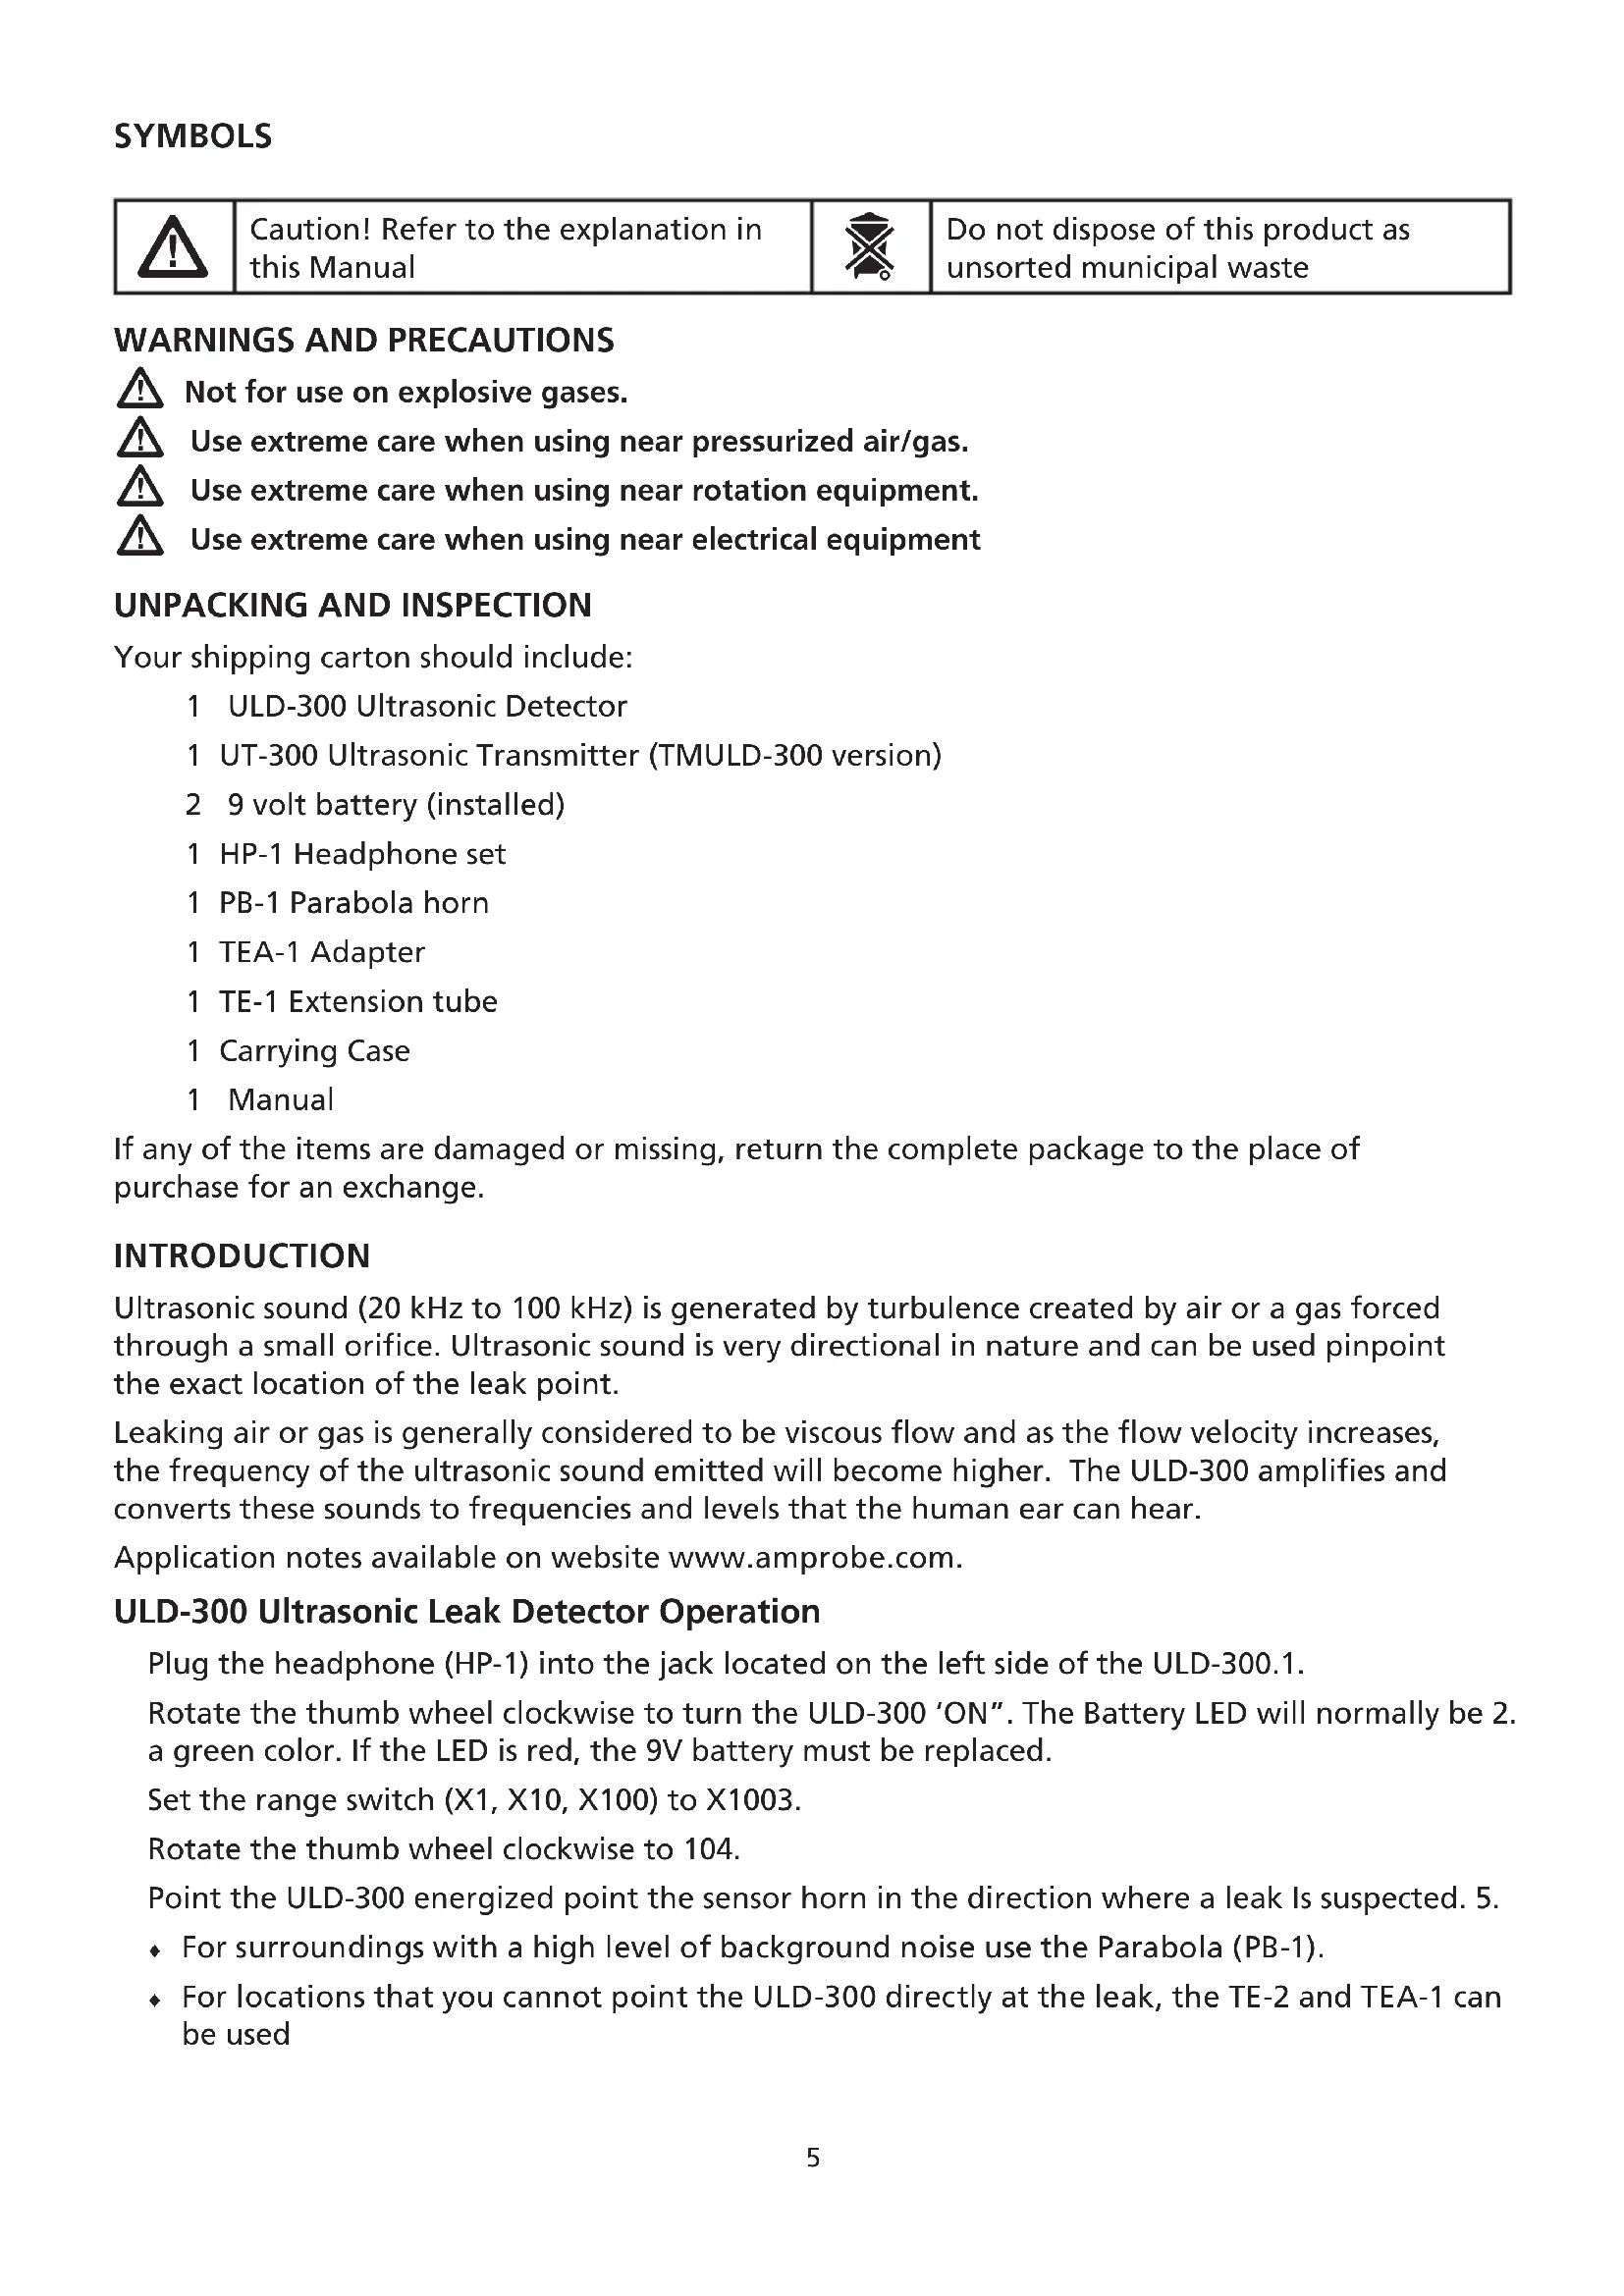
Sensor Horn
LED Display Panel
Head Phone Volume Switch
Coarse Sensitivity Switch
On/Off Thumb Wheel and Fine Sensitivity Adjust
Power and Low Battery LED Indicator
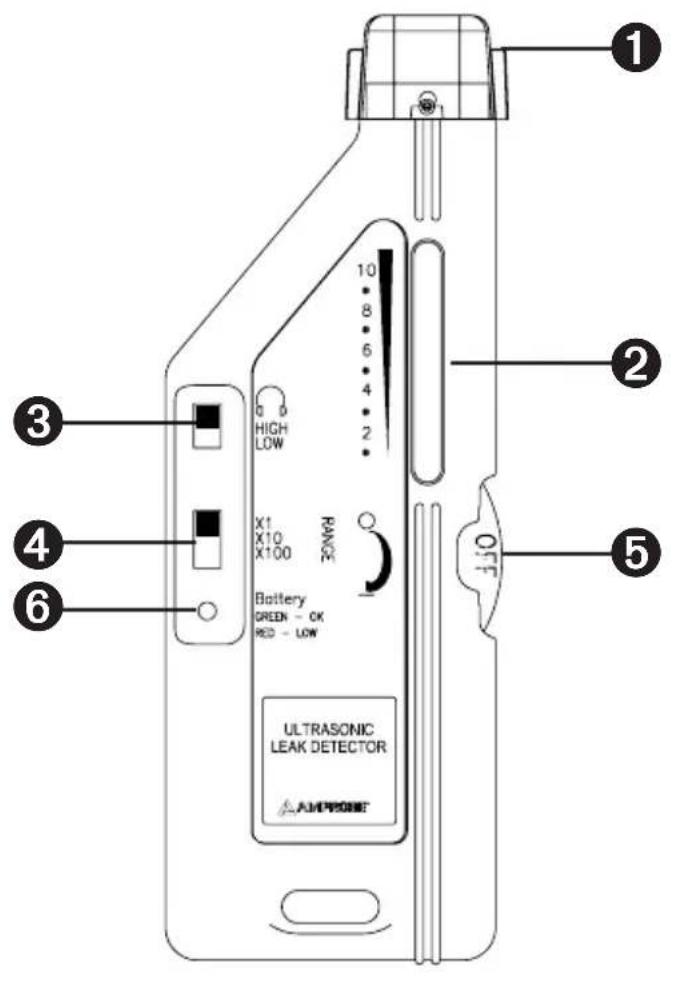
Output signal Level
Power On-Off
3 Ultrasonic sound emitter
4 Power LED
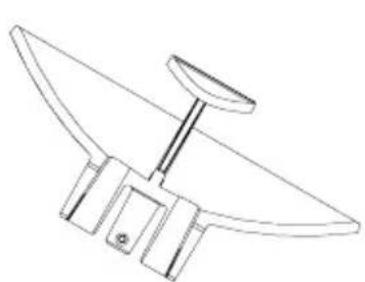

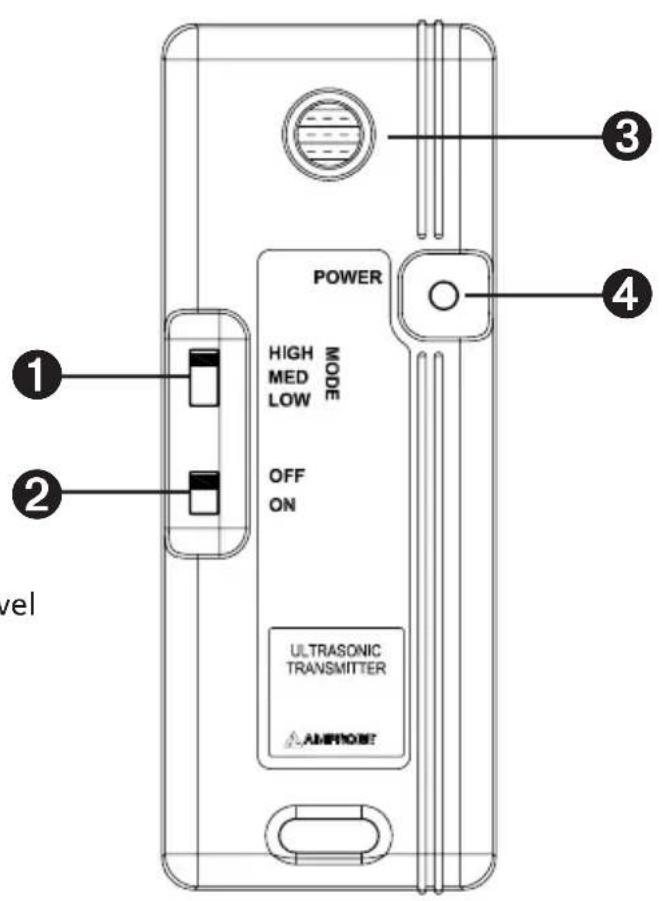
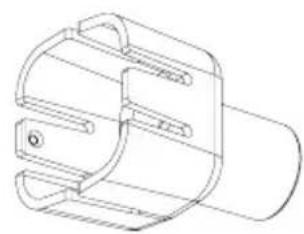
PARABOLA (PB-1) ADAPTER (TEA-1) TUBULAR
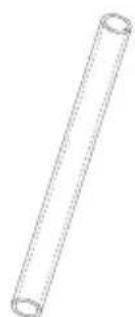
EXTENSION (TE-1)
CONTENTS
Symbols 5
Warnings and Precautions. 5
Unpacking and Inspection 5
Introduction. 5
ULD-300 Ultrasonic Leak Detector Operation. 5
UT-300 Ultrasonic Transmitter Operation 6
Maintenance and Repair 6
Specifications. 6
| Caution! Refer to the explanation in this Manual | Do not dispose of this product as unsorted municipal waste | |
WARNING AND PRECAUTIONS
Not for use on explosive gases.
Use extreme care when using near pressurized air/gas.
Use extreme care when using near rotation equipment.
Use extreme care when using near electrical equipment
UNPACKING AND INSPECTION
Your shipping carton should include:
1 ULD-300 Ultrasonic Detector
1 UT-300 Ultrasonic Transmitter (TMULD-300 version)
2 9 volt battery (installed)
1 HP-1 Headphone set
1 PB-1 Parabola horn
1 TEA-1 Adapter
1 TE-1 Extension tube
1 Carrying Case
1 Manual
If any of the items are damaged or missing, return the complete package to the place of purchase for an exchange.
INTRODUCTION
Ultrasonic sound (20 kHz to 100 kHz) is generated by turbulence created by air or a gas forced through a small orifice. Ultrasonic sound is very directional in nature and can be used pinpoint the exact location of the leak point.
Leaking air or gas is generally considered to be viscous flow and as the flow velocity increases, the frequency of the ultrasonic sound emitted will become higher. The ULD-300 amplifies and converts these sounds to frequencies and levels that the human ear can hear.
Application notes available on website www.amprobe.com.
ULD-300 Ultrasonic Leak Detector Operation
Plug the headphone (HP-1) into the jack located on the left side of the ULD-300.1.
Rotate the thumb wheel clockwise to turn the ULD-300 'ON". The Battery LED will normally be 2. a green color. If the LED is red, the 9V battery must be replaced.
Set the range switch (X1, X10, X100) to X1003.
Rotate the thumb wheel clockwise to 104.
Point the ULD-300 energized point the sensor horn in the direction where a leak is suspected. 5.
For surroundings with a high level of background noise use the Parabola (PB-1).
For locations that you cannot point the ULD-300 directly at the leak, the TE-2 and TEA-1 can be used
As you get nearer to the source of the leak, the LED's in the vertical bar will light up. The LED 6. bar is a relative measurement only. When the LED display panel reaches 10 lights, you are at the maximum reading of the range setting. Reduce the sensitivity by turning the thumb wheel counterclockwise or select a less sensitive range.
Repeat until you have isolated the leak source. Lowering the sensitivity level will verify 7. that you have isolated the true source, of the leak and not a reflection of the true source. Generally, ultrasonic sound reflections are not as strong as the true sound source.
UT-300 Ultrasonic Transmitter Operation (Shipped in TMULD-300 product)
The UT-300 transmitter can supply ultrasonic signals for locations where the gas/air leak does not have sufficient pressure to create an ultrasonic sound. This transmitter will allow the ultrasonic detection of cracks and openings.
Move the ON/OFF switch to ON. The POWER LED will come ON.1.
Select the output signal level with the mode switch.2.
Switch unit OFF when done testing.3.
MAINTENANCE AND REPAIR
If there appears to be a malfunction during the operation of the ULD-300, the following steps should be performed in order to isolate the cause of the problem.
ULD-300
Check the battery. Replace the battery immediately when the red LED is ON.1.
Review the operating instructions for possible mistakes in operating procedure. 2.
UT-300
Check the battery. Replace the battery immediately if the red LED is not ON.1.
Review the operating instructions for possible mistakes in operating procedure. 2.
Except for the replacement of the battery, repair of the meter should be performed only by a Factory Authorized Service Center or by other qualified instrument service personnel. The front panel and case can be cleaned with a mild solution of detergent and water. Apply sparingly with a soft cloth and allow to dry completely before using. Do not use aromatic hydrocarbons or chlorinated solvents for cleaning.
Battery Replacement ULD-300, UT-300
Turn off the meter and unlatch the battery cover. Replace the battery with a NEDA type 1604 1. or equivalent 9V alkaline battery. Replace the cover.
Note: the negative terminal of the battery should go to the top of the unit.
Remove battery when the instrument is not used for extended period.2.
SPECIFICATIONS
ULD-300 Ultrasonic Leak Detector
Operating Temperature: 0^ to 38^ (32°F to 100°F)
Storage Temperature: -40^ to 66^ (-40°F to 150°F)
Weight: 180 Grams (6.3 Ounces) with Battery
Dimensions: 185.4 × 63.5 × 25.4 ~mm ( 7.3 × 2.5 × 1 in.)
Frequency Response: 35 kHz to 45 kHz + 6 db
Power Consumption: 22 mA at 9 Volts DC
Battery Life: 33 Hours with 9 Volt Alkaline Battery (NEDA 1604A, IEC 6LR61)
Performance: Meets the ASTM Standard: ASTM E1211-07
Battery Test: LED Color indicator: Green-Good; Red-Replace
Case: High Impact ABS Plastic
UT-300 Ultrasonic Transmitter (in TMULD-300 option or can be purchased separately)
Operating Temperature: 32^ to 100^ (0^ to 38^)
Storage Temperature: -40°F to 150°F (-40°C to 66°C)
Weight: 176 Grams (5.7 Ounces) with Battery
Dimensions: 165 × 63.5 × 25.4 mm ( 6.5 × 2.5 × 1 in.)
Frequency: 40kHz
Power Consumption: 8.5mA at 9 Volts
Battery Life: 60 Hours with 9 Volt Alkaline Batteries (NEDA 1604A, IEC 6LR61)
AMPROBE
TMULD-300 ULD-300
Amprobe Test Tools Amprobe Test Tools
Everett, WA 98203 E-U Mississauga, Ontario L4Z 1X9 Canada
Tél.: 877-AMPROBE (267-7623) Tél.: 905-890-7600
Amprobe Test Tools Europe
In den Engematten 14
Performances: Conforme à la norme ASTM : ASTM E1211-07
Amprobe Test Tools Amprobe Test Tools
Everett, WA 98203 Mississauga, ON L4Z 1X9
Tel.: 877-AMPROBE (267-7623) Tel.: 905-890-7600
Amprobe Test Tools Europe
In den Engematten 14
Amprobe Test Tools Amprobe Test Tools
Everett, WA 98203, U.S.A. Mississauga, ON L4Z 1X9 Canada
Tel.: 877-AMPROBE (877 267 7623) Tel.: +1 905 890 7600
Amprobe Test Tools Europe
In den Engematten 14
79286 Glottertal, Germania
Tel.: +49 (0) 7684 8009 - 0
Amprobe Test Tools Europe
In den Engematten 14
Amprobe Test Tools Amprobe Test Tools
Everett, WA 98203 Mississauga, ON L4Z 1X9
Tel: 877-AMPROBE (267-7623) Tel: 905-890-7600
Amprobe Test Tools Europe
In den Engematten 14
79286 Glottertal, Germany
Tel: +49 (0) 7684 8009 - 0
^* (Endast korrespondens - inga reparationser eller utbyten ar tillgangliga franenna adress. Kunder i Europa skakontakta respektive distributör.)

ADAPTER (TEA-1)PARABOL (PB-1)

TUBfORMAD
fÖRLÄNgNINg (TE-1)
Prestanda: Uppfyller ASTM-normen: ASTM E1211-07
Batteritest: Fargad lampindikator: Grön-Bra; Röd-Byt ut
Kapa: Stottalig ABS-plast
visit www.Amprobe.com for
Catalog
Application notes
Product specifications
User manuals


- Limited Warranty and Limitation of Liability
- Repair
- In-Warranty Repairs and Replacement - All Countries
- Non-Warranty Repairs and Replacement - US and Canada
- Non-Warranty Repairs and Replacement - Europe
- CONTENTS
- WARNING AND PRECAUTIONS
- UNPACKING AND INSPECTION
- INTRODUCTION
- ULD-300 Ultrasonic Leak Detector Operation
- UT-300 Ultrasonic Transmitter Operation (Shipped in TMULD-300 product)
- MAINTENANCE AND REPAIR
- ULD-300
- UT-300
- Battery Replacement ULD-300, UT-300
- SPECIFICATIONS
- ULD-300 Ultrasonic Leak Detector
- AMPROBE
- TMULD-300 ULD-300
Brand : Amprobe
Model : TMULD300
Category : Detector