EConvect Metal - Electric heater Eurom - Free user manual and instructions
Find the device manual for free EConvect Metal Eurom in PDF.
| Product type | Electric convector |
| Brand | Eurom |
| Model | EConvect Metal |
| Maximum power | 800 W |
| Power supply voltage | 220-240 V / 50 Hz |
| Dimensions (W x H x D) | 69 x 30 x 8 cm (with feet: 34 cm depth) |
| Weight | 3.4 kg |
| Thermostat | Yes, adjustable |
| On/Off switch | Yes |
| Overheat protection | Yes |
| Mounting | On feet or wall mount |
| Minimum distance to floor (wall mount) | 5 to 10 cm |
| Minimum distance to side walls | 20 cm |
| Minimum distance to ceiling | 200 cm |
| Recommended use | Domestic supplementary heating, dry rooms over 6 m² |
| Maintenance | External cleaning with a dry or damp cloth; vacuum the grilles |
| Included accessories | 2 feet, 2 suspension hooks, 2 fixing hooks, screws and wall plugs |
| Certifications | LVD, EMC, CE |
Frequently Asked Questions - EConvect Metal Eurom
User questions about EConvect Metal Eurom
0 question about this device. Answer the ones you know or ask your own.
Ask a new question about this device
Download the instructions for your Electric heater in PDF format for free! Find your manual EConvect Metal - Eurom and take your electronic device back in hand. On this page are published all the documents necessary for the use of your device. EConvect Metal by Eurom.
USER MANUAL EConvect Metal Eurom
EN - Instruction booklet
natural_image
White rectangular electronic panel with black metal connectors at both ends, no visible text or symbols on the panel itself.
E - CONVECTOR METAL
elektrische convectorkachel elektrische Konvektorheizung electrical convector heater convecteur électrique elektriskt konvektorelement elektrické konvektorové topení elektrický konvektorový ohrievač radiator-convector electric
EN This symbol on your device means: do not cover!
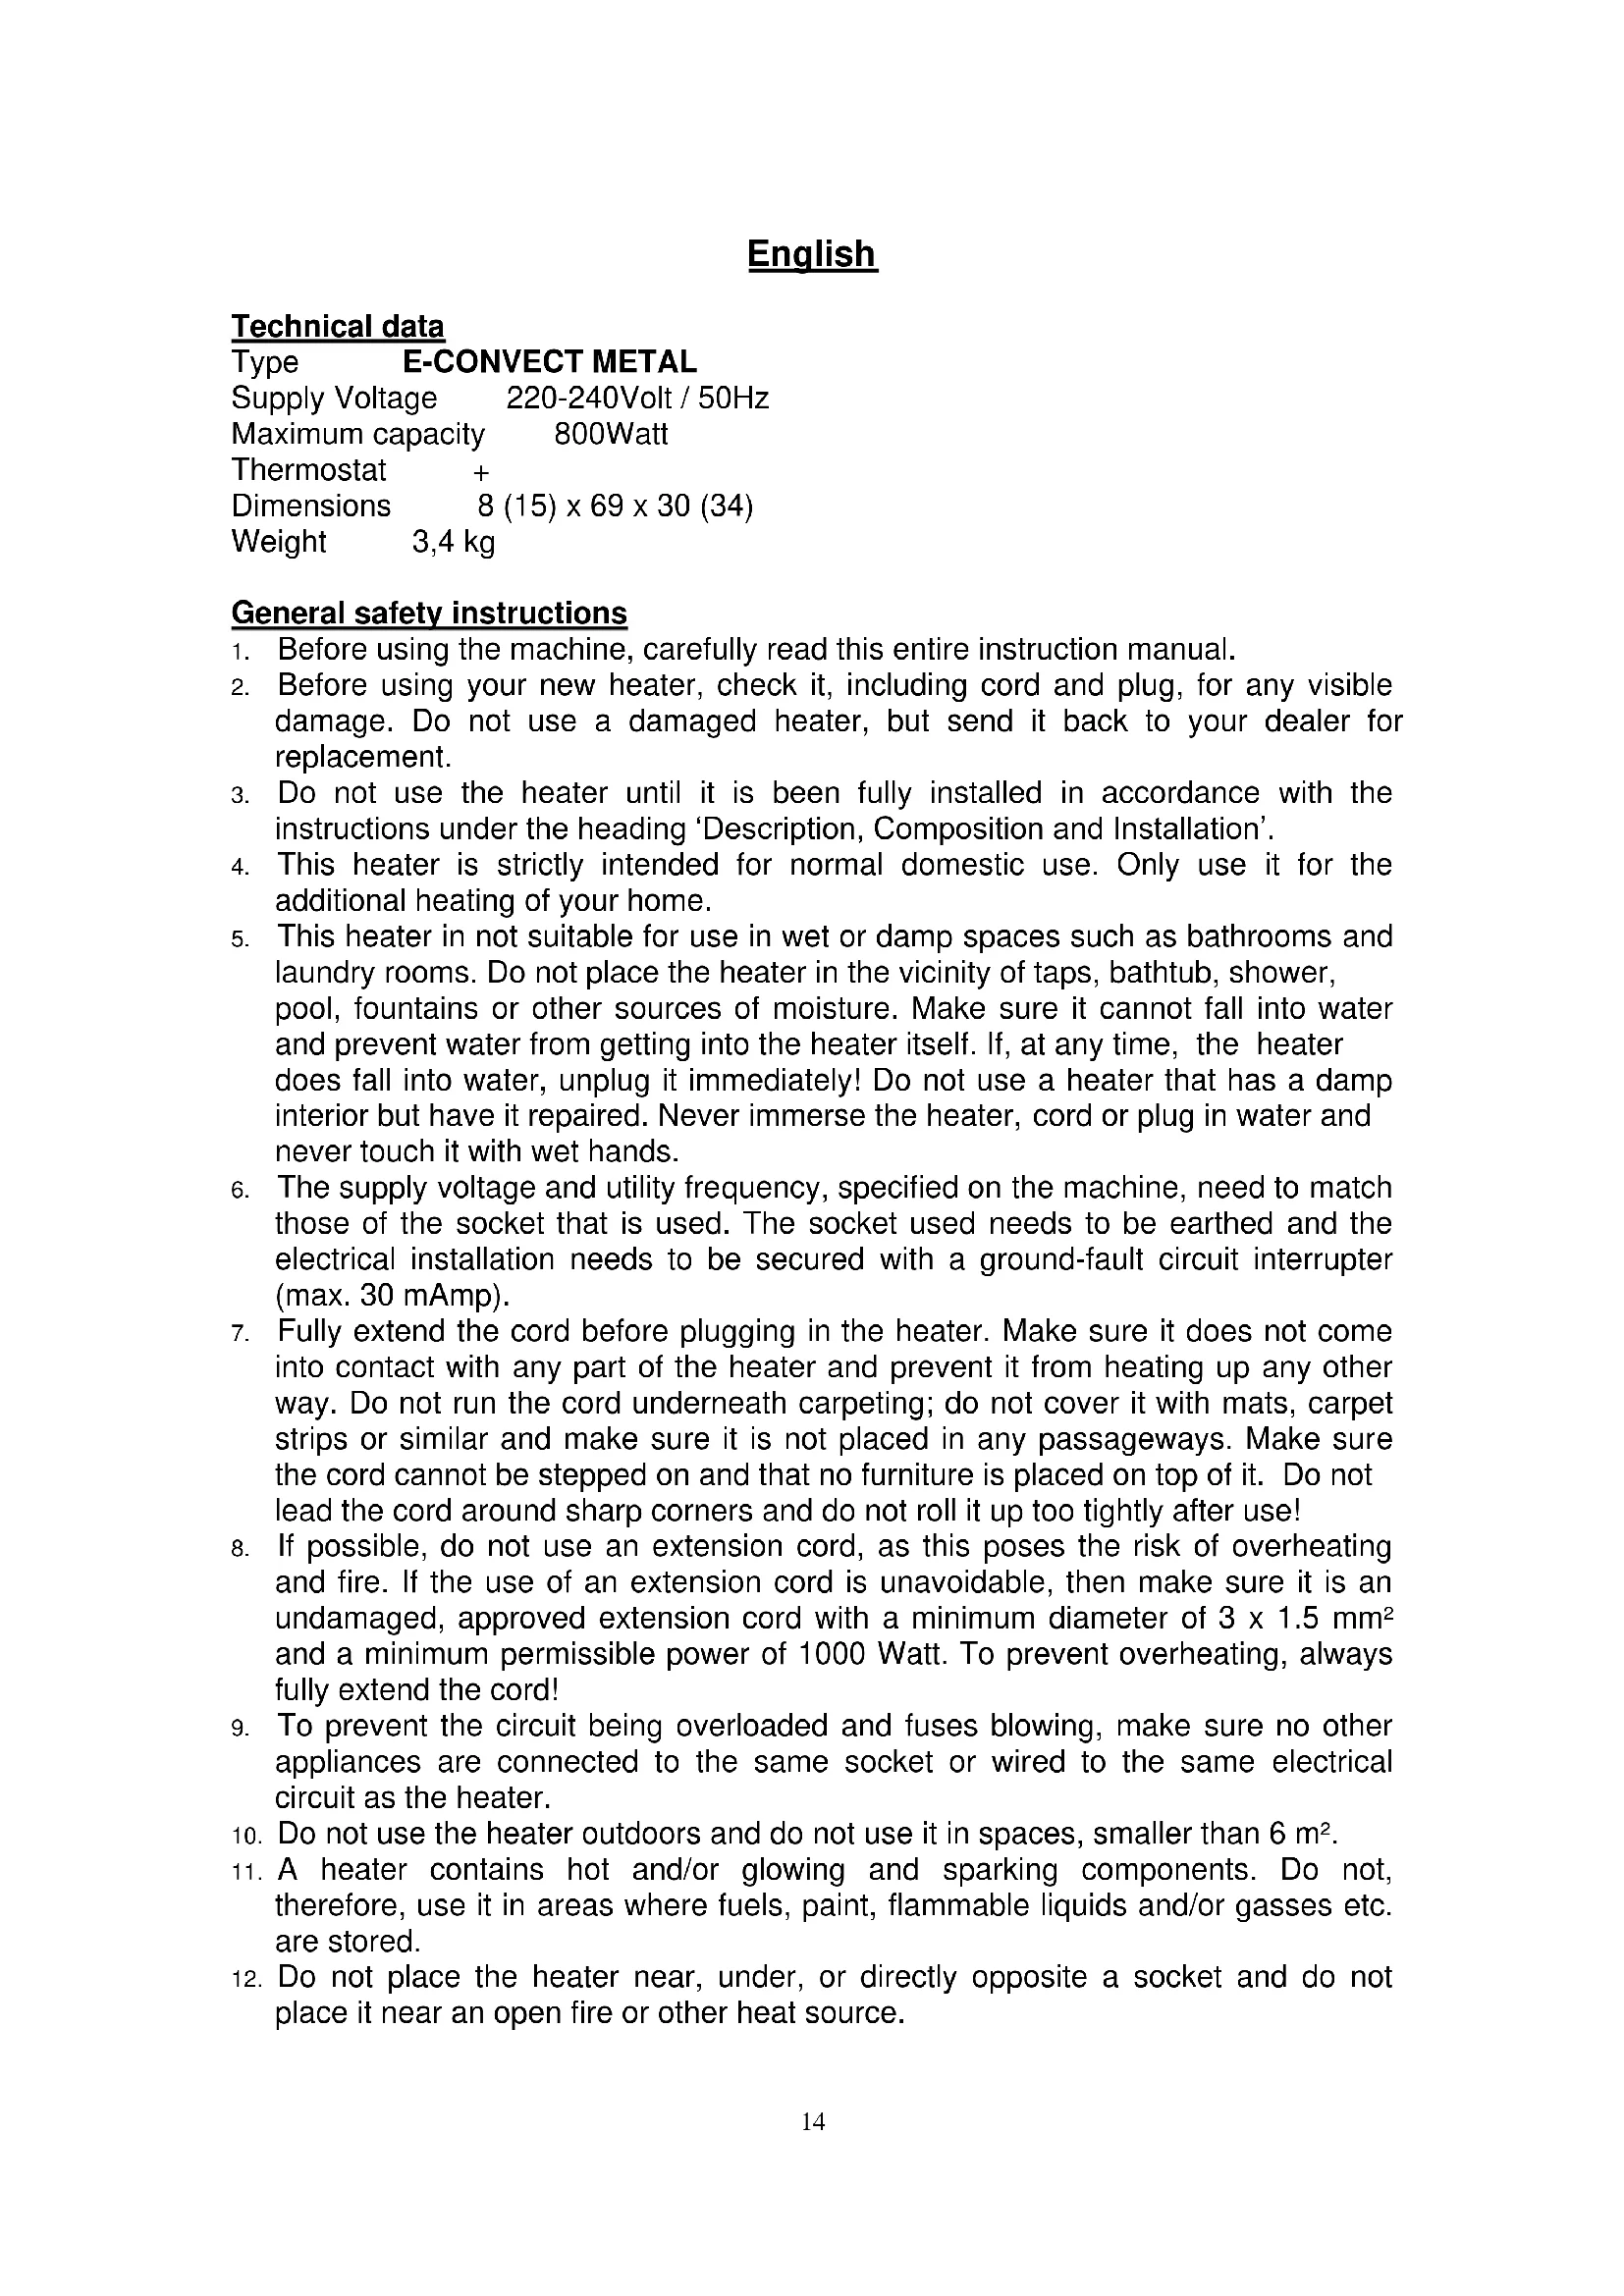
Type E-CONVECT METAL
natural_image
Close-up of a black square button with 'O' and '-' symbols, partially attached to a white surface (no text or numbers visible)
natural_image
Close-up of a white mechanical knob with a black handle and a vertical line marker labeled '2' (no text or symbols on the knob itself)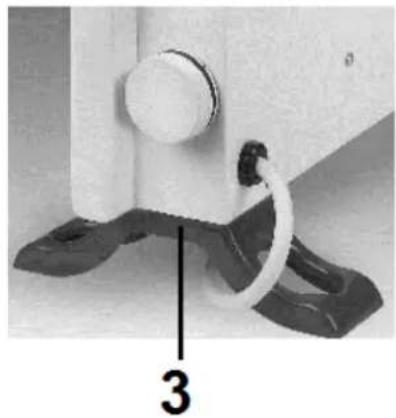
natural_image
Close-up of a white mechanical component with a coiled cable and black base, labeled with number 3 (no text or symbols on the object itself)natural_image
Top-down line drawing of a door with a wall-mounted fixture and a floor-mounted device (no text or symbols)natural_image
Close-up of a black square key with '1' and '0' labels, partially connected to a white surface (no additional text or symbols)
natural_image
Close-up of a white circular knob with a black stripe and a vertical line labeled '2' (no text or symbols on the knob itself)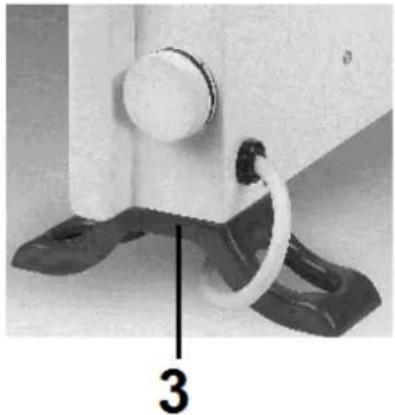
natural_image
Close-up of a mechanical component with a circular knob and a coiled cable, labeled with number 3 (no text or symbols on the object itself)AN/AUS-Schalter
- Thermostatknopf
- Fuß
natural_image
Line drawing of a door with a wall-mounted fixture and two feet-mounted sensors (no text or symbols)Type E-CONVECT METAL
Supply Voltage 220-240Volt / 50Hz
Maximum capacity 800Watt
Thermostat +
Dimensions 8 (15) x 69 x 30 (34)
Weight 3,4 kg
General safety instructions
- Before using the machine, carefully read this entire instruction manual.
- Before using your new heater, check it, including cord and plug, for any visible damage. Do not use a damaged heater, but send it back to your dealer for replacement.
- Do not use the heater until it is been fully installed in accordance with the instructions under the heading 'Description, Composition and Installation'.
- This heater is strictly intended for normal domestic use. Only use it for the additional heating of your home.
- This heater in not suitable for use in wet or damp spaces such as bathrooms and laundry rooms. Do not place the heater in the vicinity of taps, bathtub, shower, pool, fountains or other sources of moisture. Make sure it cannot fall into water and prevent water from getting into the heater itself. If, at any time, the heater does fall into water, unplug it immediately! Do not use a heater that has a damp interior but have it repaired. Never immerse the heater, cord or plug in water and never touch it with wet hands.
- The supply voltage and utility frequency, specified on the machine, need to match those of the socket that is used. The socket used needs to be earthed and the electrical installation needs to be secured with a ground-fault circuit interrupter (max. 30 mAmp).
- Fully extend the cord before plugging in the heater. Make sure it does not come into contact with any part of the heater and prevent it from heating up any other way. Do not run the cord underneath carpeting; do not cover it with mats, carpet strips or similar and make sure it is not placed in any passageways. Make sure the cord cannot be stepped on and that no furniture is placed on top of it. Do not lead the cord around sharp corners and do not roll it up too tightly after use!
- If possible, do not use an extension cord, as this poses the risk of overheating and fire. If the use of an extension cord is unavoidable, then make sure it is an undamaged, approved extension cord with a minimum diameter of 3 × 1.5 mm^2 and a minimum permissible power of 1000 Watt. To prevent overheating, always fully extend the cord!
- To prevent the circuit being overloaded and fuses blowing, make sure no other appliances are connected to the same socket or wired to the same electrical circuit as the heater.
- Do not use the heater outdoors and do not use it in spaces, smaller than 6 m ^2 .
- A heater contains hot and/or glowing and sparking components. Do not, therefore, use it in areas where fuels, paint, flammable liquids and/or gasses etc. are stored.
-
Do not place the heater near, under, or directly opposite a socket and do not place it near an open fire or other heat source.
-
Do not use the heater near or directly opposite furniture, animals, curtains, paper, clothes, bedding or other inflammable objects. Keep them at least 1 metre away from the heater!
-
Never cover a heater! The heater's air inlets and outlets should never be obstructed in any way, so as to prevent the possibility of fire. Never use the heater to dry clothes and do not place anything on top of the heater. Do not place it on soft surfaces such as beds or deep-pile carpets as they can block openings.
-
Make sure that the air around the heater can circulate freely. Do not place the heater too close to walls or large objects and do not place it under shelves, cupboards or similar.
-
Prevent foreign objects from entering the heater via the venting or exhaust openings as this may lead to electric shock, fire or damage.
-
Never leave the heater unattended when switched on. Always switch the heater off before removing the plug from the socket. Always unplug the heater when not in use! Pull on the plug to remove from the socket, never pull on the cord.
-
Always switch the heater off, unplug it and leave to cool down before:
-
cleaning the heater
- carrying out maintenance on the heater
-
touching or moving the heater.
-
This machine gets hot when in use. To prevent burns, do not let bare skin come into contact with hot surfaces.
- Do not use a timer or a similar product to automatically switch on the heater. Always perform safety checks before using the heater!
- Close supervision is necessary when the product is used near children or incapacitated persons. Do not let children use the appliance as a toy. The device is not suitable for use by persons (including children) with a physical, sensual or mental limitation or a lack of experience and knowledge, irrespective of whether they are being supervised or have been issued with instructions in relation to the use of the device by a person who is responsible for their safety. Always ensure that children cannot play with the device.
- Keep the heater clean. Dust, dirt and/or a build up of deposits in the heater are a common cause of overheating. Make sure these deposits are removed regularly.
- Do not turn on the appliance if you have discovered damage to the appliance itself, the cord or the plug, if the appliance is malfunctioning, if it has been dropped or if there are any other signs of a defect. Return the complete product to the vendor or to a certified electrician for inspection and/or repair. Always ask for the original parts.
- Do not use attachments and/or accessories that have not been recommended or supplied by the manufacturer.
- The appliance (incl. cord and plug) may only be opened and/or repaired by properly authorised and qualified persons.
- Only use this heater for its intended purpose and as described in this instruction manual.
Not abiding by instructions 24, 25 and 26 may lead to damage, fire and/or personal injuries. A failure to adhere to these rules also immediately nullifies the guarantee and vendor, importer and/or manufacturer do not take responsibility for any of the consequences!
Description, Composition and Installation
natural_image
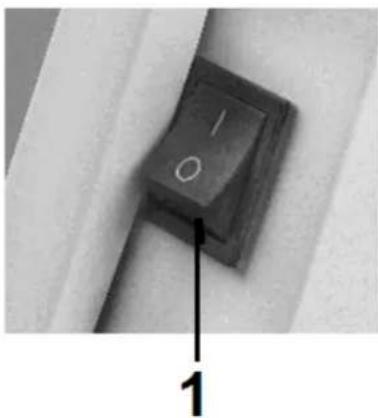
Close-up of a black square button labeled '1' with a white letter 'O' on its side, against a plain background (no text or symbols beyond the number and arrow)- ON/OFF switch
- Thermostat dial
- Base

natural_image
Close-up of a white circular mechanical knob with a black tab, labeled '2' at the bottom (no other text or symbols visible)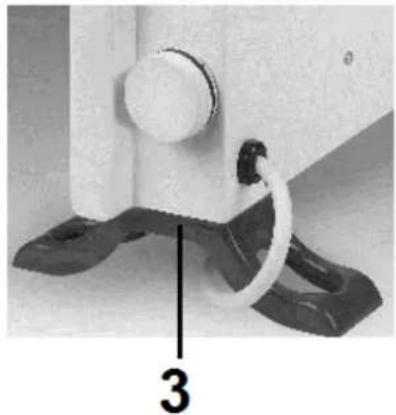
natural_image
Close-up of a mechanical component with a white circular knob and attached cable, labeled with number 3 (no text or symbols on the object itself)Remove all packaging material and keep out of reach of children. After removing packaging, check the appliance for damage or other signs that could indicate a fault/defect/malfunction. In case of doubt, do not use the appliance, but contact your vendor for inspection or replacement.
Do not use the heater before it has been installed in accordance with the following instructions!
Attachment materials supplied
2 hanging brackets
2 fixing brackets
4 short screws
4 long screws
4 plugs
Free-standing (as a portable heater):
Attach the feet supplied to the underside of the heater (see picture):
- Turn the heater upside down. Place a blanket (or something similar) under the heater to prevent damage!
- Place the feet on their place on the bottom of the heater. This will ensure that the threaded holes will align correctly.
- Securely attach the feet to the heater using the 2 x 2 short self-tapping screws.
- Return the heater to the upright position.
• Make sure a working heater is always placed on a solid, flat and horizontal surface. Deep-pile carpeting is unsuitable!
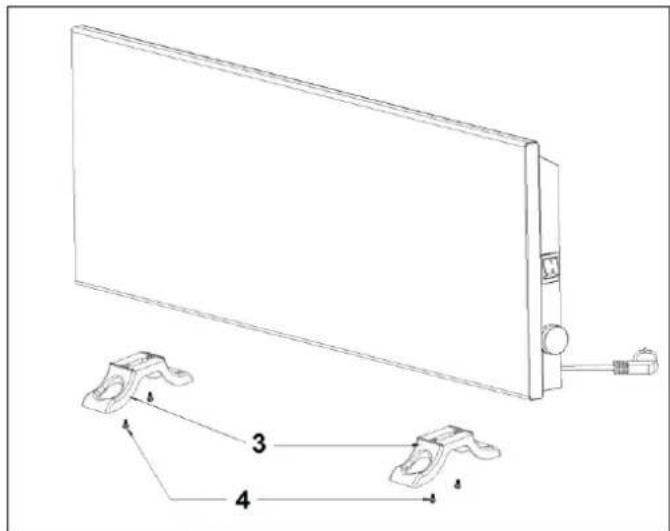
Mounted (secured to a wall):
Choose a solid, flat and completely vertical wall made of non-flammable and non-melting material on which to mount the heater (i.e. no wood, synthetic materials, etc!)
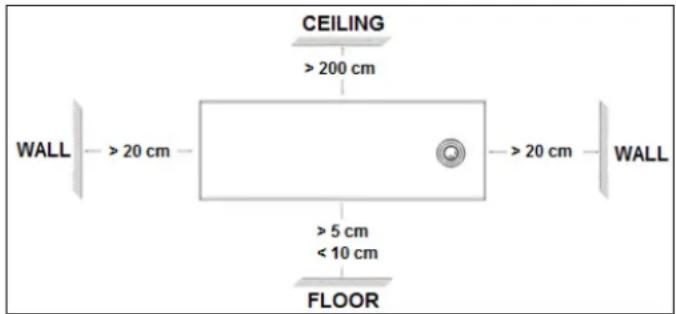
- Decide where you want to mount the heater. Make sure that the heater has sufficient space around it at all times and that no inflammable materials are located nearby (see also safety instructions). Do not place the heater behind a door! The heater's underside needs to be at least 5 cm and max. 10 cm above the floor, the sides at least 20 cm from the side walls and the top at least 200 cm from the ceiling, ceiling beams, etcetera.
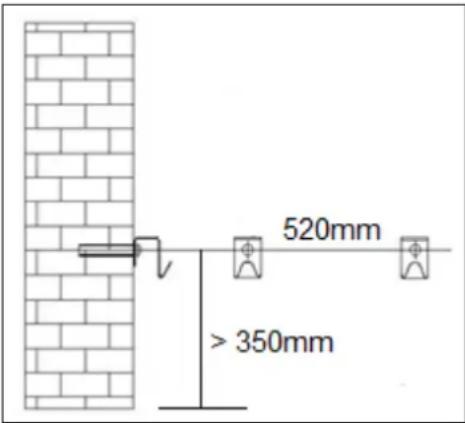
- Attach the two hanging brackets to the wall. To do so, drill (with a suitable drill) 2 holes 520 mm apart, at least 35 cm from the floor, on a completely horizontal line. Insert plugs. Screw two long screws into the plugs until they protrude by 8 mm.
- Secure the two fixing brackets underneath the heater. Then position the small hole in the long side of the bracket over the rear hole in the base of the heater, with the brackets' short sides pointing towards the floor and jutting out from the heater in a straight line. Attach securely using the small screws.
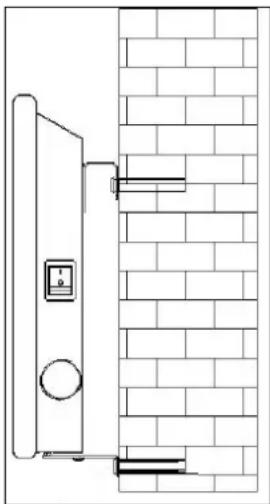
- Slide the heater, with the gaps in the rear, over the suspension brackets and lower the heater into the grooves. The fixing brackets will ensure there is enough space between heater and wall.
- Mark the place where the fixing brackets need to be fixed to the wall. Take the heater down, drill holes and attach plugs at the marked spots. Mount the heater and screw in the fixing brackets with the two remaining long screws.
natural_image
Line drawing of a door with a wall-mounted fixture and a side-mounted device (no text or symbols)Set-up and Operation
- Make sure the heater is turned off and that the thermostat dial is set to maximum (clockwise, as far as it will go). Now plug into an earthed, correctly functioning 220-240V / 50Hz socket. Only connect the heater to an earthed socket!
- Turn the heater on by pushing the on/off switch to 'on' (I pushed in). The heater will now begin to disseminate hot air.
- When the space has reached the desired temperature, turn the thermostat dial anticlockwise slowly until you hear a click. In this position, the thermostat will maintain the current temperature by turning the heater on and off for a top-up, if necessary. For higher temperatures, turn the thermostat dial clockwise, for lower temperatures anticlockwise.
• To switch off, click the ON / OFF-switch to off. The heater switches off. Unplug.
Safety features
In case of internal overheating, the overheating safeguard will switch the heater off. This may occur if the heater cannot give off enough heat or if it cannot draw in enough fresh air. As mentioned above, this is generally caused by (partially) covering the heater, obstructing the air intake and/or outlet grills or installing the heater too close to a wall or something similar. In case of overheating, switch off the heater and unplug. Give the heater time to cool down, remove the source of the overheating and use as normal. If the problem persists or if you have not been able to trace the source of the overheating, turn the heater off immediately and unplug. Contact a servicing point to have the heater repaired.
Cleaning and Maintenance
Keep the heater clean. Deposits of dust and dirt in the appliance are a common cause of overheating so these should be removed regularly. Switch off the heater, remove the plug from the socket and allow the heater to cool down before cleaning or carrying out maintenance work.
- Wipe the outside of the heater regularly with a dry or slightly damp cloth. Do not use aggressive soaps, sprays, cleaners or abrasives, waxes, polishes or chemical solutions!
- Use a vacuum cleaner to carefully remove any dust and dirt from the grills and ensure that the air intake and outlet openings are clean. Be careful not to touch or damage any internal parts during cleaning!
- The heater contains no other parts which need maintenance.
- At the end of the season, store the cleaned heater in the original packaging if possible. Store it upright in a cool, dry and dust-free place.
- Do not dispose of heater with household waste when it becomes worn or damaged beyond repair. Take it to your local authority's collection point for electrical appliances where any reusable materials will be collected and redistributed.
CE-statement
Euromac bv, Genemuiden-NL hereby declares that the EUROM electrical convector heater, type E-CONVECT METAL, complies with the LVD guideline 2006/95/EG and the EMC guideline 2004/108/EC and meets the following standards:
EN 55014-1 :2006, A1 :2009 EN 60335-2-30 :2009+A11 :2012
EN 55014-2:1997, A1:2001, A2:2008 EN 60335-1 :2012
EN 61000-3-2 :2006, A1:2009, A2:2009 EN 62233:2008
EN 61000-3-3 :2008
Genemuiden, 28-06-2013
W.J. Bakker, alg.dir.
Français
Données techniques
Type E-CONVECT METAL
Tension 220-240Volt / 50Hz
Puissance max. 800Watt
Thermostat +
Dimensions 8 (15) x 69 x 30 (34)
Poids 3,4 kg
natural_image
Close-up of a black square button with '1' and '0' labels, partially installed on white fabric (no additional text or symbols)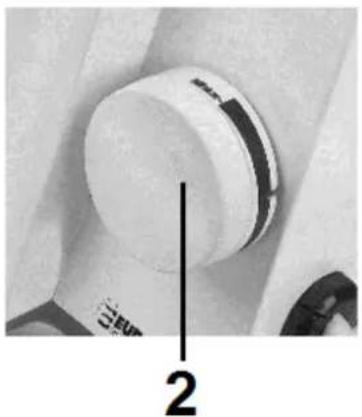
natural_image
Close-up of a mechanical knob or dial with a vertical line and number label '2' (no text or symbols on the knob itself)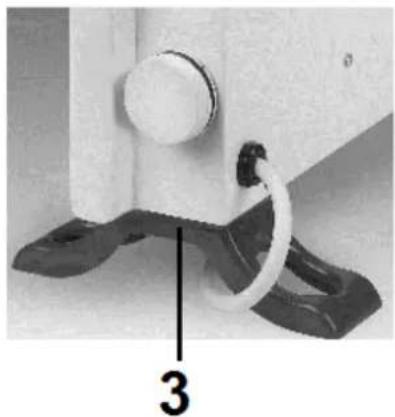
natural_image
Close-up of a mechanical component with a white circular knob and attached cable, labeled with number 3 (no text or symbols on the object itself)Free-standing (as a portable heater):
natural_image
Line drawing of a door with a wall-mounted fixture and two rectangular components, no text or symbols present.natural_image
Close-up of a black square key with '1' and '0' markings, mounted on a white surface (no text or symbols beyond basic markings)
natural_image
Close-up of a mechanical knob or dial with a vertical line and number label '2' (no readable text or symbols beyond the number)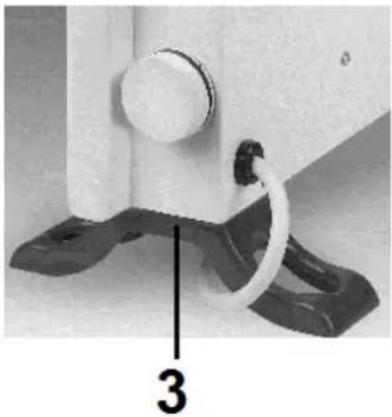
natural_image
Close-up of a mechanical component with a white knob and black base, connected by a coiled cable (no visible text or symbols)- PÅ/AV-omkopplare
- Termostatvred
- Botten
natural_image
Diagram of a door with a control panel and two feet-mounted sensors, set against a brick wall (no text or symbols)natural_image
Close-up of a black square key with number 1 and letter O, mounted on a white surface (no text or symbols beyond the number)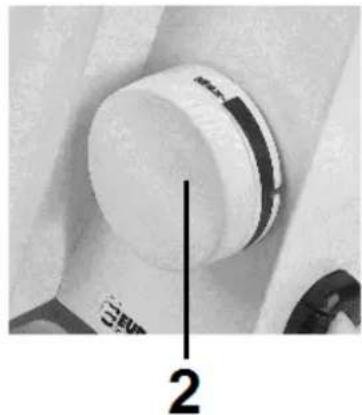
natural_image
Close-up of a mechanical knob or dial with a vertical line and number label (2), no readable text or symbols beyond the number.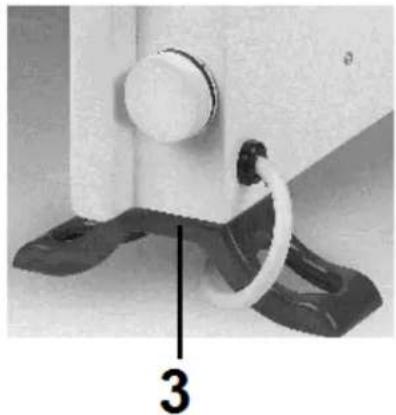
natural_image
Close-up of a mechanical component with a white circular knob and a black base, labeled with number 3 (no text or symbols on the object itself)SPÍNAČ / VYPÍNAČ
- Termostat
- Základna
natural_image
Line drawing of a door with a wall-mounted fixture and two feet legs, no text or symbols presentNastavení a provoz
natural_image
Close-up of a black square button with '1' and '0' labels, partially connected to a white surface (no readable text or symbols beyond labels)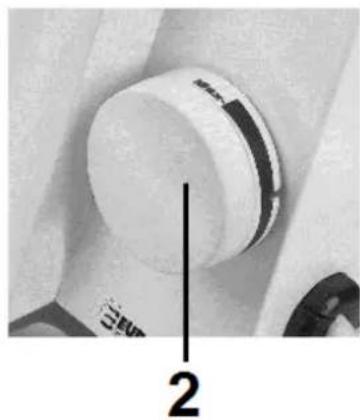
natural_image
Close-up of a white circular knob with black bands, labeled with number 2 (no text or symbols on the knob itself)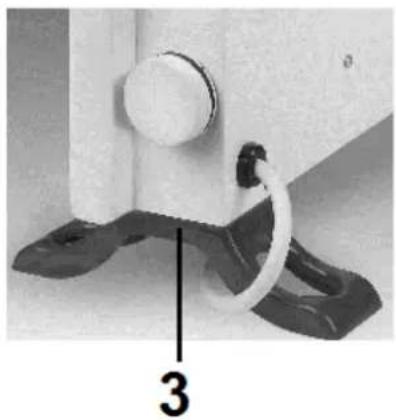
natural_image
Close-up of a mechanical component with a white circular knob and black base, connected by a coiled cable (no visible text or symbols)SPÍNAČ / VYPÍNAČ
natural_image
Line drawing of a door with a wall-mounted fixture and a side-mounted bracket (no text or symbols)natural_image
Line drawing of a door with a circular valve and a wall-mounted device, set against a brick wall (no text or symbols)EUROMAC BV., Kokosstraat 20, 8281 JC Genemuiden - NL
e-mail: info@euromac.nl www.euromac.nl