
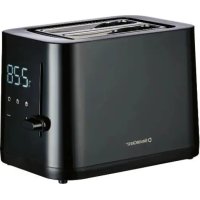
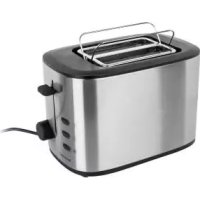
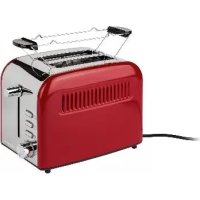
STD 950 A1 - Toaster SILVERCREST - Free user manual and instructions
Find the device manual for free STD 950 A1 SILVERCREST in PDF.
| Product type | Toaster |
| Brand | SilverCrest |
| Model | STD 950 A1 |
| Power supply | 220-240 V ~ 50/60 Hz, 800-950 W |
| Protection class | I |
| Number of compartments | 2 |
| Browning control | 6 levels (1 = light, 6 = intense) |
| Functions | Toast, Defrost, Reheat, Premature stop (Stop button) |
| Integrated bun warmer | Yes, foldable |
| Crumb tray | Yes, removable |
| Cable winder | Yes, with cable clip |
| Non-slip feet | Yes, plastic |
| Material | Plastic and metal (not specified) |
| Intended use | Toasting bread and rolls, domestic use |
| Safety | Automatic shut-off (lever pops up), Stop button, do not cover, do not use near flammable materials |
| Cleaning | Unplug, cool down, wipe with damp cloth, empty crumb tray |
| Warranty | 3 years from date of purchase |
| Repairability | Entrust to a specialized workshop or customer service |
| Spare parts available | Crumb tray, bun warmer (during warranty period) |
| Article number (IAN) | 315280 |
| Supplier | HOYER Handel GmbH, Tasköprüstraße 3, DE-22761 Hamburg |
Frequently Asked Questions - STD 950 A1 SILVERCREST
User questions about STD 950 A1 SILVERCREST
0 question about this device. Answer the ones you know or ask your own.
Ask a new question about this device
Download the instructions for your Toaster in PDF format for free! Find your manual STD 950 A1 - SILVERCREST and take your electronic device back in hand. On this page are published all the documents necessary for the use of your device. STD 950 A1 by SILVERCREST.
USER MANUAL STD 950 A1 SILVERCREST
- Overview 2
- Intended purpose 3
- Safety information 3
- Items supplied 5
5.Before using for the first time 6 - Toasting 6
- Cleaning 7
- Disposal 7
- Troubleshooting 8
- Technical specifications 8
- Warranty of the HOYER Handel GmbH 9
1. Overview
1 Integrated bun warmer
2 Toasting compartments
3 Lowering lever
4 Stop button
5 Knob to set the toasting level
6 Defrost button
7 Reheat button
8 Base
9 Cable spool
10 Power cable with mains plug
11 Crumb drawer
12 Fold-out lever (for the bun warmer)
13 Recess (for countersinking the bun warmer)
14 Cable clamp
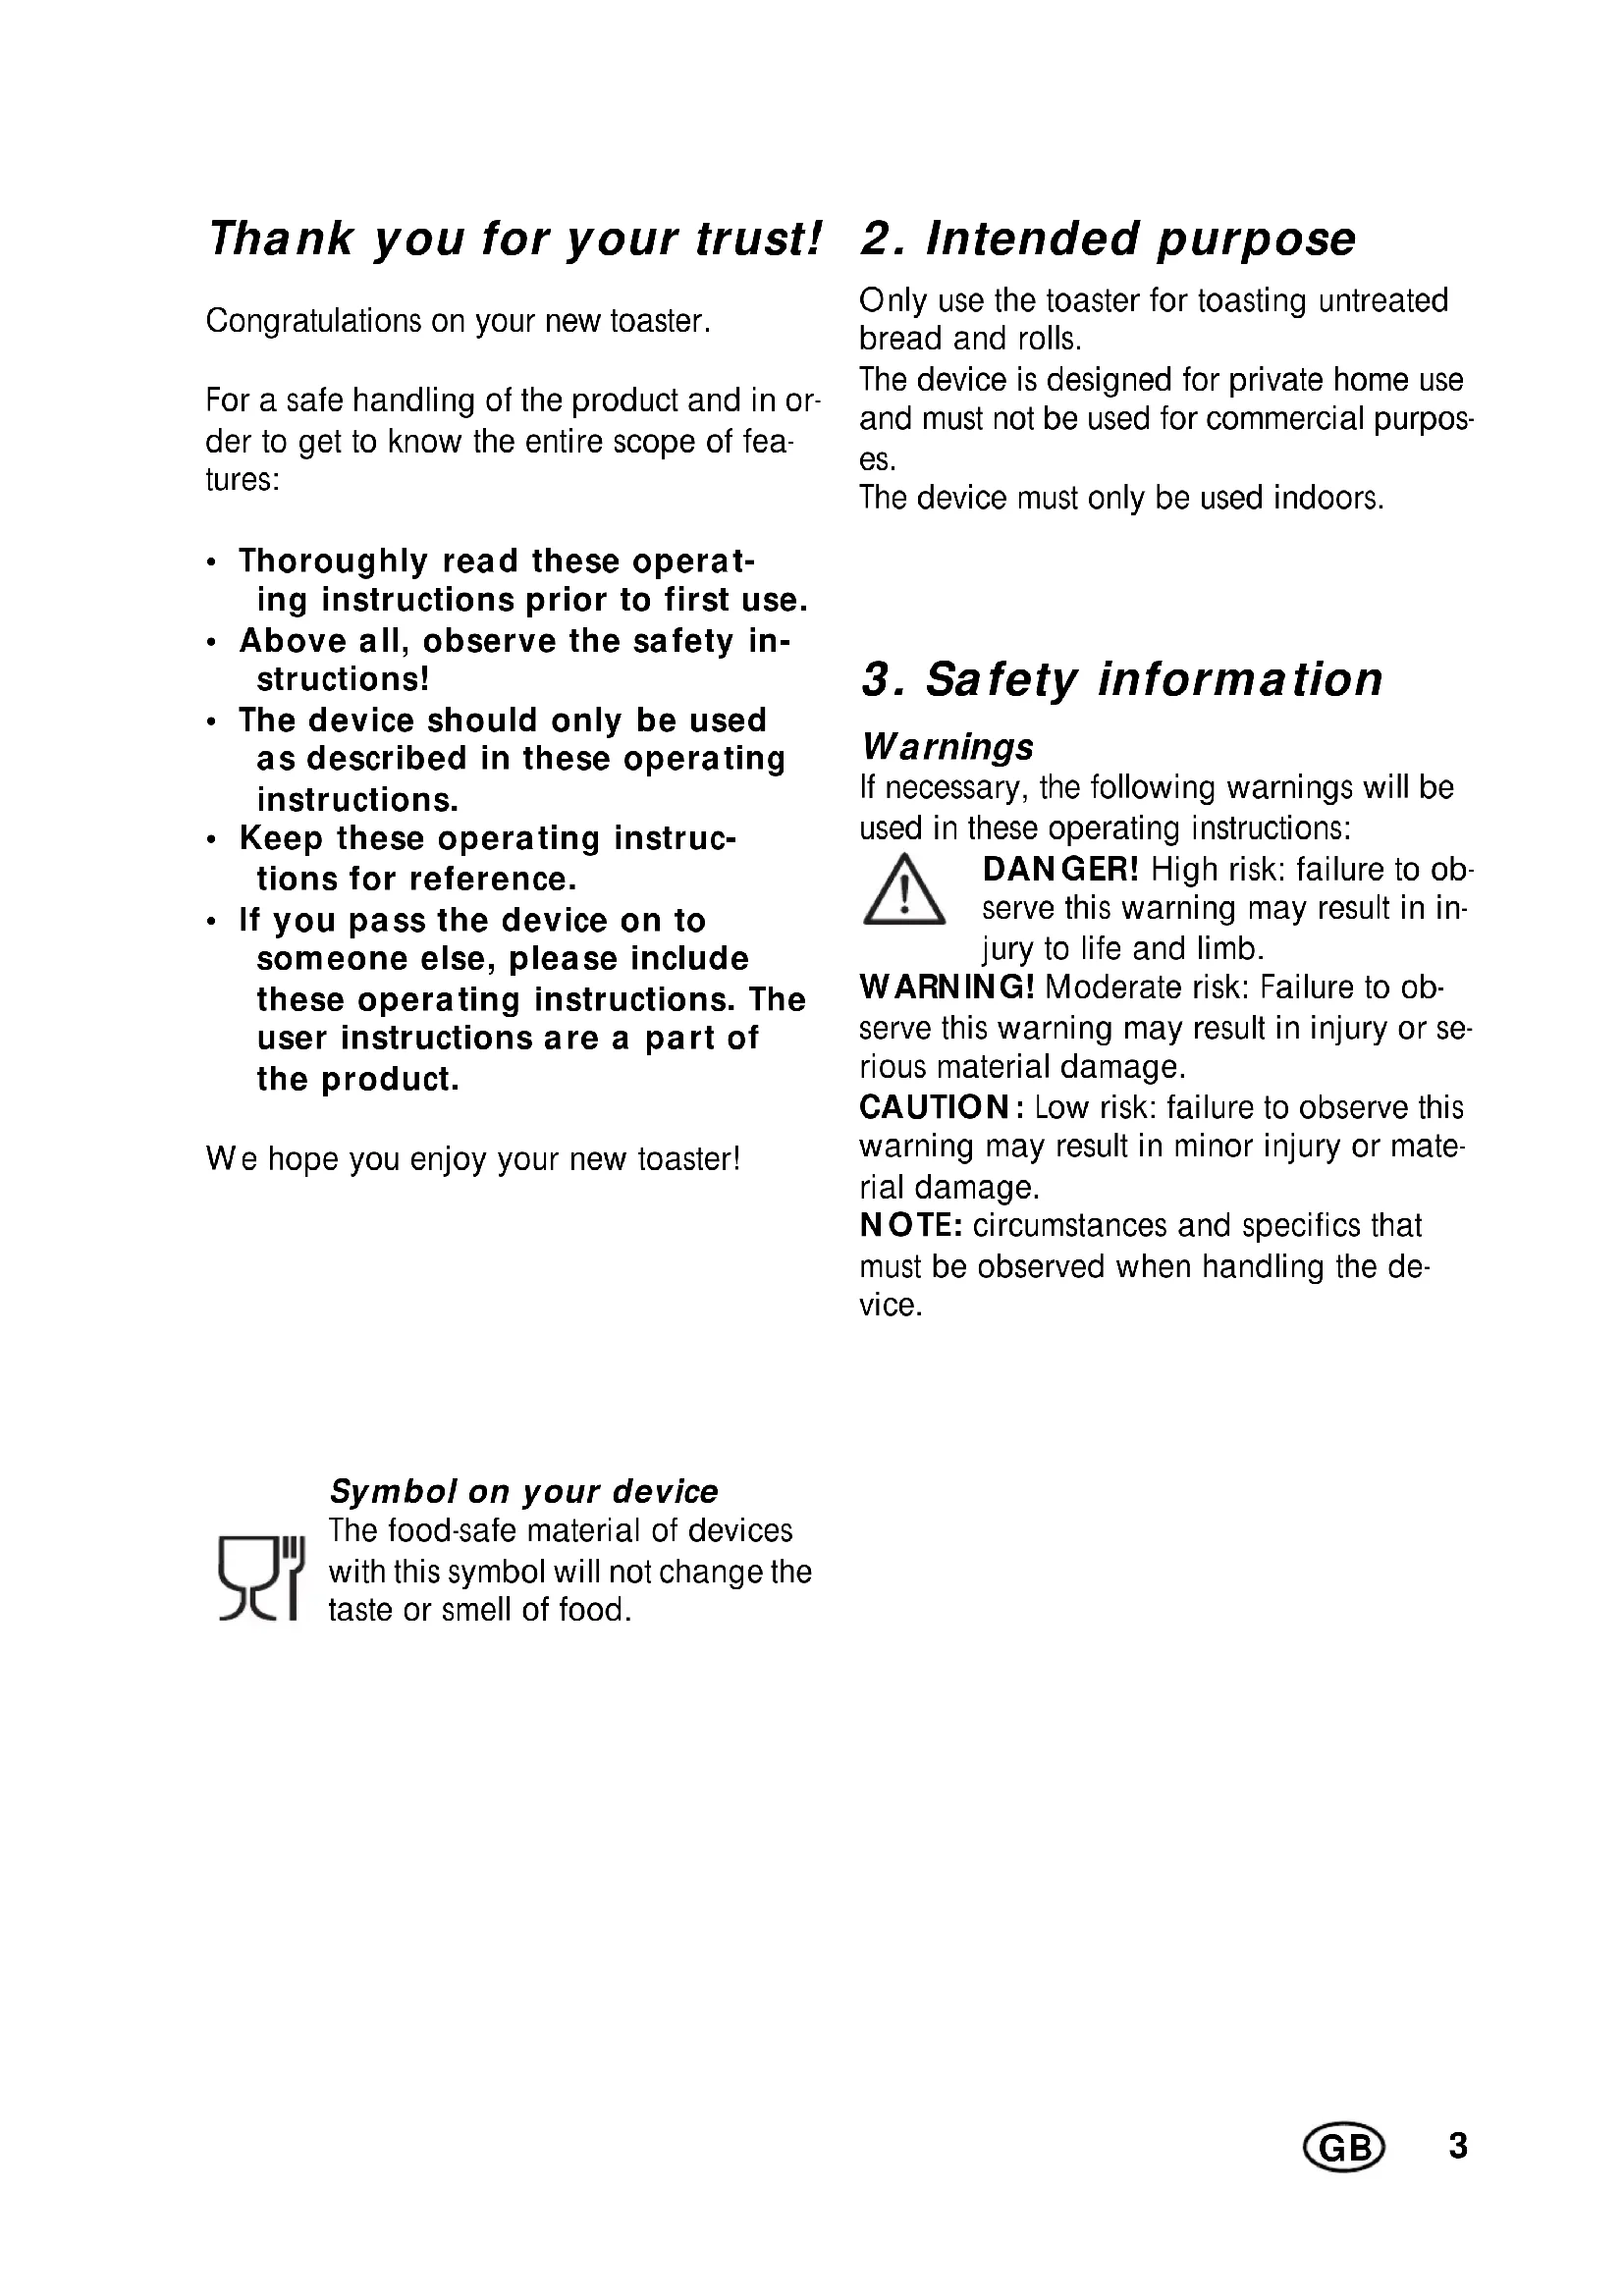
Thank you for your trust!
Congratulations on your new toaster.
For a safe handling of the product and in order to get to know the entire scope of features:
- Thoroughly read these operating instructions prior to first use.
- Above all, observe the safety instructions!
- The device should only be used as described in these operating instructions.
- Keep these operating instructions for reference.
- If you pass the device on to someone else, please include these operating instructions. The user instructions are a part of the product.
We hope you enjoy your new toaster!
2. Intended purpose
Only use the toaster for toasting untreated bread and rolls.
The device is designed for private home use and must not be used for commercial purposes.
The device must only be used indoors.
3. Safety information
Warnings
If necessary, the following warnings will be used in these operating instructions:

DANGER! High risk: failure to observe this warning may result in injury to life and limb.
WARNING! Moderate risk: Failure to observe this warning may result in injury or serious material damage.
CAUTION: Low risk: failure to observe this warning may result in minor injury or material damage.
NOTE: circumstances and specifics that must be observed when handling the device.

Symbol on your device
The food-safe material of devices with this symbol will not change the taste or smell of food.
Instructions for safe operation
- This device can be used by children from the age of 8 and people with restricted physical, sensory or intellectual abilities or people without adequate experience and/ or understanding, if they are supervised or instructed on how to use this device safely and if they are aware of the resulting danger. Children must not play with the device. Cleaning and user maintenance must not be performed by children unless they are older than 8 years and supervised.
Children under the age of 8 must be kept away from the device and the power cable.

-
Bread can burn. Never use the toaster near to or underneath flammable materials such as curtains.
-
If the mains power cable of this device should become damaged, it must be replaced by the manufacturer, the manufacturer's customer service department or a similarly qualified specialist, in order to avoid any hazards.
- This device is not intended to be operated using an external timer clock or a separate remote control system.
See the chapter on cleaning for how to remove the crumbs (see "Cleaning" on page 7).

DANGER for children
- Packing materials are not children's toys. Children should not be allowed to play with the plastic bags: There is a risk of suffocation.

DANGER to and from pets and livestock
- Electrical devices can represent a hazard to pets and livestock. In addition, animals can also cause damage to the device. For this reason you should keep animals away from electrical devices at all times.

DANGER! Risk of electric shock due to moisture
- Protect the device from moisture, water drops and water spray.
The device, the cable and the mains plug must not be immersed in water or any other liquids.
- If liquid gets into the device, remove the mains plug immediately. Have the device checked before reusing.
- If the device has fallen into water, pull out the mains plug immediately, and only then remove the device from the water. Do not use the device again, and have it checked by a specialist.
- Never touch the device with wet hands.

DANGER! Risk of electric shock
Do not use the device if the device or the power cable has any visible damage, or if the device has previously been dropped.
- Lay the power cable such that no one can step on it, get caught on it, or trip over it.
- Connect the mains plug only to a correctly installed, easily accessible wall socket with an earthing contact with voltage corresponding to the rating plate. The wall socket must continue to be easily accessible after the device is plugged in.
- Ensure that the power cable cannot be damaged by sharp edges or hot points. Do not wrap the power cable around the device (Danger! Risk of cable damage!).
Ensure that the power cable cannot be trapped or crushed.
To pull the mains plug out of the wall socket, always pull on the mains plug, and never on the power cable. - Disconnect the mains plug from the wall socket,...
... after every use,
... if there is a fault,
... when you are not using the device,
... before you clean the device and
... during thunderstorms.
To avoid any risk, do not make modifications to the product. Repairs must be carried out by a specialist workshop or the Service Centre.

DANGER! Fire hazard
- Never leave the device unattended while it is plugged in.
- Never cover the device or place it on soft objects (e.g. towels).
Do not toast buttered bread. The fat could catch fire. - Never warm up filled or sugar-coated rolls, those topped with melted cheese or sandwiches. These ingredients might fall into the toaster and ignite.

DANGER! Risk of injury through burning
Do not touch the hot surfaces of the device.
- If you are not using a normal slice of toast, there is a risk of touching the hot parts of the toaster in the case of smaller sizes or unusual shapes.
- Allow the device to cool down completely before you clean it or put it away.
WARNING! Risk of material damage
Use the original accessories only.
- Never place the device on hot surfaces (e.g. hob plates) or near heat sources or open fire.
- Do not insert knives, forks or other metal objects into the toasting compartment.
- Check that the toaster can switch off after the toasting process. Obstructions could be caused by
- slices of bread that are too thick,
- very irregularly formed slices of bread,
- objects that block the lowering lever.
Do not use any astringent or abrasive cleaning agents.
Do not expose the device to temperatures below -10^ or above +40^ .
The device is fitted with non-slip plastic feet. As furniture is coated with a variety of different varnishes and acrylics and treated with different cleaning agents, we cannot rule out that some of these substances could damage and soften the rubber feet. If necessary, place a non-slip mat under the device.
4. Items supplied
1.Toaster
1 Operating instructions
5. Before using for the first time
- Remove the packing material.
- Unwind the desired length of cable from the cable spool 9.
- Figure A: Pass the power cable 10 out on the side and secure with the cable clamp 14.
- Plug the mains plug 10 into an earthed wall socket.
NOTE: The toaster may give off a smell when first used. Therefore we recommend operating the device two or three times without bread on a medium toasting level leaving the window wide open.
6. Toasting
CAUTION:
Do not lay bread, or anything else, on top of the toasting compartments 2.
- For rolls use the integrated bun warmer 1. NOTE: The lowering lever 3, with which the device is switched on, will only engage if the device is plugged in.
Toasting bread
- Put the bread in the toasting compartment 2.
Do not use slices that are too thick. The bread must not be trapped in the toasting compartment 2.
-
Use the knob 5 to set the desired toasting level. The toasting level can be set between
-
1 = very light toasting / slight brown-ing and
- 6 = very heavy toasting / very strong browning.
The result depends, among other factors, on the type and freshness of the bread.
NOTES:
- Toasting level 6 causes very strong browning. With thick slices, this can create smoke. If this occurs, cancel the toasting process by pressing the stop button 4.
-
If you place only one slice of toast into the toaster, turn the rotary knob 5 for the roasting level down by approx. 1 level to achieve the same darkness as with 2 slices of toasts.
-
Press the lowering lever 3 down until it locks into position. The bread is lowered and the device switches on. The light around the stop button 4 lights up.
- At the end of the toasting time the light around the stop button 4 goes out and the bread is lifted. Remove the bread.
Cancelling the toasting process
Press the stop button 4 to cancel the toasting process early. The light around the stop button 4 goes out and the bread is lifted.
Toasting frozen bread
You do not need to change the toasting level to toast frozen bread. Simply press the defrost button 6 after the lowering lever 3 has locked into place. The light around the defrost button 6 lights up. The toasting process is extended.
Reheating bread
If you would like to reheat an already toasted piece of bread which has cooled, press the reheat button 7 as soon as the lowering lever 3 has locked into place. The light around the reheat button 7 lights up during reheating.
Warming up rolls
To warm up rolls, the toaster is provided with an integrated bun warmer 1.
- Press down the fold-out lever 12 to fold out the bun warmer 1.
- Place the roll on the unfolded bun warmer 1.
- Use the knob 5 to set the desired toasting level. We recommend toasting level 2.5. The result depends, among other factors, on the type and freshness of the roll.
- Toast the rolls from both sides.
- After warming up the rolls, press the fold-out lever 12 up again to fold the bun warmer 1 back in.
7. Cleaning

DANGER!
- Remove the mains plug 10 from the wall socket before you clean the toaster.
WARNING! Risk of material damage!
-
Do not use any astringent or abrasive cleaning agents.
-
Allow the device to cool down.
- Wipe the toaster with a damp cloth.
Crumb drawer
- Carefully pull out the crumb drawer 11.
- Remove the crumbs and wipe the crumb drawer 11 with a damp cloth if needed.
- Reinsert the crumb drawer 11.
Integrated bun warmer
- Press down the fold-out lever 12 to fold out the bun warmer 1.
- Turn the toaster upside down and remove the crumbs from the recess 13.
- Wipe the recess 13 and the bun warmer 1 clean, possibly with a slightly damp cloth.
8. Disposal
This product is subject to the provisions of European Directive 2012/19/EC. The symbol showing a wheelie bin crossed through indicates that the product requires separate refuse collection in the European Union. This applies to the product and all accessories marked with this symbol. Products identified with

this symbol may not be discarded with normal household waste, but must be taken to a collection point for recycling electric and electronic appliances.
This recycling symbol marks e.g. an object or parts of the material as valuable for recycling. Recycling helps to reduce the consumption of raw

materials and protect the environment.
Packaging
When disposing of the packaging, make sure you comply with the environmental regulations applicable in your country.
9. Troubleshooting
If your device fails to function as required, please try this checklist first. Perhaps there is only a minor problem, and you can solve it yourself.

DANGER! Risk of electric shock!
- Do not attempt to repair the device yourself under any circumstances.
10. Technical specifications
| Model: STD 950 | A1 |
| Mains voltage: 2 | 20-240 V ~ 50/ 60 Hz |
| Protection class: I | |
| Power rating: 800 - 950 W | |
| Problem | Possible causes / Troubleshooting |
| The toast is too brown. | Set the knob 5 to a lower toast-ing level. |
| The toast is stuck in the device. | Pull out the mains plug 10 and allow the toaster to cool. Carefully attempt to lift the toast out of the Toasting compartment 2 with a flat wooden object. Do not touch the heating elements while doing this. |
| Heavy smoke development | The crumb drawer 11 is probably full. Pull out the mains plug 10 and allow the toaster to cool. Clean the crumb drawer 11. |
Symbols used
| GS | Certified Safety. Devices must comply with the generally acknowledged rules of technology and the German Product Safety Act (Produktssicherheitsgesetz - ProdSG). |
| CE | With the CE marking, HOYER Handel GmbH declares the conformity with EU guidelines. |
| This symbol reminds you to dispose of the packaging in an environmentally friendly manner. | |
| PAP | Recyclable materials: cardboard (except corrugated cardboard) |
Subject to technical modifications.
11. Warranty of the HOYER Handel GmbH
Dear Customer,
your device is provided with a 3 year warranty starting with the purchase date. In the event of product defects, you are entitled to statutory rights against the vendor. These statutory rights are not restricted by our warranty presented in the following.
Warranty conditions
The warranty period starts with the purchase date. Please keep the original purchase receipt in a safe place. This document is required to verify the purchase.
If within three years from the purchase date of this product a material or factory defect occurs, the product will be repaired or replaced by us - at our discretion - free of charge to you. This warranty implies that within the period of three years the defective device and the purchase receipt are presented, including a brief written description of the defect and the time it occurred.
If the defect is covered by our warranty, the repaired or a new product will be returned to you. No new warranty period starts with a repair or replacement of the product.
Warranty period and statutory claims for defects
The warranty period is not extended when the warranty has been claimed. This also applies to replaced and repaired parts. Any damages and defects already existing at the time of purchase must be reported immediately upon unpacking. Repairs arising after the expiration of the warranty period are subject to a charge.
Warranty coverage
The device was produced carefully according to strict quality guidelines and tested diligently prior to delivery.
The warranty applies to material or factory defects.
Excluded from the warranty are wear parts subject to normal wear and damages to fragile parts, e.g. switches, batteries, lamps or other parts manufactured from glass.
This warranty expires if the product is damaged, not used as intended or not serviced. For the proper operation of the product, all instructions listed in the operating instructions must be observed carefully. Any form of use and handling that is advised against in the operating instructions or warned against must always be avoided.
The product is only intended for private and not for commercial use. In the case of incorrect and improper treatment, use of force and interventions not performed by our authorised Service Centre, the warranty shall cease.
Handling in case of a warranty claim
In order to ensure prompt processing of your matter, please observe the following notes:
- Please keep the article number
IAN:315280 and the purchase receipt as a purchase verification for all inquiries.
- The article number can be found on the rating plate, an engraving, the title page of your instructions (in the bottom left), or as a label on the rear or underside of the device.
- If faulty operation or other defects occur, first contact the Service Centre listed in the following by telephone or email.
- Then, you are able to send a product reported as defective free of charge to the service address specified to you, including the purchase receipt and the information on the defect and when it occurred.

Please visit www.lidl-service.com to download this and many other manuals, product videos and software.
GB Service Great Britain
Tel.: 0800 404 7657
E-Mail: hoyer@lidl.co.uk
IE Service Ireland
Tel.: 1890 930 034
(0,08 EUR/ Min., (peak))
(0,06 EUR/ Min., (off peak))
E-Mail: hoyer@lidl.ie
MT Service Malta
Tel.: 80062230
E-Mail: hoyer@lidl.com.mt
CY Service Cyprus
Tel.: 80094409
E-Mail: hoyer@lidl.com.cy
IAN:315280

Supplier
Please note that the following address is no service address. First contact the aforementioned Service Centre.
HOYER Handel GmbH
Taskoprustraße 3
DE-22761 Hamburg
GERMANY
Indhold
1 φpuyavépa
1 oyniecs xpnoans


- Overview
- Thank you for your trust!
- Intended purpose
- Safety information
- Warnings
- Symbol on your device
- Instructions for safe operation
- DANGER for children
- DANGER to and from pets and livestock
- DANGER! Risk of electric shock due to moisture
- DANGER! Risk of electric shock
- DANGER! Fire hazard
- DANGER! Risk of injury through burning
- WARNING! Risk of material damage
- Items supplied
- Before using for the first time
- Toasting
- CAUTION:
- Toasting bread
- NOTES:
- Cancelling the toasting process
- Toasting frozen bread
- Reheating bread
- Warming up rolls
- Cleaning
- DANGER!
- WARNING! Risk of material damage!
- Crumb drawer
- Integrated bun warmer
- Disposal
- Packaging
- Troubleshooting
- DANGER! Risk of electric shock!
- Technical specifications
- Symbols used
- Warranty of the HOYER Handel GmbH
- Warranty conditions
- Warranty period and statutory claims for defects
- Warranty coverage
- Handling in case of a warranty claim
- Supplier
- Indhold
Brand : SILVERCREST
Model : STD 950 A1
Category : Toaster