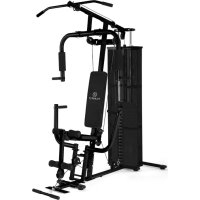
Kraftstation 10006741 - Fitness Equipment Klarfit - Free user manual and instructions
Find the device manual for free Kraftstation 10006741 Klarfit in PDF.
| Product Type | Multifunctional weight station |
| Brand | Klarfit |
| Model | Kraftstation 10006741 |
| Category | Fitness equipment |
| Usage | Private home use |
| Safety standard | EN957 (certified) |
| Main material | Steel |
| Main components | Front frame, rear frame, butterfly arms, backrest, seat, shoulder pads |
| Included accessories | Triangular handles, foam rollers, carabiners, 900 mm cable |
| Adjustments | Backrest inclination, seat height, butterfly arm angle |
| Weight attachment | By locking pin and carabiners (weights not included) |
| Number of possible exercises | Multiple (bench press, butterfly, row, etc.) |
| Maintenance | Clean surface with a damp cloth; do not use solvents |
| Safety instructions | Check all screws and attachments before use; stop if abnormal noise occurs |
| Contraindications | Not suitable for therapeutic use; consult a doctor before training |
| Assembly | Assembly required (step-by-step manual included) |
| Maximum user weight | Not specified; standard home use |
| Dimensions (approx.) | Approximately 150 x 120 x 200 cm (estimate based on usage) |
| Manufacturer | CHAL-TEC GmbH, Wallstraße 16, 10179 Berlin, Germany |
Frequently Asked Questions - Kraftstation 10006741 Klarfit
User questions about Kraftstation 10006741 Klarfit
0 question about this device. Answer the ones you know or ask your own.
Ask a new question about this device
Download the instructions for your Fitness Equipment in PDF format for free! Find your manual Kraftstation 10006741 - Klarfit and take your electronic device back in hand. On this page are published all the documents necessary for the use of your device. Kraftstation 10006741 by Klarfit.
USER MANUAL Kraftstation 10006741 Klarfit
Congratulations on purchasing this product. Please read and follow these instructions, in order to avoid damaging the item. We do not cover any damages that may arise from improper use of the item or the disregard of the safety instructions.
Important Safety Instructions
- Read all instructions before using.
- Do not place on or near a hot gas or electric burner or in a heated oven.
- Do not expose the appliance to extreme temperatures. The appliance shall be used in moderate climates.
- The use of attachments that are not recommended by the appliance manufacturer may result in fire, electric shock or personal injury.
- The appliance is not a toy. Do not let the children play with it. Never let children insert foreign objects into the appliance.
- Do not use the appliance for other than intended use. This appliance has been designed solely for domestic use; the manufacturer's liability shall not be engaged in the event of any professional use, by any misuse or by any use not complying with the operating instructions.
- This weight station is made for training in private environment. Only use the appliance for the intended use.
- Pregnant or physically injured people should never use the weight station without prior consultation with a doctor you trust.
- Stop the training immediately when you do not feel comfortable or notice motoric, sensory or mental changes or limitations.
- Adapt your training style always to your personal fitness level and your health.
Before every training check the operability and safety. - Make sure before installation that the item works properly and that all safety devices are in function!
- Damages or alterations to the product in the course of the independent modification lead to the exclusion of warranty. For problems resulting from the modification or other restrictions, the seller is not responsible! Any damage must be reported to the seller immediately after delivery, and access before use / installation. Later complaints will not be considered.
- Use only suitable tools for assembly.
- The installation must always be made only by adults.
- In part, the package may consist of plastic bags - make this regard with particular care and attention that this is not out of the reach of children. There is a risk of suffocation!
- Make sure to mount that all connections are securely mounted before releasing the product for use.
- Check all connections at regular intervals for damage, loose elements and other factors that can lead to a loss of sufficient security.
- Let children or people with physical or mental limitations, or people who are not familiar with this device, do not use this weight bench!
- Please keep in mind that this manual and the safety can only draw your attention to eventual hazard.
- Keep this manual.Read all instructions before using.
- Do not place on or near a hot gas or electric burner or in a heated oven.
- To protect against a fire, electric shock or personal injury, do not immerse cord, electric plugs or device in water or other liquids.
- Do not expose the appliance to extreme temperatures. The appliance shall be used in moderate climates.
- Disconnect the appliance from the power source if it is not going to be used for a long time, if there is a thunderstorm or if it isn't working properly.
- The use of attachments that are not recommended by the appliance manufacturer may result in fire, electric shock or personal injury.
- The appliance is not a toy. Do not let the children play with it. Never let children insert foreign objects into the appliance.
- Do not use the appliance for other than intended use. This appliance has been designed solely for domestic use; the manufacturer's liability shall not be engaged in the event of any professional use, by any misuse or by any use not complying with the operating instructions.
- Save these instructions.

Parts - Overview


Parts - Overview
19x320x321x2
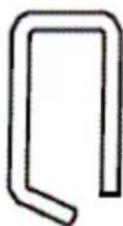
Spring Clip
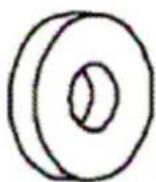
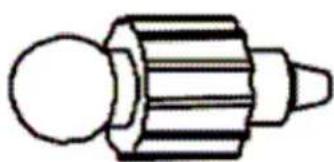
Buffer Washer 025 Grip Handle
22x8 23x2 24x1
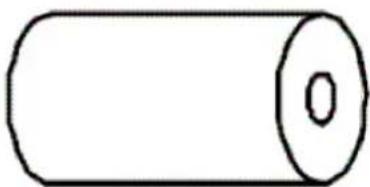
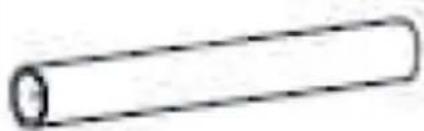
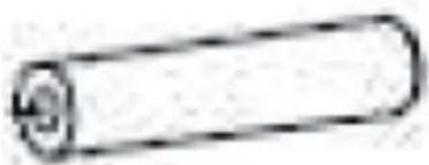
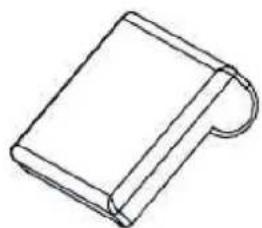
Foam Roller
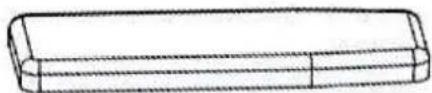
Triangle Handle Degree Adjusting Bolt

25x2 26x2 27x2
Lock Catch
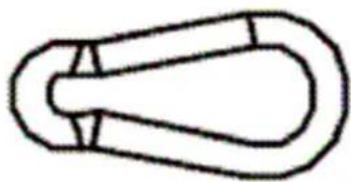
Popper Pin Gourd Buckle


28x1
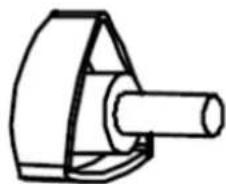
Pulley + Bushings
Parts - Overview
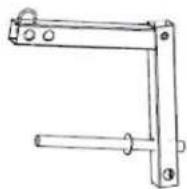
ABC
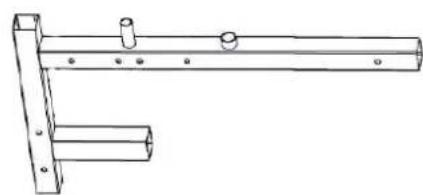
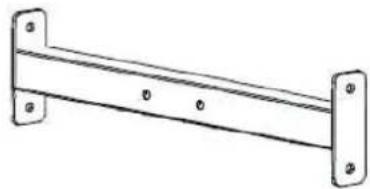
Back Frame (x2)
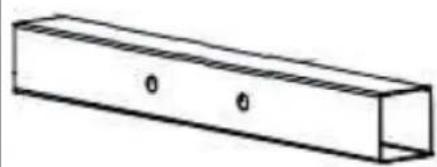
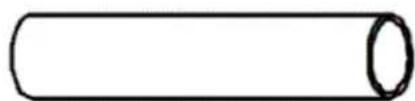
Front Base Tube Main Frame

DEF
Back Base Tube
Connection Tube 1 Connection Tube 2
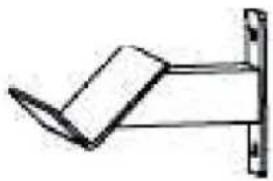
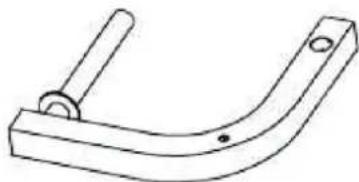
G1 G2 H
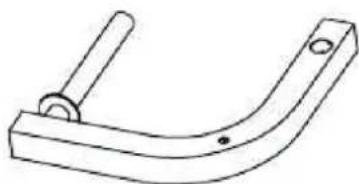
Butterfly Arm Left Butterfly Arm Right
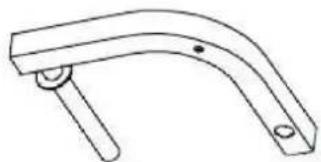
Right
Short Foam Tube
i J1 J2
Butterfly Arm Pin (2x)
Adjustable Tube Left Adjustable Tube Right
Parts - Overview
KLM
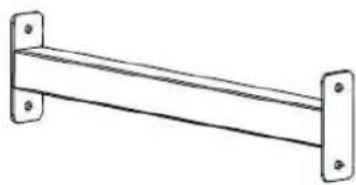
Seat Frame

Backrest Tube Leg Adjustable Frame
NOP
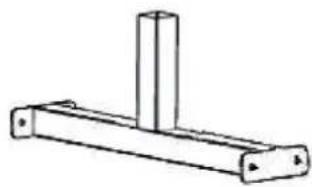
Leg Extension Tube
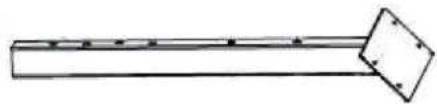
Curl Tube Weight Holder

QRS
Foam Tube (x3) Seat Cover
Seat Rover
TUV
Arm Rest
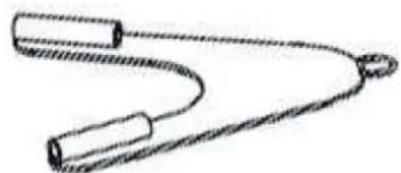
Shoulder Rest Cable 900mm

Assembly - Step 1
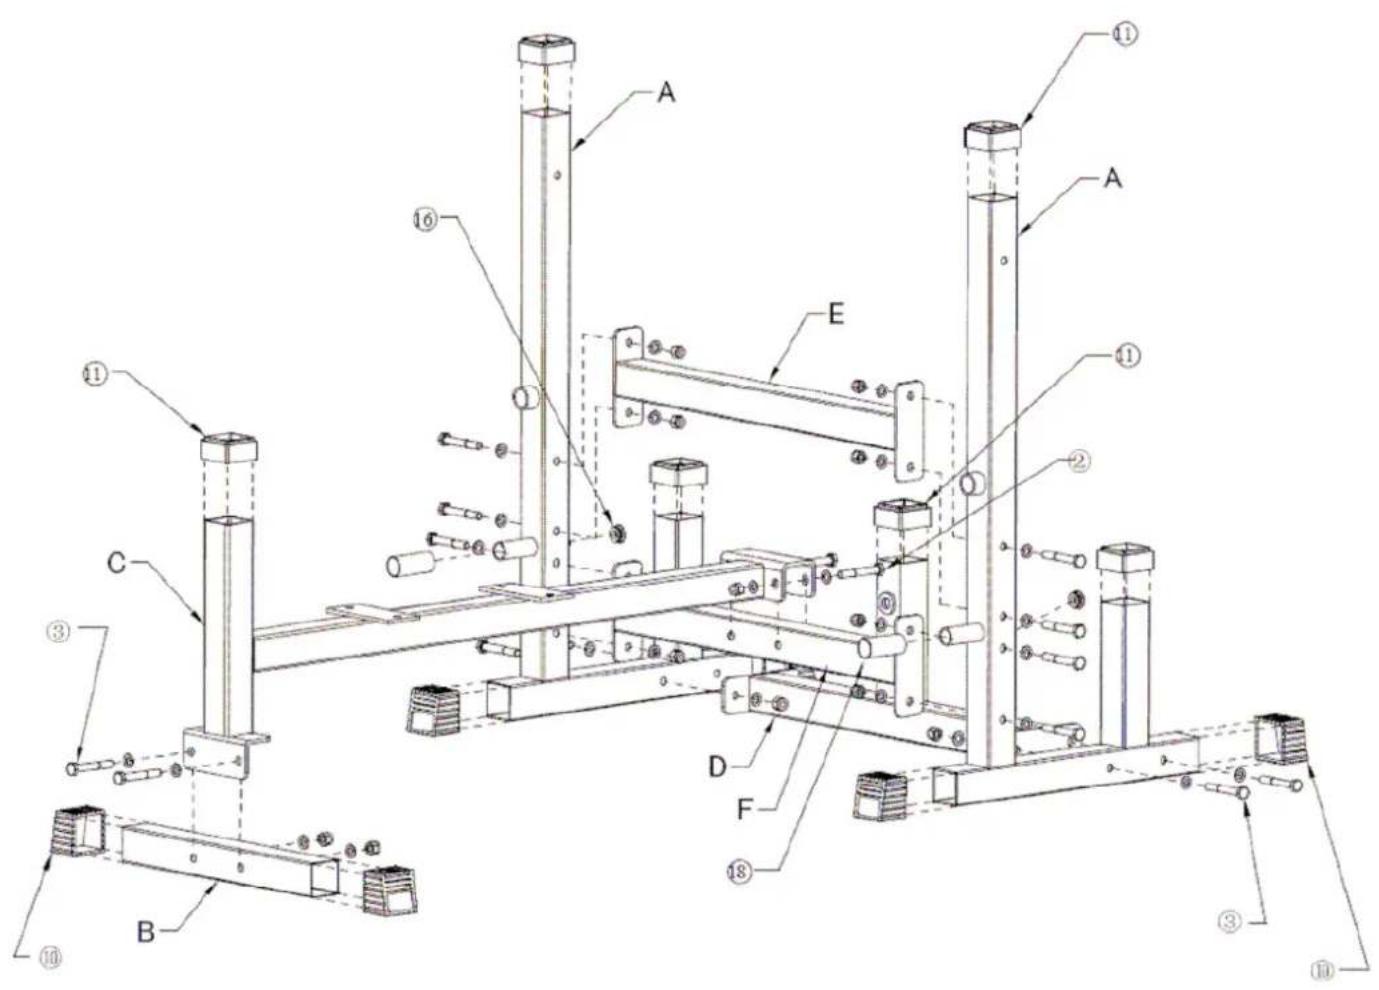
- Install 2 x foot cover (10), tube bushing (11) and rubber cover(18) on A.
- Install 2 x foot cover (10) on B.
- Install 1 x tube bushing (11) on C and D.
- Install 14 × M10x70 bolts+nuts+washers (3) and 2 × M10x75
Assembly - Step 2

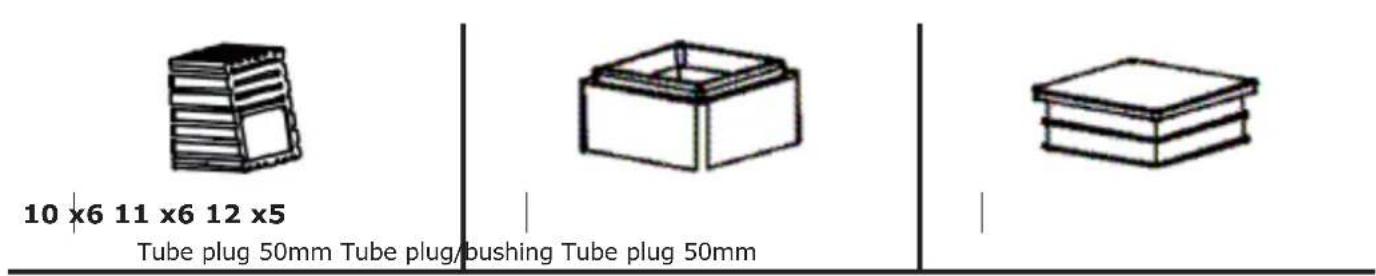
- Install 2 x tube plug 38mm (14) and 1 piece of 25 tube plug (16) and spring clip (19) on G1, G2.
- Install H and I on G1 and G2 with 1 piece of M8x20 bolt and washers (9) and 1 piece of M10x20 bolt and washers (6).
- Install one tube plug (16) and 2 foam rollers (22) on H.
- Install 2 grip handle covers (21) on J1 and J2.
- Install J1 / J2 on A with 1 lock catch (25) and triangle handle (23).
Assembly - Step 3
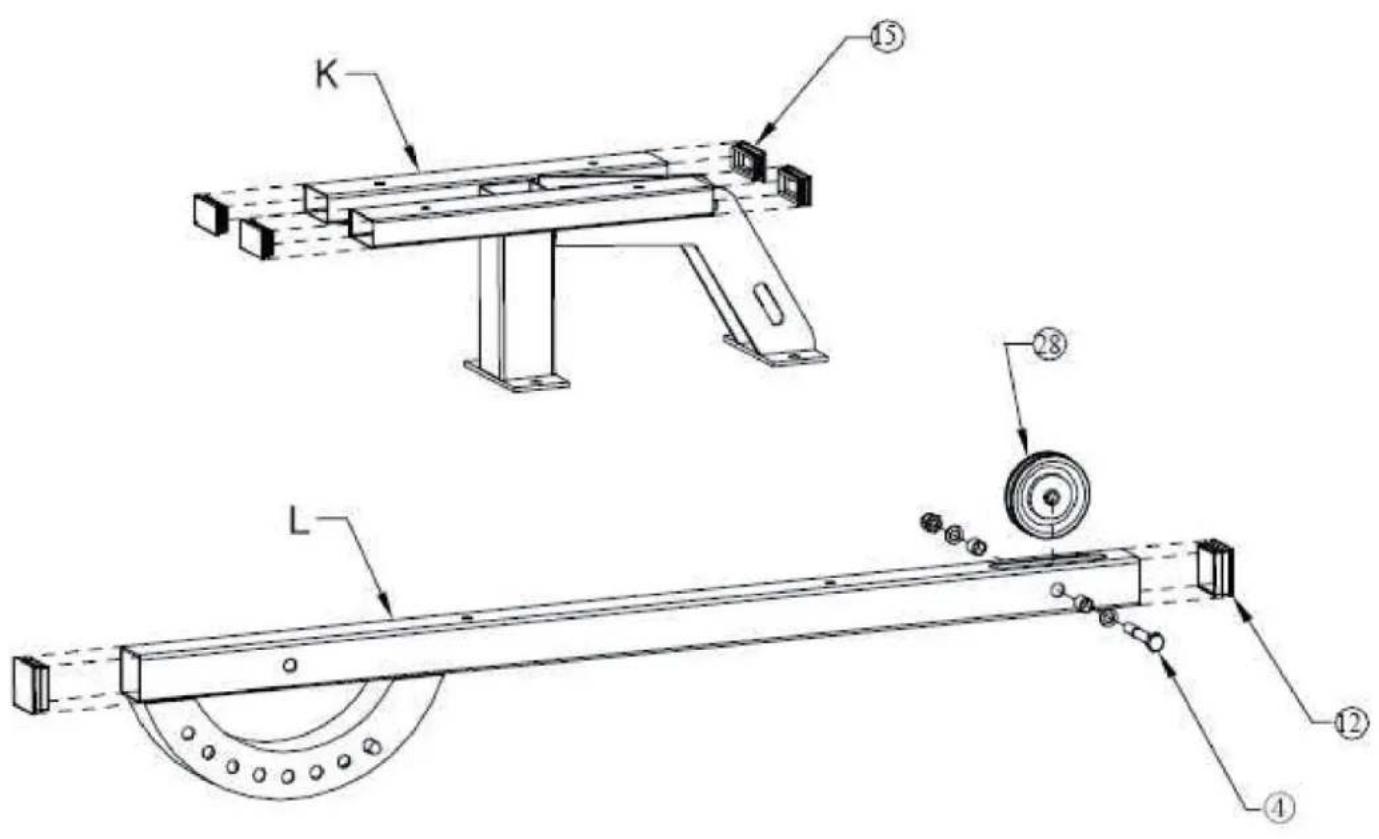
- Install 4 × 60 × 30 tube plugs (15) on K.
- Install 2 x 50x50 tube plugs (12) and 1 pulley (28), M10x65 screw, nut and washer (4).
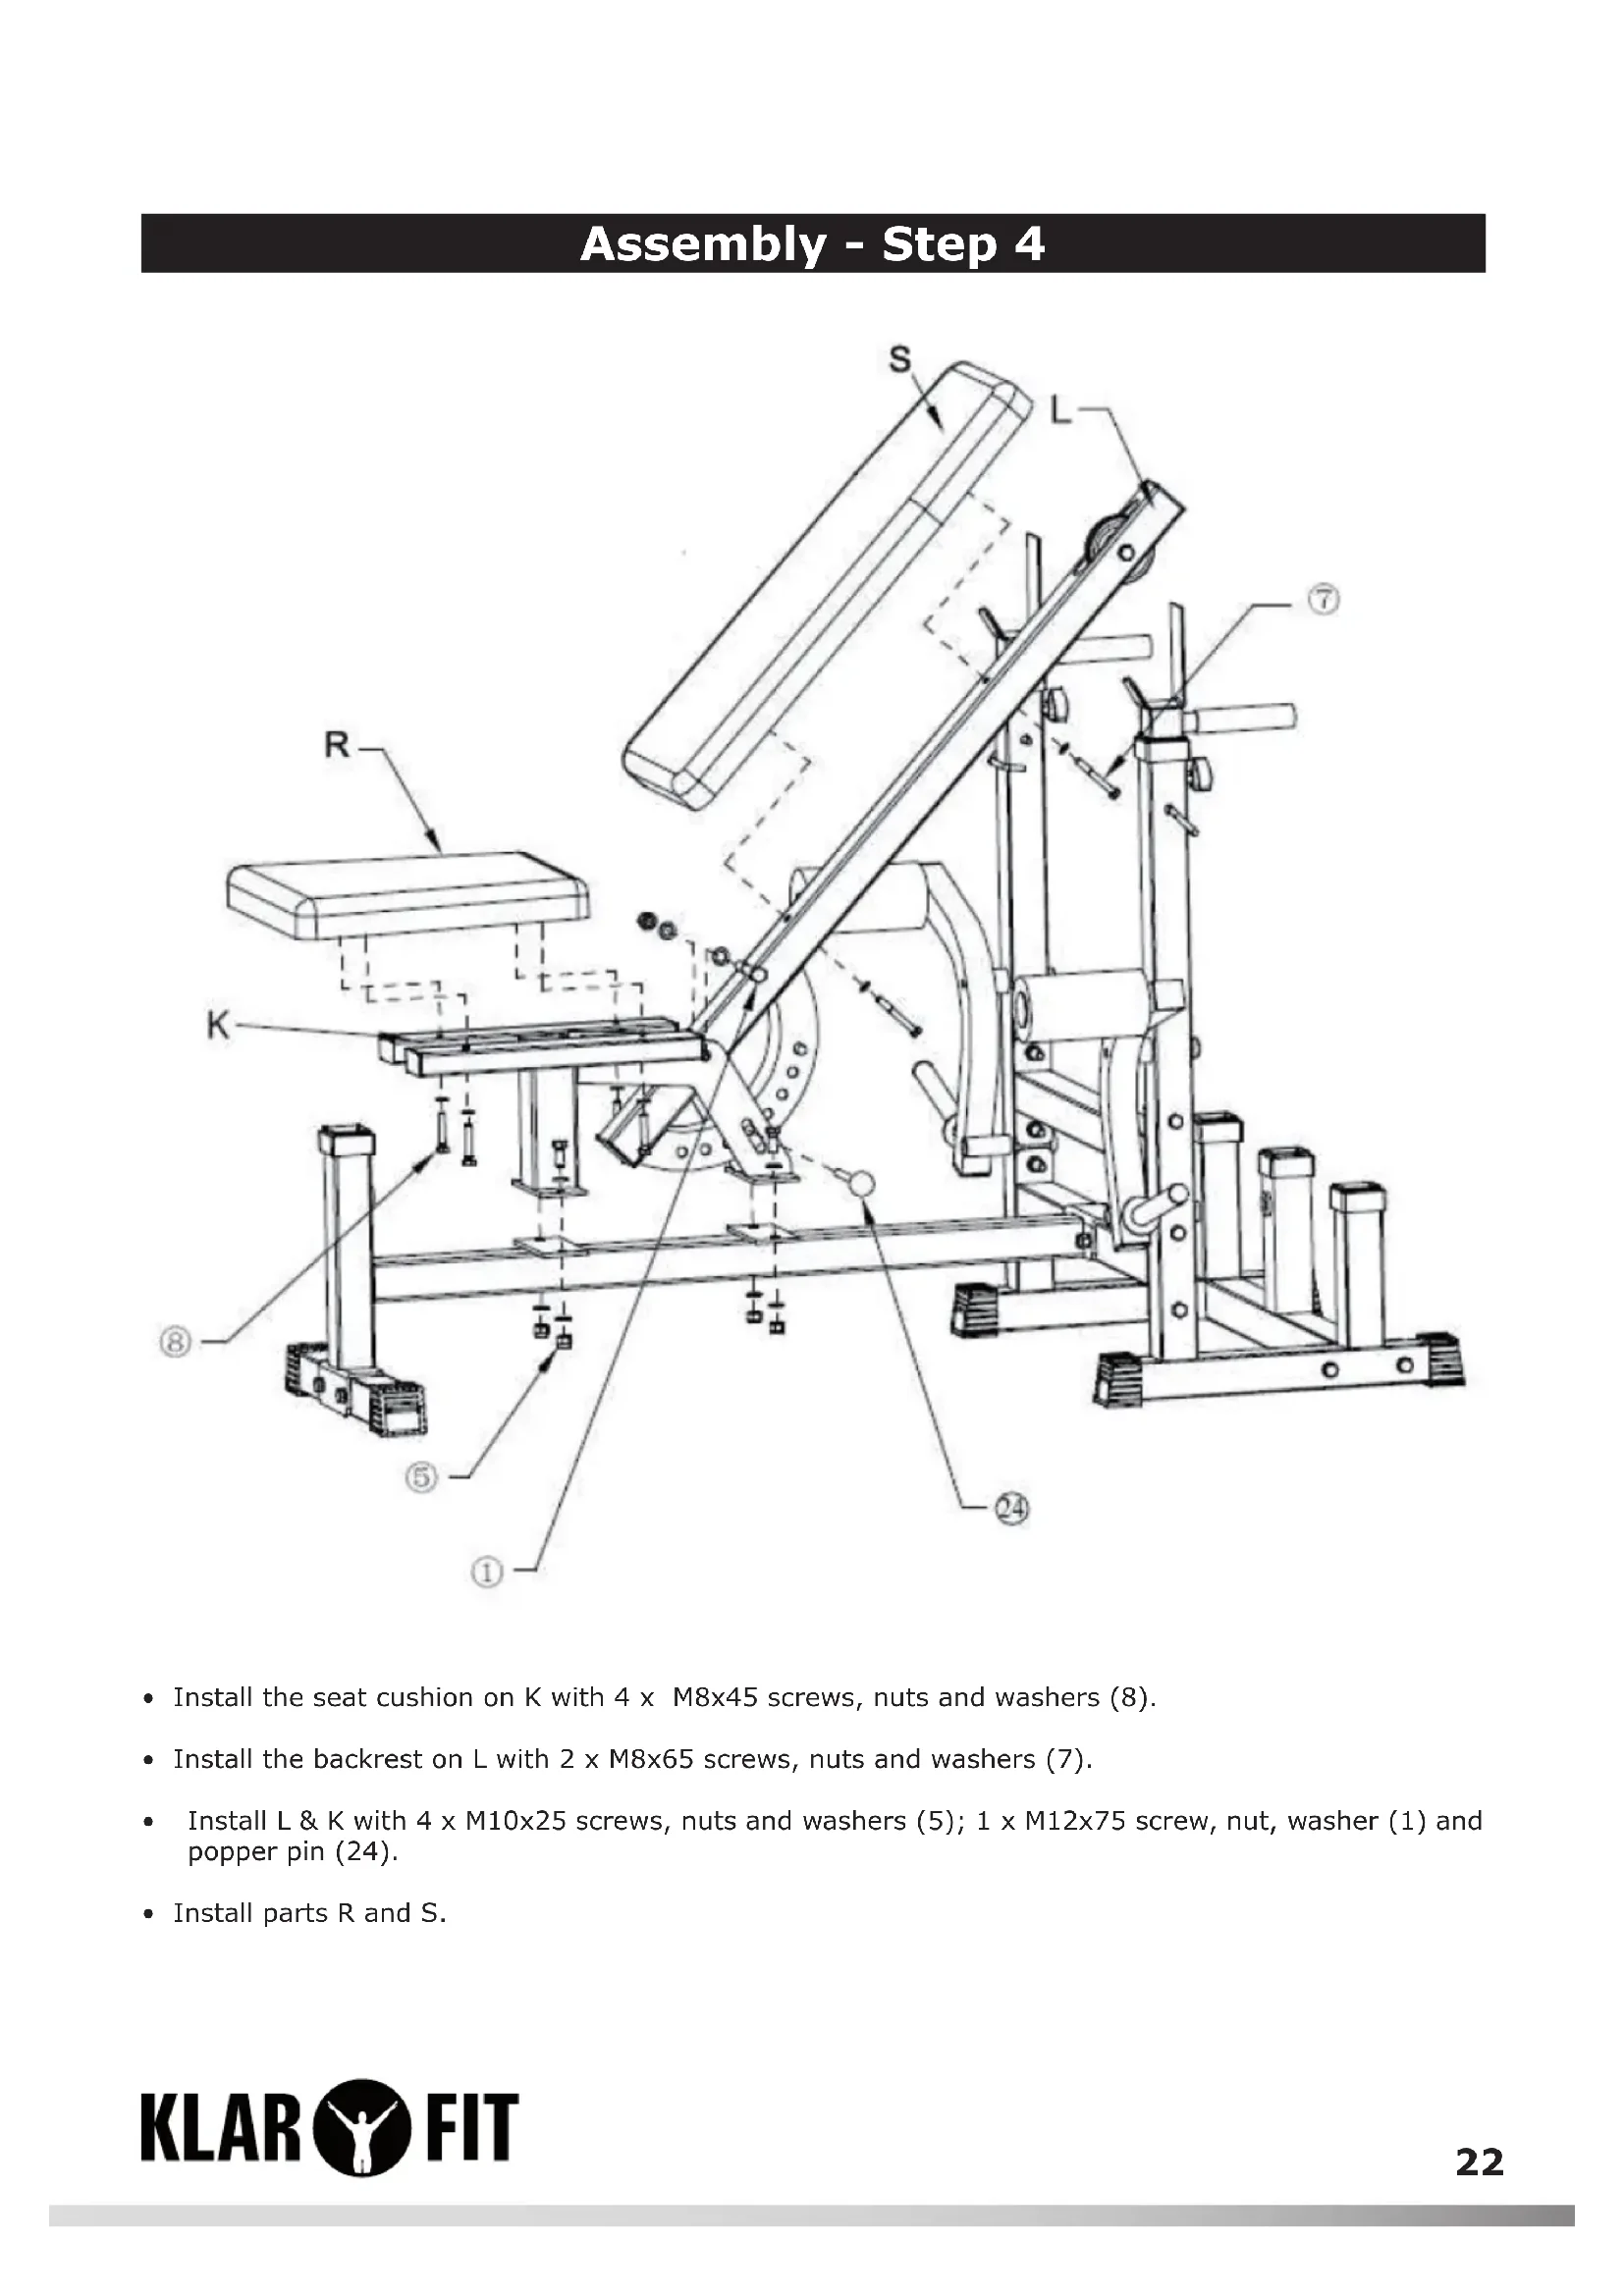
Assembly - Step 4
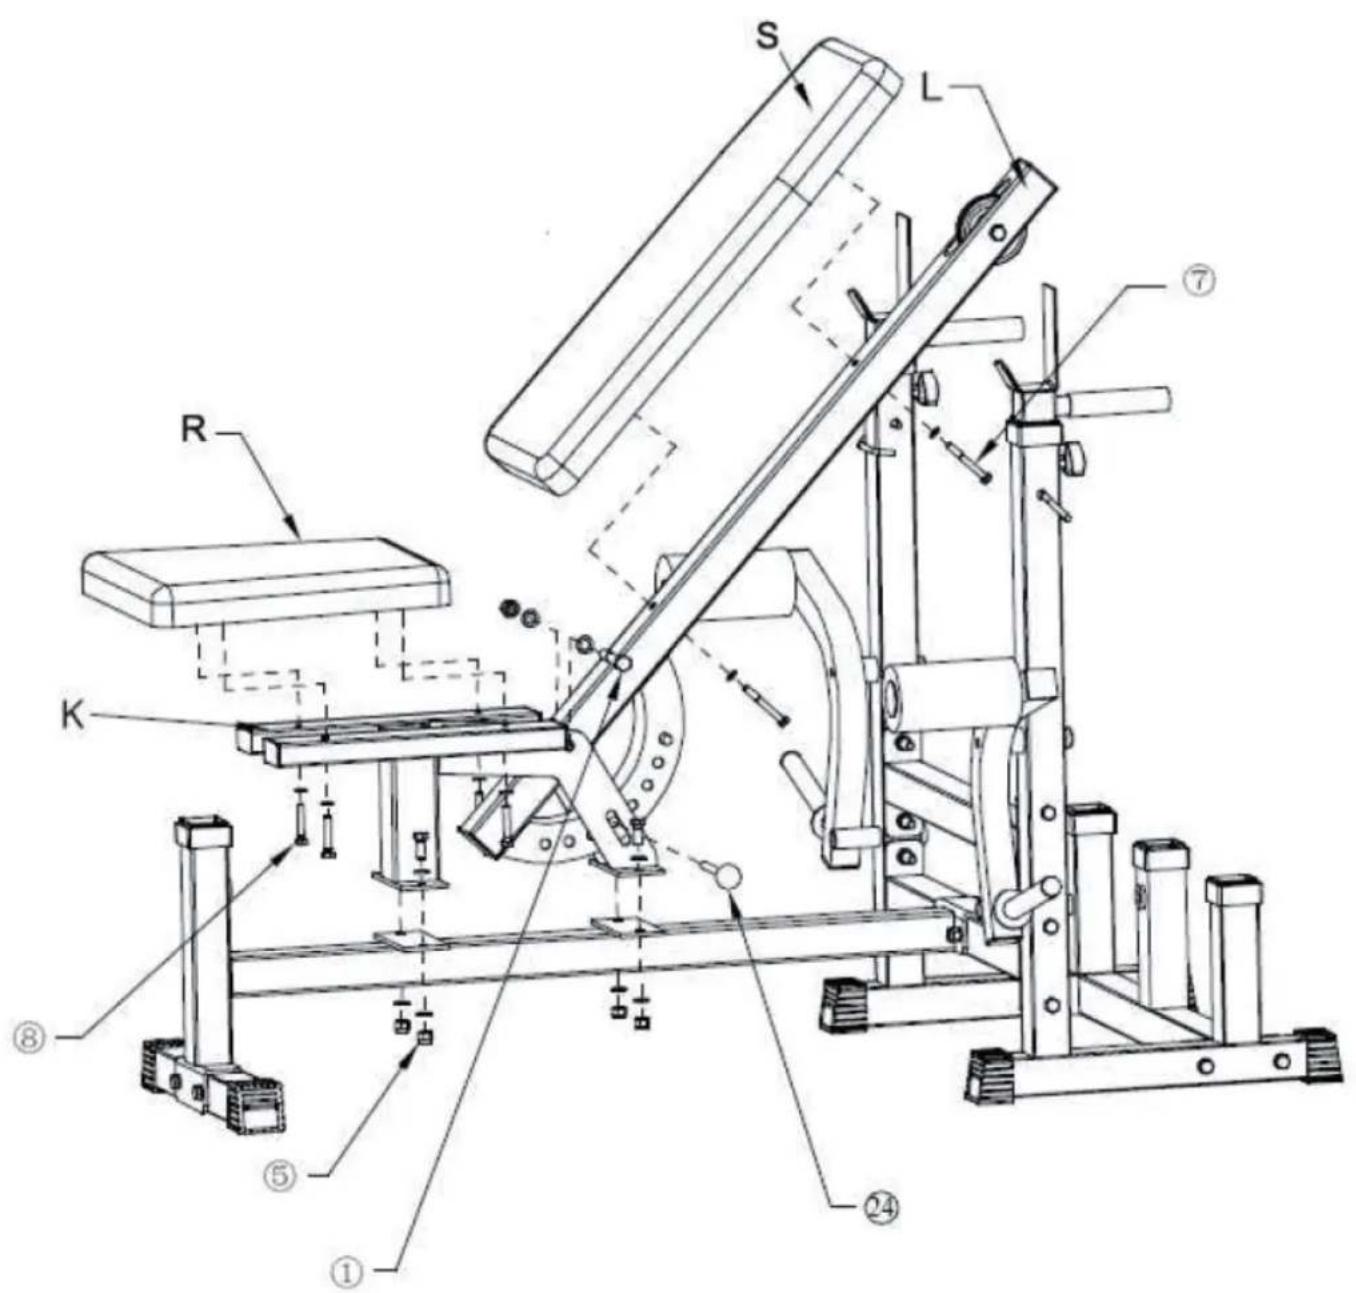
- Install the seat cushion on K with 4 × M8 × 45 screws, nuts and washers (8).
- Install the backrest on L with 2 × M8 × 65 screws, nuts and washers (7).
- Install L & K with 4 x M10x25 screws, nuts and washers (5); 1 x M12x75 screw, nut, washer (1) and popper pin (24).
Install parts R and S.
Assembly - Step 5
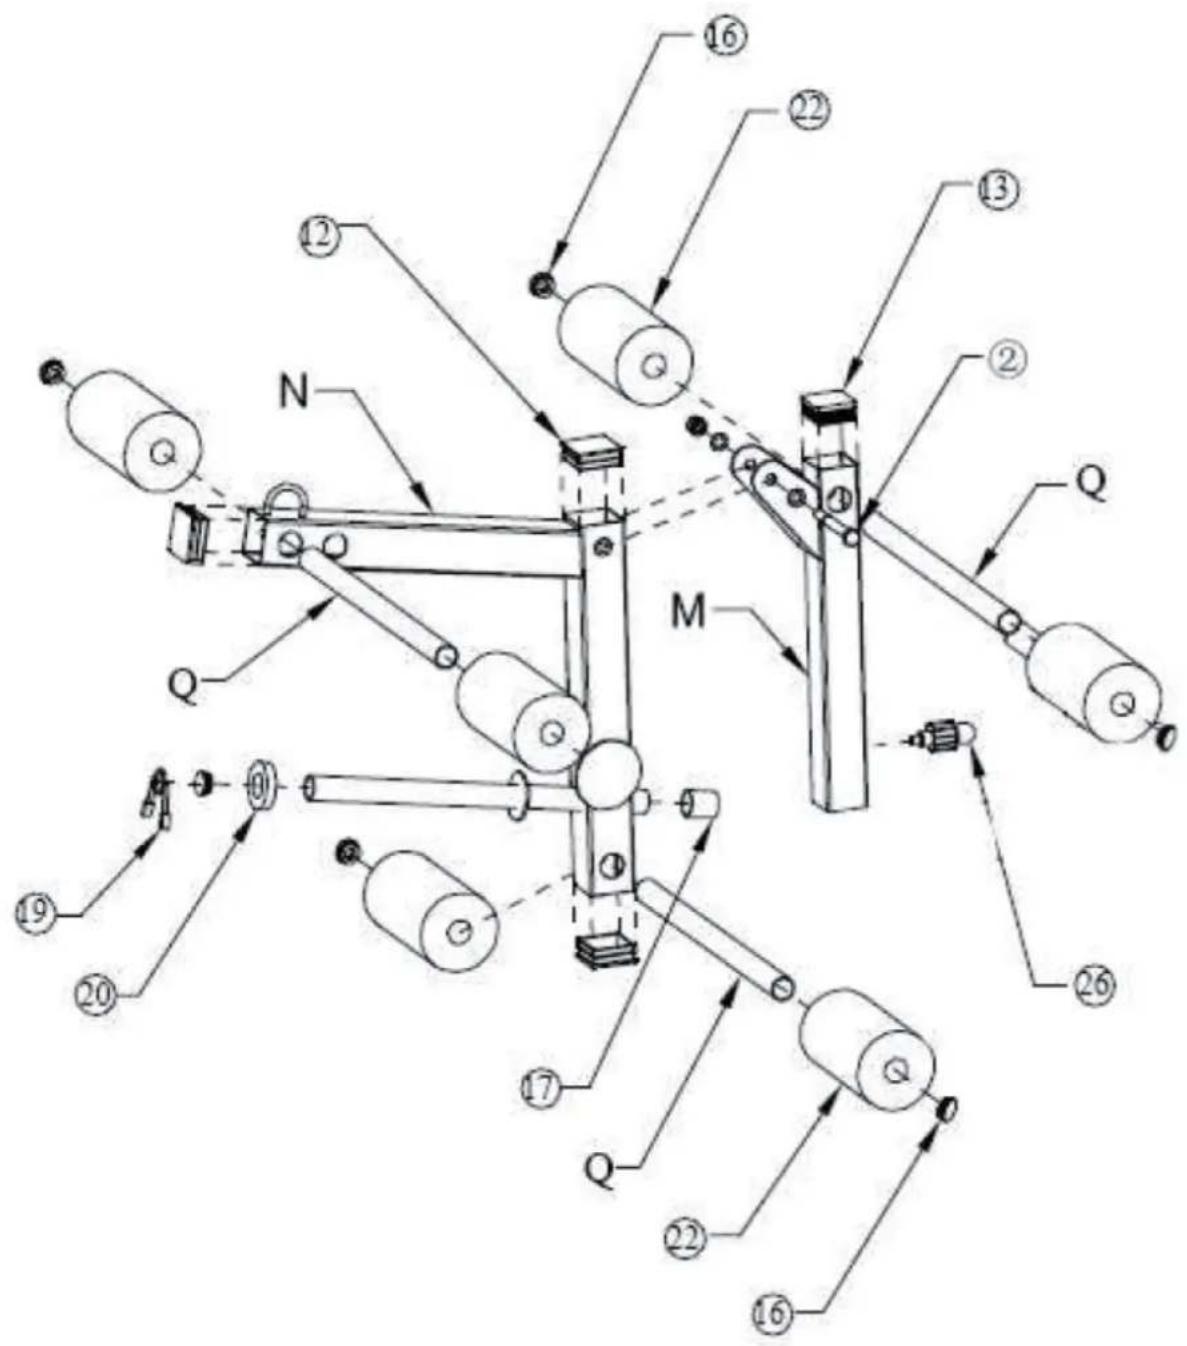
- Insert Q in M and install 2 foam rollers (22) and Ø25 tube plug (16) and 1 piece of 45 × 45 tube plug (13).
- Insert 2 × Q , 4 × foam rollers (22), 5 pieces of 25 round tube plugs (16).
- Install M and N with 1 M10x75 screw, nut and washer (2).
- Insert M into the mainbody and adjust the height with the popper pin (26).
Assembly - Step 6
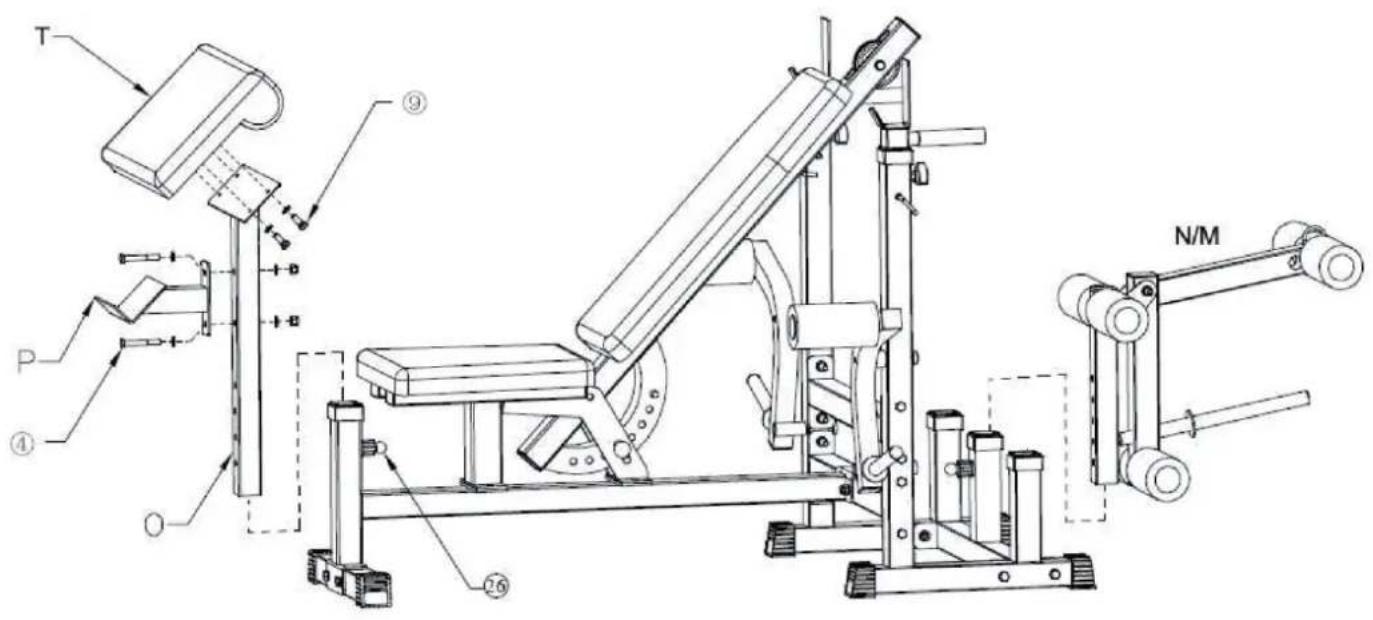
- Install P and T on part O with 2 × M10 × 65 screws, nuts and washers (4) and 4 × M8 × 20 screws, nuts and washers (9).
- Adjust the height with the popper pin (26) after inserting O.
Assembly - Step 7
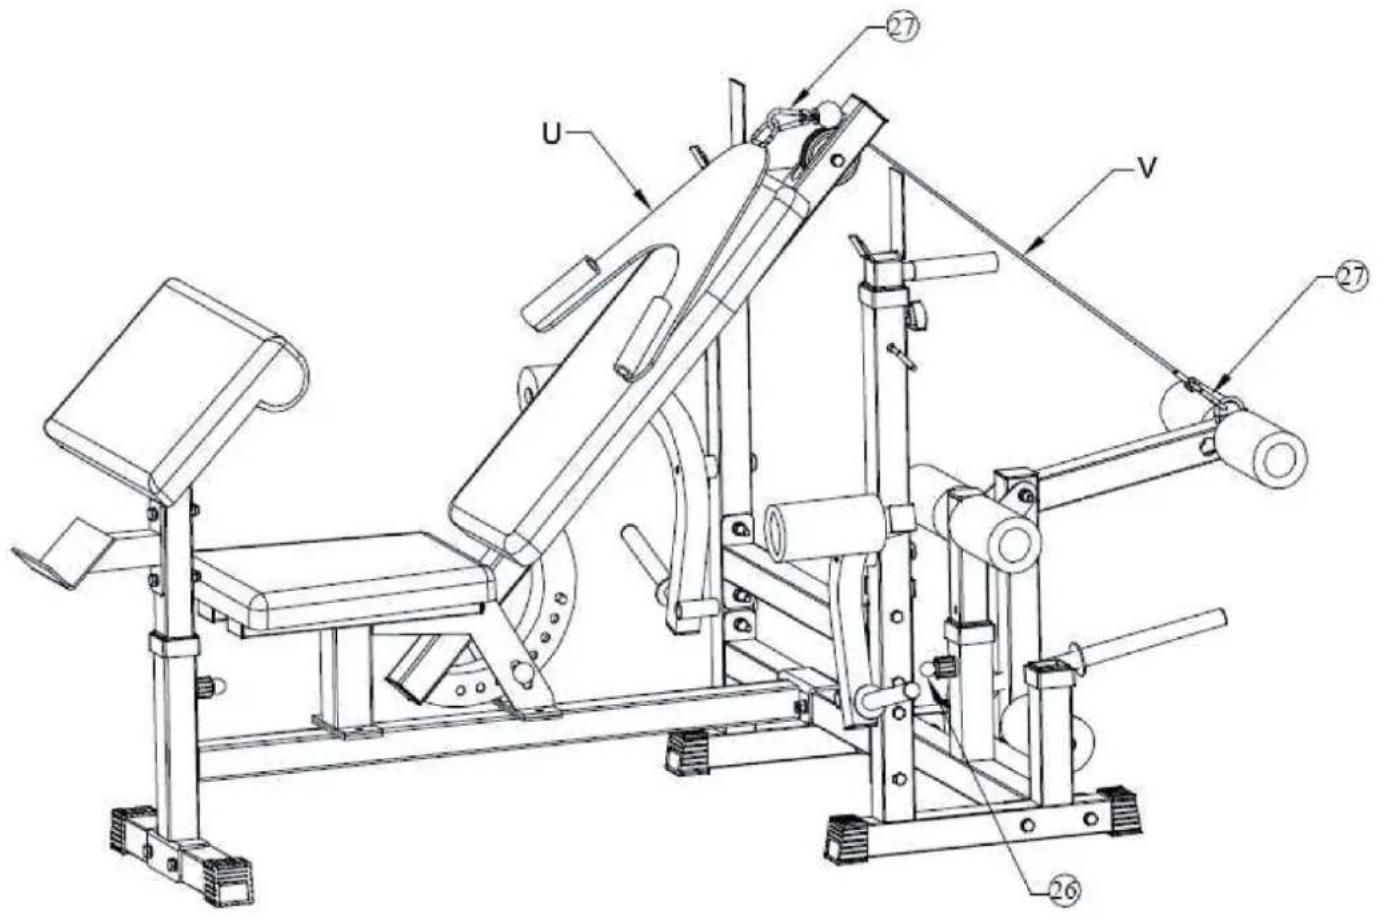
-
Installation of the up raising contral part:
-
Please fix the gourd buckles onto the two ends when using the cable (V).
- The gourd buckle connects the shoulder rest (U) and the cable (V).
Fix the angle of the backrest with the popper pin (26).
Hersteller
Chere cliente, cher client,
tube de raccord 1 tubes de raccord 2
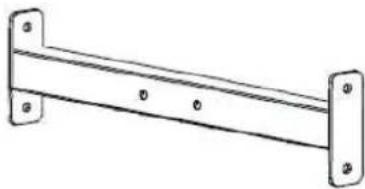
G1 G2 H