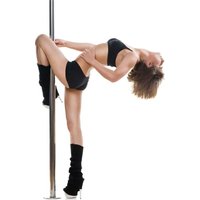
Luxor - Fitness Equipment Klarfit - Free user manual and instructions
Find the device manual for free Luxor Klarfit in PDF.


| Product Type | Pole Dance Bar |
| Brand | Klarfit |
| Model | Luxor |
| Category | Fitness Equipment |
| Compatible Ceiling Height | 2235 mm to 3310 mm (with extensions) |
| Base Height Without Extension | 2235 - 2375 mm |
| Main Material | Steel |
| Non-Slip Coating | Silicone Sleeve |
| Estimated Net Weight | 15 kg |
| Maximum Ceiling Load | Not specified, but suitable for solid ceilings |
| Bar Diameter | Not specified, standard 45 mm |
| Installation Type | Pressure-mounted between floor and ceiling |
| Rotation Function | Yes, by removing screws at the bottom |
| Height Adjustable | Yes, via extensions and adjustment system |
| Included Accessories | Wrench, extensions, dome, base plate, cover |
| Recommended Use | Dance, fitness, acrobatics |
| Maintenance | Clean with a soft, dry cloth |
| Safety | Non-slip silicone pads, check stability before use |
| Warranty | Consult the manufacturer |
Frequently Asked Questions - Luxor Klarfit
User questions about Luxor Klarfit
0 question about this device. Answer the ones you know or ask your own.
Ask a new question about this device
Download the instructions for your Fitness Equipment in PDF format for free! Find your manual Luxor - Klarfit and take your electronic device back in hand. On this page are published all the documents necessary for the use of your device. Luxor by Klarfit.
USER MANUAL Luxor Klarfit
Berlin Brands Group UK Limited
PO Box 42
272 Kensington High Street
London, W8 6ND
United Kingdom
EINFUHRUNG
Congratulations on the purchase of your device. Please read the following instructions carefully and follow them to prevent potential damage. We accept no liability for damage caused by disregarding the instructions and improper use. Please scan the QR code to access the latest operating instructions and further information about the product.

CONTENTS
Introduction 8
Individual parts 8
Assembly instructions 9
Assembly 10
MANUFACTURER & IMPORTER (UK)
Manufacturer:
Chal-Tec GmbH, Wallstraße 16, 10179 Berlin, Germany.
Importer for Great Britain:
Berlin Brands Group UK Limited
PO Box 42
272 Kensington High Street
London, W8 6ND
United Kingdom
INTRODUCTION
Pole dancing is an activity somewhere between dance and sport. While pole dancing has been admired as part of Far Eastern artistry since the beginning of time, in recent decades pole dancing has been associated more with erotic dance.
The fact that pole dancing does not have to be accused of having a slippery image per se is shown by its current growing popularity as a form of sport that combines aesthetics with acrobatics and trains various muscle groups that are otherwise typically neglected.
This leads to the dress code: Wear whatever you feel most comfortable in. Jazz pants or shorts and a T-shirt are perfect for training.
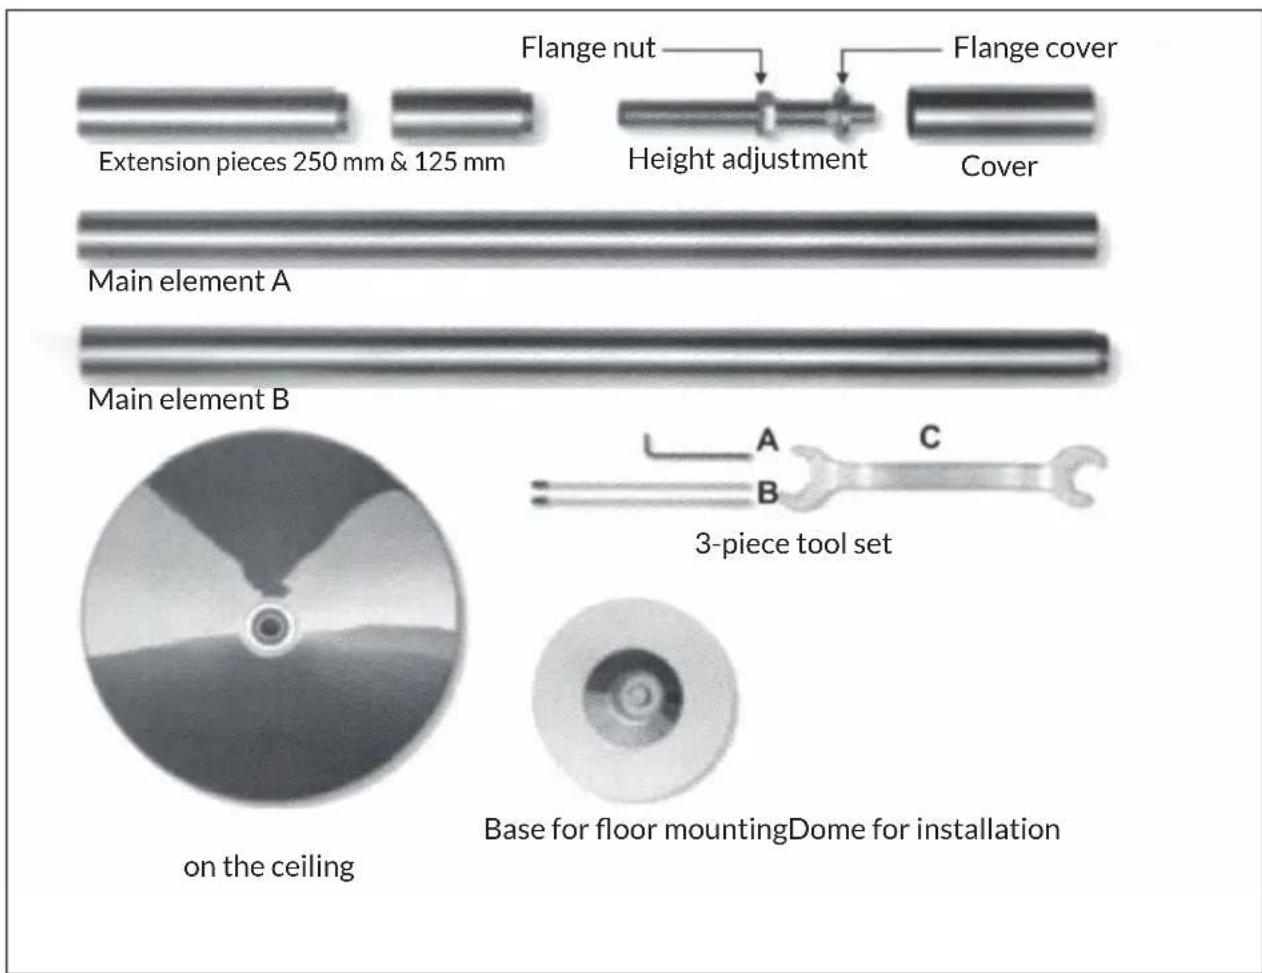
INDIVIDUAL PARTS
ASSEMBLY INSTRUCTIONS
Note: You will find a video on how to set up the unit on the enclosed DVD.
General instructions
- Choose a suitable place to set up your pole dance pole. Make sure that there is sufficient distance around the pole to walls, steps, windows and obstacles of all kinds. Your arm span with your arms outstretched will give you a clue. For your safety, the pole should be placed in the centre of a circle of at least 3 - 3.5m in diameter.
- Ceiling and floor must be stable and able to withstand pressure at the assembly site. Especially in old buildings, make sure that you do not set up the pole dance pole under ceiling voids.
Calculation of the height / calculation of the necessary extension pieces
| Ceiling height in mm | Which extension piece More extension pieces? |
| 2235 - 2375 No extension piece no | |
| 2360 - 2500 125 mm no | |
| 2485 - 2620 250 mm no | |
| 2610 - 2745 250 mm + 125 mm no | |
| 2735 - 2870 500 mm yes | |
| 2860 - 2995 500 mm + 125 mm yes | |
| 2985 - 3120 500 mm + 250 mm yes | |
| 3110 - 3245 500 mm + 250 mm + 125 mm yes | |
| 3235 - 3310 100 mm yes |
The pole dance bar is suitable for ceiling heights of 2235 - 2375 mm when assembled (without using the extension pieces). For greater heights, please use the extension parts as well as the adjustment piece together with the cover. Note the table above. The safety limit is 140mm . This is the maximum extension that the pole offers additionally without using the extension pieces.
ASSEMBLY
| 1 First slide the cover over the main element (A) | |
| 2 | Then slide the dome for ceiling mounting onto the adjustment rod that extends out of (A). The flange cover is on top, between the dome and the main element (A). |
| 3 | Take a ladder and connect the two main elements (A) and (B). Plug (B) onto the base plate for floor mounting beforehand. If necessary, add an extension piece between B and the base plate. |
| 4 | Make sure that the silicone pads lie evenly on the top of the dome as well as on the bottom of the base plate and ensure that both sit flat on the floor and ceiling. |
| 5 | Now turn the height-adjustable part between A and the dome counter-clockwise using the spanner provided. The thread will unscrew from the stage (A) and put pressure on the dome and the ceiling. The bar expands (lengthens) now. |
| 6 | Once the pressure is great enough for the rod to stop on its own (check the hold by shaking the rod and leaning against it), lock the threaded rod with the adjacent nut by screwing it down clockwise until it is tight up against (A). |
| 7 | Slide the cover upwards until it is flush with the flange and screw it to the flange by placing the two holes on top of each other. |
| 8 | The pole can be rotated! For this purpose, remove the two screws at the lower end of the pole dance bar: |
Estimado cliente:
Berlin Brands Group UK Limited
PO Box 42
272 Kensington High Street
London, W8 6ND
United Kingdom
INTRODUCCION
Cher client, chere clientele,
Berlin Brands Group UK Limited
PO Box 42
272 Kensington High Street
London, W8 6ND
United Kingdom
INTRODUCTION
PRODUTTORE IMPORTATORE (UK)
Produtlore:
Chal-Tec GmbH, Wallstraße 16, 10179 Berlin, Germania.
Berlin Brands Group UK Limited
PO Box 42
272 Kensington High Street
London, W8 6ND
United Kingdom
INTRODUZIONE

Brand : Klarfit
Model : Luxor
Category : Fitness Equipment