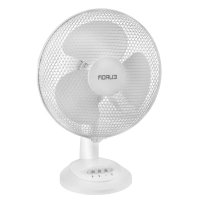
VT12 - Fan Eurom - Free user manual and instructions
Find the device manual for free VT12 Eurom in PDF.

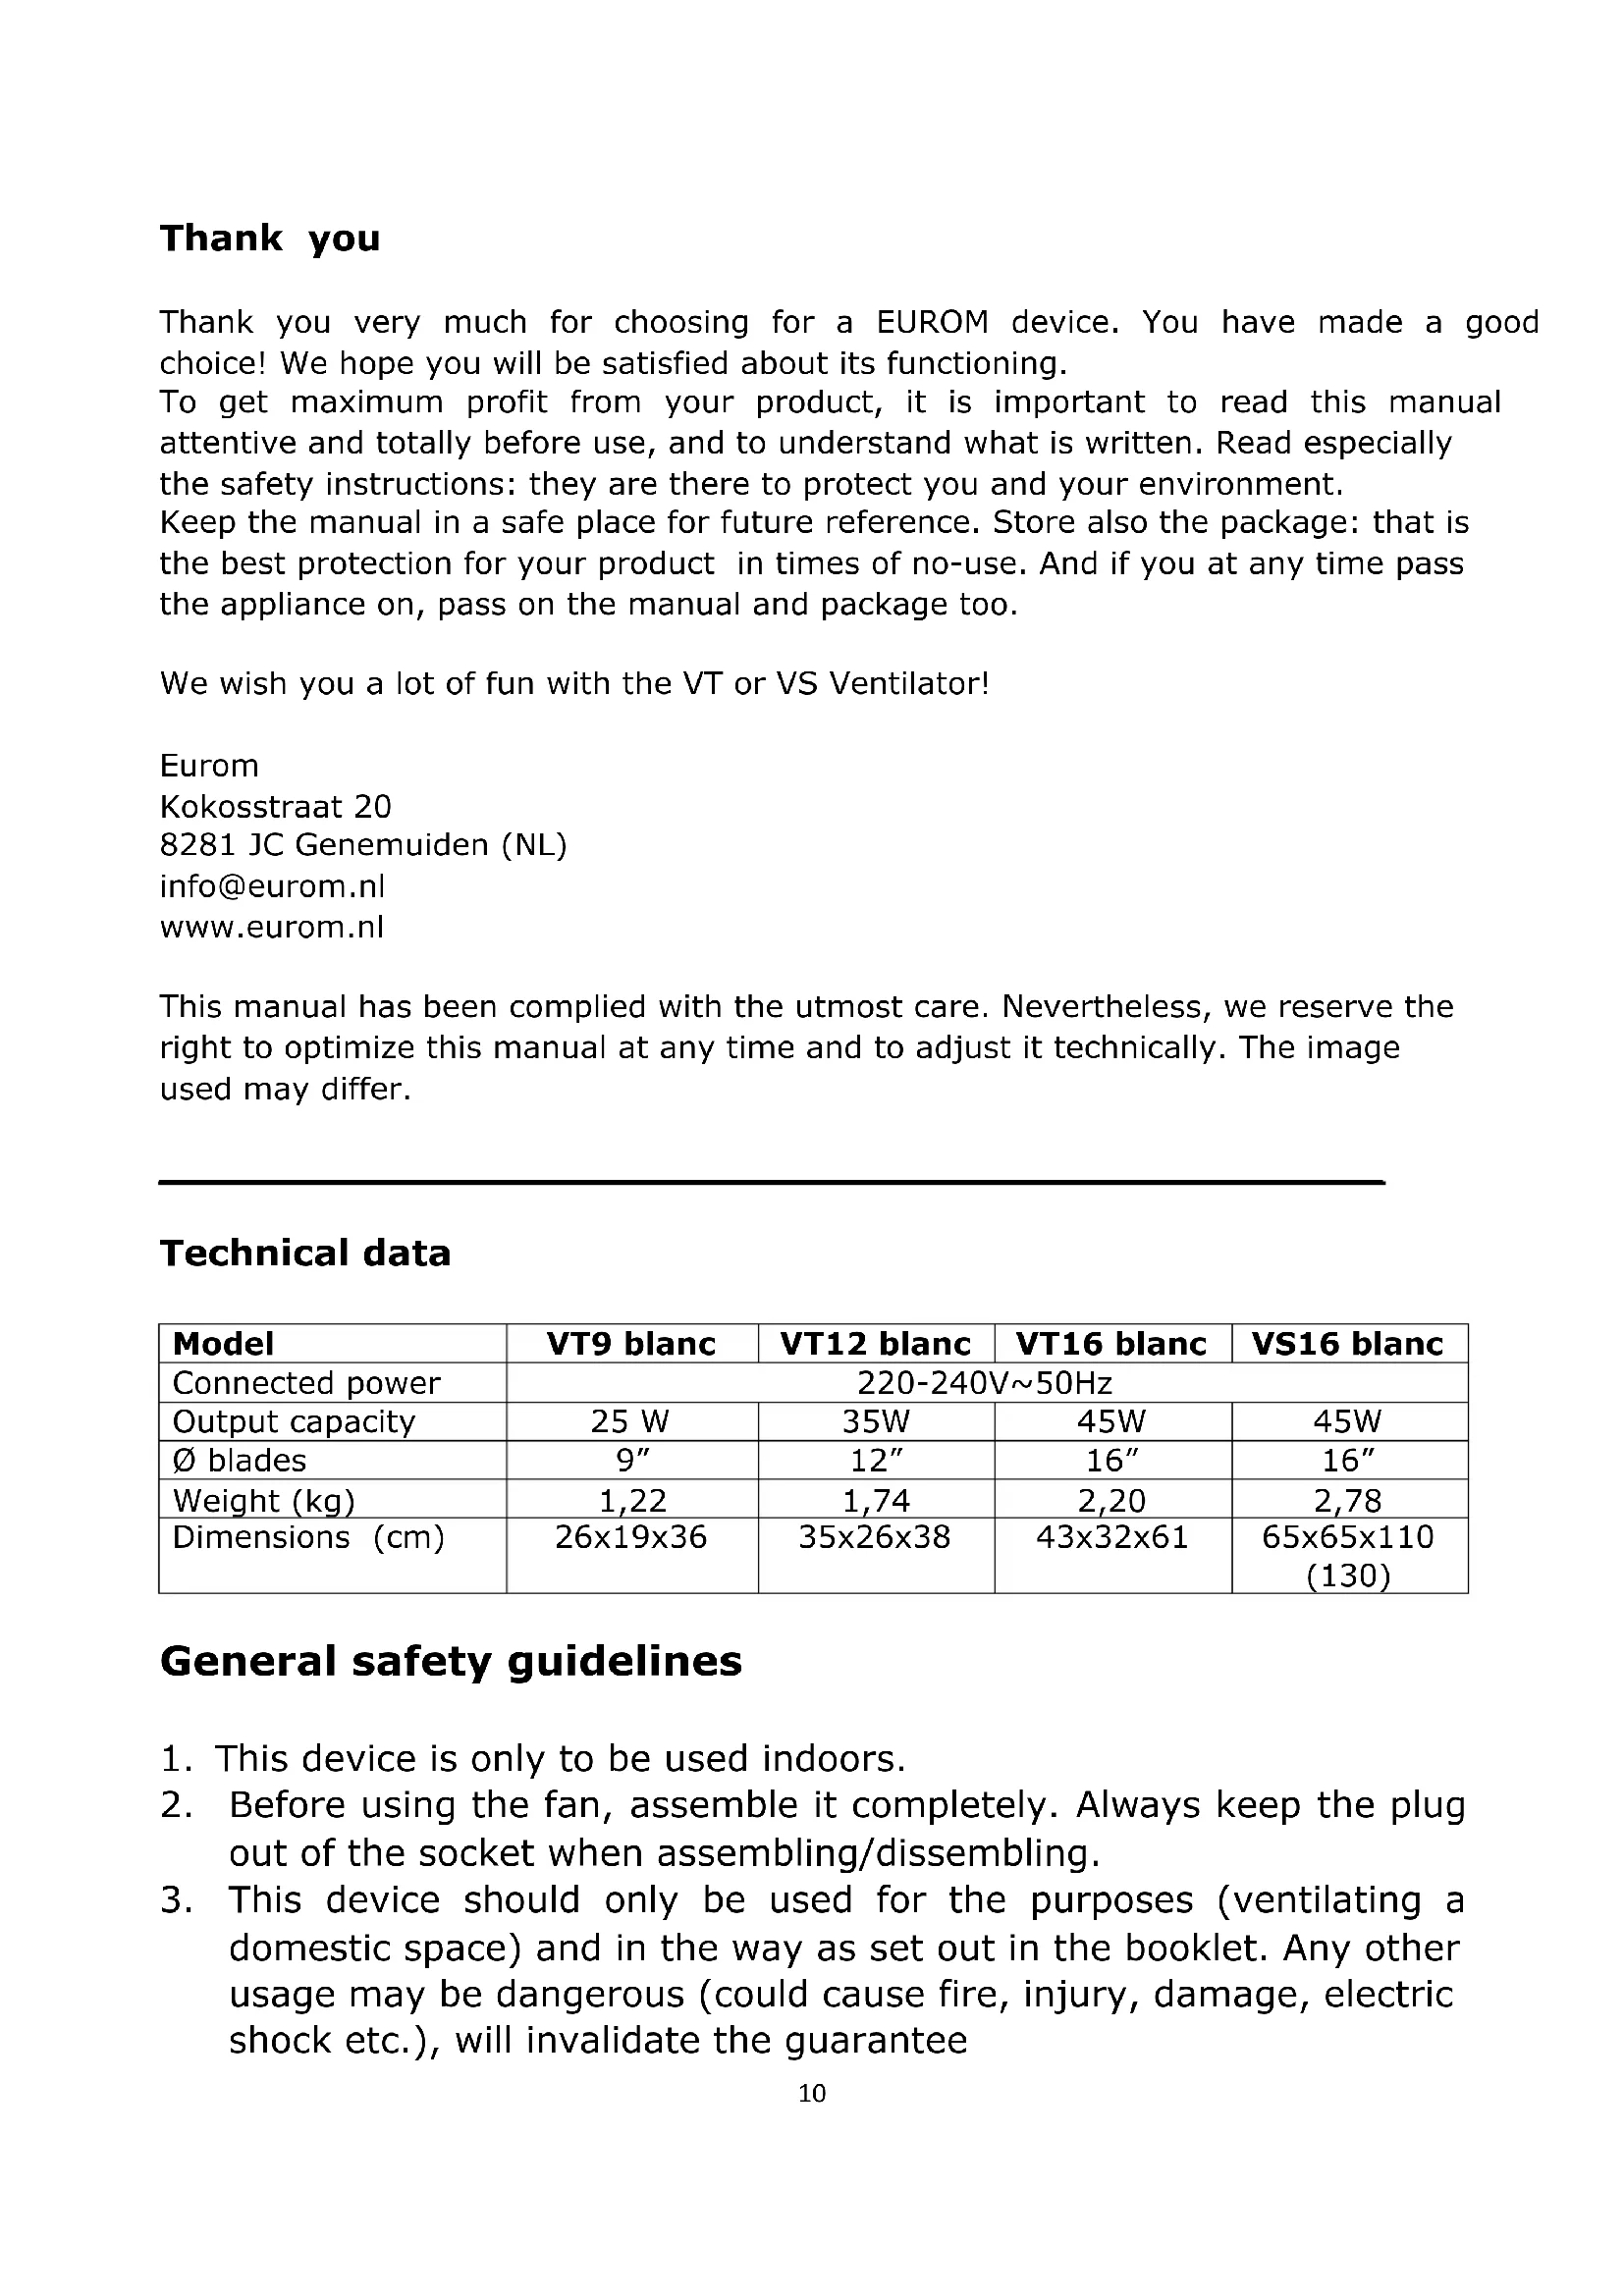


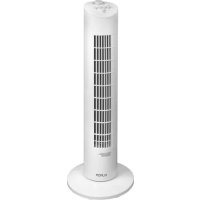
| Product type | Pedestal fan |
| Brand | Eurom |
| Model | VT12 |
| Color | White |
| Dimensions (W x D x H) | 35 x 26 x 38 cm |
| Net weight | 1.74 kg |
| Supply voltage | 220-240 V ~ 50 Hz |
| Power consumption | 35 W |
| Blade diameter | 12 inches (30.5 cm) |
| Number of speeds | 3 (low, medium, high) |
| Oscillation function | Yes, 45° angle |
| Tilt adjustment | Yes, manual tilt |
| Intended use | Indoor use only |
| Assembly required | Yes (grills, blades, base) |
| Maintenance and cleaning | Regular dusting, clean grill and blades with a damp cloth, unplug before cleaning |
| Safety | Do not use in damp rooms, do not cover, do not insert objects, unplug before maintenance |
| Repairability | Repairs only by a qualified electrician, original parts |
| Warranty | Not specified in the manual |
| General information | Keep the manual and packaging for future use |
Frequently Asked Questions - VT12 Eurom
User questions about VT12 Eurom
0 question about this device. Answer the ones you know or ask your own.
Ask a new question about this device
Download the instructions for your Fan in PDF format for free! Find your manual VT12 - Eurom and take your electronic device back in hand. On this page are published all the documents necessary for the use of your device. VT12 by Eurom.
USER MANUAL VT12 Eurom
Thank you very much for choosing for a EUROM device. You have made a good choice! We hope you will be satisfied about its functioning.
To get maximum profit from your product, it is important to read this manual attentive and totally before use, and to understand what is written. Read especially the safety instructions: they are there to protect you and your environment.
Keep the manual in a safe place for future reference. Store also the package: that is the best protection for your product in times of no-use. And if you at any time pass the appliance on, pass on the manual and package too.
We wish you a lot of fun with the VT or VS Ventilator!
Eurom
Kokosstraat 20
8281 JC Genemuiden (NL)
info@eurom.nl
www.eurom.nl
This manual has been complied with the utmost care. Nevertheless, we reserve the right to optimize this manual at any time and to adjust it technically. The image used may differ.
Technical data
| Model | VT9 blanc | VT12 blanc | VT16 blanc | VS16 blanc |
| Connected power | 220-240V~50Hz | |||
| Output capacity | 25 W | 35W | 45W | 45W |
| Ø blades | 9" | 12" | 16" | 16" |
| Weight (kg) | 1,22 | 1,74 | 2,20 | 2,78 |
| Dimensions (cm) | 26x19x36 | 35x26x38 | 43x32x61 | 65x65x110 (130) |
General safety guidelines
- This device is only to be used indoors.
- Before using the fan, assemble it completely. Always keep the plug out of the socket when assembling/dissembling.
-
This device should only be used for the purposes (ventilating a domestic space) and in the way as set out in the booklet. Any other usage may be dangerous (could cause fire, injury, damage, electric shock etc.), will invalidate the guarantee
-
Check fan, adapter, plug and cable for damage before use. Do not turn on the appliance if you have discovered damage to the appliance, adapter, cord or plug, if the appliance is malfunctioning, if it has been dropped or if there are signs of any other defect. Return the complete product to the vendor or to a certified electrician for inspection and/or repair. Always ask for original parts. The appliance (incl. adapter, cord and plug) may only be opened and/or repaired by properly authorised and qualified persons.
- Remove the plug from the wall socket and immediately switch off the fan when you hear strange noises, smell or see smoke.
- Before every use, check that the voltage on the socket to be used matches the input voltage indicated on the adapters specification plate.
- Avoid the use of extension cables. If unavoidable, use an approved cable with sufficient power. Completely unroll the cable.
- The electrical cable may never come into contact with sharp, hot or moving objects, must not be wound around the fan and must not be bent or rolled up too tightly.
- Never use the fan with a damaged adapter, electrical cable or connection plug-fan side. Replace it in its entirety with an original identical copy. Never try to repair it yourself.
- Always ensure that the floor is sturdy, flat and horizontal.
- Do not leave a fan operating unsupervised in a room.
- This device in not suitable for use in wet or damp spaces such as bathrooms and laundry rooms. Do not place the device in the vicinity of taps, bathtub, shower, pool, fountains or other sources of moisture. Make sure it cannot fall into water and prevent water from getting into the device itself. If, at any time, the device does fall into water, unplug it immediately! Do not use a device that has a damp interior but have it repaired.
- Never immerse the device, adapter, cord or plug in water or other liquids and never touch the device and adapter with wet hands or feet.
- Do not place the appliance in an open window to avoid rain or on wet surfaces and avoid that no moisture spillage.
- Never hang things over the device. Ensure that curtains, clothing and other materials do not come into the vicinity of the fan.
-
Watch out that long hair is not sucked into the fan.
-
Keep the suction and extraction grill clean and free from dust and make sure that a minimum of 30~cm of free space is left around the fan.
- Ensure that there are no objects in the vicinity of the fan that can prevent oscillation.
- Never insert a finger, pen or any other object through the protective grille when the fan is in use!
- Never spray any products (anti-insect, cleaning agent etc.) on or in the fan.
- Do not store or use the fan: - in locations where it could become wet or fall into water; - near flammable, explosive or gaseous substances; - near acids, alkalis, oil or other corrosive substances.
- Never connect the fan to a timer or dimmer.
- Do not use the fan at temperatures above 40^ , not in the vicinity of heating apparatuses and not in dusty areas.
- First turn off the fan and then remove the plug from the socket before moving, cleaning or carrying out maintenance. Do that when the fan is not in use as well. Pull on the plug to remove from the socket, never pull on the cord!
- Be sure that the plug has been disconnected from the power outlet before removing the protective grill from the fan for cleaning and maintenance work.
- Always unplug the appliance after use. Note that the plug must be removed from the socket, not the plug from the base of the fan.
- This appliance can be used by children aged from 8 years and above and persons with reduced physical, sensory or mental capabilities or lack of experience and knowledge if they have been given supervision or instruction concerning use of the appliance in a safe way and understand the hazards involved.
- Children shall not play with the appliance.
- Prevent the device from constantly blowing on small children, patients or people who have difficulty moving.
- Cleaning and user maintenance shall not be made by children without supervision.
Diagrams of components
VT9 blanc
- Clamping ring grilles
- Front grille
- Fan blades
- Grille fastener
- Rear grille
- Motor spindle
- Motor housing
- Oscillate button
- Head Adjustment
- Support
- Button
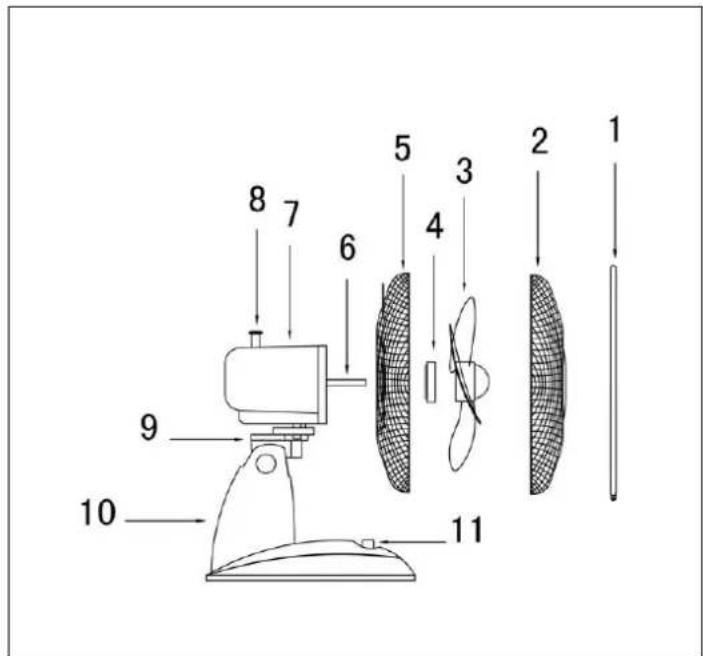
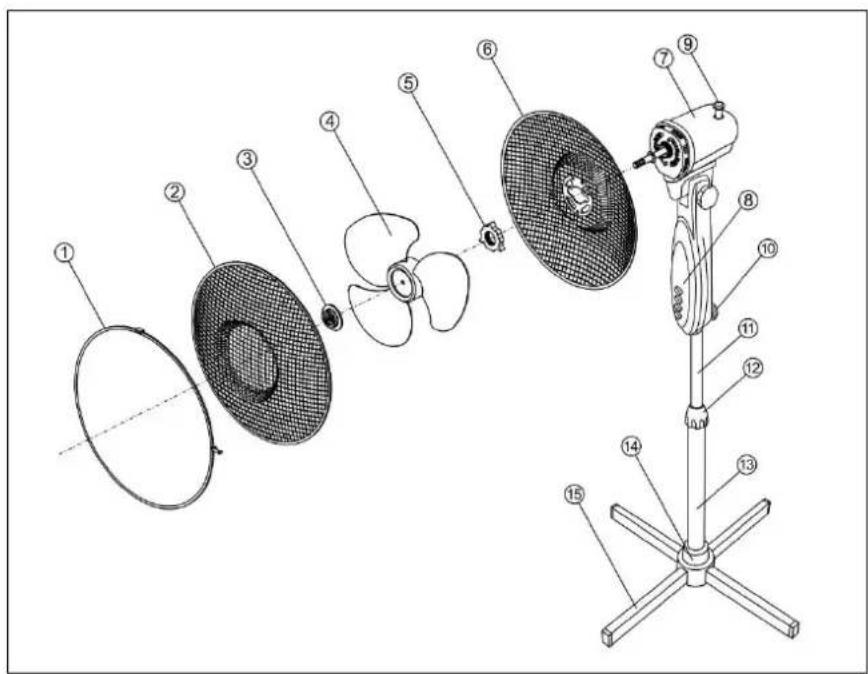
VT12 blanc & VT16 blanc
- Clamping ring grilles
- Front grille
- Fan fastener
- Fan blades
- Grille fastener
- Rear grille
- Motor spindle
- Motor housing
- Oscillate buton
- Head
- Support
- Buttons
- Base
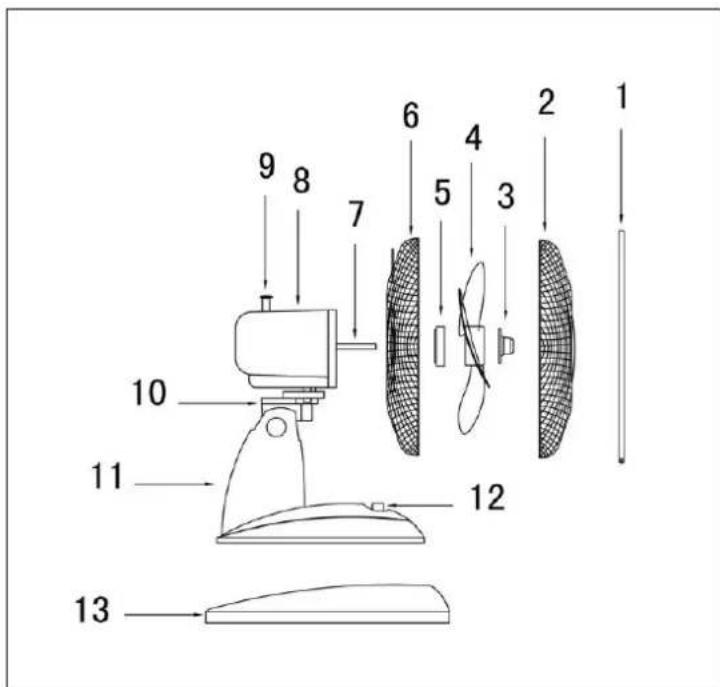
VS16 blanc
- Clamping ring grilles
- Front grille
- Fan fastener
- Fan blades
- Grille fastener
- Rear grille
- Motor housing
- Buttons
- Oscillate button
- Fastening bolt
- Adjustable standard part
- Clamp coupling
- Bottom support
- Covering cap
- Base
Assembly
For all models
- Unscrew the grille fastener anticlockwise to detach it from the front of the motor housing.
- Mount the rear grille against the front of the motor housing (VT 9 & 16: with the grip facing forwards!), so that the pins in the motor housing fit into the holes in the grille.
- Screw the grille fastener firmly clockwise onto the protruding screw thread of the motor housing.
- Remove the PVC socket from the motor spindle and throw it away.
- Press the fan blades onto the motor spindle, with the notches over the pins.
VT12 blanc & VT16 blanc
- Screw the fan fastener firmly anticlockwise onto the end of the motor spindle.
- Unscrew the clamping ring screw nearly all the way and mount it loosely with the rearmost slot around the rear grille. Now position the front grille onto the rear grille, in the front slot of the clamping ring. Tighten the screw firmly; this clamps the grille parts together.
Now place the VT models upright; they are ready for use.
VS16 blanc
- Place both base parts crosswise over each other.
-
Place the bottom support on the base, holes over holes, and screw the base and support tight with the four bolts.
-
Pull the adjustable standard part out of the bottom support to the required height and fix this height by firmly tightening the clamp coupling.
- Now mount the fan unit over the adjustable standard part and clamp it firmly tight with the fastening bolt.
Operation
The fans can be set to different speeds: The VT9 blanc has two settings; the VT12 blanc, VT16 blanc and VS16 blanc have three settings. All types of fan are equipped with an oscillation function (45^) .
If - the fan has been fully assembled
- all connections have been properly secured
- all safety guidelines have been taken into account
you can use the fan.
-
Insert the plug into the socket.
-
Select setting: 0=off, 1=standard, 2=strong and 3=extra strong. The fan will now begin to work.
- If required, you may now depress the oscillation button on top of the motor: the fan will now begin to oscillate through an angle of 45^ . Depressing and releasing this button will turn the oscillation function off.
- If you would like to angle the fan upwards or downwards, the motor block can be angled further up or down in relation to the foot. Before doing so, however, turn off the fan and remove the plug from the socket!
Press the 0 button to switch the fan off. If you wish to turn the device off for longer than just a few minutes, you must also remove the plug from the socket.
Cleaning and maintenance
Switch the fan off and remove the plug from the socket if you wish to clean the device or perform maintenance.
The fan only needs general, exterior maintenance. Dust it regularly with a soft cloth or duster or use a vacuum cleaner with a soft brush to clean. If it is very dirty, open the grille and clean grilles and blades using a soft, damp cloth and a mild household cleaning agent. Dry everything thoroughly and allow the fan to dry properly before reassembling and using again. Ensure that water does not come into contact with anything other than the grille and blades. Never rinse or spray the fan! Don not use any spray.
In order to prevent material discolouration or deformities, never use aggressive or corrosive (cleaning) products.
If the fan is to be stored at the end of the season, repack in its original packaging: this offers the best protection. Store it in a safe and dry place that is not subject to extremes of heat or cold.
Problems and solutions
The fan blades do not rotate even though the device is switched on
- Is the plug in the socket?
- Is there power to the socket?
- Is button 1, 2 or 3 depressed?
- Is the blade blocked, e.g. by damage, a deformity on the grille or a foreign object?
There is strange noise when starting
- Check to ensure the blades are placed as far over the motor axle as possible.
- Check if there are any burrs around the edges of the blades.
- Check whether the blades have become deformed and are touching the protective grille.
Warning: Repairs must be carried out by qualified engineers. This also applies to replacing or repairing the electrical cable and plug. Please request original parts if the device needs to be repaired.
If the device is subjected to modifications or repairs are carried out by unqualified persons, the guarantees from the supplier, importer and manufacturer will become null and void.
Removal
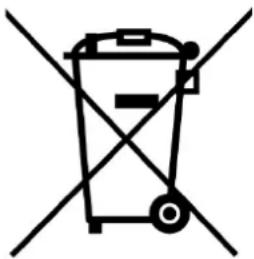

In the EU this symbol indicates that this product may not be disposed of as ordinary household waste. Old equipment contains valuable materials, suitable for recycling. These materials should be made suitable for reuse in order to prevent any adverse effects to health and the environment caused by unregulated waste collection. Therefore, please make sure that you bring old equipment to a designated collection point. Alternatively, contact the original supplier, who can make sure that as many of the components as possible can be recycled.
CE-statement
See page 46.
Dank
declares the following device in sole responsibility:
Product:ventilator
Brand name: EUROM
Complies with the following harmonization rules:
Low Voltage Directive: LVD 2014/35/EU
Electromagnetic compatibility Directive: EMC 2014/30/EU
Restriction of Hazardous Substances RoHS Directive:2011/65/EU&(EU)2015/863
Applied harmonized standards:
EN 60335-2-80:2003+A1:2004+A2:2009
EN 60335-1:2012+A11:2014+A13:2017
EN 62233:2008
EN 55014-1:2017
EN IEC 61000-3-2:2019
EN 61000-3-3:2013+A1:2019
EN 55014-2:2015
Genemuiden, 27-10-2020
W.J. Bakker, alg. Dir.
Eurom
Kokosstraat 20
8281 JC Genemuiden
The Netherlands
info@eurom.nl
www.eurom.nl
271020
Brand : Eurom
Model : VT12
Category : Fan