ES 2611 - Coffee machine CLATRONIC - Free user manual and instructions
Find the device manual for free ES 2611 CLATRONIC in PDF.
User questions about ES 2611 CLATRONIC
0 question about this device. Answer the ones you know or ask your own.
Ask a new question about this device
Download the instructions for your Coffee machine in PDF format for free! Find your manual ES 2611 - CLATRONIC and take your electronic device back in hand. On this page are published all the documents necessary for the use of your device. ES 2611 by CLATRONIC.
USER MANUAL ES 2611 CLATRONIC
natural_image
Exterior view of a modern espresso machine (no visible text or symbols)ES 2611
CE
Inhalt
Inhoud • Inhold • Sommaire • Indice • Índice • Indice
Contents • Spis treści • Obsah • Tartalom • Содержание
D Übersicht Bedienelemente . . . . . . . . . . . . . . . . . . . . . . . . . . . . . . . . . . . . . . . . . . . . . . . . . . . . . . . . . . . . . . . . . . . . . . . . . . .
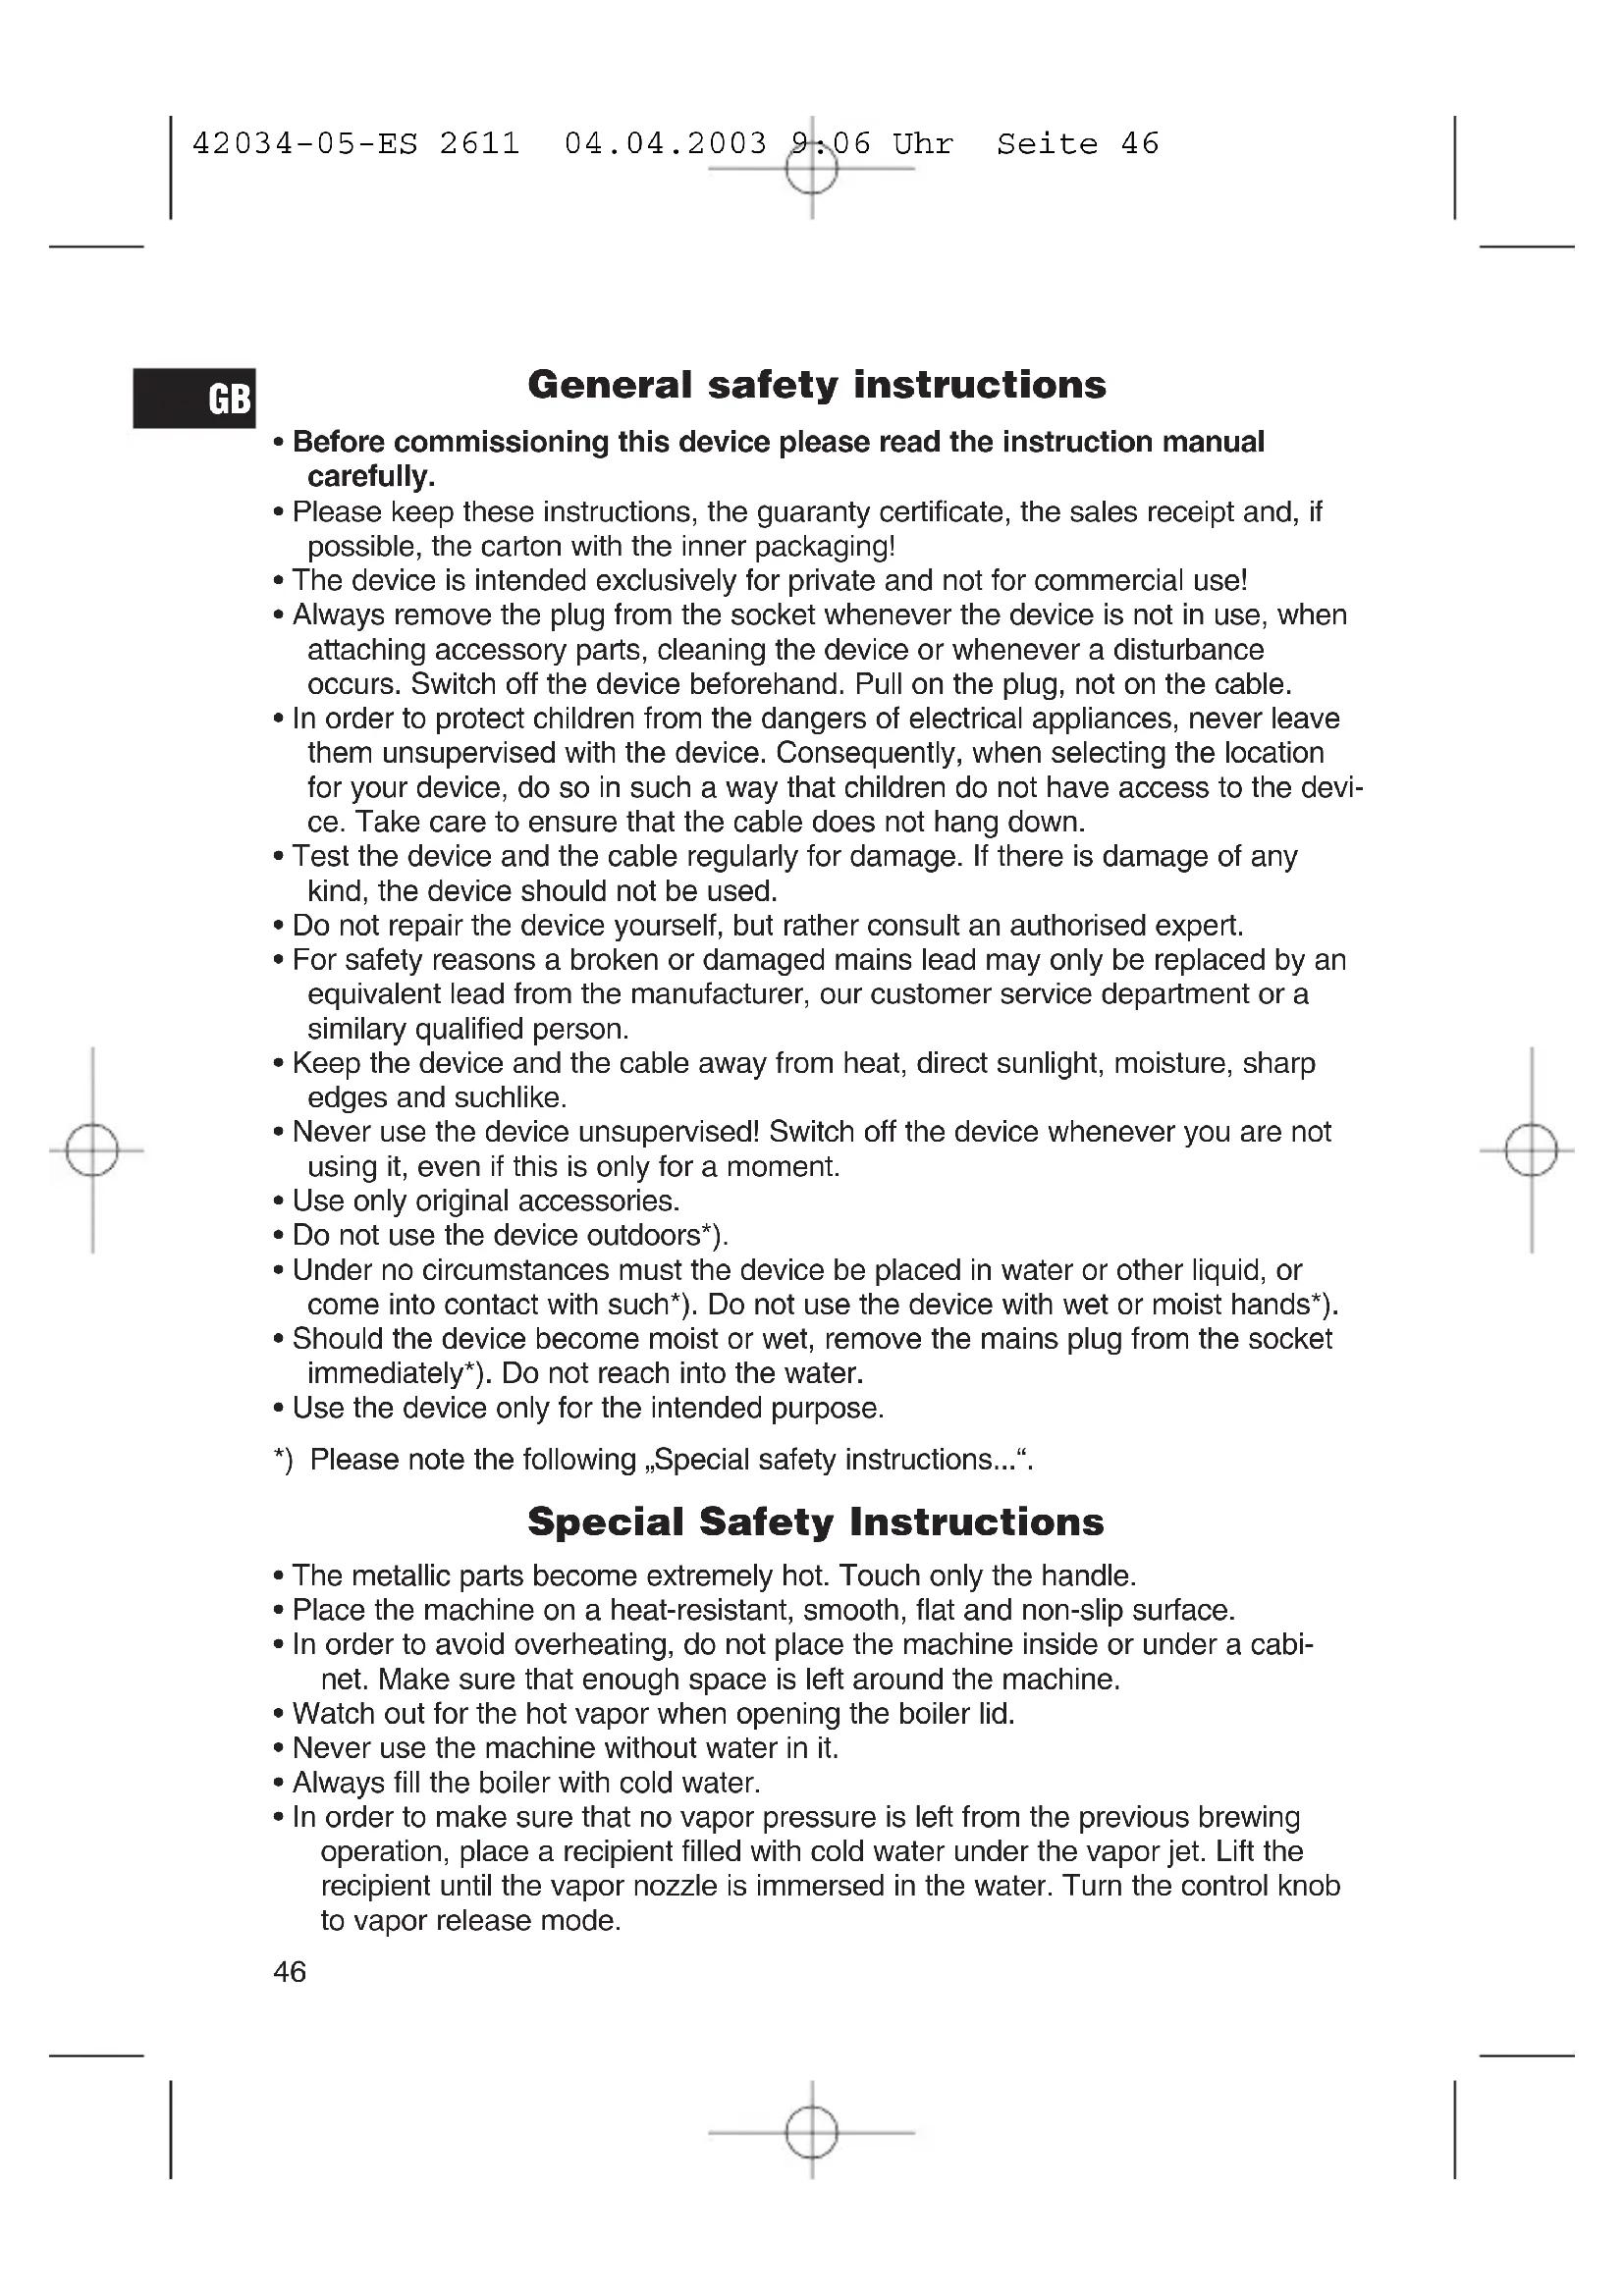
General safety instructions
- Before commissioning this device please read the instruction manual carefully.
- Please keep these instructions, the guaranty certificate, the sales receipt and, if possible, the carton with the inner packaging!
- The device is intended exclusively for private and not for commercial use!
- Always remove the plug from the socket whenever the device is not in use, when attaching accessory parts, cleaning the device or whenever a disturbance occurs. Switch off the device beforehand. Pull on the plug, not on the cable.
- In order to protect children from the dangers of electrical appliances, never leave them unsupervised with the device. Consequently, when selecting the location for your device, do so in such a way that children do not have access to the device. Take care to ensure that the cable does not hang down.
- Test the device and the cable regularly for damage. If there is damage of any kind, the device should not be used.
- Do not repair the device yourself, but rather consult an authorised expert.
- For safety reasons a broken or damaged mains lead may only be replaced by an equivalent lead from the manufacturer, our customer service department or a similar qualified person.
- Keep the device and the cable away from heat, direct sunlight, moisture, sharp edges and suchlike.
- Never use the device unsupervised! Switch off the device whenever you are not using it, even if this is only for a moment.
- Use only original accessories.
- Do not use the device outdoors*).
- Under no circumstances must the device be placed in water or other liquid, or come into contact with such ^ . Do not use the device with wet or moist hands ^ .
- Should the device become moist or wet, remove the mains plug from the socket immediately ^* . Do not reach into the water.
- Use the device only for the intended purpose.
*) Please note the following „Special safety instructions...“.
Special Safety Instructions
- The metallic parts become extremely hot. Touch only the handle.
- Place the machine on a heat-resistant, smooth, flat and non-slip surface.
- In order to avoid overheating, do not place the machine inside or under a cabinet. Make sure that enough space is left around the machine.
- Watch out for the hot vapor when opening the boiler lid.
- Never use the machine without water in it.
• Always fill the boiler with cold water.
- In order to make sure that no vapor pressure is left from the previous brewing operation, place a recipient filled with cold water under the vapor jet. Lift the recipient until the vapor nozzle is immersed in the water. Turn the control knob to vapor release mode.
- Remove the filter holder and the boiler's lid only if all the vapor has been let out. Turn the boiler lid to the left to screw it off; Turn the boiler lid to the right to screw it on.
- Make sure that the boiler lid and the filter holder are properly and securely closed while using the machine since this machine is pressurized when operating.
- Use only water to fill the boiler. Do not use any other liquid!
- If difficulties are encountered when unscrewing the boiler lid, this may indicate that the machine is still pressurized. Let out the pressure with the procedure described above.
Overview of the Single Components
| 1 | Boiler lid | 12 Drop grid |
| 2 | Boiler tank opening | 13 Base |
| 3 | Control selector | 14 Brew |
| 4 | Boiler | 15 Release vapor |
| 5 | Hot plate | 16 Display |
| 6 | Brewing head | 17 Vapor tube |
| 7 | Filter bowl | 18 Vapor jet |
| 8 | Filter holder | 19 Open – Handle position for the insertion of the filter unit |
| 9 | Filter catch | |
| 10 | Filter handle | 20 LOCK – Handle position for the use of the filter unit |
| 11 | Filter spout |
Before using for the first time
In order to remove all the dust that has deposited during the packing, wash the glass pot, the filter shell, the filter holder and the drip collection tray with warm soapy water. Do not use coarse or sharp cleansing agents. Wipe the base with a clean and humid towel.
Follow carefully the Safety Instructions!
It is highly recommended to carry out a complete brewing cycle as described in „Espresso Preparation" without any coffee powder before making your first cup of espresso or cappuccino. By doing so, any residual dust left inside the espresso machine will be removed.
The preparation of an espresso or cappuccino is different from that required for a normal cup of coffee. Both espressos and cappuccinos are made by pressing boiling water under pressure through finely ground coffee. Great attention is needed and it is highly recommended to read carefully all the instructions and safety indications provided herein, before brewing.
TIP:
It is recommended to serve the espresso or cappuccino in pre-heated cups because the heat helps to retain the aroma!
GB
How to make an Espresso
- Follow carefully the safety indications!
- Place the control knob in OFF position.
- Lay the drop grid on the round depression in the drop collector cover.
- Remove the boiler lid and the filter holder. Should there be water in the boiler, turn the machine upside down and drain the water.
- Insert the filter bowl in the filter holder. Swing the filter protection to the back.
- Fill the filter bowl to the desired level (the inside of the filter bowl is marked with measure markings, 2 = 2 cups, 4 = 4 cups) with ground espresso coffee. Spread the coffee evenly and press it slightly with the measuring spoon. Important: The reason why the coffee is pressed in the filter bowl is to distribute evenly the coffee and not to compress it. If there is too much coffee, the flow of the water is blocked. This may cause damage to the machine or lead to injuries. Remove carefully any coffee from the rim of the filter.
- Insert the filter holder in the brewing head and turn the handle to the right (in LOCK direction) to position it correctly. Make sure that the filter holder is fastened properly to the brewing head to avoid the splashing of hot coffee.
- Fill the glass pot with enough cold water for the desired number of cups (do not exceed the 4 cup mark). Pour the water into the boiler.
- Put back into place the boiler lid and screw it on.
- Place the empty glass pot with the lid on at the center of the drip collection grid.
- Connect the appliance to a duly installed 230V/50Hz socket with earthing protection. Turn the control knob to brew position. The display lights up. After three minutes the espresso starts to flow into the glass pot.
- When the brewing is over, turn the control knob to the OFF position. Remove the glass pot from the drip collection grid.
- Wait a few seconds before removing the filter holder. Remove the filter bowl with the filter protection. Remove the remaining coffee. Clean the machine as described in „Cleaning and Maintenance“.
How to make a Cappuccino
To make a cup of cappuccino follow steps 1 to 12 described above for espresso coffee and continue as described below.
- Fill the hot espresso into (a) pre-heated cup/s. Place it on the hot plate to keep it warm.
- Fill the glass pot with fresh, cold milk without exceeding the 2-cup mark. To obtain a good foam, use a high-fat milk!
- Place the glass pot under the steam nozzle. Lift the recipient until the vapor jet is immersed 1/2 cm in the milk. Turn the control knob slowly to the vapor jet position. The vapor is ejected from the vapor jet to froth up the milk. As the volume of the foam rises, lift the glass pot slightly so that the tip of the nozzle is always immersed in the milk. Continue this operation for approximately 45 seconds according to your taste or until the milk's volume has doubled. Make
sure that the milk does not get too hot or scalded to avoid ruining the froth.
Never dip the tip more than a centimeter into the milk. For proper frothing a his-sing sound must be heard. Once the frothing is over, turn the control knob to the OFF position. When finished, half of the contents of the glass pot will be composed of hot milk and the other half of foam.
- Scoop out the foam from the glass pot into the cup/s with espresso coffee. Add some milk. A cappuccino is 1/3 coffee, 1/3 hot milk and 1/3 frothed milk.
- In order to make sure that no vapor is left in the machine, place a recipient with cold water under the vapor jet and dip the vapor jet into the water. Turn the control knob to the vapor jet position. The remaining vapor is released if the vapor jet starts to bubble.
Important: the pressure of the machine must be released each time before brewing. As soon as the bubbling stops, pressure has been completely reduced. Turn the control knob to the OFF position. Wait a few seconds after the brewing before removing the filter holder. Remove the remaining ground coffee. Clean the machine as described in „Cleaning and Maintenance“.
Useful Tips
- The use of filtered water or bottled water is highly recommended to enhance the taste of the espresso and to avoid the calcification of the machine. Distilled water must not be used, as it is dull and tasteless.
- The secret for frothing the milk is the right technique, which can be acquired only with practice.
- If the brewing time of the coffee is longer than usual (i.e. if it takes too long for the coffee to flow out of the brewing head), then it is likely that the coffee is too fine, that too little coffee has been used or that the coffee was not pressed enough.
- If there is a significant increase in the brewing time and/or frequent clogging of the vapor jet occurs, the machine is calcified. Fill the boiler with a citric acid-based decalcifying agent (see dosing instructions provided by the manufacturer). Follow the instructions provided above in „How to make an espresso“. Do not fill the filter bowl with coffee! After this operation carry out 2-3 brewing cycles with clear water.
Cleaning and Maintenance
- Follow carefully the safety instructions before cleaning the machine.
- Remove the plug and let the machine cool.
- Use a citric acid-based decalcifying agent for decalcifying.
- Wipe the machine with a clean humid towel.
- Do not use detergents.
- Wash the filter shell, the filter holder, the glass pot, the pot lid, the boiler cap and the drip collection grid in a sink as usual.
GB
- Do not wash any of the parts in the dishwasher.
- In order to clean the vapor jet let the vapor out for approximately three seconds after removing it from the milk. Turn the control knob to the OFF position and wipe the vapor jet with a clean humid towel. Attention: the metal vapor jet is hot!
- Lubricate the boiler opening and the filter holder with vegetable oil from time to time.
This appliance conforms with the CE directives for radio interference suppression and low-voltage safety and has been built to meet current safety requirements. Subject to technical changes without prior notice!
Warranty
We undertake to guarantee the appliance sold by our company for 24 months as of the date of purchase (cash receipt).
During the life of the warranty we shall provide for the repair or replacement of the appliance owing to material or manufacturing defects absolutely free of charge.
Proof for the warranty is provided by the purchase document. The replacement and repair will not be performed free of charge without this proof of purchase.
Should the warranty be valid, please consign the complete appliance in its original packing together with the cash receipt to your local dealer.
Defects to the accessories do not entitle to the change of the appliance. These will be replaced free of charge. In this case do not send back the appliance. Just order the faulty accessory! Broken glass parts are replaced at the expense of the owner!
The cleaning, servicing and replacement of wear parts are not covered by this warranty and hence are to be paid for.
The warranty is terminated in case of handling on the part of Third parties.
After the warranty
Once the warranty has expired, repairs can be carried out by specialized technicians or repair services against the payment of the service.