
APPDSHDD - Other computer accessories Approx - Free user manual and instructions
Find the device manual for free APPDSHDD Approx in PDF.
| Product Type | External USB hard drive enclosure with backup software |
| Brand | Approx |
| Model | APPDSHDD |
| Category | Other computer accessories |
| Interface | USB (USB port only for OTB function) |
| System compatibility | Windows 98/ME/2000/XP/Vista/7/8/10 (see manual for details) |
| Supported disk capacity | Not specified, compatible with SATA hard drives (estimate) |
| Supported file systems | FAT32, NTFS |
| Software functions | File backup, restoration, file management, shortcut key configuration |
| Backup button | Yes, physical button for quick backup (not available under Windows 98/ME) |
| Power supply | Via USB port (without external power) |
| Estimated dimensions | Approximately 130 x 80 x 15 mm |
| Estimated weight | Approximately 150 g |
| Enclosure material | Plastic (estimate) |
| Package contents | Hard drive enclosure, USB cable, CD with PCClone EX Lite software, user manual |
| Included software | PCClone EX Lite |
| Manual languages | French, English, German, Italian, Portuguese, Spanish |
| Maintenance and cleaning | No specific instructions; clean with a dry, soft cloth |
| Safety | No special instructions; avoid shocks and moisture |
| Spare parts and repairability | Not specified; contact Approx customer service |
Frequently Asked Questions - APPDSHDD Approx
User questions about APPDSHDD Approx
0 question about this device. Answer the ones you know or ask your own.
Ask a new question about this device
Download the instructions for your Other computer accessories in PDF format for free! Find your manual APPDSHDD - Approx and take your electronic device back in hand. On this page are published all the documents necessary for the use of your device. APPDSHDD by Approx.
USER MANUAL APPDSHDD Approx
-
OTB is applied to USB port only, and it is not available for other ports.
-
The type of file system is able to support FAT32 and NTFS both.
-
When users operate the PCClone EX Lite, the login must be from Administrator; it can not login from the Guest or any authorized account.
-
Does the hard disk happen to the bad sector? Please confirm in advance that can prevent an improper operating of backup or restore.
-
The File Backup doesn't support the external HD button operating if the operating system is Windows 98/ ME, please use the hot key instead of.
1. SOFTWARE INSTALLATION
-
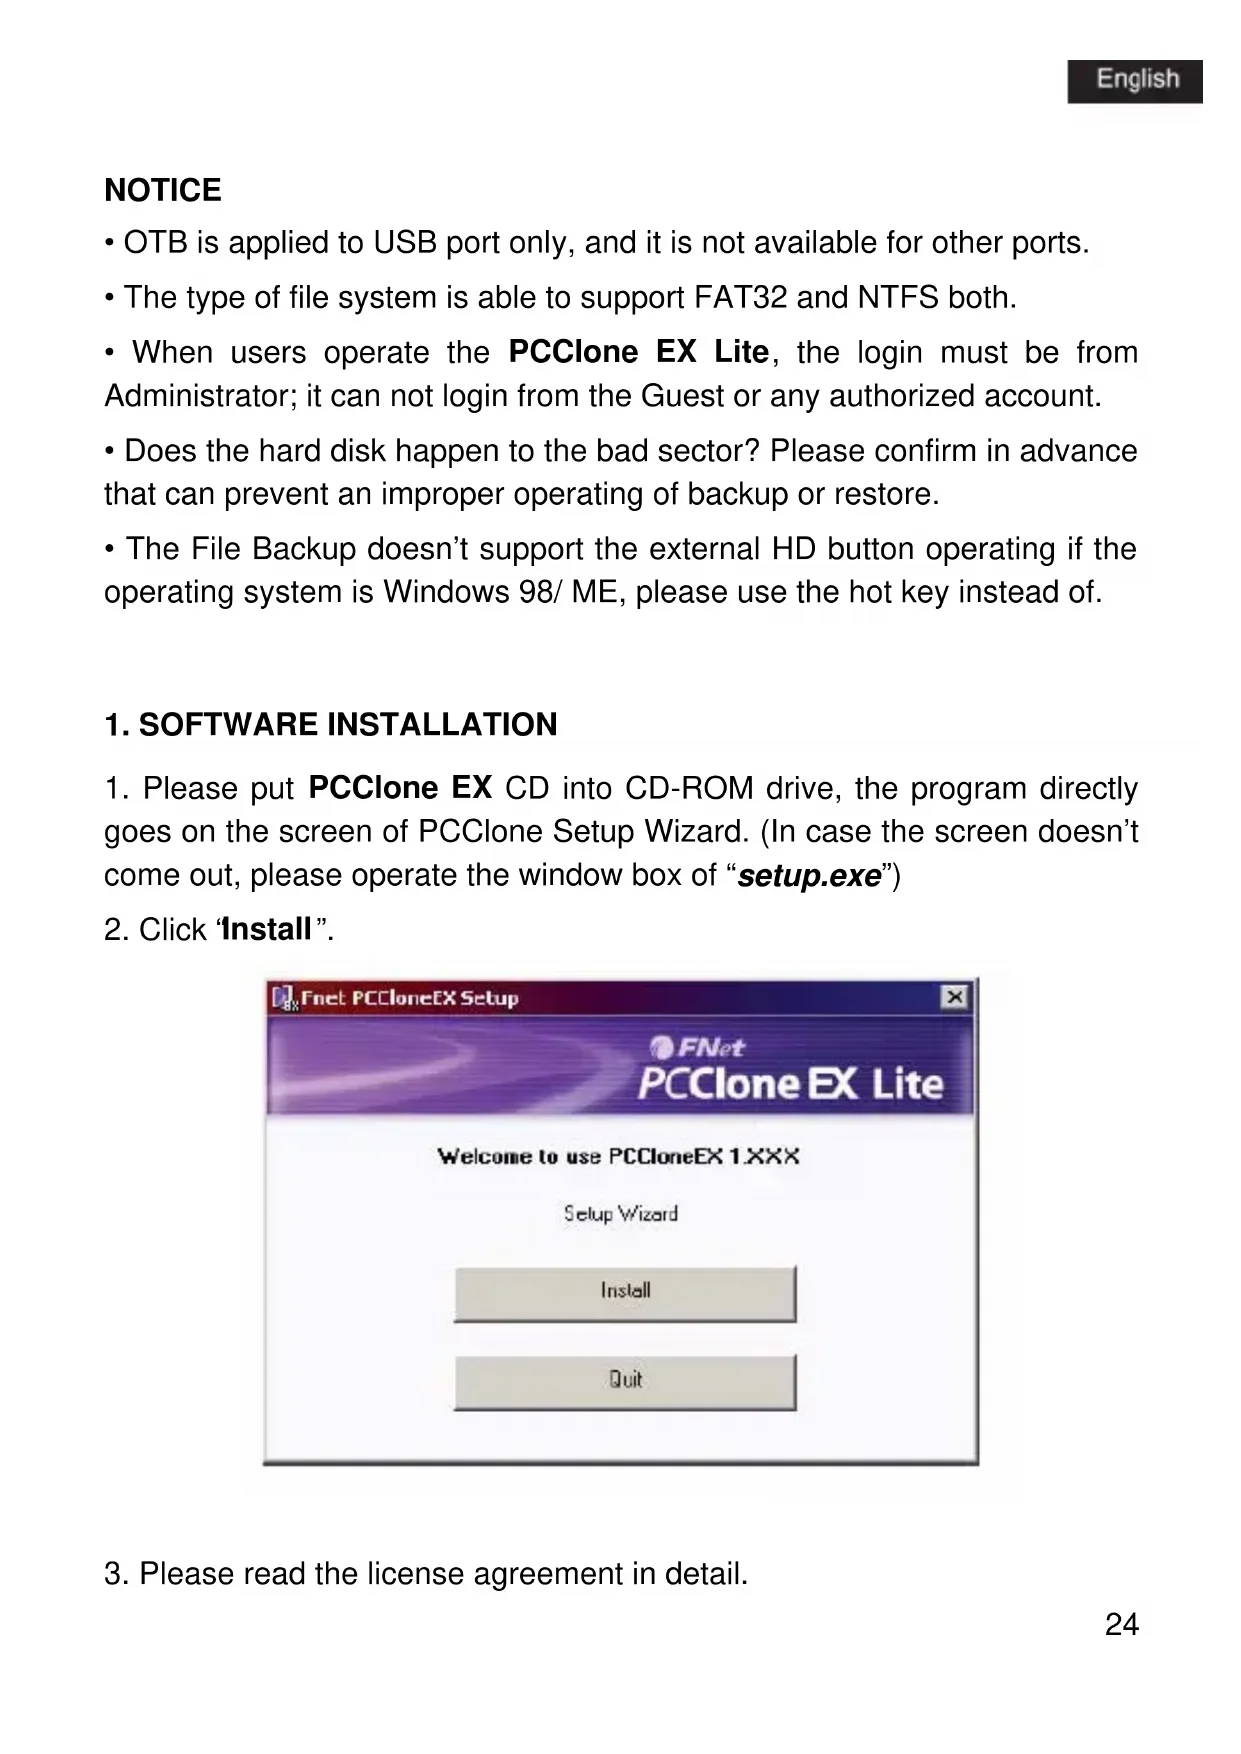
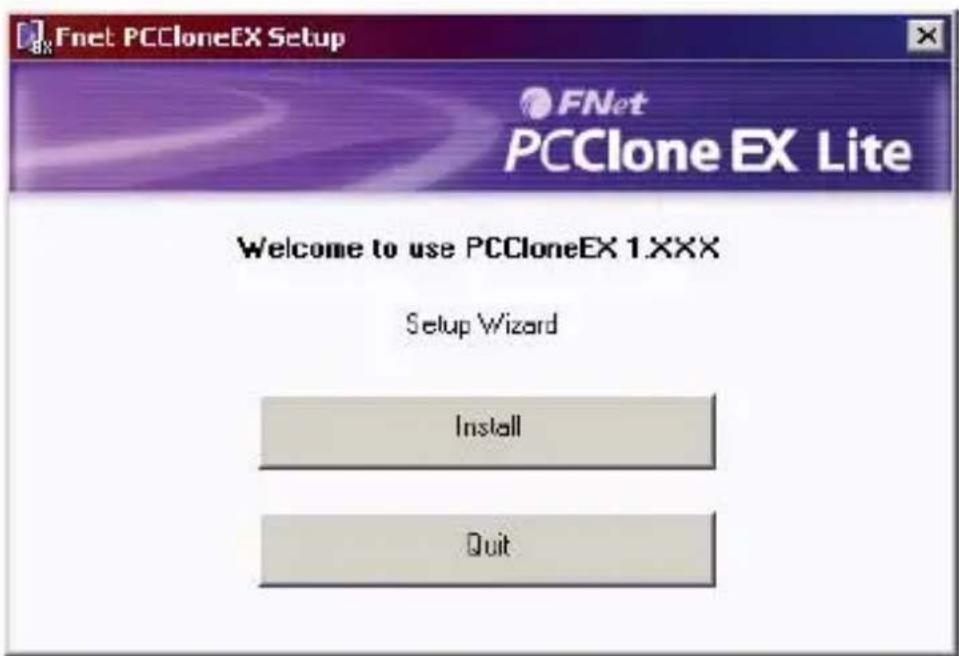
Please put PCClone EX CD into CD-ROM drive, the program directly goes on the screen of PCClone Setup Wizard. (In case the screen doesn't come out, please operate the window box of "setup.exe")
-
Click 'Install'.
-
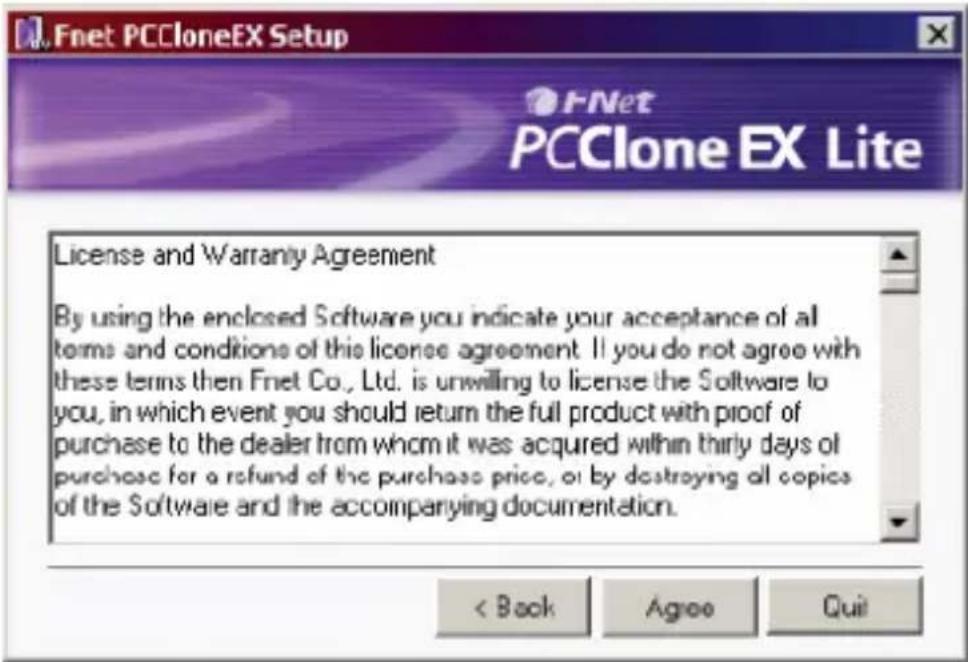
Please read the license agreement in detail.
-
If users accept the agreement, please click "Agree" to install.
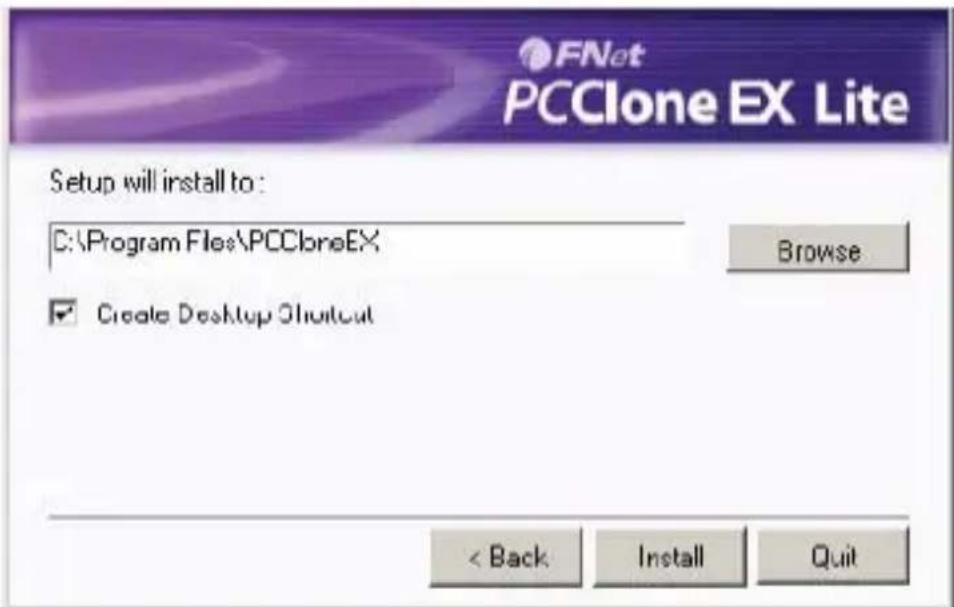
- Please setup the installing pathway, and then click "Install" to next.
- The installation is completed, please click "OK" to exit.
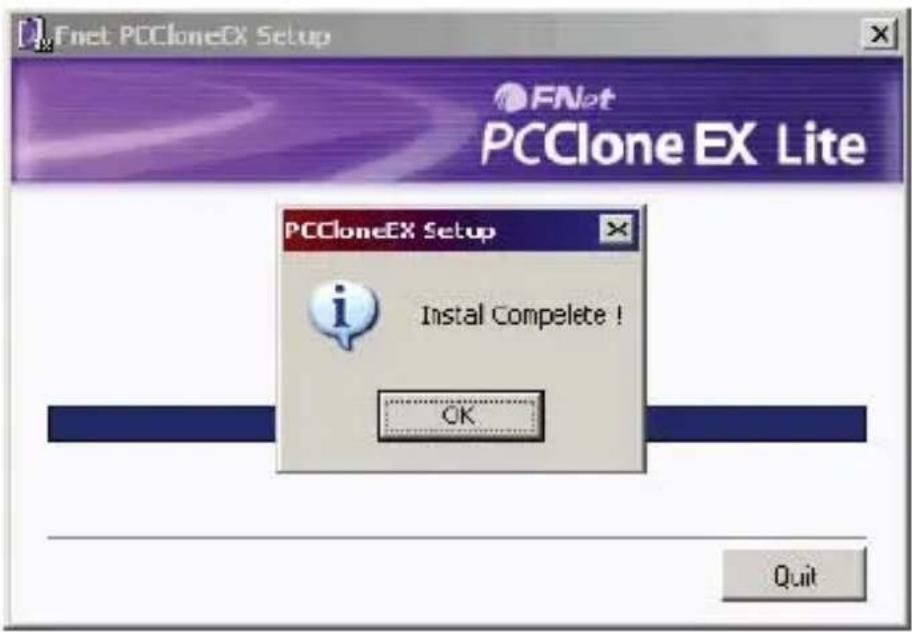
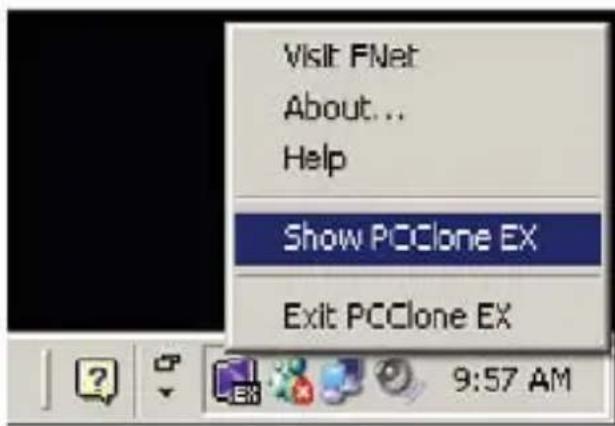
- "PCClone Ex" icon will displays in the notification area after setup; users can double- click the icon or press the right key of the mouse to execute PCClone EX.
2. CREATE PARTITION
If your USB HDD has managed already, please skip this part and move on next context.
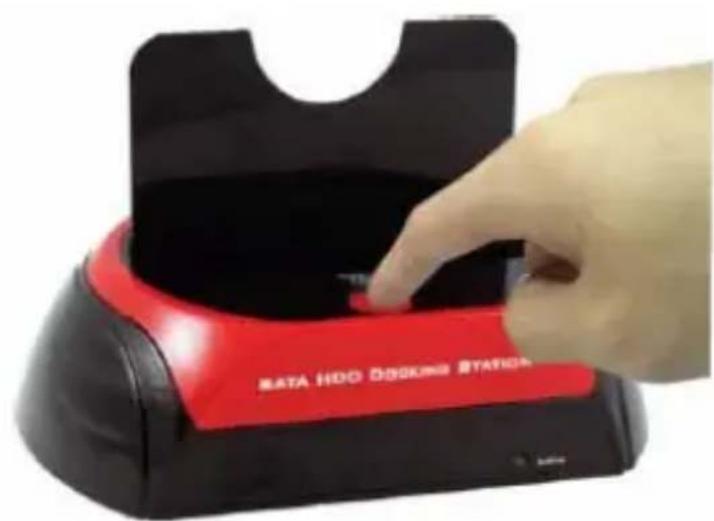
- Please plug USB HDD. (Turn on the power.)
- Please right click "My computer", and point "Manage". (It also can click in succession as "Start > Control Panel > Administrative Tools > Computer management")
(If your USB HDD has managed already, please skip this part and move on next context).
- Please click "Disk Management" as the left window, and then find the disk management as the right window.
- Please right click the disk of 'unallocated', and point the "New Partition".
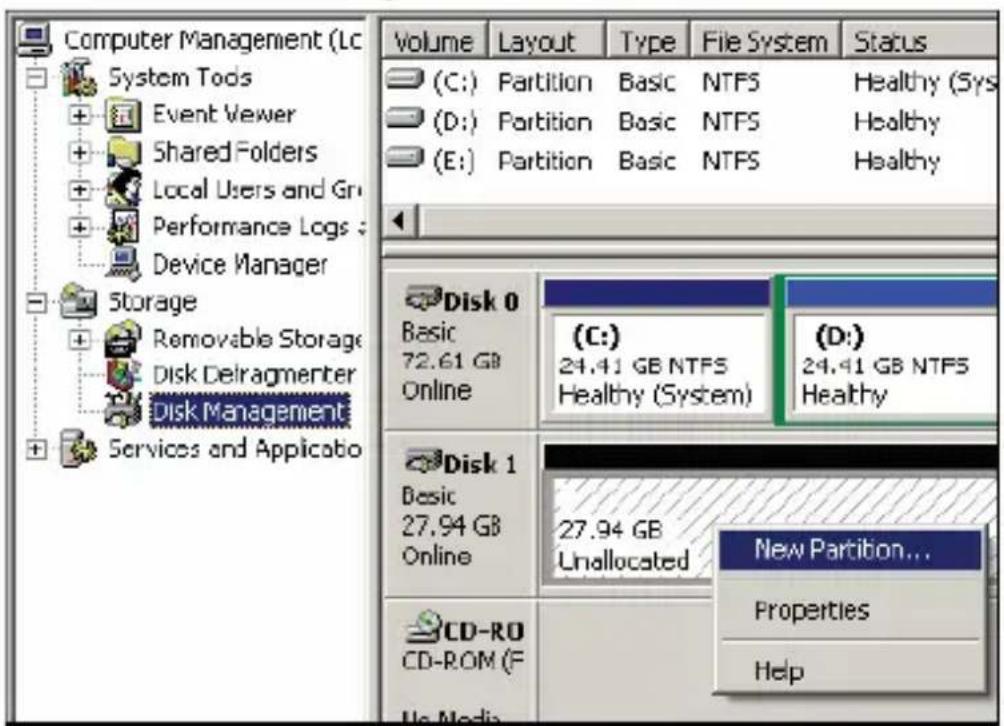
(In order to make sure the disk of 'unallocated' whether the USB disk uses this area or not, users can find out by removing and plugging the port of USB connection).
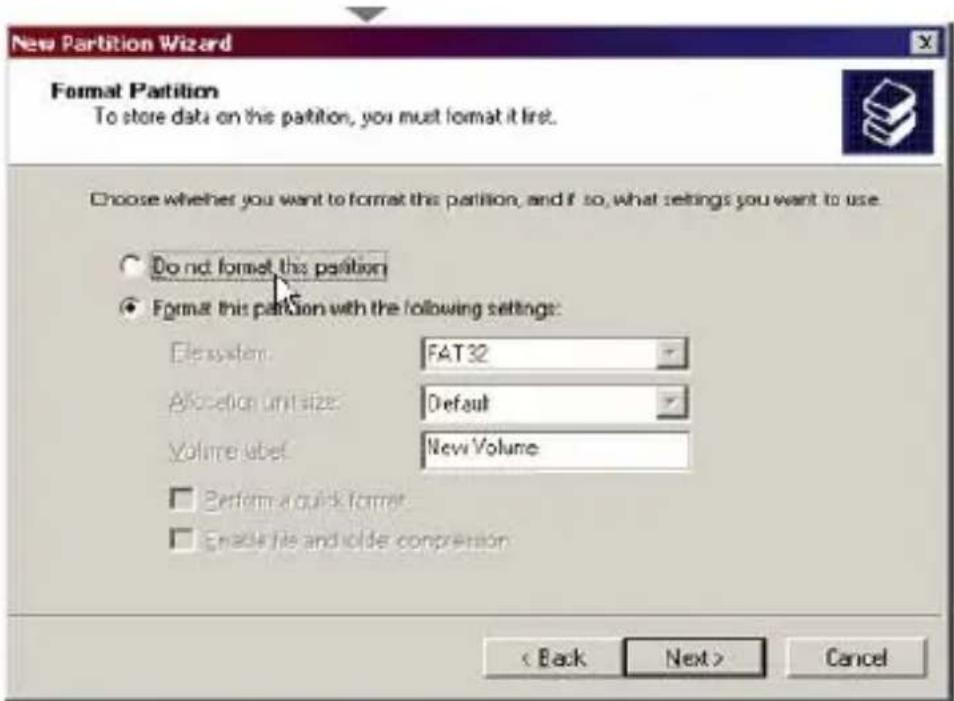
- Follow up the installation of "New Partition Wizard" to operate the disk of partition and format.
- Also, you can format USB hard disk by "FNet FAT32 Format" utility and then you can start the backup function.
(The detail format steps please refer to the section of "FNet FAT32 Format" Utility).

3. "FNET FAT32 FORMAT" UTILITY
- Please plug USB HDD, and turn on the computer.
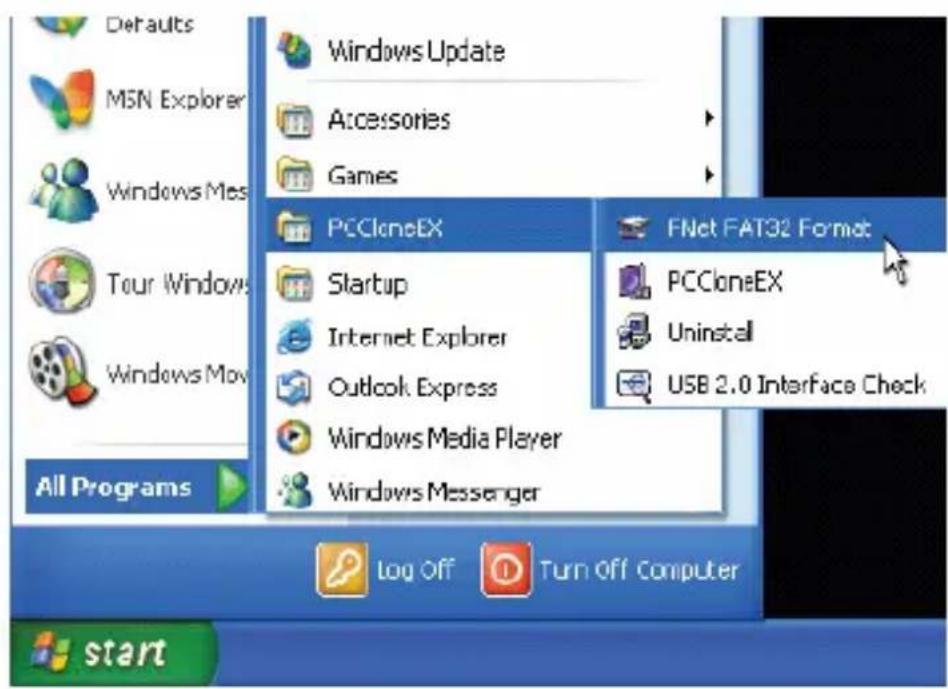
- Click "Start > All programs > PCClone EX > FNet FAT32 Format".
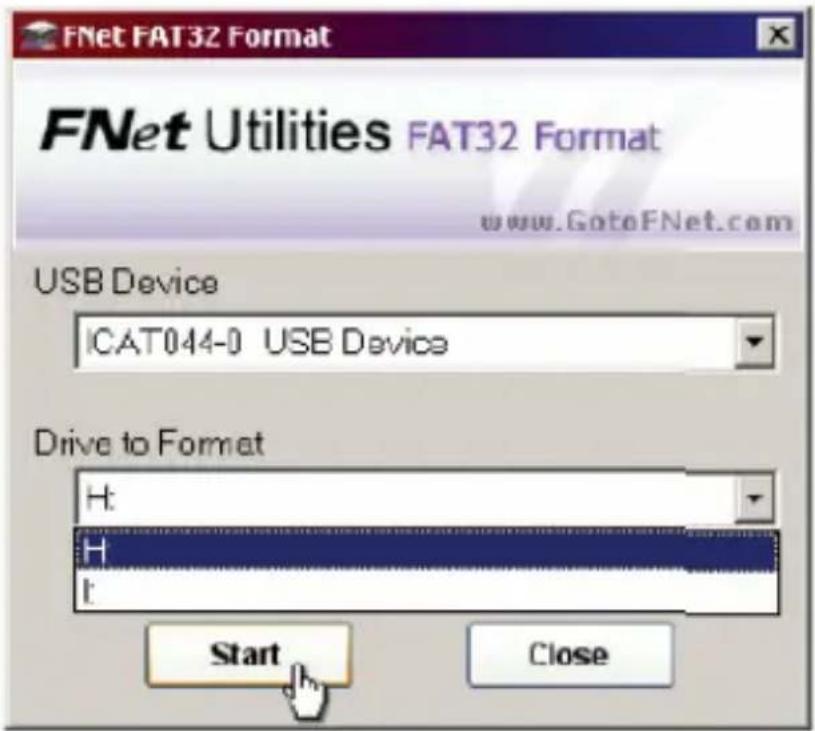
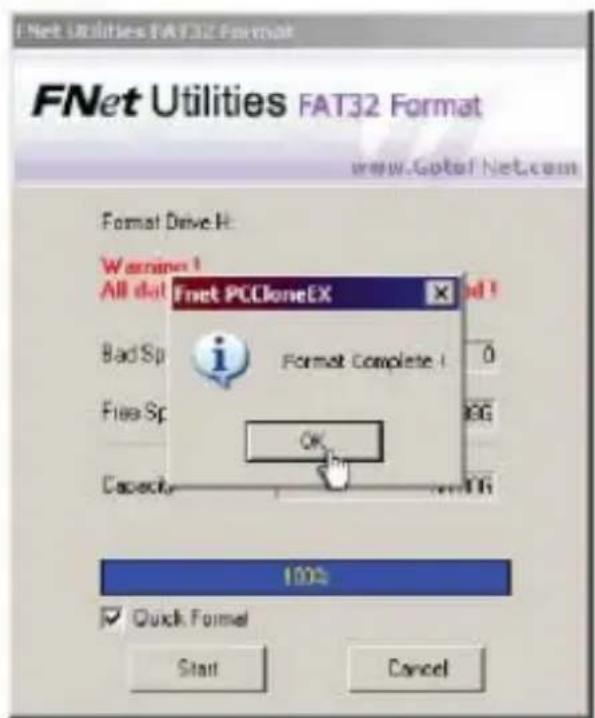
- Confirm the "USB Device" and "Drive to Format" in the "FNet FAT32 Format" utility, and then press "Start".
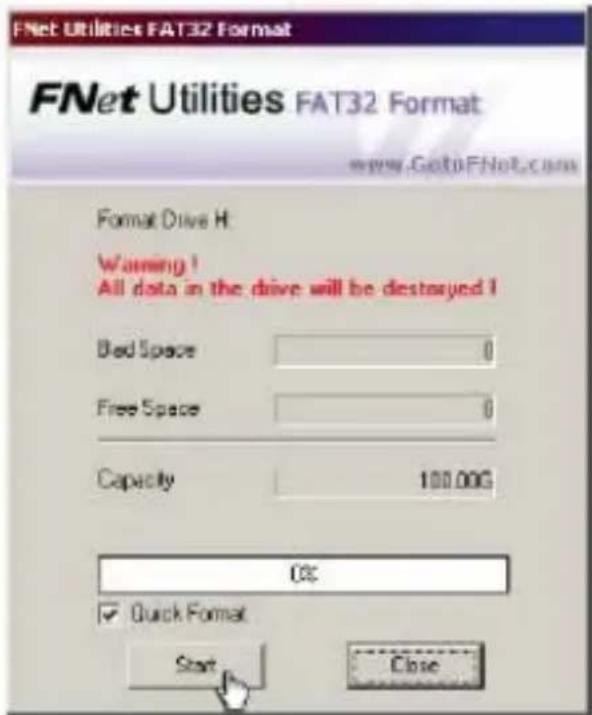
- Tick "Quick Format" and click "Start" for executing.
(Attention: all data in USB HDD will be deleted if you use this function).
- The window shows in progress.
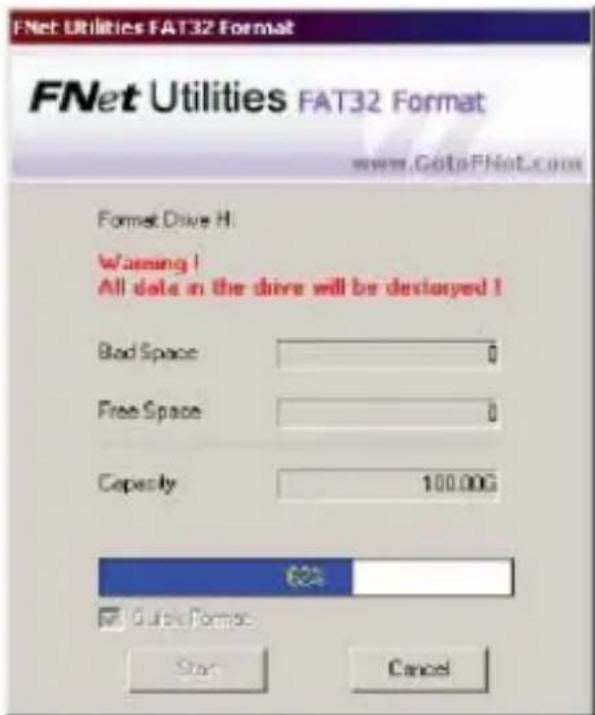
- The formatting is completed. Please press "OK".
(The selected USB HDD has formatted by this program to be FAT32 file system).
4. ONE BUTTON FILE BACKUP
NOTE: Windows 98 / ME do not support this function.
One Button backup function only supports the external HDD case with button design. It won't set comprehensive steps for backup anymore, only use the button on the external HDD case.
Note: when you click the button for backup, the icon of PCClone EX must be staying at the notification area. (For first time using, please refer to the context of "File backup" and "Setup").
- Please plug USB HDD (Turn on power).
- Execute PCClone EX.
- Just press the button "BACK UP" on the external case.
- A dialog window will jump out for confirming the File backup, or users can click "Start" by the mouse.
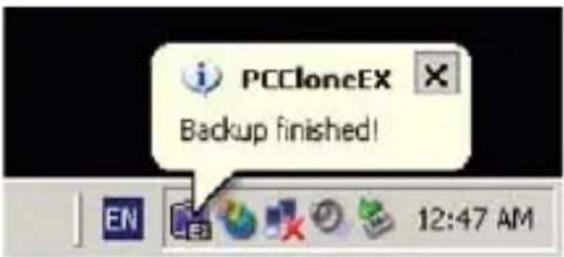
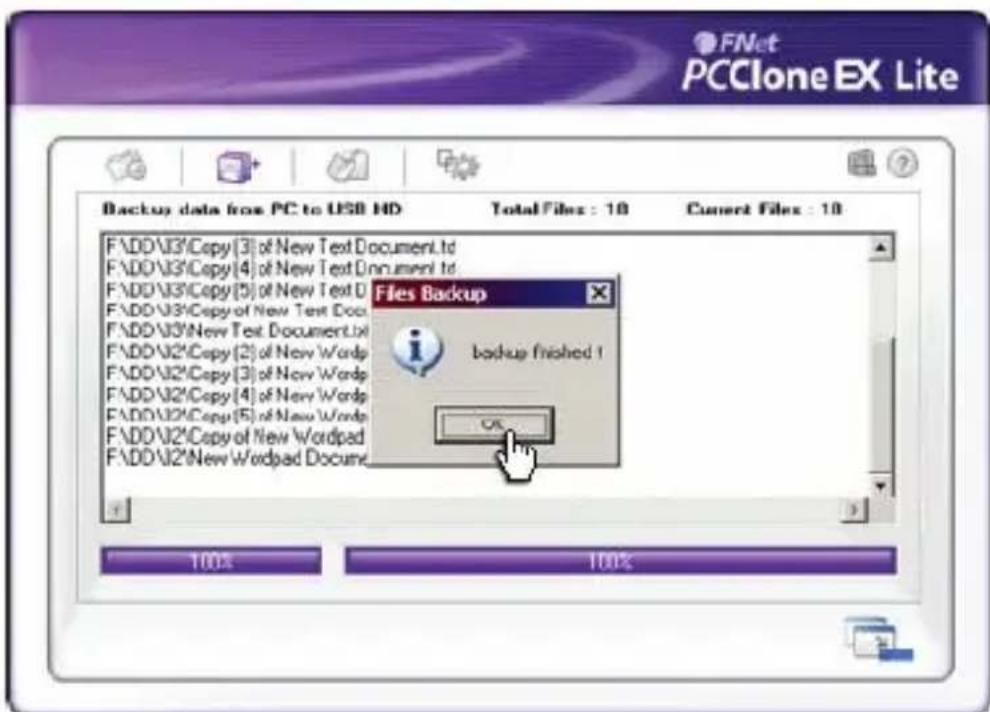
- When the backup is in progress, PCClone EX diagram will be blinking at the notification area. There is a dialog box will be displayed the progress every single 10 percentages.
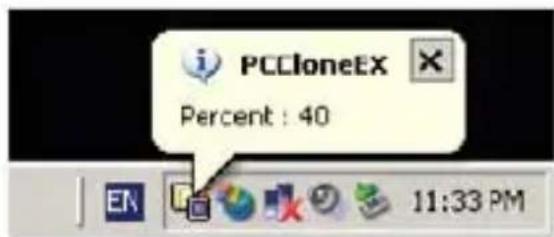
- After the backup is completed, PCClone EX diagram at notification area will appears the "backup finished".
- QUICK LAUNCH
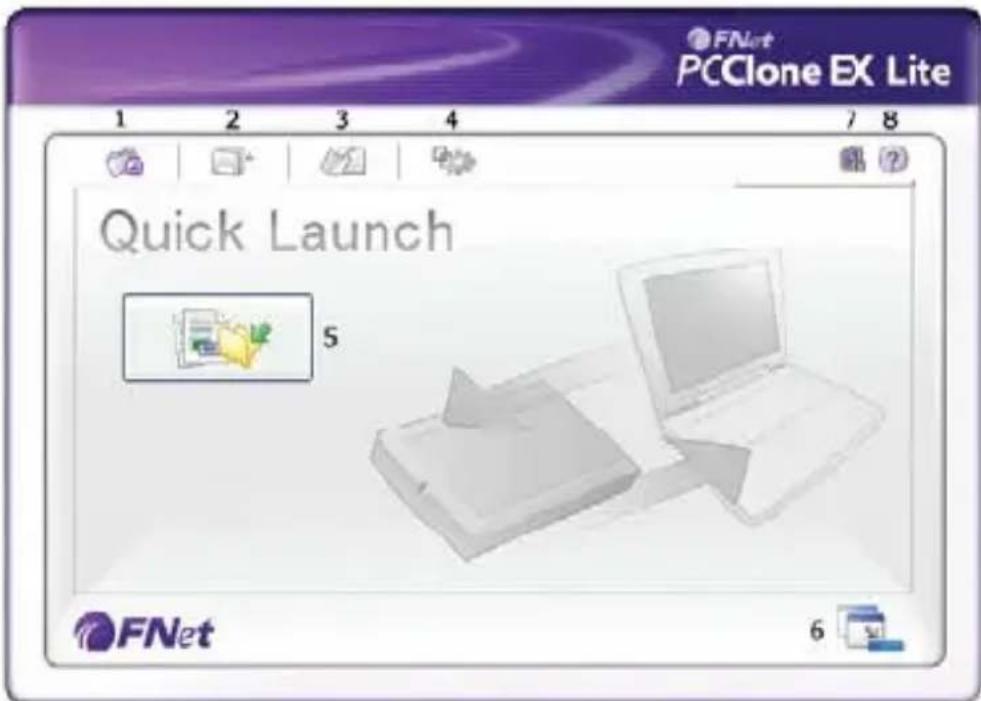
- Quick Launch 5. File Backup
- File Backup 6. Minimized
- File Manager 7. About
- Setup 8. Help
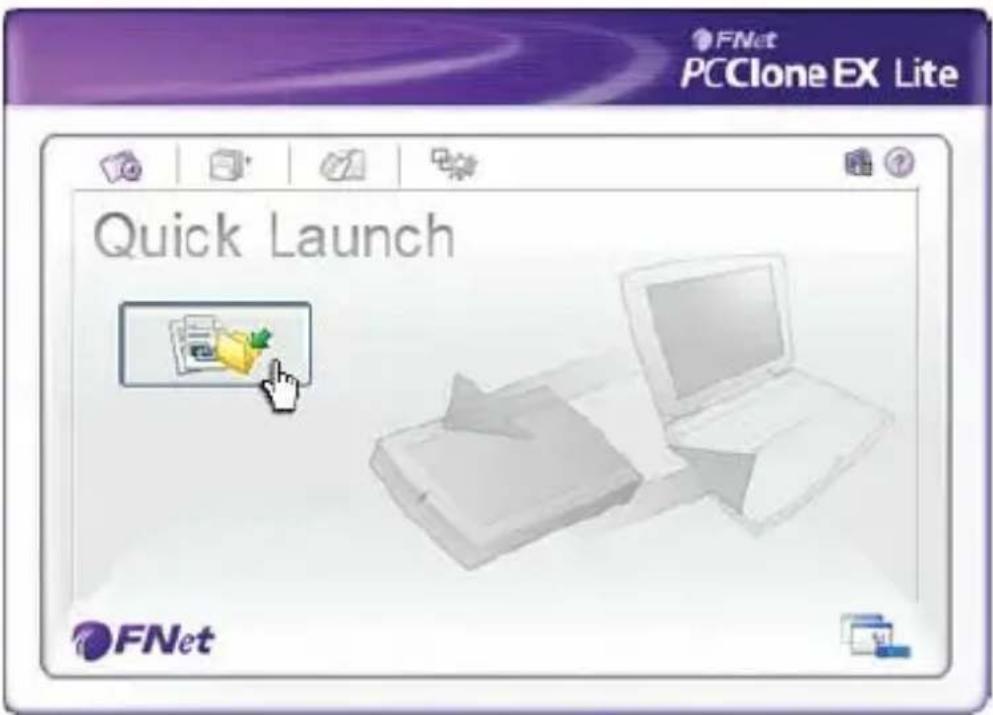
6. QUICK FILE BACKUP
Users can directly execute "File Backup" from Quick Launch, or use their own "hot key", only one step, and the system data will be backed up easily.
(For the first time using, please refer to the subject of "File Backup", or setup your own hot key in 'Setup').
-
Please plug the external USB HDD into PC, and turn on the power.
-
Execute PCClone EX.
-
Go on PCClone EX/ Quick Launch screen.
-
Click "File Backup".
(Users can also use the hot key they previously set to backup.)
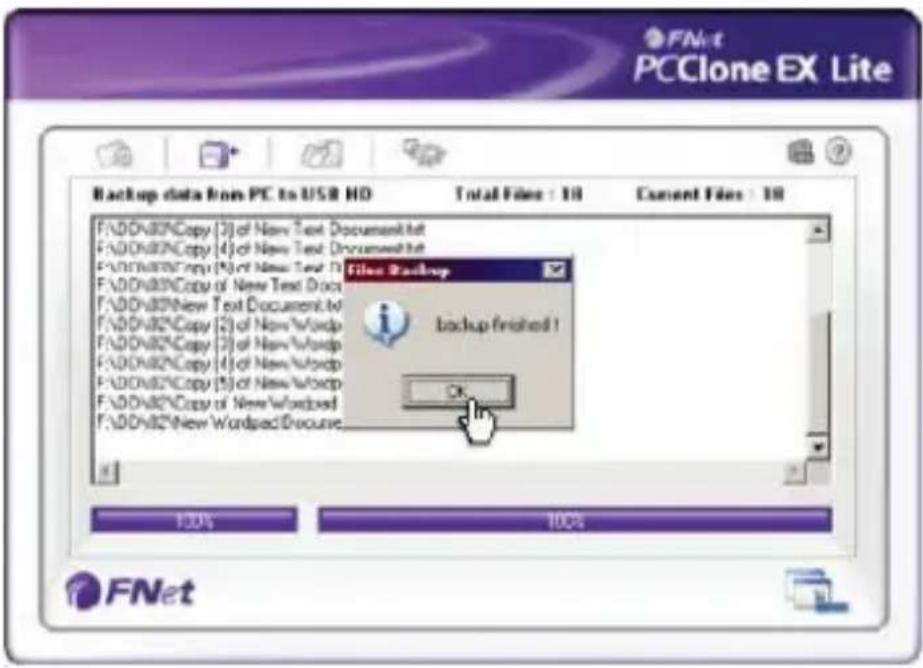
- Appearing a dialog screen, please click "OK" to backup.
- When backup is in progress, the window shows progress and proceed time).
- When backup is done, click "OK" for backup finish! (The file backup has been successfully through PCClone EX into USB HDD.)
7. FILES BACKUP
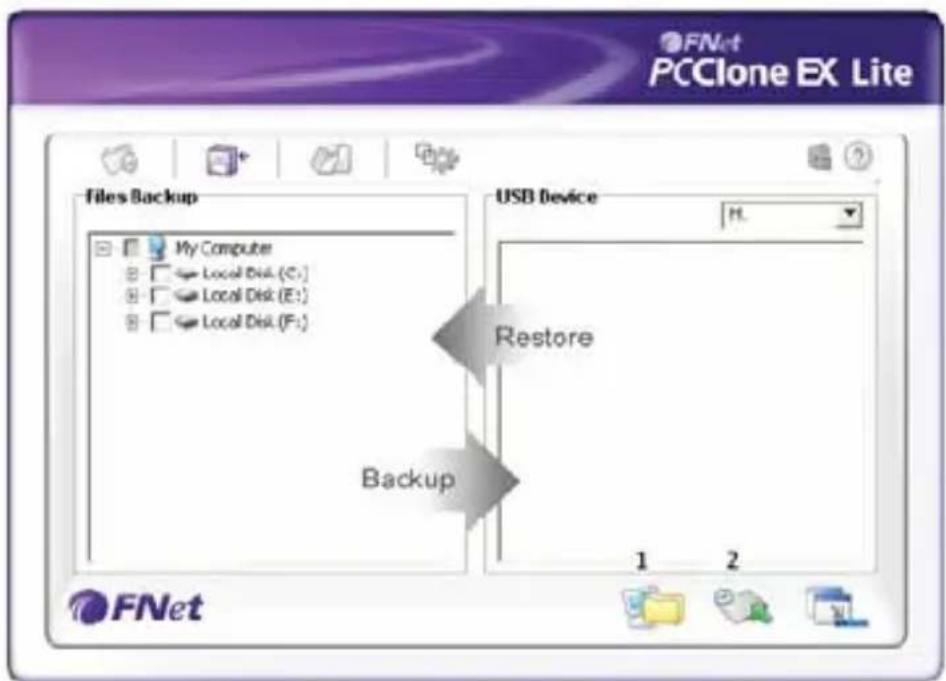
- Please plug the USB HDD into the computer, and turn on the power.
-
Execute PCClone EX.
-
Click "Files Backup".
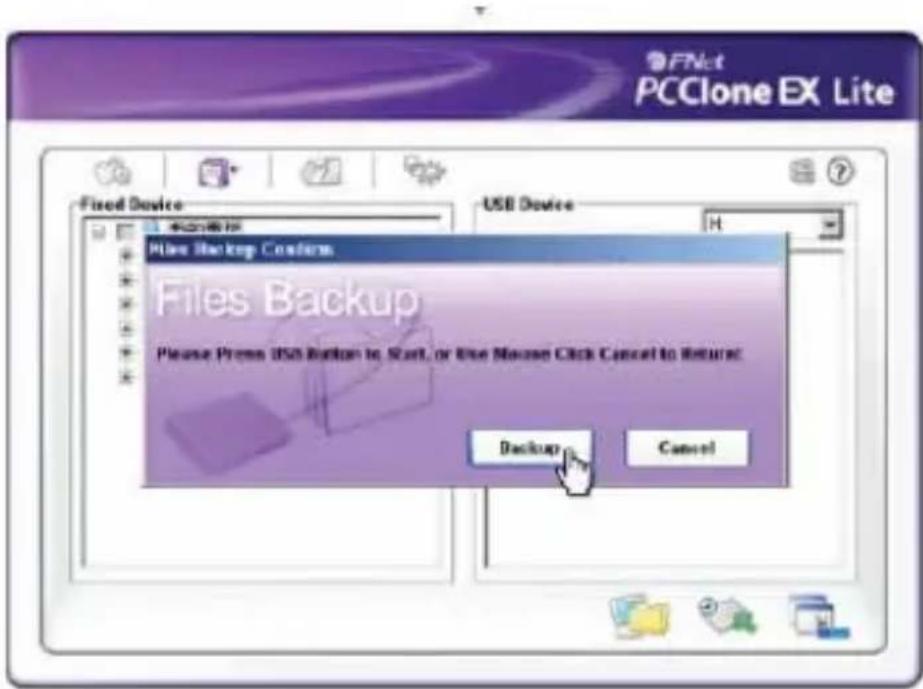
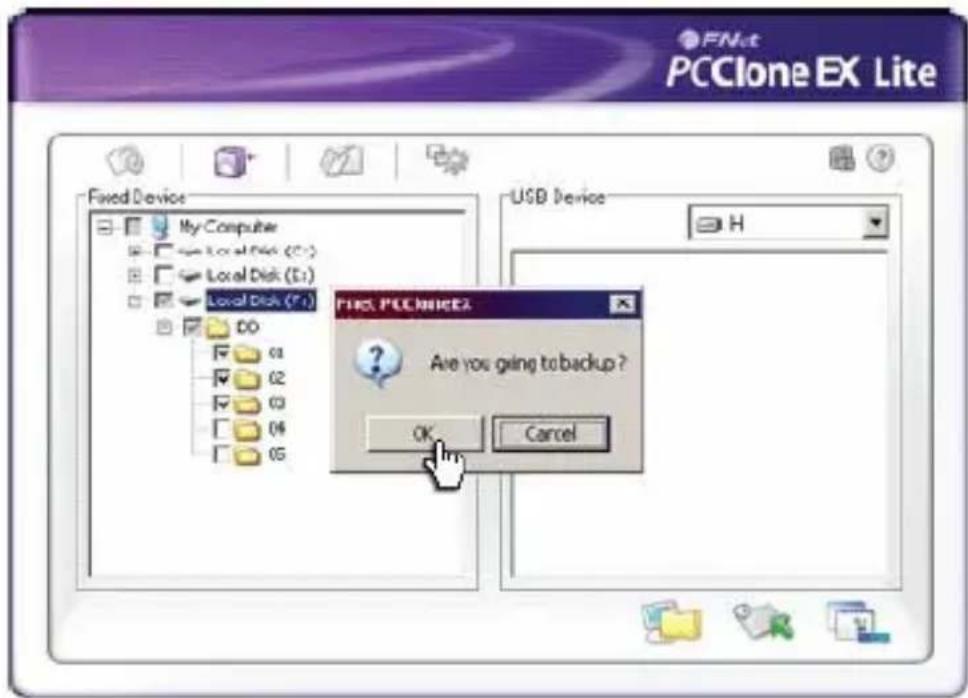
- Select folders / drives from the fix device.
- Set one of USB devices for backup.
(Pleases refer to "Setup", and then set some options for the first time using).
- Select "Backup" and press "OK" to start.

- Backup is completed, please press "OK".
- The selected folders have been moved from the fixed devise to the USB device successfully.
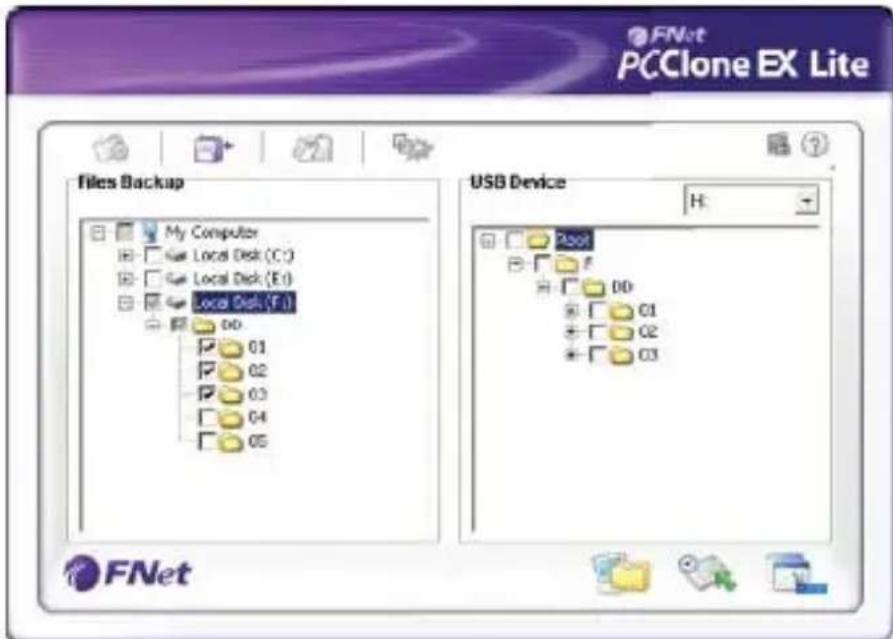
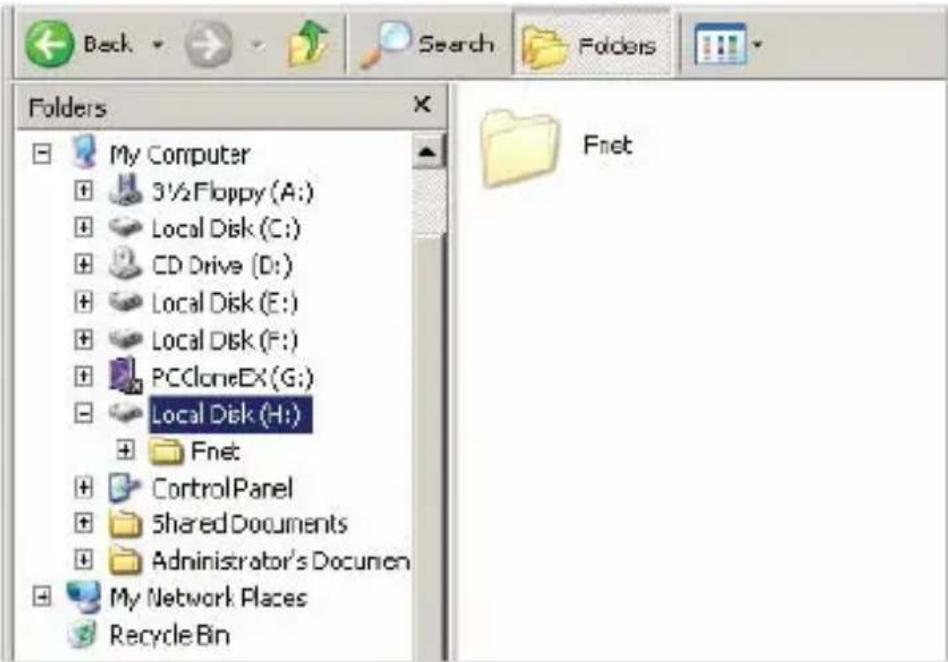
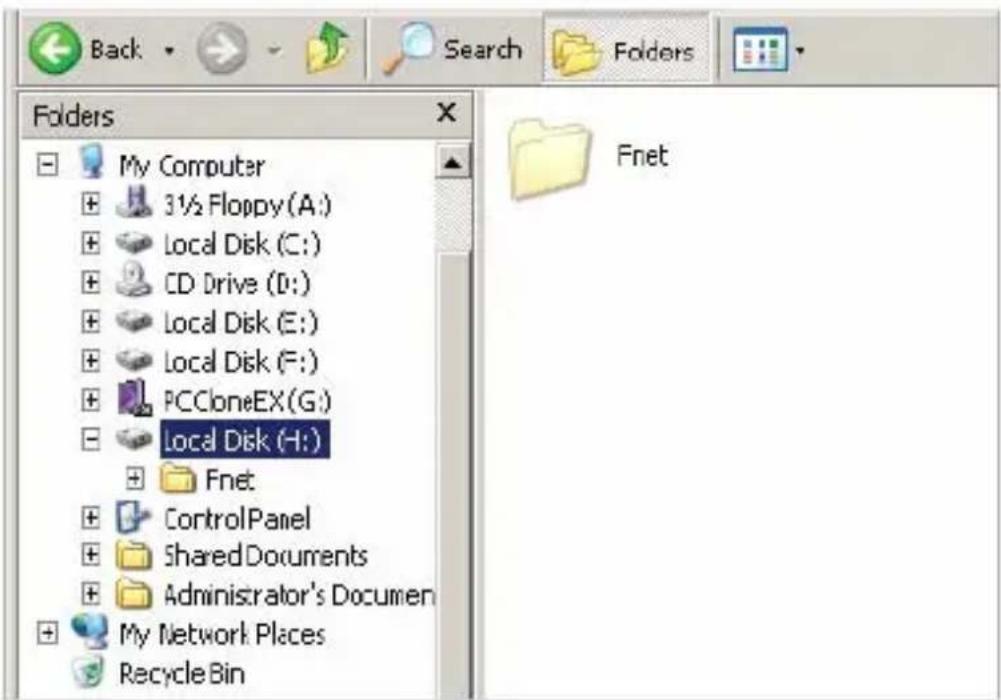
- There is a hidden root directory F: FNet in the USB device, all the file backups are kept in there. Be careful, don't delete it carelessly.
8. FILE RESTORE
- Please plug the USB HDD, and turn on the power.
- Execute PCClone EX.
- Go on the PCClone EX screen.
- Click "Files Backup".
- Select folders/files of USB device you would like to restore.
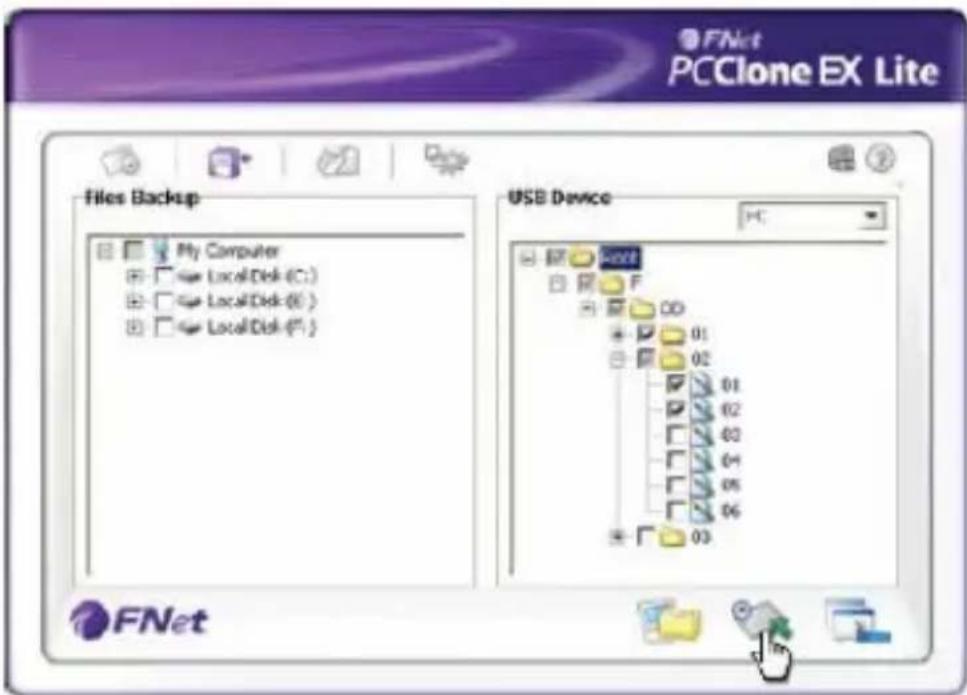
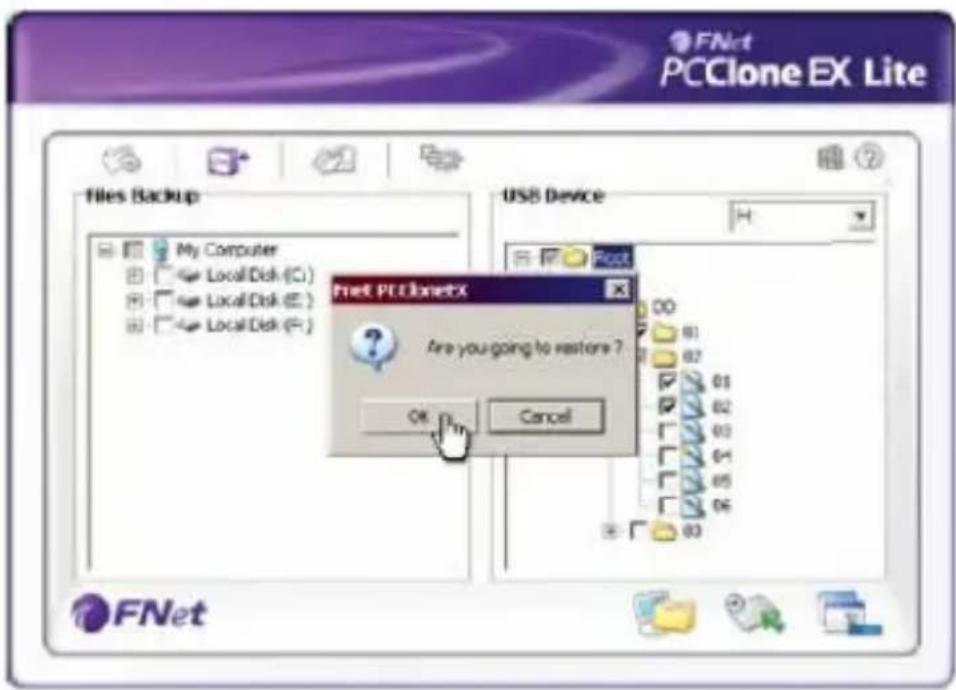
- Click "Restore", then press "OK" to start.
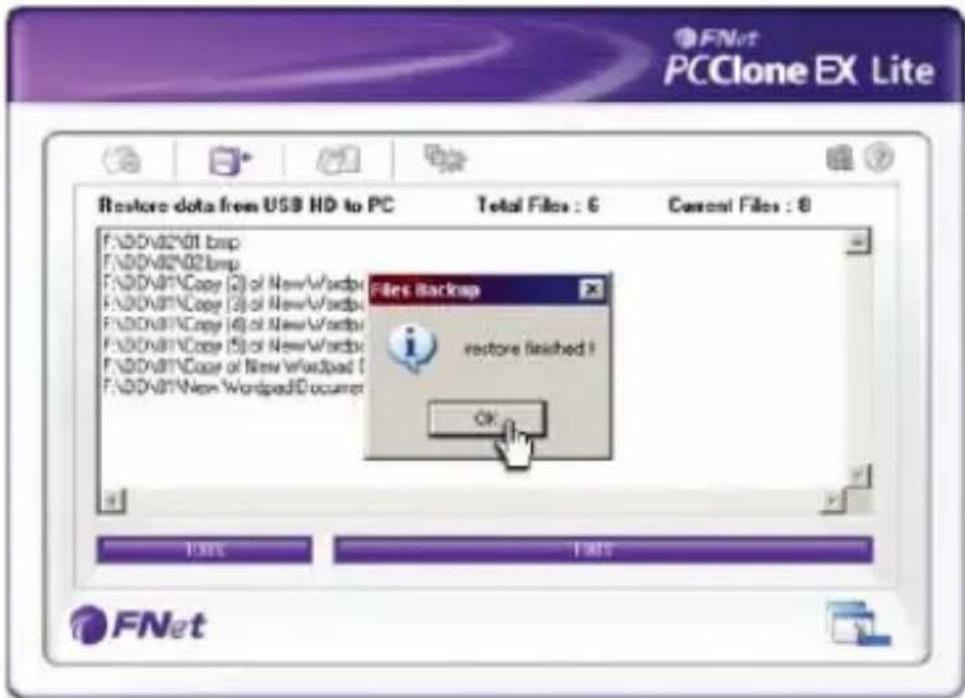
- When "Restore" is finished, please press "OK".
9. ERASE FILE BACKUP
- Please plug USB HDD, and turn on the power.
- Execute PCClone EX.
- Go on PCClone Ex screen.
- Select the "File backup" of USB Device, then, right click the mouse to click "Delete select Files", all select files in the USB device will be deleted.
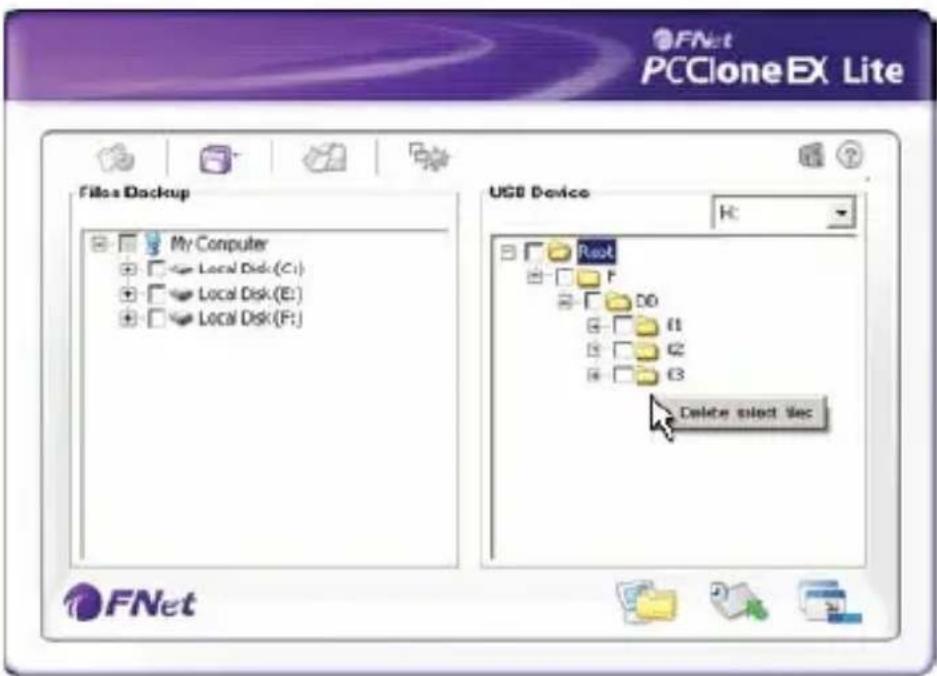
- Otherwise, delete the root directory F: FNet directly; it will also work.
10. FILE MANAGER
PCClone EX Manager function is the same as Windows Explorer. PC users can directly drag the files forward and backward between the fixed device & USB device. It is convenient for users who manage or check their files without clicking the icon of "Windows Explorer" or "My Computer".

11. SETUP
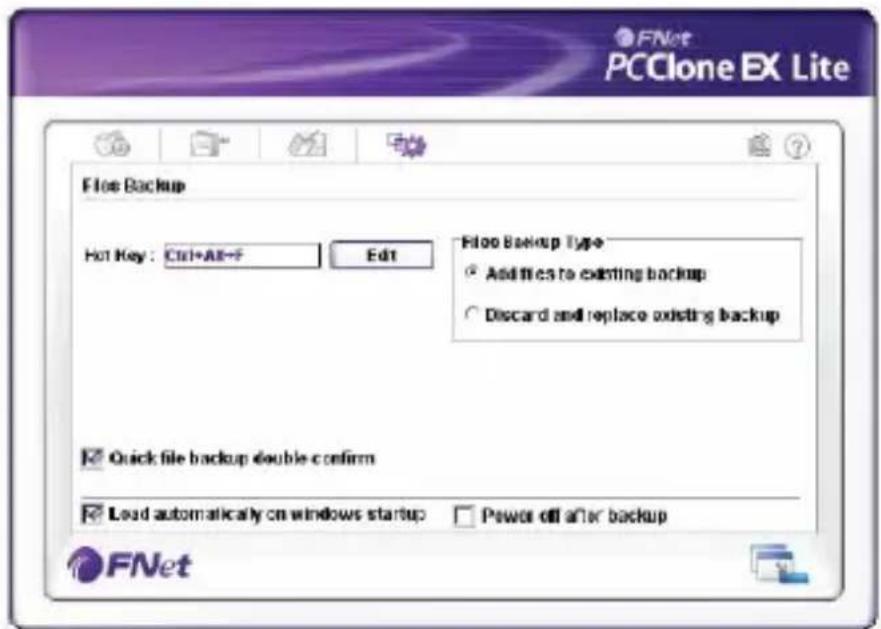
Hot Key setup
When users click "Edit", which can be made up of their own hot key by choosing "Ctrl", "Shift", "Alt" and added a number, or a letter, or function key, or whatever they want to consist of a hot key. Thus, every user has their own edited key to do file backup.
File backup mode
There are two modes for file backups:
- "Add files to existing backup": this function only backs up additional files to the external USB HDD.
- "Discard and replace existing backup": this function reduplicated all data from your PC to the external USB HDD.
Confirmation
When users back up using their hot key, a default dialog box will pop up to asking for confirmation. If users want to backup directly, please cancel the default.
Other
Concerning PCClone Ex spec, please click the icon of "PCClone EX" on the right side of upper corner of the screen, or right click the icon of "PCClone EX" in the notification area.
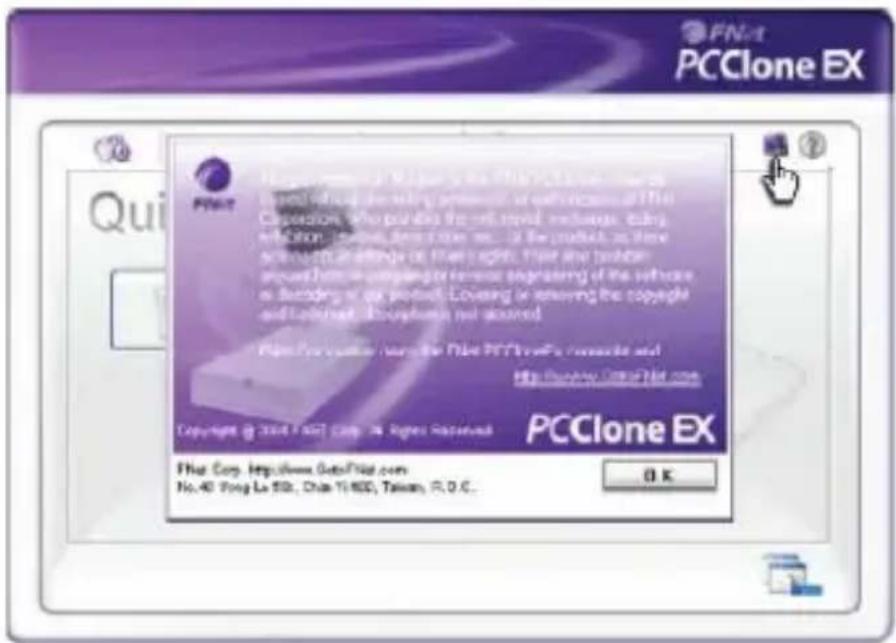
Please click the icon of "PCClone EX" on the right side of upper corner of screen, "About PCClone EX" dialog will display and assist to recognize PCClone EX.
NOTE
Brand : Approx
Model : APPDSHDD
Category : Other computer accessories