ODL 32450W SAT - TV OK - Free user manual and instructions
Find the device manual for free ODL 32450W SAT OK in PDF.
User questions about ODL 32450W SAT OK
0 question about this device. Answer the ones you know or ask your own.
Ask a new question about this device
Download the instructions for your TV in PDF format for free! Find your manual ODL 32450W SAT - OK and take your electronic device back in hand. On this page are published all the documents necessary for the use of your device. ODL 32450W SAT by OK.
USER MANUAL ODL 32450W SAT OK
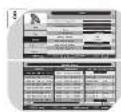
text_image
Diagram showing a monitor connected to a keyboard and a separate remote control with labeled buttons and keys.

HERZLICHEN GLÜCKWUNSCH!
- Blu-ray ñ DVD player
Μέσω HDMI
Thanks for your purchase of an ok. product. Please read this manual carefully and keep it for future reference.
IMPORTANT SAFETY INSTRUCTIONS. READ CAREFULLY AND KEEP FOR FUTURE REFERENCE.
- Risk of electric shock! Do not open.
- CAUTION: To prevent the risk of electric shock, do not remove cover (or back). No user-serviceable parts inside. Refer servicing to authorised service agent.
- For safety reasons, this class II appliance is provided with double or reinforced insulation as indicated by this symbol.

- The lightning flash with arrowhead within an equilateral triangle is intended to alert the

user to the presence of uninsulated "dangerous voltage" inside the enclosure of this appliance, which may be of sufficient magnitude to constitute a risk of electric shock to persons.
- The exclamation point within an equilateral triangle is intended to alert the user to the

presence of important operating and maintenance instructions in the literature accompanying this appliance.
- Before connecting the appliance to a socket outlet, make sure the voltage indicated on the appliance corresponds to your local mains.
- The mains plug or appliance coupler is the disconnecting device. It shall remain readily operable.
- If the supply cord is damaged, it must be replaced by the manufacturer or its authorised service agent or similarly qualified person in order to avoid hazard.
- WARNING: To reduce the risk of fire or electric shock, do not expose this appliance to rain or moisture. Protect from dripping or splashing. Do not place any objects filled with liquids, such as vases, on the appliance.
- Regularly check if the supply cord, appliance or extension cable are defective. If found defective, do not put appliance into operation. Immediately pull the plug.
- Place the supply cord and, if necessary, an extension cable in such a way that pulling or tripping over it is impossible. Do not allow the supply cord to hang down within easy reach.
- Do not jam, bend or pull the supply cord over sharp edges.
- Protect the supply cord from being walked on or pinched particularly at the plug, convenience receptacles and the point where it exits from the appliance.
- Never pull the plug by the supply cord or with wet hands.
- Disconnect the mains plug in case of faults during use, during lightening storms, before cleaning and when not using the appliance for a longer period of time.
- In case of malfunction due to electrostatic discharge, reset the device by removing the mains plug from the socket outlet.
- Refer all servicing to authorised service agent. Do not attempt to repair the appliance yourself. Servicing is required when the appliance has been damaged in any way, such as the supply cord or plug are damaged, liquid has been spilled, objects have fallen into the appliance, the enclosure is damaged, the appliance has been exposed to rain or moisture, does not operate normally, or has been dropped.
- WARNING: To prevent injury, appliances for wall-mounting must be securely attached in accordance with the installation instructions in the user manual. Improper installation may render the appliance unsafe.
- Do not use attachments or accessories other than recommended by the manufacturer or sold with this appliance. Install in accordance with this user manual.
- For appliances with stand provided, ensure the stand is tightened properly to the set. Improper tightening may render the appliance unsafe.
- When installing the appliance, leave sufficient space for ventilation. Do not install in bookcases, built-in cabinets or the like.
- Do not impede ventilation by covering the ventilation openings with items, such as newspapers, table-cloths, curtains, etc. Do not insert any objects.
EN
- Do not place naked flame sources, such as lighted candles, on the appliance.
- Do not place any electronic equipment or toys on the appliance. Such items could fall from the top and cause product damage and/or personal injury.
- Do not install near any heat sources such as radiators, heat registers, stoves or other appliances (including amplifiers) that produce heat.
- Do not apply excessive force to the front or top, as this could ultimately overturn the appliance.
- Do not shift or move the appliance when powered on.
- Do not touch, push or rub the surface of the screen with any sharp or hard objects.
- Condensation may occur when temperature changes. Condensation can cause damage to the screen and electrical parts. After condensation has faded, spots or blemishes will be present on the screen.
- CAUTION: Danger of explosion if batteries are incorrectly replaced. Replace only with the same or equivalent type. Do not mix new and old batteries.
- Install batteries correctly, with + and - aligned as indicated on the appliance.
- Remove batteries when not using the appliance for a longer period of time.
- Do not expose batteries to excessive heat such as sunshine, fire or the like.
- In case of battery leakage, remove the batteries and clean the battery compartment thoroughly. Avoid contact with skin and eyes.
- Keep batteries out of reach of children. Seek medical advice immediately if batteries have been swallowed.
- Do not dismantle or shred batteries; do not throw into fire. Dispose of properly in accordance with the user manual. Do not dispose of in household waste.
- For USB operation mode, reset the device by disconnecting USB device from appliance in case of malfunction.
- The batteries (battery pack or batteries installed) shall not be exposed to excessive heat such as sunshine, fire or the like.
- To prevent the spread or fire, keep candles or other open flames away from this product at all times.
- Figures and illustrations in this User Manual are provided for reference only and may differ from actual product appearance. Product design and specifications may be changed without notice.
- Excessive sound pressure from earphones and headphones can cause hearing loss.
INTENDED USE
This product is intended for receiving and playing audio, video and television signals. Only use according to these instructions. Improper use is dangerous and will void warranty claim. Observe the safety instructions.
COMPONENTS
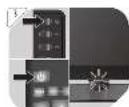
Main Unit
| A. Stand | N. VGA (PC Video-Input) |
| B. Power Indicator | O. PC AUDIO |
| C. Remote Sensor | P. ANT (RF) |
| D. Volume button (VOL +/-) | Q. COAX |
| E. Power button | R. SCART |
| F. CH +/- button | S. HDMI 3 |
| G. MENU button | T. HDMI 2 |
| H. INPUT button | U. HDMI 1 |
| I. USB | V. Headphone |
| J. CI-Card slot | W. Powercord |
| K. DVB-S2 | Not shown:mini YPbPr adaptormini AV adaptor |
| L. mini YPbPr | |
| M. mini AV |
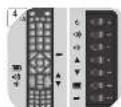
Remote control
a ⏻ button
Turn on TV or switch to standby mode.
b 0-9 Numerical button
Select a programme. Select numbered items in a menu.
c FAV
Display the favourite channel list. (ATV / DTV Mode)
d DISPLAY buton
Display the present screen information such as the current channel on ATV / DTV mode and the input source except ATV / DTV mode.
e ▲▼◀button
Navigate the OSD menus and adjust the system settings.
f MENU button
Display the OSD (On Screen Display) menu.
g VOL +/-
Adjust the volume.
h SUBTITLE
Display the favourite channel list.
i CANCEL
Cancel the teletext display. (ATV Mode)
j TV/TXT
Turn on and off the teletext function. (ATV / DTV Mode)
k HOLD button
Freeze a multi-page passage on screen in teletext. (ATV mode)
INDEX button
Select the page number of the index from teletext. (ATV Mode)
button
Reverse playback rapidly. (USB Mode)
button
Advance playback rapidly. (USB Mode)
▶II button
Start or pause playback
button
Stop the playback. (USB / DTV Mode)
n COLOR button (Red, Green, Yellow, Blue)
EN
o button
Mute and restore TV sound.
p PICTURE button
Select picture mode: Standard / Mild / User / Dynamic.
SOUND button
Select sound mode: Standard / Music / Movie / Sports / User.
ASPECT button
Watch the screen in various formats: Auto / 4:3 / 16:9 / Zoom / Subtitle / Smart Zoom.
SLEEP button
Set the TV sleep timer: OFF / 10 / 20 / ... / 180 / 240 min.
q ↻ button
Return to the previous viewing channel. (ATV / DTV Mode)
r INPUT button
Select among the different input signal sources:
DTV / ATV / SCART / YpbPr / PC / HDMI / AV / USB
s OK button
Confirm the setting
t EXIT button
Exit the OSD menu.
u CH +/- button
Select a channel.
v CH. LIST button
Display the programm list
w REVEAL button
Reveal hidden information such as the answer to a quiz in teletext. (ATV mode)
x NICAM/A2 button
Select audio Nicam/A2
y SIZE button
Enlarge the picture on the TV in teletext. (ATV mode)
• Press to see top half of page double size
- Press twice to see bottom half of page double size
• Press again to normal size
z SUBPAGE button
Display subpage in teletext.
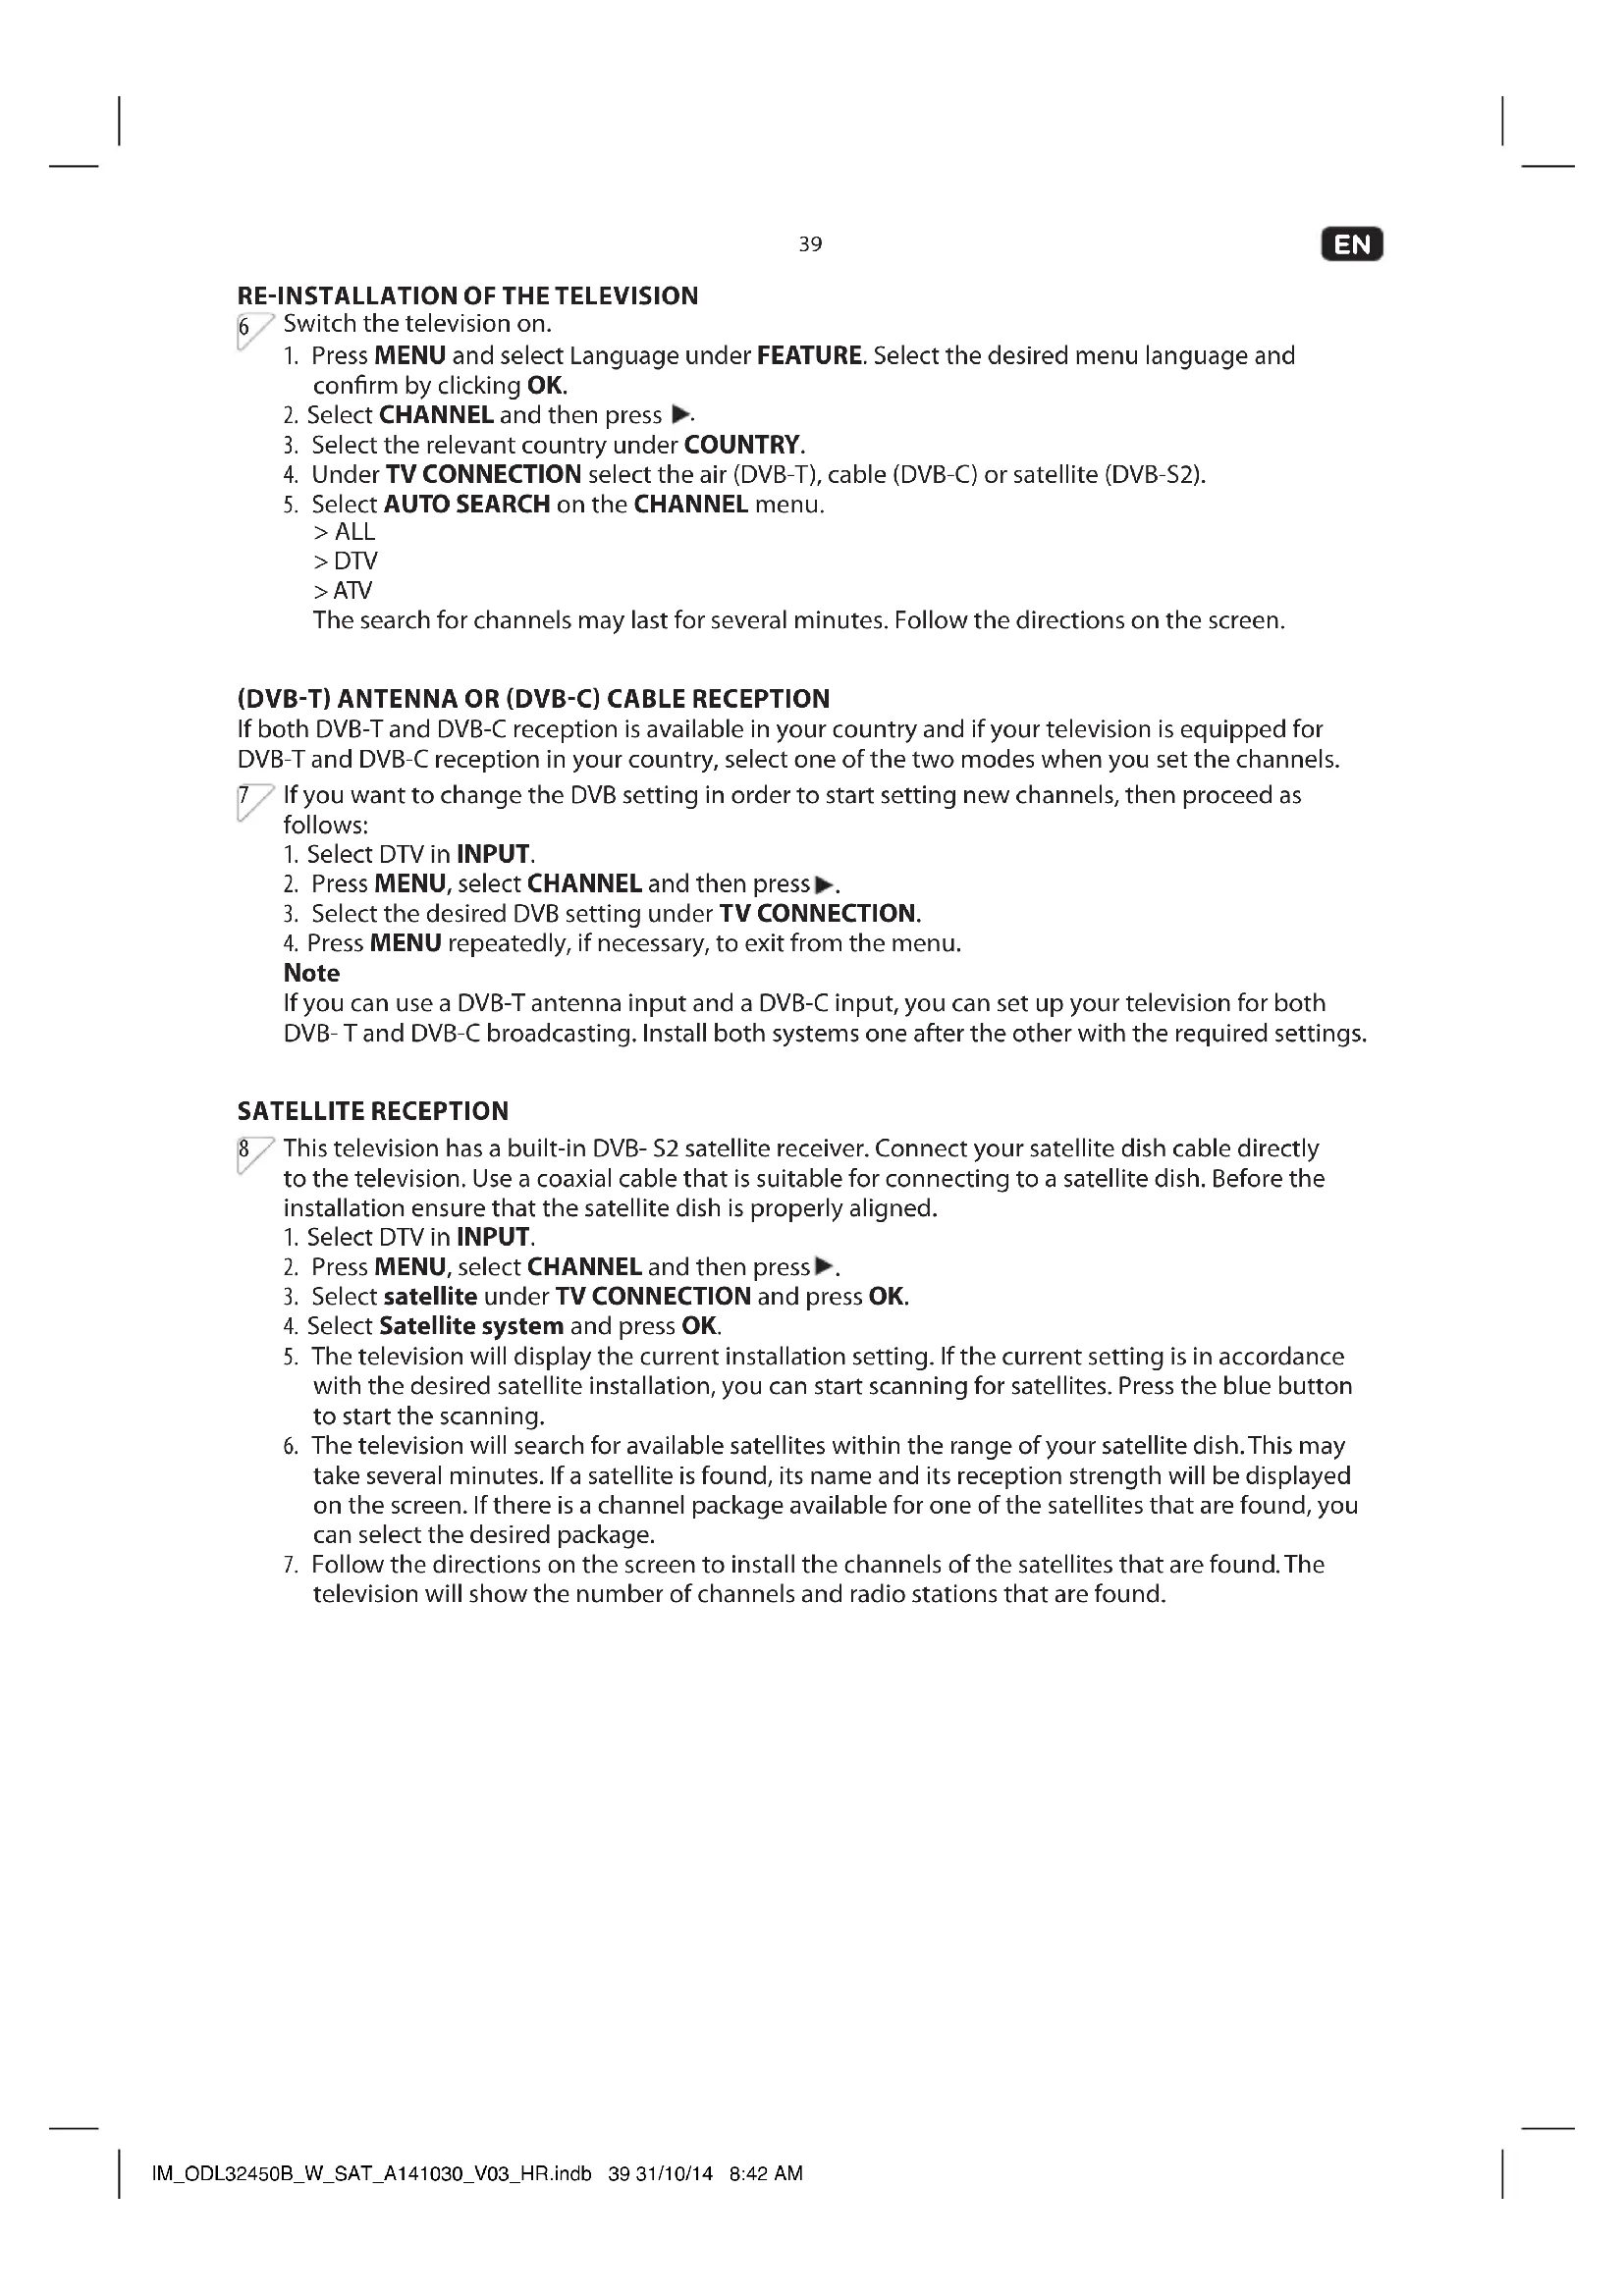
INSTALL OF STAND
1 Attach the bottom plate and fix with the screws. Fix the stand adaptor with the screws on the TV backside.
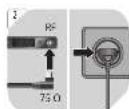
2 Connect the aerial plug with the 75 Ω socket of the TV. Insert the mains plug into a wall socket and the power indicator turns red remains the TV in standby mode.
SWITCH ON THE TV
3 Switch on the TV and the power indicator turns on green.
INSTALLING REMOTE CONTROL BATTERIES
Open the battery compartment cover. Insert 2 batteries (AAA, 1.5V). Ensure the + and - polarities of the batteries line up with the markings inside the case. Close the cover.
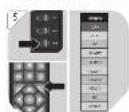
4 To switch on the TV, press the power key on the main unit or remote control.
- To switch channels: Press CH+/- on the TV or press CH+/- or enter number on the remote control.
• To adjust volume press VOL +/- on the TV unit or remote control.
- To watch from a connected device, press INPUT on the remote control or TV and select the desire device.
- Press MENU to enter the menu.
SELECTING CONNECTED DEVICES
5 In INPUT you can select all connected devices with the television. Press INPUT on TV and select the desired device.
CONNECTIONS
| ANT/RF Analogue television reception | |
| HDMI 1/2/3 An HDMI connection guarantees the best image and sound quality. Video and audio signals are combined in an HDMI cable. Use HDMI connections for TV signals in high-definition (HD) quality. | |
| SCART Audio and video signals can be transferred by means of a SCART cable. SCART connections can transfer RGB video signals but cannot transfer television signals in HD (high-definition) format. | |
| YPbPr With component video (Y Pb Pr) only video signals can be transferred. If you would also like to receive sound signals, you must connect an L/R audio cable. | |
| AV Plug the antenna connector into the 75 Ω socket of the set-top box. Connect the television set to the set-top box by means of an A/V cable. | |
| DTV Select digital signal TV input. | |
| ATV Select analog signal TV input. | |
| PC Select video signal input from PC. | |
| Media Select input from USB interface. |
EN
38
CONNECTING DEVICES
Caution!
Switch the television off before connecting devices.
- Blu-ray or DVD player
Via HDMI
Via a component video cable(Y Pb Pr) and an L/R audio cable
- Receiver
Via ANT
Via HDMI
Via SCART
- Video recorder
Via ANT
Via HDMI
Via component video cable(Y Pb Pr) and an L/R audio cable
Via SCART
- Game console
Via HDMI
Via component video cable(Y Pb Pr) and an L/R audio cable
Home cinema
Via HDMI
Via component video cable(Y Pb Pr) and an L/R audio cable
Via SCART
- Digital camera
Via a USB cable
Via HDMI
Via component video cable(Y Pb Pr) and an L/R audio cable
- USB storage device
Via a USB cable
Via USB flash drive
- Computer
Via HDMI
Via VGA
RE-INSTALLATION OF THE TELEVISION
6
Switch the television on.
- Press MENU and select Language under FEATURE. Select the desired menu language and confirm by clicking OK.
- Select CHANNEL and then press ▶.
- Select the relevant country under COUNTRY.
- Under TV CONNECTION select the air (DVB-T), cable (DVB-C) or satellite (DVB-S2).
- Select AUTO SEARCH on the CHANNEL menu.
ALL
DTV
ATV
The search for channels may last for several minutes. Follow the directions on the screen.
(DVB-T) ANTENNA OR (DVB-C) CABLE RECEPTION
If both DVB-T and DVB-C reception is available in your country and if your television is equipped for DVB-T and DVB-C reception in your country, select one of the two modes when you set the channels.
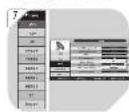
7
If you want to change the DVB setting in order to start setting new channels, then proceed as follows:
- Select DTV in INPUT.
- Press MENU, select CHANNEL and then press ▶.
- Select the desired DVB setting under TV CONNECTION.
- Press MENU repeatedly, if necessary, to exit from the menu.
Note
If you can use a DVB-T antenna input and a DVB-C input, you can set up your television for both DVB-T and DVB-C broadcasting. Install both systems one after the other with the required settings.
SATELLITE RECEPTION
8
This television has a built-in DVB-S2 satellite receiver. Connect your satellite dish cable directly to the television. Use a coaxial cable that is suitable for connecting to a satellite dish. Before the installation ensure that the satellite dish is properly aligned.
- Select DTV in INPUT.
- Press MENU, select CHANNEL and then press ▶.
- Select satellite under TV CONNECTION and press OK.
- Select Satellite system and press OK.
- The television will display the current installation setting. If the current setting is in accordance with the desired satellite installation, you can start scanning for satellites. Press the blue button to start the scanning.
- The television will search for available satellites within the range of your satellite dish. This may take several minutes. If a satellite is found, its name and its reception strength will be displayed on the screen. If there is a channel package available for one of the satellites that are found, you can select the desired package.
- Follow the directions on the screen to install the channels of the satellites that are found. The television will show the number of channels and radio stations that are found.
EN
MAIN OSD MENU
Press MENU and choose with ▲▼ the menu you want to set up. Press OK to confirm. To make adjustments press ◀▶ . To enter a sub-menu, press OK/ENTER. To exit the menu, press EXIT.
PICTURE (BILD)
9 Press MENU and select the Picture menu.
• Picture Mode
Picture option settings: dynamic, standard, gentle and user
• Brightness
Setting brightness
- Contrast
Setting contrast
- Sharpness
Setting sharpness: Not available under VGA/PC mode
• Colour
Setting the colour
- Tint
Tint tone adjustment: Only in NTSC mode
• Colour Temperature
Adjustment of the warm, cool or standard tint tone
- Aspect Ratio
Setting the screen format
• Noise reduction
Reduces picture noise
SOUND (TON)
10 Here you can set different sound controls. Press MENU and select the Sound menu.
• Sound Mode
Standard, Movie, Music, Speech and User
- Bass
With base settings you can determine the intensity of low tones.
- Treble
With treble settings you can determine the level of high tones inside the sound.
• Balance
Setting the tonal balance of speakers.
- Surround
You can set the sound effect of the television speakers in surround mode.
• Auto Volume Level (AVL)
This option serves to restrict sudden increases in volume during a change of channel or commercial breaks.
- SPDIF
Adjusting the audio format for output, PCM and automatic settings.
CHANNEL (KANAL)
11 Here you can set different channel controls. Press MENU and select the Channel menu.
• Channel Management
Processing the installed channels such as deleting, changing the position of or blocking channels.
• Favourite Management
Adding channels to/removing channels from your list of favourites.
- Country
Setting countries.
• TV Connection
Setting the kind of reception (DVB-T, DVB-C and DVB-S2).
- Auto Search
Automatic search process.
• DTV Manual Search
Manual search for stations on DTV channels.
• ATV Manual Search
Manual search for stations on ATV channels.
- Satellite System
Selection of satellite systems. See the chapter on Satellite Reception.
FEATURE (EIGENSCHAFT)
12 Here you can set various feature options. Press MENU and select the Feature menu.
- Lock
Specific channels or programmes can be blocked with an age rating to prevent children from viewing them. See the chapter on LOCK. - Language
Setting the screen language (OSD). - Clock
Setting the date and time. - Sleep Timer
The sleep timer function puts the television into standby mode after a preset period of time has elapsed.
• Auto Power Off
Setting an automatic shut off time for the monitor.
• Hearing Impaired
Setting for the hearing impaired.
• Cl info
This option is for pay TV. You must insert a CI card in the CI card slot. Data from the IC card connected to the television will be displayed.
EN
SETUP (EINST.)
13 Here you can apply various system settings. Press MENU and select the Setup menu.
- OSD Timer
Adjust the time for OSD shows on screen. - Auto SCART
The TV will be changed to SCART source automatically when you connect the TV to the SCART device.
PC Setup
Change the PC setting in PC mode. - Blue Screen
Change the background when there is no input between a clear and blue background. - Reset TV Setting
Resetting factory settings - Software Upgrade
From time to time we may release new firmware to improve the running of the TV (available to download). This menu lets you upgrade that software and load it onto the TV. Further details will be issued with the firmware. - Load Default Database
Import the default satellites and channel, so that the user can watch programmes directly.
LOCK
If you don't want your children to watch a specific channel, then you can block it. You must enter the parental control code in order to view locked channels.
14 Press MENU and select Lock from the Feature menu. Enter the default password, 0000. Select the option that you want to set and confirm it by clicking OK. Follow the instructions on the screen.
- Lock Channel
Switch on the locking system in order to prevent unauthorized access to specific channels.
• Parental Guidance
You can set up an age rating in order to prevent children from viewing programmes that are unsuitable for their age. - Change Pin Code
You can stipulate the parental control code or change the current code here. The password that was set at the factory is 0000.
Hotel Mode
Switch on the locking system in order to prevent unauthorized access to the television setting.
EPG (ELECTRONIC PROGRAM GUIDE)
Press EPG to enter the EPG menu. Follow the directions on the screen.
- Schedule: Press red button to open the schedule (daily, weekly) from your records.
- Reminder: Press the green button once to remind the program for watching. Press the green button again to remind program for recording.
- Info: Press yellow/blue button to display the programs on previous or next day.
MULTIMEDIA
15 You can show your photos and play back your music or videos from a connected USB flash drive or a USB hard drive.
- Connect a USB flash drive or a USB hard drive to a television that has been switched on via the USB port.
- Press the INPUT key and select the Media source.
- Navigate to the menu bar and select the type of file that you would like to play. Select an image, music, a film or e-book.
PHOTO
- The device supports the following formats: .jpg, .jpeg, .bmp and .png
- Select the photo to be displayed with the arrow keys ▲. After the selection has been made, the file information will appear on the right-hand side and a picture view will appear in the centre.
| ▶II | Start or stop the slideshow. |
| ■ | Stops the slideshow and changes to a full screen image. |
| ◀▶I | View the previous or the next file. |
| ○ | Rotate image (0, 90, 180, 270 degrees). |
| ∅ | Enlarge/reduce image. |
| ∫ | Displays the information about the current file. |
| ○ | Shows the image setting menu to select the repeat mode, background music, transition time and effects. |
| ≡ | Displays the playlist. |
MUSIC
- The device supports the following formats: .mp3, .m4a and .aac.
-
Select the desired file with the arrow keys ▲ / ▼. After the selection has been made, the file information will appear on the left-hand side and the file will start playing automatically.
-
Press to start playback from the beginning of the file.
| ▶II | Start or stop playing back music. |
| ■ | Stop playing back music. |
| ◀◀▶▶ | Forward and back. |
| ◀◀▶I | Immediate playback of the previous or next file. |
| ALL | Repeat mode of music playback. |
| Alternates between displaying information and the playlist. | |
| Switches off the screen display (The blue key as the fast key). Pressing on the power key will switch it back on. |
EN
44
VIDEO
- The device supports the following formats: .avi, .mp4, .rs, .trp, .mkv, .mov, .dat and .vob.
- Select the desired file with the arrow keys ◀/▶
| ▶II | Start or stop playing. |
| ■ | Stop playing and leave full screen playback mode. |
| ◀◀▶▶ | Fast forward or rewind. |
| ▶ | Play the video in slow mode. |
| ▶I | Play the video in step mode. |
| AB | Setting the A-B repeat mode. |
| ◀◀▶I | Immediate playback of the previous or next file. |
| 目 | Display the playlist. |
| i | Display the information about the current file. |
| ○ | Display the video setting menu (setup the programme, subtitle, audio, repeat mode) |
| ○ | Go to mode, time input for direct playback. |
EBOOK
- Select the desired file with the arrow keys </>
- Press OK in order to play the file back.
| Change to the previous / next page. | |
| Red key Add or remove bookmarks. | |
| Green key Go directly to the selected place. | |
| Yellow key Display the list of bookmarks. | |
| Blue key D display the playlist. | |
TELETEXT
- Select a TV station with a teletext signal.
- Press the TV/TXT button to enter teletext mode.
- Press the TV/TXT button a 2nd time to enter Mix mode, this function enables you to superimpose the teletext page (transparently) over the TV program.
- Press the TV/TXT button 3rd return or exit to the normal TV/DTV mode.
- To select a teletext page enter the page number (three digits) using the number buttons. If you press a wrong number during input, you must complete the three digit number and then re-enter the correct page number.
- The CH-/CH+ button can be used to select the preceding or following page.
CLEANING AND CARE
Screen care
• Unplug the TV before cleaning.
- Clean the TV screen and frame with a soft cloth. Never use substances such as alcohol, chemicals or household cleaners on the TV screen.
- Risk of damage to the TV screen! Never touch, push, rub or strike the screen with any object.
• To avoid deformations and color fading, wipe off water drops as soon as possible.
TROUBLESHOOTING
| Symptom Possible Causes | and what you should do |
| No sound and picture • Check | check whether the main plug has been connected to a wall socket • Check whether you have pressed the POWER button at the bottom of the TV. • Check the picture contrast and brightness settings. |
| Normal picture but no sound | • Check the volume. • Sound muted? Press the MUTE button. • Try another channel, the problem may be with the broadcast. • Are the audio cables installed properly? |
| The remote control does not work | • Check to see if there any object between the product and remote control Causing obstruction. • Are batteries installed with correct polarity (+ to +,- to -)? • Install new batteries. |
| Power is suddenly turned off | • Is the sleep timer set? • Check the power control settings. Power interrupted. • No broadcast on station tuned with auto activated. |
| Picture appears slowly after switching on | • This is normal, the image is muted during the product startup process. Please contact your service center, if the picture has not appeared after five minutes. |
| No or poor color or poor picture | • Adjust the Color in menu option. • Keep a sufficient distance between the product and the VCR. • Try another channel, the problem may be with the broadcast. • Are the VIDEO cables installed properly? • Activate any function to restore the brightness of the picture. |
| Horizontal/vertical bars or picture shaking | • Check for local interference such as an electrical appliance or power tool. |
| Poor reception on some channels | • Station or cable product experiencing problems. Tune to another station. • Station signal is weak, reorient antenna to receive weaker signal. • Check for sources of possible interference. |
| Lines or streaks in Pictures • | Check the antenna (Change the direction of the antenna). |
| No output from one of the speakers | • Adjust Balance in menu option. |
| The signal is out of range. (PC mode) | • Adjust resolution, horizontal frequency, or vertical frequency. • Check it whether the signal cable is connected or loose. • Check the input source. |
| Vertical bar or stripe on back ground & Horizontal Noise & Incorrect position (PC mode) | • Work the auto configure or adjust clock, phase, or H/V position. |
| Screen color is unstable or single color. | • Check the signal cable. • Reinstall the PC video card. |
EN
46
SPECIFICATION
Display features
Display type : LED
Screen size : 31.5 inch
Aspect ratio : 16:9
Active area : 697.7 (H) x 392.3 (V)
Panel resolution : 1366 x 768
Brightness : 220 cd/m ^2
Contrast ratio : 3000:1
Dot pitch : 0.5 (H) x 0.5 (V) mm
Maximum color : 16.7 M
Response time : 8 ms
Features
HD compatible : Yes
TV Reception
TV system : PAL/SECAM
Sound system : B/G, D/K, I, L
Antenna impedance : 75 Ω
Tuner Receiving Range
ATV : 49 MHz - 863 MHz
DTV : 174 MHz - 230 MHz
UHF : 474 MHz - 862 MHz
Power requirements
Rated input (TV) : 100 - 240 V\~, 50/60 Hz
Power consumption : Maximum 65 W
Connections
Input
TV tuner (RF 75Ω) : 1
Video input (AV) : 1
Component Input : 1
HDMI :3
SCART : 1
PC audio input (PC AUDIO) : 1
VGA input (VGA) : 1
USB : 1
CI slot : 1
COAXIAL : 1
DVB-S2 : 1
Headphone : 1
• The Erp test method is according to EN 62087:2009 & EN 50564:2011
- Please refer to below website for detail technical information, or contact the manufacturer for technical document:
www.ok-online.com
DISPOSAL

The crossed-out wheeled bin logo requires the separate collection of waste electric and electronic equipment (WEEE). Electric and electronic equipment may contain dangerous and hazardous substances. Do not dispose of this appliance as unsorted municipal waste. Return it to a designated collection point for the recycling of WEEE. By doing so, you will help to conserve resources and protect the environment. Contact your retailer or local authorities for more information.
ES
ENHORABUENA
TV tuner (RF 75Ω) : 1