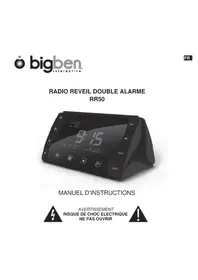
RR50 - Alarm Clock BIGBEN - Free user manual and instructions
Find the device manual for free RR50 BIGBEN in PDF.


| Product Type | Clock Radio |
| Brand | Bigben |
| Model | RR50 |
| Main Power | 9V AC adapter (included) |
| Backup Battery | 1 x 9V battery (not included) |
| FM Radio Frequencies | 87.5 - 108 MHz |
| Number of Preset Stations | 10 |
| Dual Alarm Function | Yes (independent AL1 and AL2) |
| Alarm Type | Radio or buzzer |
| Snooze Function | Yes, repeats every 5 minutes, up to 5 cycles |
| Sleep Function | Yes, adjustable timer: 15, 30, 45, 60, 75 or 90 minutes |
| Backlight | 3 levels: bright, medium, off |
| Volume Adjustment | 15 levels |
| Display | LCD with date, time, day, month, frequencies |
| Time Format | 12h or 24h |
| Available Languages | French, English, German, Dutch, Spanish, Italian |
| Dimensions (approx.) | Not specified |
| Weight (approx.) | Not specified |
| Housing Material | Plastic |
| Care and Cleaning | Clean with a soft, dry cloth. Do not use abrasive cleaners or solvents. |
| Safety | Do not open the housing. Do not expose to moisture or rain. Do not place near heat sources. Use only the supplied adapter. |
| Repairability | No user-serviceable parts. Contact a qualified technician. |
| General Information | Imported by Bigben Interactive SA, France. Made in China. |
Frequently Asked Questions - RR50 BIGBEN
User questions about RR50 BIGBEN
0 question about this device. Answer the ones you know or ask your own.
Ask a new question about this device
Download the instructions for your Alarm Clock in PDF format for free! Find your manual RR50 - BIGBEN and take your electronic device back in hand. On this page are published all the documents necessary for the use of your device. RR50 by BIGBEN.
USER MANUAL RR50 BIGBEN
MANUEL D'INSTRUCTIONS

AVERTISSEMENT
RISQUE DE CHOC ELECTRIQUE
NE PAS OUVRIR

1. Instructions
[ ] Alarm 1
[2] Alarm 2
4.2.1 Search the radio station
Thank you for purchasing this CLOCK RADIO. Please keep this manual for instructions and information you should know about.
HEED WARNINGS - All warnings on the appliance and in the operating instructions should be adhered to.
FOLLOW INSTRUCTIONS - All operating instructions should be followed.
WATER AND MOISTURE - The appliance should not be used near water, for example, near a bathtub, washbowl, kitchedn sink, laundretub, swimming pool or in a wet basement.
VENTILATION - The appliance should be situated so that its location or position dose not interfere with its proper ventilation. Do not place on bed, sofa, rug or similar surface that may block the ventilation openings, in a built-in installation, such as bookcase or cabinet that may impede the flow of air through the ventilation openings.
HEAT - The appliance should be situated away from heat sources such as radiators, stoves or other appliances(including amplifiers) that produce heat.
POWER SOURCE - The appliance should be connected to power supply only of the type described in the operating instructions or as marked on the appliance.
GROUNDING - Precautions ahhould be taken to ensure that the grounding means of an appliance is not defeated.
POWER CORD PROTECTION - Power supply cords should be routed so that they are not likely to be walked on or pinched by items placed upon or against them.
POWER LINES - An outdoor antenna should be located away from power lines.
OBJECT and LIQUID ENTRY- Care should be taken so that objects do not fall and liquids are not spilled into the enclosure through openings.
ESD WARNING - The display does not function properly or no reaction to operation of any the control may due to the electrostatic discharge. Switch off and unplug the set. Reconnect after a few seconds.
DAMAGE REQUIRING SERVICE - The appliance should be services by qualified service personnel when:
a. The power supply cord or plug has been damaged.
b. Objects habe fallen into, or liquid has been spilled into the appliance enclosure.
c. The appliance has been exposed to rain.
d. The appliance has been dropped, or the enclosure damaged.
e. The appliance does not appear to operate normally.
2. Product overview
2.1 Unit overview

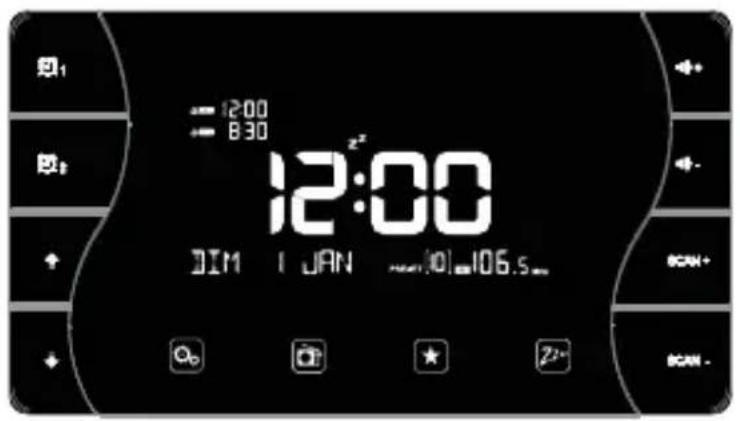
[ ] Alarm 1 mode
[2] Alarm 2 mode
[ ↑ ] Increase value, hold it to quickly to run through the digits.
[ ↓ ] Decrease value, hold it to quickly to run through the digits.
[ ] System setting and confirmed;
[ ] Radio mode
[ ★ ] Preset the radio station
[ Z] Sleep mode
[◀▶+◀▶-] Control volume
[SCAN+/SCAN-] Radio frequency, hold it to auto scan.
[SNOOZE/ DIMMER] Snooze mode and change backlight
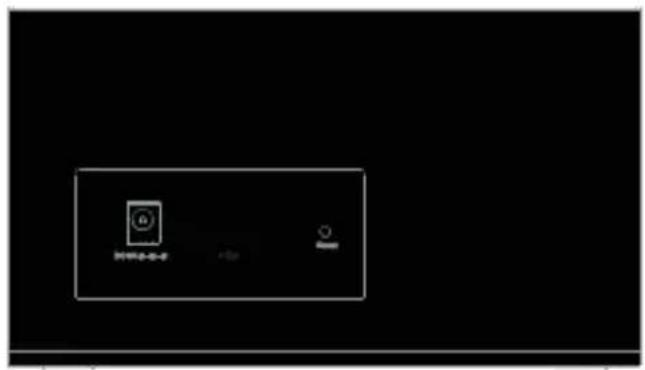
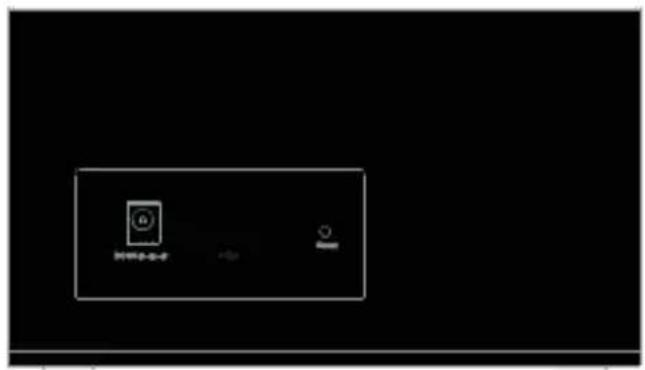
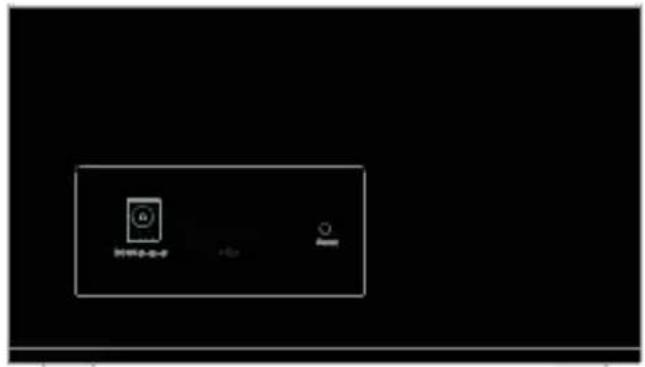
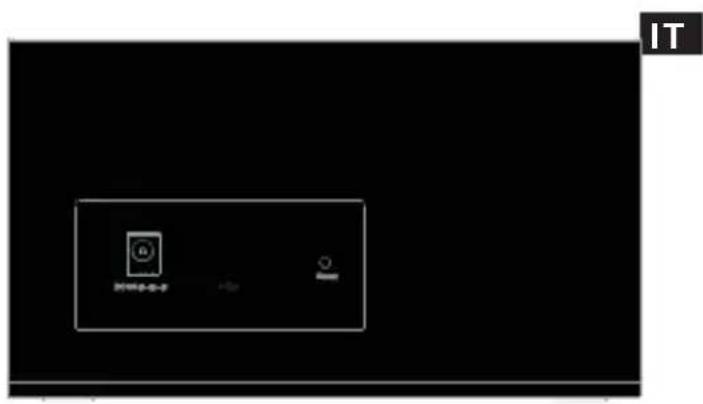
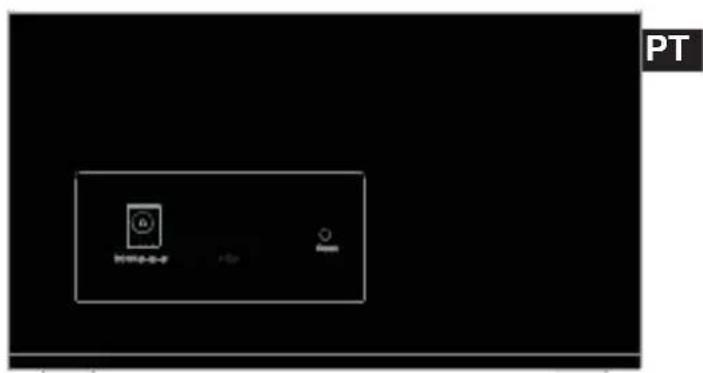
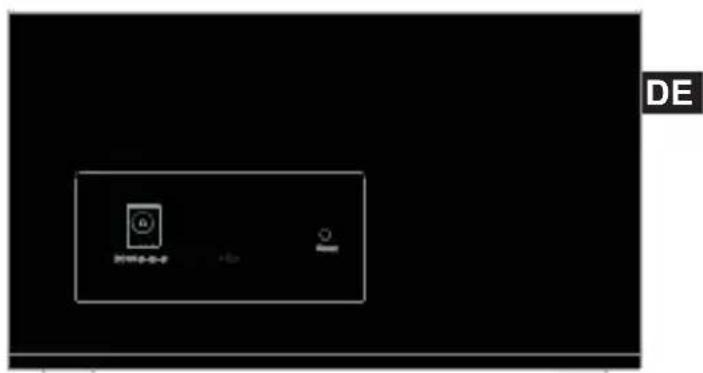
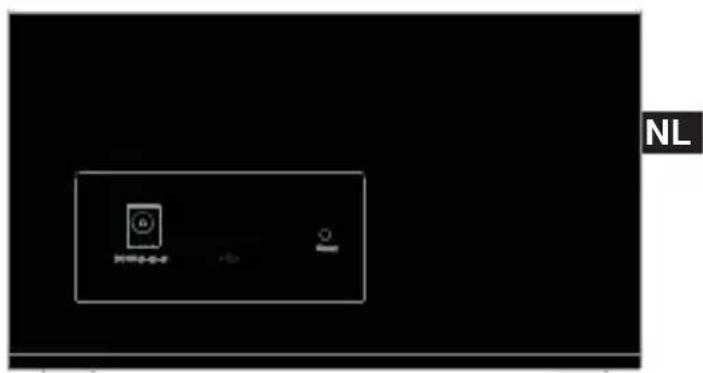
[DC jack] DC9V, 1000mA
[Reset] Press RESET to return to factory settings.
2.2 LCD display
![(1) (2) (3) (4) (5) (6) (7) (8) (9) (10) 38:88 28:88 28:88 VOL PRESET [18] 188.8 MHz](/content/2026/02/374334/images/877a799c4038d4cbe484edd0067bdf6471eb010c8623207ae70af0b14b0874b4.jpg)

(1) Dual alarm display
(4) Day display
(7) Volume icon
(9) FM radio
(2) Time display
(5) Month display
(8) Radio station(can preset 10 stations)
(10) Sleep icon
(3) Week display
(6) Preset the radio station
3. GETTING STARTED
3.1 BACK UP POWER
If there is a power cut, the 9 Volt battery can act as backup power supply for the main unit. (The display will not be visible, and if you had chosen radio as alarm sound, when the alarm time is reached, the sound will auto-change to buzzer).
3.2 Fitting the battery
- Remove the battery compartment cover.
- Insert the 9 Volt battery observing the polarity markings.
- Press RESET after each battery change.
NOTE: Do not use rechargeable batteries. We recommend that you use alkaline batteries with this product for longer life or lithium batteries in temperatures below freezing.
3.3 AC/DC adapter
The 9V adapter powers the unit. Plug adapter into socket, making sure the adapter is not obstructed and is easily accessible to the unit.
To completely disconnect from power, the adapter should be disconnected from the main unit.
NOTE: The main unit and adapter should not be exposed to wet conditions. No objects filled with liquid, such as vases, should be placed on the main unit and adapter.
4. QUICK USER GUIDE
4.1 System setting
- Touch the [ 🔍 ] to enter system setting mode, press [ ◆ ] or [ ↓ ] to change the setting and then touch 🔍 to confirm.
- The setting order is: language, year, month, day, hour, minute, 12/24H format. Following languages are available: French/English/German/Dutch/Spanish/Italian.
NOTE:
- In the system setting mode, if not any key is pressed for more than 1 minute, the product will automatically return to the time display mode; if you want to reset the data, please unplug the adaptor/battery or hit the reset.
• Week will automatically adjust with the date changed;
• In the radio mode, the system setting can not be work.
4.2 Radio function
4.2.1 Search the radio station
- Press [☐] to turn the radio on, the radio frequency will show in the display.
- Press [SCAN +] or [SCAN - ] to tune radio frequency and hold [SCAN +] or [SCAN - ] to auto scan.
- Press [ ] to turn the radio off and return to the clock. The last radio station will be memorised automatically.
4.2.2 Preset the radio station
- In the radio mode, press [★] to save station, press [♠] or [↓] to change the radio
station, and press the [★] to confirm.
4.2.3 Select the radio station
- In radio mode, press [♠] or [♣] to select the saved radio station to listen.
NOTE:
• Most can store 10 radio stations.
- If select the saved station to listen, you need to preset the radio frequency firstly.
- Please make sure the volume has been adjusted to the right level which can hear it, you can press [◀◀+◀◀-] to adjust the volume.
4.2.4 Set the radio sleep
- When listening to the radio, you can automatically switch it off by setting the sleep timer.
- Repeatedly touch the [Z] button to set a time of 00, 15, 30, 45, 60, 75 or 90 minutes., (00→15→30→45→60→75→90, Z z icon will be displayed in the LCD, 00 means close the sleep function, when the sleep time is set, and you'd like to review the remaining sleep time, touch the [Z zz ] lightly and the LCD will display the remaining sleep time.
For example, once you set sleep time for 15mins, touch [22] after 2mins, the LCD will dsiplay digital: 13
- The radio will switch off automatically after the set time has elapsed.
- When arrived the sleep time, the radio will turn off.
4.3 Alarm function
4.3.1 Set alarm
- The clock has 2 alarms than can be set to sound with buzzer or radio sound,
- In standby mode (the radio turn off), press [ 🔍1/ 🔍2 ] can turn ON or OFF AL1/AL2, if the alarm is ON and the symbols 🔒 is displayed, if the alarm is OFF, the symbols 🔒 will be not shown.
- Hold the 🔒 1 2s to set the AL1, 2:00 is displayed and the hour will blink, press [♠] or [♣] to change the value, and then press 🔒 1 to confirm, using the same methods to set minute, when finished the hour and minute, press 🔒 1 to confirm
and then enter music select mode.
- Buzzer as system alarm sound, if you'd like to use buzzer as alarm sound, press 🔒 1 to confirm AL1 setting, if you'd like to select radio as alarm sound, touch [ ] to enter radio mode, and then press press [ ♦ ] / [ ↓ ] to select the saved radio station member, you can press [SCAN +] or [SCAN - ] to search the radio frequency too, when you selected you liked radio frequency, press 🔒 1 to confirm AL1 setting.
- Hold the 2s to set the AL2, the setting method same as AL1.
NOTE:
- In the alarm setting mode, without pressing any button for 1 minute, it will automatically return to the clock, and the current setted data will take effect.
- In the radio mode, the alarm setting can not be work.
- Buzzer as system default alarm, when the alarm time is go on, the buzzer or radio will ring. If choose radio as alarm, the alarm volume will same as the last listend radio volume. Please note that the buzzer volume cannot adjust.
4.3.2 SNOOZE setting
- Choosed buzzer as alarm sound:
When the alarm is sounding, press the [SNOOZE] button, the alarm will turn off for 5 minutes, then the alarm will sound again, repeat will continue 5 times.
When the alarm is sounding, if not any key is pressed, it will turn off after sounding for 1 minute and repeat after 1 minute, repeat will continue 5 times, then stop.
- Choosed radio as alarm sound
Within 30 minutes, press the SNOOZE button, the alarm radio will be turn off and will be turn on after 5 minutes. After 30 minutes or press the [SNOOZE] button 5 times, the snooze mode will be stop. press any key to stop the alarm or after 1 hour will be auto stop the alarm.
- When the alarm is ringing, press any key except [SNOOZE], it will be turn off the alarm.
- In snooze mode, if you have enter setting state, then will exit snooze process.
5. Volume adjust
- The volume control must be set to a suitable volume.
- Press [◀▶+◀▶-] to adjust it and the LCD will display, you can press [◀▶+◀▶-] to adjust, 15 levels in total.
6. Adjust backlight
Press [SNOOZE/ DIMMER] can activate the backlight: open backlight, darker backlight and GB close backlight
7. RESET
Hit the RESET to return to the default settings.
8.SPECIFICATIONS
• Time format: January 1, 2012
• 24 hour format display
- Alarm time:
• Alarm 1 & alarm 2 are both off
- Default System language: FRA (French)
• FM: 87.5-108MHZ
• Power: 9V (Input) – Adaptor included
- Backup battery: 9V not included
- Don't throw the electrical and electronic appliances into the usual dustbin.
- Bring them to a collecting point.
- Some parts contained in these appliances may be dangerous for health and environment.
Imported by Bigben Interactive SA
CRT2 – RUE DE LA VOYETTE
59818 LESQUIN
www.bigben.eu

MADE IN CHINA




bigben. interactive
SP
MANUAL DE INSTRUÇÕES

AVISO
RISCO DE CHOQUE ELÉCTRICO
NÃO ABRIR

1. Instrução
[1] Weckzeit 1 (AL1)
[2] Weckzeit 2 (AL2)
GEBRUIKSAANWIJZING

OPGELET
RISICO OP ELEKTRISCHE SCHOK
NIET OPENEN

1. Instructies
28, Avenue Ernest Solvay
1480 Tubize
www.bigben.eu
customerservice@bigben-interactive.be
NL



MADE IN CHINA
- INSTRUCTIONS
- 4.2.1 SEARCH THE RADIO STATION
- PRODUCT OVERVIEW
- 2.1 UNIT OVERVIEW
- 2.2 LCD DISPLAY
- GETTING STARTED
- 3.1 BACK UP POWER
- 3.2 FITTING THE BATTERY
- 3.3 AC/DC ADAPTER
- QUICK USER GUIDE
- 4.1 SYSTEM SETTING
- NOTE
- 4.2 RADIO FUNCTION
- 4.2.2 PRESET THE RADIO STATION
- 4.2.3 SELECT THE RADIO STATION
- 4.2.4 SET THE RADIO SLEEP
- 4.3 ALARM FUNCTION
- 4.3.1 SET ALARM
- 4.3.2 SNOOZE SETTING
- VOLUME ADJUST
- ADJUST BACKLIGHT
- RESET
- 8.SPECIFICATIONS
- BIGBEN. INTERACTIVE
- INSTRUÇÃO
- INSTRUCTIES
Brand : BIGBEN
Model : RR50
Category : Alarm Clock