CLR4200 - Alarm clock radio ROADSTAR - Free user manual and instructions
Find the device manual for free CLR4200 ROADSTAR in PDF.
| Product Type | AM/FM Digital Clock Radio |
| Brand | Roadstar |
| Model | CLR4200 |
| Dimensions (approx.) | 200 x 100 x 100 mm |
| Weight (approx.) | 0.5 kg |
| Main Power Supply | Mains 230 V ~ 50 Hz |
| Backup Battery | CR2032 (3 V) not included |
| Reception Bands | FM 88-108 MHz, AM (not specified) |
| Time Synchronization | Automatic via DCF-77 signal or manual |
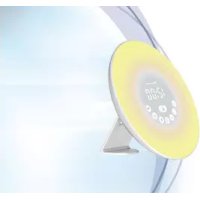
| Display | LCD with brightness adjustment (DIMMER) |
| Alarms | Dual alarm (Alarm 1 and Alarm 2) |
| Wake-up Mode | Buzzer or radio |
| Snooze Function | Snooze every 9 minutes |
| Sleep Function | Auto-off after 90/60/30/15 min |
| NAP Function | Short duration alarm (adjustable) |
| Radio Memory | Up to 10 stations (approx.) |
| Antenna | Wired FM antenna |
| Maintenance | Soft, slightly damp cloth, no abrasive products |
| Safety | Do not expose to water, excessive heat, or vibrations |
| Spare Parts Available | Backup battery CR2032 only |
Frequently Asked Questions - CLR4200 ROADSTAR
User questions about CLR4200 ROADSTAR
0 question about this device. Answer the ones you know or ask your own.
Ask a new question about this device
Download the instructions for your Alarm clock radio in PDF format for free! Find your manual CLR4200 - ROADSTAR and take your electronic device back in hand. On this page are published all the documents necessary for the use of your device. CLR4200 by ROADSTAR.
USER MANUAL CLR4200 ROADSTAR
Radio-Controlled FM Band PLL Clock Radio with Double Alarm
CLR-4200FR
Instruction manual
Bedienungsanleitun
Specifications subject to change without prior notice.
Roadstar Management SA, via Passeggiata 7 CH 6883 NOVAZZANO (SWITZERLAND) www.roadstar.com
Roadstar is a registered Trademark of Roadstar S.A. - Switzerland All rights reserved


INDEX
English Page 1
Deutsch Seite 9
Français Page 17
Italiano Pagina 25


CLR-4200FR

- Your new unit was manufactured and - By the name Gerali were under Beatching der stener ges
assessed under similar ROADSTAR quality - Thank you for purchasing our product for your
music enjoyment.
Before operating the unit, please see this instruction manual carefully. Keep it also handy for further future references.
Votr nouw aparal a ot fianqu et manto agasombato saite in stro contrllo di quauti
stn aen ane nannnns hns ROADARADs.
na rane parnne, quon nae appeal vane comn dae.
aene annanrnnnne arnne arnrnne arnrnne arnrnne arnrnne arnrnne arnrnne arnrnne arnrnne arnrnne arnrnne arnrnne arnrnne arnrnne arnrnne arnrnne arnrnne arnrnne arnrnne arnrnne arnrnne arnrnne arnrnne arnrnne arnrnne arnrnne ar nrnrnnnnnnnnnnnnnnnnnnnnnnnnnnnnnnnnnnnnnnnnnnnnnnnnnnnnnnnnnnnnnnnnnnnnnnnnnnnnnnnnnnnnnnnnnnnnnnnnnnnnnnnnnnnnnnnnnnnnnn
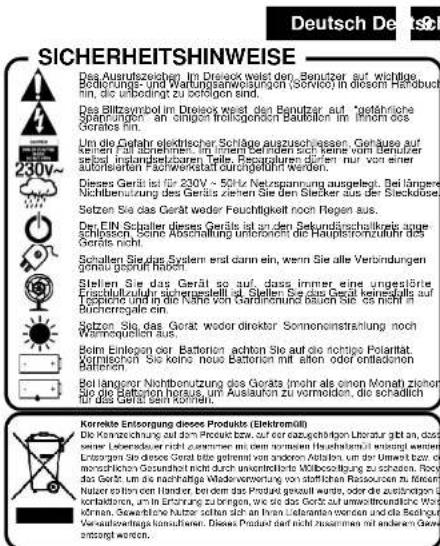
This unit operates from a main supply of 230V - 50Hz . Connect the AC power cord to the AC household main outlet. Ensure that the voltage is as indicated on the rating plate on the rear of the unit.
Battery Back-up Power Failure Protection
This radio has a battery back up circuit that will keep the correct time and alarm settings in the event of a temporary power interruption. Install a 3-volt flat lithium battery (type CR-2032) not included, into the battery compartment located on the bottom of the unit.

If power is temporarily interrupted the display will blink and the radio will not play. However, the battery back-up circuit will continue to maintain the clock and alarm settings. When power is restored the clock will display the correct time and alarm settings, and no adjustment is necessary.
Note: If power is interrupted and there is no battery in the compartment or the battery is exhausted. The time and alarm settings will be lost. When power is restored the clock will begin to flash indicating that the time and alarm settings must be corrected.
INTRODUCTION
The unit is designed to automatically synchronize its current time and date with radio signal generated from DCF-77 Frankfurt, Germany. We suggest to place the Antenna (15) in a suitable free from obstacles area to ensure maximum reception of radio signal.
SETTINGTHE LCD DISPLAY USING THE RADIO SIGNAL
- Connect the Power, the unit start searching the Radio Controlled signal and you can see the Antenna tower icon flashing in the right side of the display.
The search signal stop automatically after 10 minutes, but in case if fail in receiving, is possible to set the clock manually by keeping pressed 4 seconds the Snooze button (2).
If the Radio signal is OK, the Antenna Tower Icon will Keep displaying and the time will take 3 - 10 minutes to complete the setting.
SETTINGTHE CLOCK MANUALLY
- In the normal Display mode, to set the Clock, keep pressed CLK ADJ (3) Button until the YEAR digits will flash. Press UP/DOWN (4-9) to adjust the YEAR digits.
- To set the MONTH, press CLK ADJ (3) once more and the MONTH digits will flash. Press UP/DOWN (4-9) to adjust the MONTH digits.
- To sel the DAY mode, press CLK ADJ (3) once more and the CLK ADJ (3) digits will flash. Press UP/DOWN (4-9) to adjust the DAY digits.
- To set the 12/24 mode, press CLK ADJ (3) once more and the Year digits will flash. Press UP/DOWN (4-9) to adjust the 12/24.
- To set the HOUR, press CLK ADJ (3) again and the HOUR
digits will flash. Press UP/DOWN (4-9) adjust the HOUR digit. 6. To set the MINUTE, press CLK ADJ (3) again one more time and the MINUTE digit will flash. Press UP/DOWN (4-9) to adjust the MINUTE digit. - Press the CLK ADJ (3) button to conclude the setting.


English En
1 + 2( 1 + u) 1 - 1 t =
SETTING THE ALARM 1/2 (BUZZER OR RADIO)
-
In the normal Display mode, press ALARM 1 (10) or ALARM 2 (11) button once and the display will show the ALARM TIME. The "AL" icon indicates that the display is showing the ALARM TIME.
-
To set the ALARM TIME, press ALARM 1 (10) or ALARM 2 (11) button for 4 seconds and the HOUR digits will flash. Press UP/DOWN (4-9) to adjust the HOUR digits.
-
To set the ALARM MINUTE, press ALARM 1 (10) or ALARM 2 (11) button once more and the MINUTE digits will flash. Press UP/DOWN (4-9) to adjust the MINUTE digits.
-
To set the days 1-5, press ALARM 1 or ALARM 2 button Button and the 1-5 digits will flash. Press UP/DOWN (4-9) to adjust between 1-5 (Monday to Friday); 1-7 (whole week), 6-7
(Saturday and Sunday) or 1-1 one day of week. 5. To set the BUZZER or RADIO Alarm Mode, press ALARM 1 (10) or ALARM 2 (11) button one more time and the BU (Buzzer) digits will flash. Press UP/DOWN (4-9) to adjust between BU (Buzzer) or Radio Frequency.
- To disable the Alarm mode, during normal display mode keep pressed the Alarm 1 (10) or Alarm 2 (11) buttons for 5 seconds until the symbols disappear from the display.
DIMMER FUNCTION
- Press quickly the SNOOZE/SLEEP/DIMMER (2) button to change the Display intensity.
N.A.P. FUNCTION (SHORT PERIOD TIMER)
With NAP function is possible to set the alarm for short period. During Radio OFF mode, press the NAP Button (3) to turn ON the NAP mode. The NAP time will keep 5 seconds, within 5 seconds press again the NAP button sequentially to set the duration of the timer.
The Alarm buzzer will sound for 30 minutes and then shut OFF automatically. During the Alarm operation, the NAP has no effect. To cancel the NAP function, press the ON/OFF button (1).
AUTOTOGGLING BETWEEN DISPLAY MODE
- In normal clock mode, press the Display button (8) for 3 seconds until ON compare in the display. The unit show sequentially the Hour / Date and Year.
- To exit from this function, press again the Display (8) button for 3 seconds.
FM PLL RADIO
- Make sure the antenna wire is completely unrolled and extended.
- In normal clock mode, press the ON/OFF button (1) to switch on the radio.
3) Press the UP / DOWN (4-9) button to search for the stallon. Short press mode is MANUAL research, press and hold that the seare mode is automatic. - To save the channel, press the MEM + (3) 5 seconds to enter the memory of the radio station, then press UP / DOWN


English English
(4-9) to select the desired channel number where you want to save the station.
- After selecting the desired channel, press the MEM + button
(3) to confirm the location of the memory.
- To recall radio stations, press the MEM + button (3) or MEM - button (16) until the desired channel is displayed.
Button (16) until the desired channel is displayed.
SNOOZE FUNCTION
When the alarm sounds, pressing the SNOOZE Button (2) will temporarily stop about 9 minutes then the alarm sounds again.
SLEEP FUNCTION
-
This function enables you to go to sleep listening to the Radio.
-
Set the RADIO ON/OFF button (1) to ON.
-
Press the SLEEP Button (2). The clock display will show 90 minutes.
The Radio turns on and will turn off automatically after 90 minutes.
-
To select a shorter time press the SLEEP Button (2) sequel, the desired time is selected between 80/60/30/15 minutes
-
To turn off the Radio at any time during the Sleep period, press the
RADIO ON/OFF button (16) to OFF.
DISPLAY DATE/TIME
Press the button Y/M/D (4) to temporary display the Date or Month or Day.
CARE AND MAINTENANCE
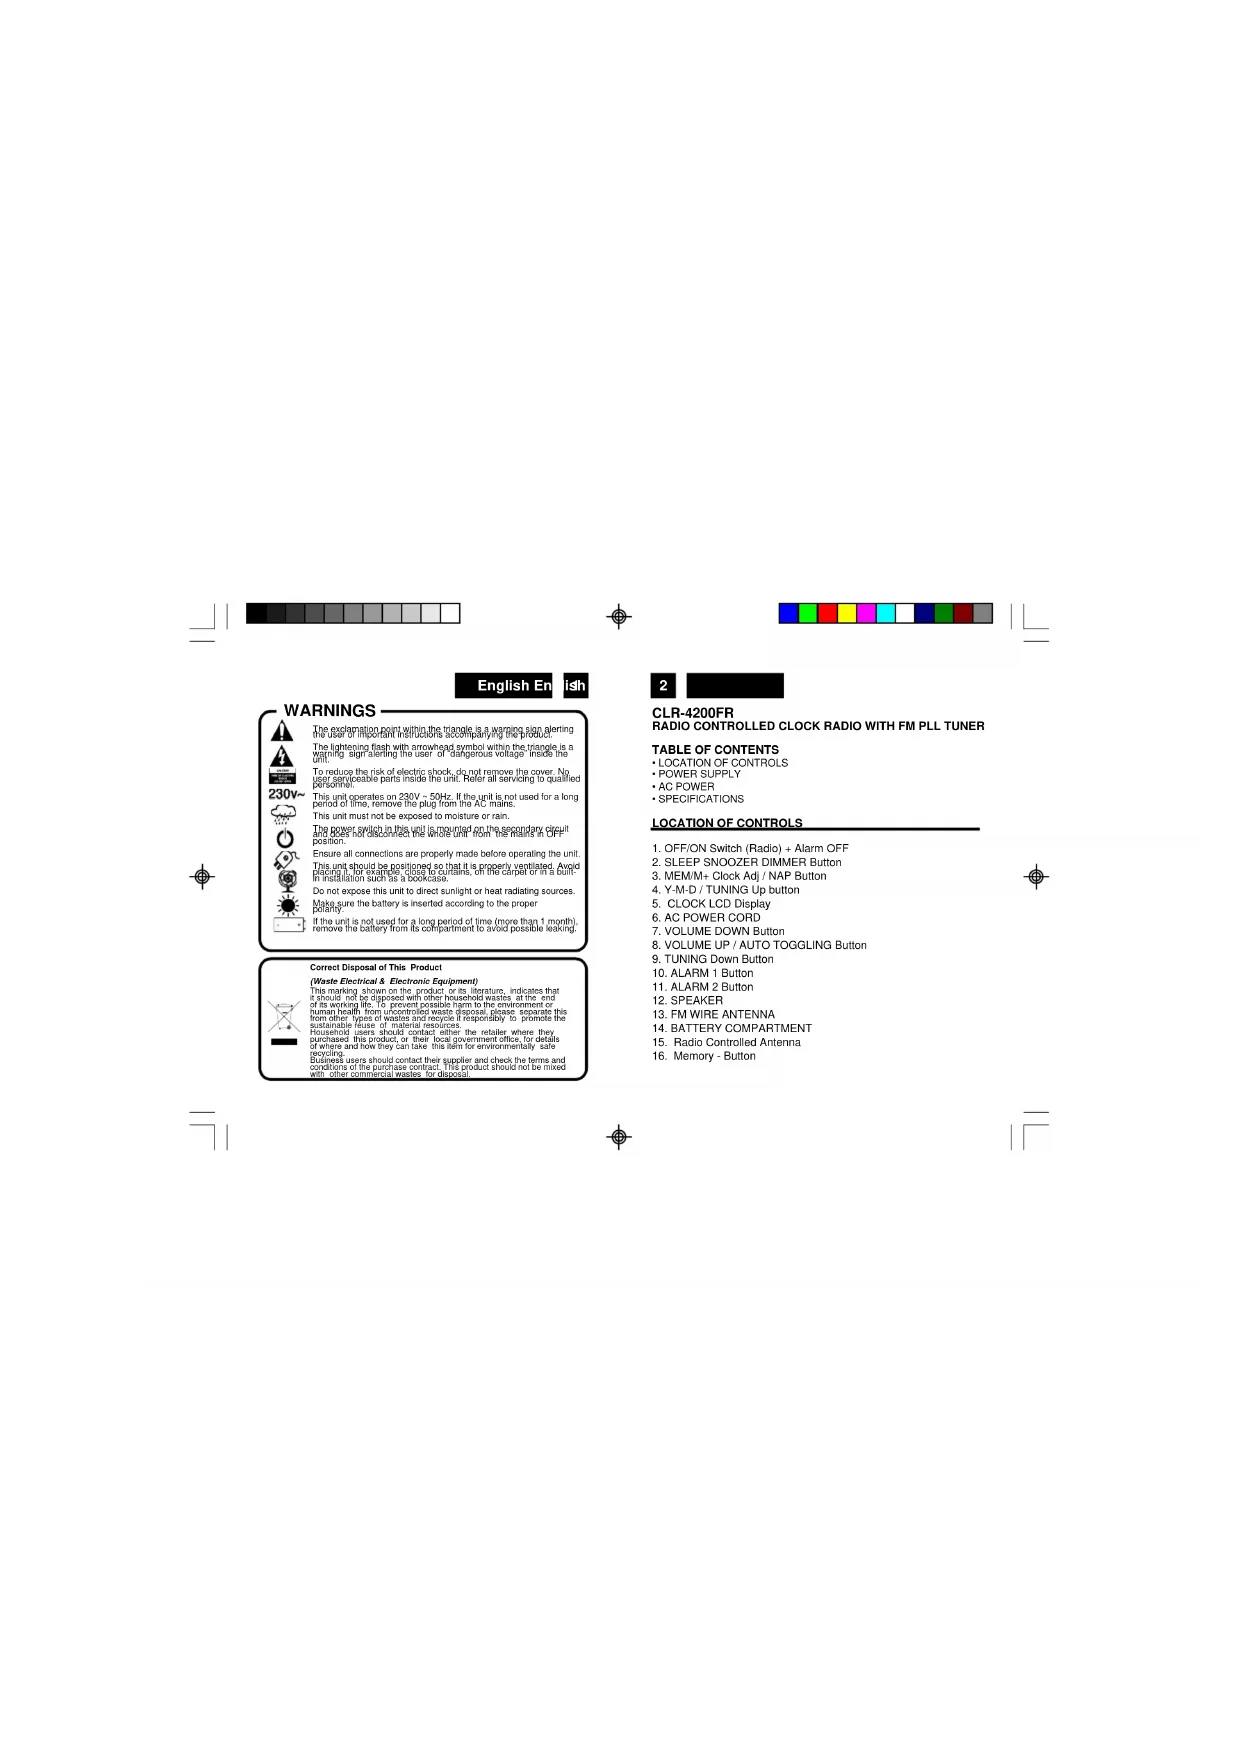
To prevent fire or shock hazard, do not allow this clock radio to be exposed to rain or moisture.
8
This clock radio should not be exposed to direct sunlight, very high or low
temperature, moisture, vibration, or placed in a dusty environment .Drops are known because this is one of the most difficult to clean the
Do not use abrasives. benzine, thinners, or other solvents to clean the surfaces of the clock radio. To clean it, wine with a mild non-abrasive
surfaces of the clock radio . To clean it ,definger solution on a clean soft cloth
Never attempt to insert wires, pins, or other objects into the ventilation holes or openings on the clock radio.
AC POWER
For your own safety read following instructions carefully before attempting
to connect this clock radio to the mains. This is a 100%
This unit is designed to operate on a 230V~50Hz supply only. Connecting it to other power sources may damage it.
Ensure that supply corresponds to the information on the rating label on the bottom of the unit.
SPECIFICATIONS
FM Band: 88 to 108 MHz
Power Supply: 230VCD, 50 Hz
DC Back-up: 3V DC CR-2032 Lithium BATTERY
Note: Specifications and the design are subject to possible
modifications without notice due to improvement.