
MPR75 - Radio Marquant - Free user manual and instructions
Find the device manual for free MPR75 Marquant in PDF.
| Product type | Radio cassette with CD and USB player |
| Brand | Marquant |
| Model | MPR75 |
| Power supply | Mains 230-240V 50Hz or 8 UM-2 (C) batteries |
| Radio reception | AM 540-1600 kHz, FM stereo 88-108 MHz |
| Output power | 2 x 2W RMS @ 10% THD |
| Speakers | 4 Ohm, 5W x 2 |
| Headphone jack | 3.5 mm stereo, 32 Ohm impedance |
| Supported formats | Audio CD, MP3 CD, USB, audio cassette |
| CD playback functions | Programming (20 tracks), repeat, shuffle |
| Recording | From radio or CD to cassette |
| Display | LCD |
| Laser class | Class 1 |
| Safety | Do not expose to rain or moisture |
| Maintenance | Remove batteries if not used for a long time |
Frequently Asked Questions - MPR75 Marquant
User questions about MPR75 Marquant
0 question about this device. Answer the ones you know or ask your own.
Ask a new question about this device
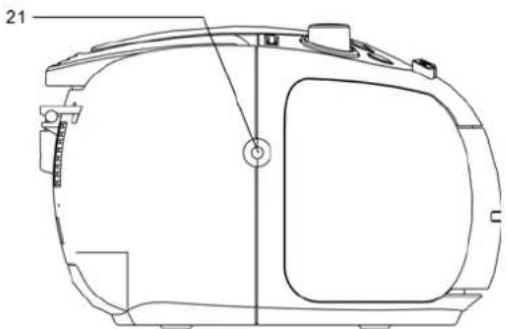
Download the instructions for your Radio in PDF format for free! Find your manual MPR75 - Marquant and take your electronic device back in hand. On this page are published all the documents necessary for the use of your device. MPR75 by Marquant.
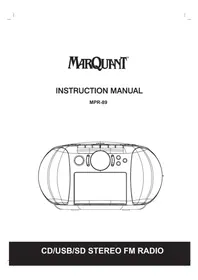
USER MANUAL MPR75 Marquant
natural_image
Technical line drawing of a circular mechanical component with internal components and mounting holes (no text or symbols)


natural_image
Technical line drawing of a mechanical device casing with internal compartments and mounting points (no text or symbols)BEDIENING WISSELSTROOMNET
flowchart
graph LR
    A["HERHAAL EEN"] --> B["HERHAAL ALLES"]
    B --> C["HERHALEN AF"]
    C --> D["WILLEKEURIG"]
    D --> A
PROGRAMMEERMODUS
natural_image
Technical line drawing of a mechanical component with no visible text or symbols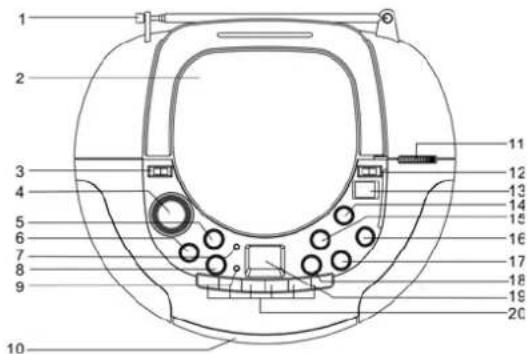
natural_image
Technical line drawing of a mechanical component with no visible text or symbols
natural_image
Technical line drawing of a mechanical device casing with internal compartments and mounting points (no text or symbols)FR-1
OPERATION PRINCIPALE AC
natural_image
Technical line drawing of a mechanical component with no visible text or symbols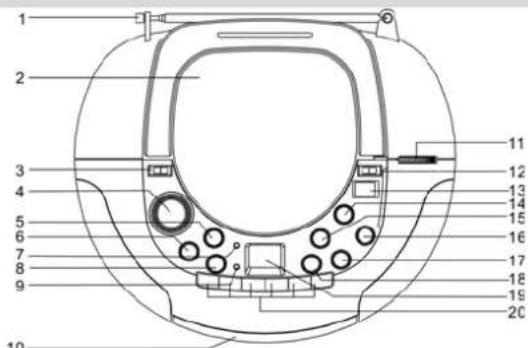
natural_image
Technical line drawing of a mechanical device with internal components and mounting holes (no text or symbols)NETZBETRIEB
Usage of controls or adjustments or performances of procedures other than those specified herein may result in hazardous radiation exposure.
This unit should not be adjusted or repaired by anyone except qualified service personnel.
TO REDUCE THE RISK OF FIRE OR ELECTRIC SHOCK, DO NOT EXPOSE THIS APPLIANCE TO RAIN OR MOISTURE.
Use of controls or adjustments or performance of procedures other than those specified herein may result in hazardous radiation exposure.
Invisible laser radiation when open and interlocks defeated. Avoid exposure to beam.
IMPORTANT
Movement of the CD mechanism and the sensitive circuitry of this unit may case interference to nearby radio tuners, ensure you switch this unit off while operating other radio devices.
This Compact Disc player is classified as a CLASS 1 LASER product.
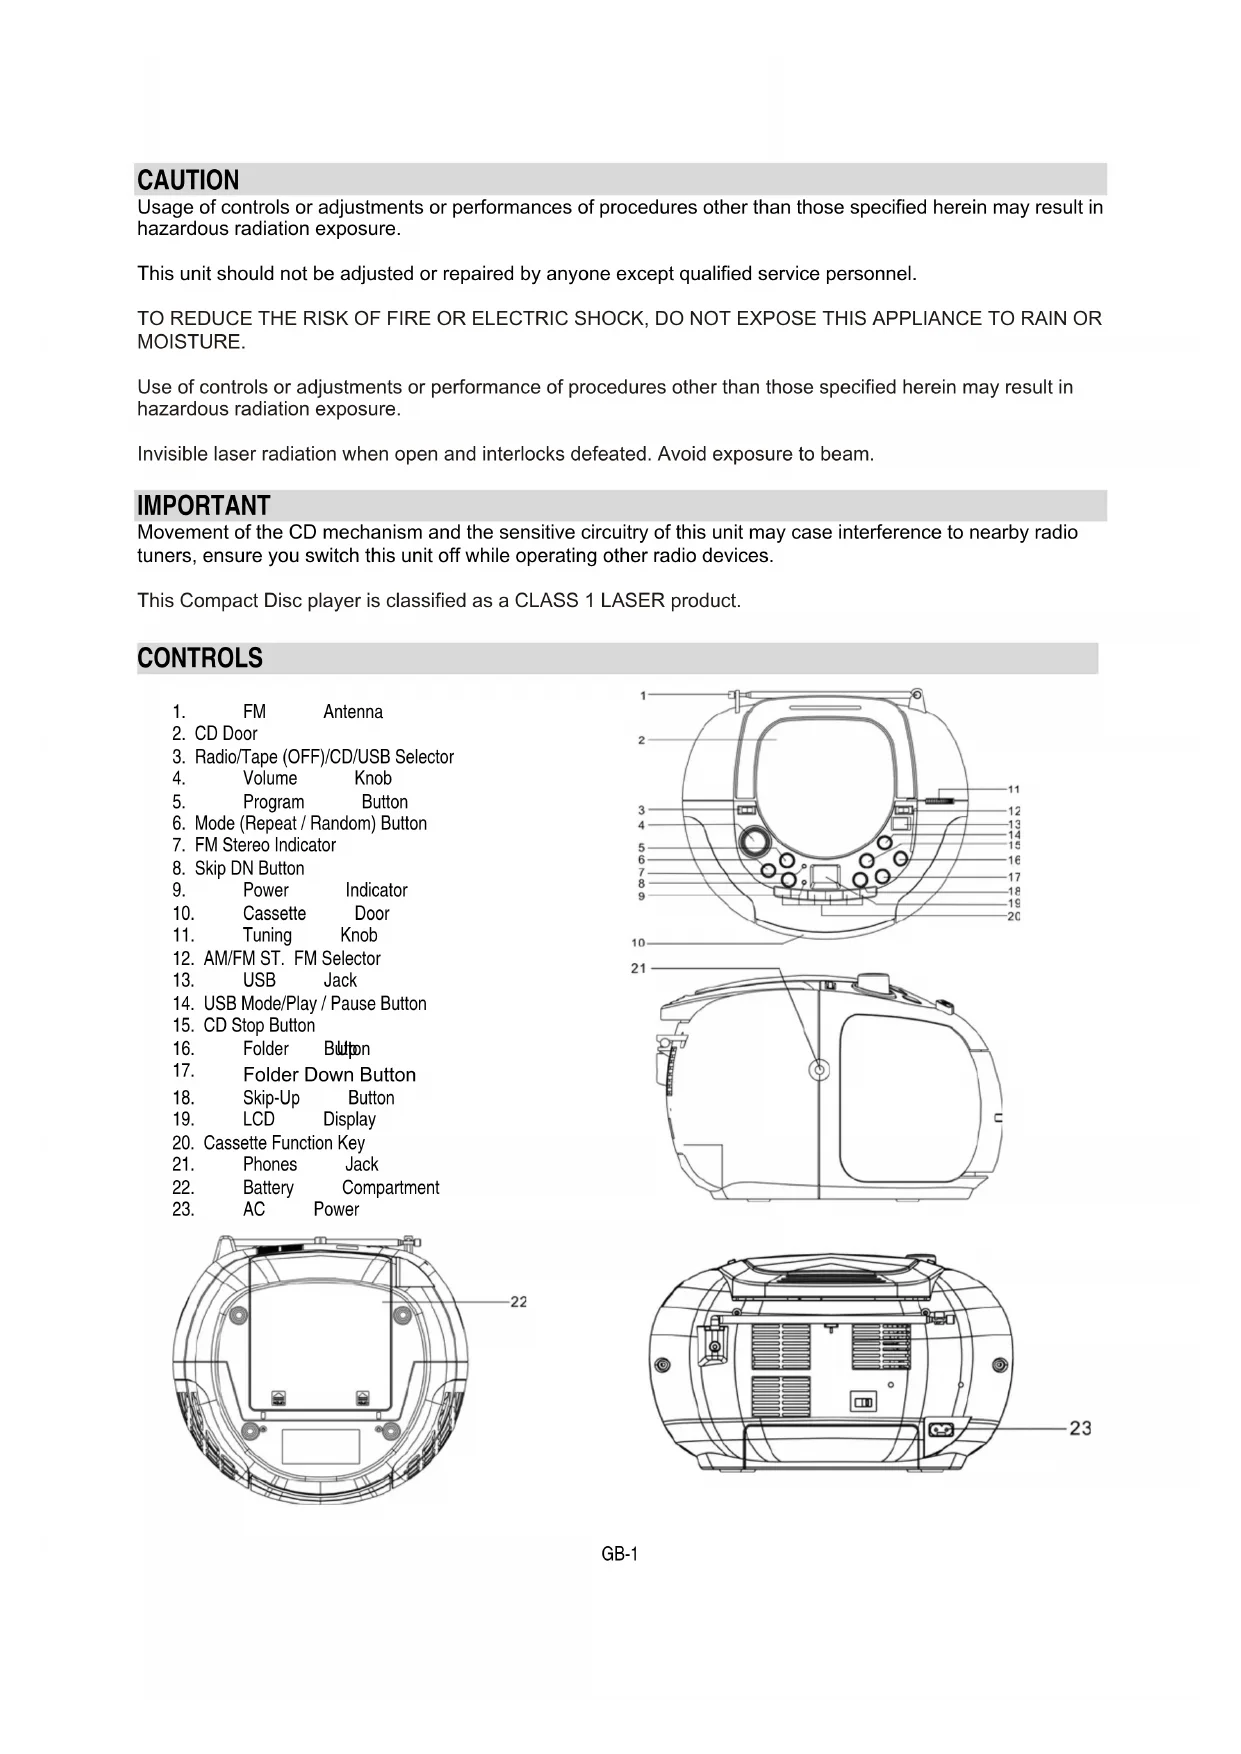
CONTROLS
- FM Antenna
- CD Door
- Radio/Tape (OFF)/CD/USB Selector
- Volume Knob
- Program Button
- Mode (Repeat / Random) Button
- FM Stereo Indicator
- Skip DN Button
- Power Indicator
- Cassette Door
- Tuning Knob
- AM/FM ST. FM Selector
- USB Jack
- USB Mode/Play / Pause Button
- CD Stop Button
- Folder Button
- Folder Down Button
- Skip-Up Button
- LCD Display
- Cassette Function Key
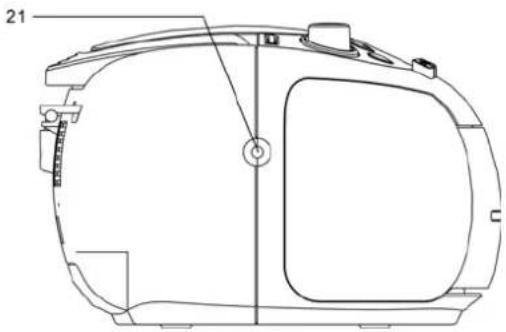
- Phones Jack
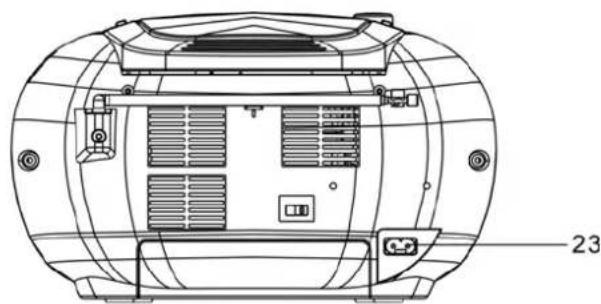
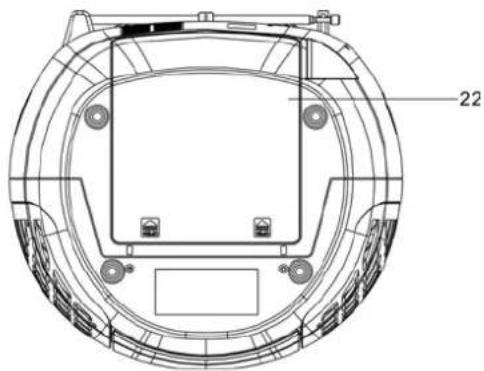
- Battery Compartment
- AC Power
natural_image
Technical line drawing of a circular mechanical component with mounting holes and internal structure (no text or symbols)

natural_image
Technical line drawing of a mechanical component with no visible text or symbols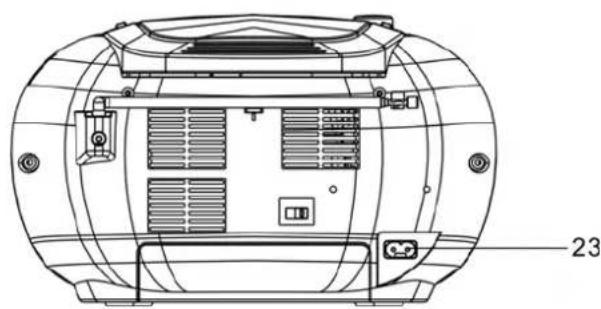
natural_image
Technical line drawing of a cylindrical device with internal compartments and mounting points (no text or symbols)AC MAINS OPERATION
- Insert the AC power cord into the unit and then plug the corresponding end into an AC household mains outlet, ensuring the voltage is compatible.
BATTERY OPERATION
■ Remove the battery compartment cover
- Insert 8 x UM-2 'C' size batteries, ensuring correct polarity as indicated inside the battery compartment
NOTE: Check your batteries regularly, old or discharged batteries may leak and damage the unit. Remove the batteries if the unit will not be used for long periods of time or if AC power predominately is being used.
The unit will automatically switch between AC/DC power. If the AC cord is plugged in, the unit will use AC power. If the AC cord is not plugged in and batteries are inserted the unit will use DC power. When replacing batteries always ensure you do not mix old and new batteries and replace with the same type batteries.
HEADPHONES
- Insert the headphone plug into the 3.5mm stereo headphone jack outlet on the unit. Ensure the headphones have a 3.5mm stereo plug with an impedance of 32 ohms.
■ When the headphones are connected the unit speakers will automatically be muted.
PLAYING A COMPACT DISC
■ Set the function selector to CD.
■ Lift open the CD door, place a disc in the centre with the label side up and close the CD door.
■ The total number of tracks available will be shown in the display
- Pressing the PLAY / PAUS▶II button after inserting a CD will start the first track playing.
- To pause the track, press the ▶II button while the track is playing. The PLAY / PAUSE LCD will flash. To return to normal playback press the PLAY / PAUSE button once more.
■ To stop the CD playing press the STOP button
If there is no disc in the CD compartment the display will show "no".
SELECTING A DESIRED TRACK IN STOP MODE
- Press SKIP / SEARCH ◀◀ or ▶▶ until the desired track number appears on the LCD display.
- Press PLAY / PAUSE ▶ II to begin playing that selected track. The selected track number will appear on the LCD display.
- You can skip forward to another track by pressing the ▶▶1 button. The tracks will skip forward once each time the button SKIP button is pressed.
- Pressing the ◀ button while in play mode will return you to the beginning of the track being played. Pressing the ◀ button more than once will skip the tracks backwards.
SEARCHING FOR A PASSAGE OF PLAY
While the song is playing, if you press and hold the ◀◀ or ▶▶ button you can listen to the track at a high-speed forward or backwards to find a particular passage of play. The sound will be played faster than normal but at a reduced volume. Play will return to normal when the ◀◀ or ▶▶ button is released.
MODE BUTTON
To repeat one or all tracks press the REPEAT button before or during playback. Pressing the REPEAT button once will repeat the current track only, pressing it twice will repeat the entire CD, pressing three times will turn the repeat function off.

flowchart
graph LR
    A["REPEAT ONE"] --> B["REPEAT ALL"]
    B --> C["REPEAT OFF"]
    C --> D["RANDOM"]
    D --> E["→"]
PROGRAM MODE
This function allows you to play the tracks on the disc (up to 20 tracks) in the order you want.
- In stop mode, press PROGRAM button.
- Select the desired track with Skip ◀◀ or ▶▶ buttons.
- Press the PROGRAM button to store.
- Repeat the points 1 and 2 to enter the desired track, up to max 20 selections.
- Press the PLAY/PAUSE button to start playback.
NOTE: the programmed memory will be automatically deleted when:
- The unit is turned off
- The stop button is pressed twice during playback or is stop mode
- The CD compartment is opened
- Another function is selected (RADIO/TAPE)
PLAY MP3 DISC
■ Set the function select to CD/MP3/USB mode
■ The total number of track available will be shown in the display
■ Press the play button will start the fist track playing
- To pause the track, press the Play/Pause button while the track is playing to return to normal playback press the Play/Pause button once more
■ To select the Folder, press the Folder button |<< and >>| to select next folder
■ To stop the MP3 playing press the stop button
■ Repeat One → Repeat Album → Repeat ALL → Random
PROGRAMMING TRACKS
- You can program in up to 10 Tracks in any desired order for programmed playback.
■ Set the function switch to CD/MP3/USB
■ Press the program button - Press the skip up/down or Folder |<< and >>| to select the track number or folder that you wish to program in
■ Once you have selected the desired track number press the program button
■ Repeat steps 2 - 4 to program in more tracks - Once you have programmed in all the tracks you want, press the PLAY/PAUSE button to begin playback of the programmed tracks. The playback will begin at the start of the first programmed track.
A stored program will be erased when the function switch is moved to the radio position or the unit is turned off.
■ Set the function selector to the TUNER position.
■ Select the AM or FM radio frequency by using the band selector
■ Use the tuning knob to select your desired radio station
■ Adjust the volume to your desired level
LISTENING TO A TAPE
GENERAL OPERATION
STOP / EJECT key Press to stop all deck operations, press again to open the cassette door
FAST FORWARD key Press to start fast forwarding the tape at high speed, press the STOP key when the tape has reached the end or the desired location.
FAST REWIND key Press to start fast rewinding the tape at high speed, press the STOP key when the tape has reached the end or the desired location.
PLAY key Press to start playing the tape
PAUSE key Press to pause tape playback, press again to resume normal operation
RECORD key Press RECORD & PLAY together to start recording to the tape
PLAYBACK
■ Set the FUNCTION to the TAPE position
- Press the STOP / EJECT button to open the cassette door and insert a cassette. Ensure the cassette is inserted the correct way, close the cassette deck door gently
■ Press the PLAY key to begin playback of the tape
■ Adjust the volume to your desired level
■ Use the PAUSE key to temporarily stop playback of the tape, press again to resume normal tape operation
- Press the STOP / EJECT button to stop tape playback, press again to eject the cassette.
RECORDING TO TAPE
■ Set the FUNCTION to Tuner mode
■ Tune in the radio station that you wish to record from
■ Open the cassette door and insert a cassette suitable for recording
■ To begin recording press the RECORD and PLAY keys at the same time
■ Press the STOP / EJECT button to stop recording
RECORDING FROM CD
■ Set the FUNCTION to CD
■ Open the cassette door and insert a cassette suitable for recording
- Press the PAUSE key then the RECORD and PLAY keys at the same time. The recording function is now on standby
■ Activate the CD player by pressing the CD PLAY button
■ Release the PAUSE button on the tape to start recording
■ To stop recording, first press STOP on the CD, then press the STOP / EJECT key on the tape deck.
USB FUNCTION
■ Set the function selector to CD/MP3/USB mode
- Press the Play/Pause/USB Mode button and hold a few second
■ Insert the USB to USB socket
■ Then the display will show the total number of track for the USB.
■ Press play to start to play the song from USB
TECHNICAL SPECIFICATION
• Power supply: AC 230V-240V 50Hz
• Receiving Bands: AM, FM (stereo)
• Tuning Range: FM 88 – 108 MHz
AM 540 - 1600 KHz
- Speaker: 4 Ohm 5W x 2
• Output Power: 2 x 2W RMS @ 10% THD
• Headphone Impedance: 32 Ohm

- BEDIENING WISSELSTROOMNET
- PROGRAMMEERMODUS
- OPERATION PRINCIPALE AC
- NETZBETRIEB
- IMPORTANT
- CONTROLS
- AC MAINS OPERATION
- BATTERY OPERATION
- HEADPHONES
- PLAYING A COMPACT DISC
- SELECTING A DESIRED TRACK IN STOP MODE
- SEARCHING FOR A PASSAGE OF PLAY
- MODE BUTTON
- PROGRAM MODE
- PLAY MP3 DISC
- PROGRAMMING TRACKS
- LISTENING TO A TAPE
- GENERAL OPERATION
- PLAYBACK
- RECORDING TO TAPE
- RECORDING FROM CD
- USB FUNCTION
- TECHNICAL SPECIFICATION
Brand : Marquant
Model : MPR75
Category : Radio