OST 940 - Cooker Pelgrim - Free user manual and instructions
Find the device manual for free OST 940 Pelgrim in PDF.
Download the instructions for your Cooker in PDF format for free! Find your manual OST 940 - Pelgrim and take your electronic device back in hand. On this page are published all the documents necessary for the use of your device. OST 940 by Pelgrim.
USER MANUAL OST 940 Pelgrim
APPLIANCE DESCRIPTION Appliance description (see fig. 1) 1 – indicator light oven temperature 2 – oven knob 3 – control knob front left cooking zone 4 – control knob rear left cooking zone 5 – spark ignition gas hob (oven 940) 5 – indicator light cooking zones electric hob (oven 960) 6 – control knob rear right cooking zone 7 – control knob front right cooking zone 8 – oven cooling and condensation exhaust 9 – upper heating element for heating/grilling 10 – ledges on five levels 11 – oven door control panel type 940 control panel type 980
control panel type 960FOR YOUR SAFETY
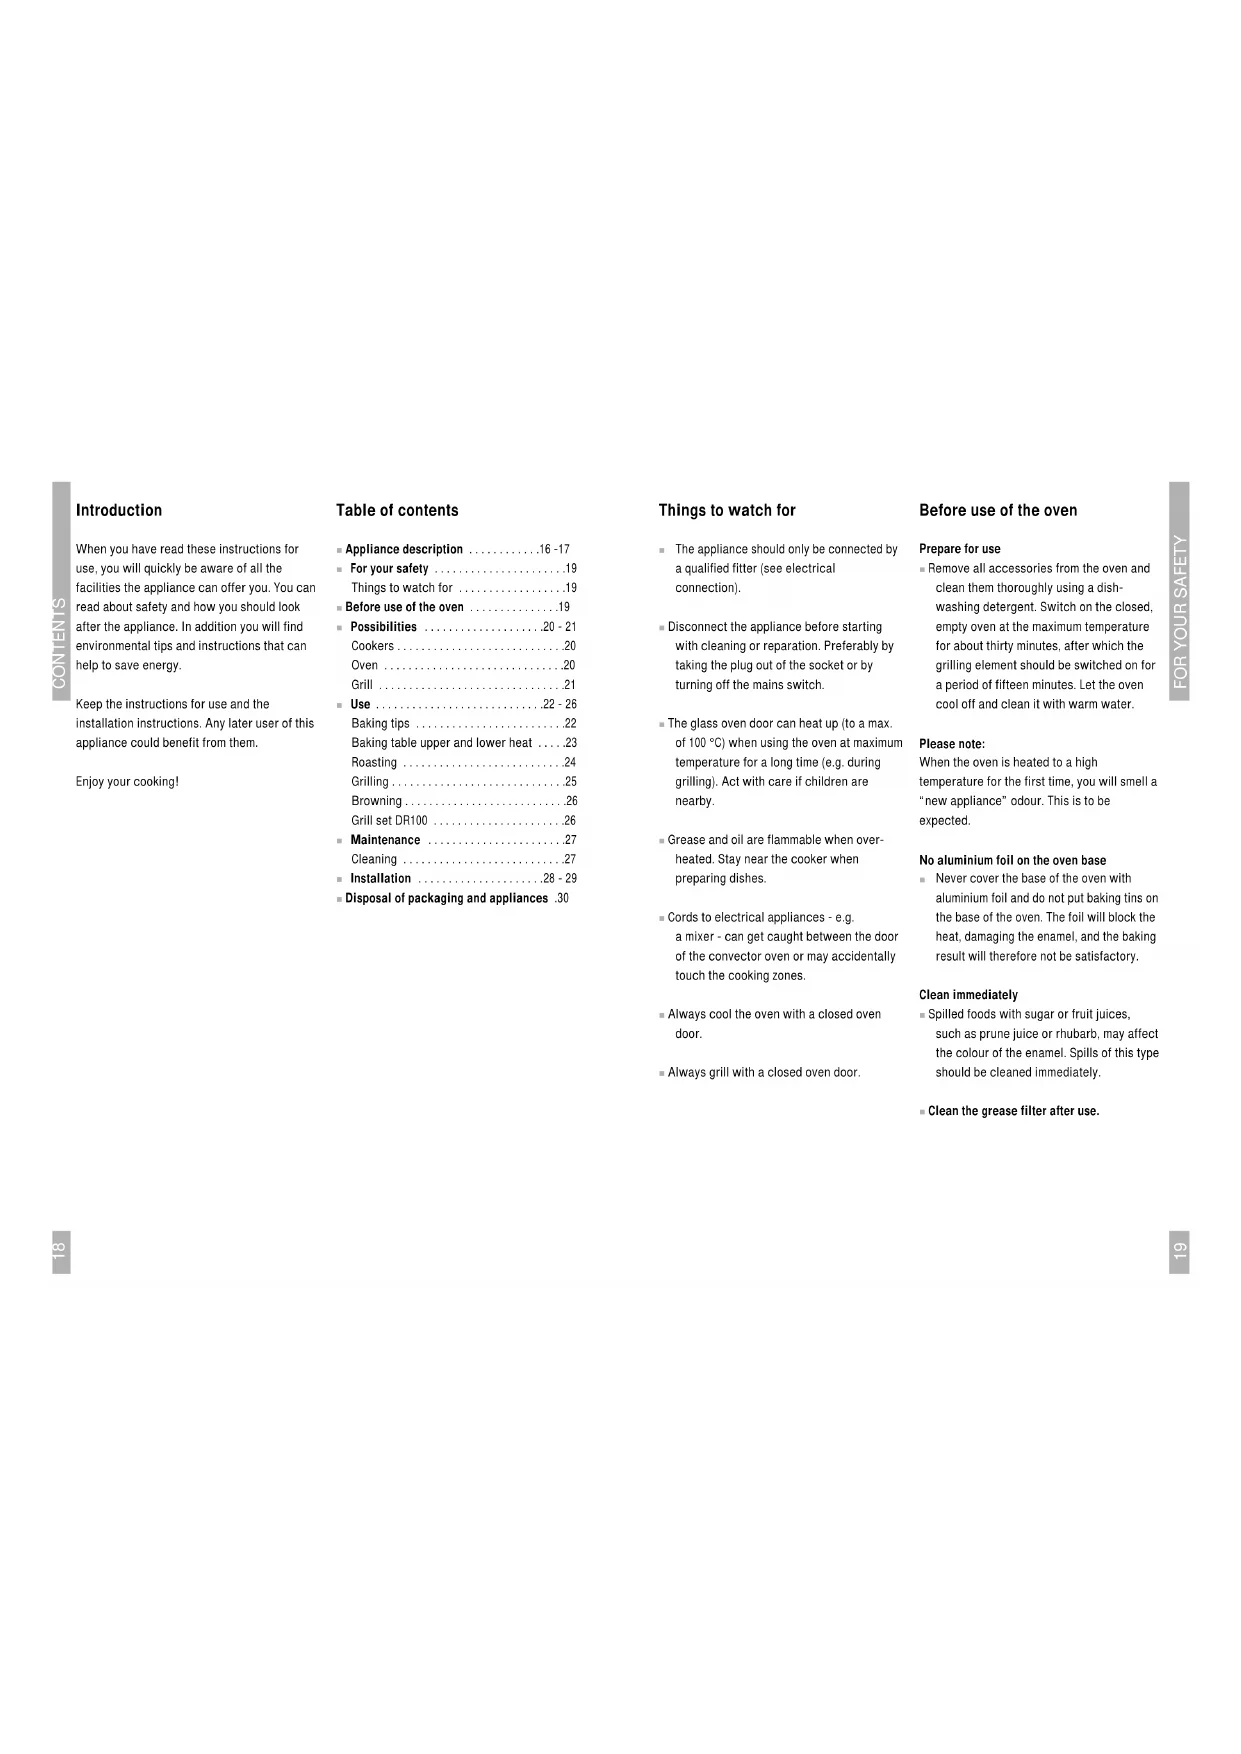
CONTENTS Things to watch for
The appliance should only be connected by a qualified fitter (see electrical connection). ■ Disconnect the appliance before starting with cleaning or reparation. Preferably by taking the plug out of the socket or by turning off the mains switch. ■ The glass oven door can heat up (to a max. of 100 °C) when using the oven at maximum temperature for a long time (e.g. during grilling). Act with care if children are nearby. ■ Grease and oil are flammable when over- heated. Stay near the cooker when preparing dishes. ■ Cords to electrical appliances - e.g. a mixer - can get caught between the door of the convector oven or may accidentally touch the cooking zones. ■ Always cool the oven with a closed oven door. ■ Always grill with a closed oven door. Before use of the oven Prepare for use ■ Remove all accessories from the oven and clean them thoroughly using a dish- washing detergent. Switch on the closed, empty oven at the maximum temperature for about thirty minutes, after which the grilling element should be switched on for a period of fifteen minutes. Let the oven cool off and clean it with warm water. Please note: When the oven is heated to a high temperature for the first time, you will smell a “new appliance” odour. This is to be expected. No aluminium foil on the oven base
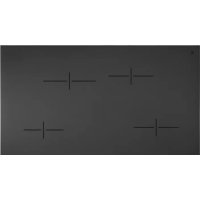
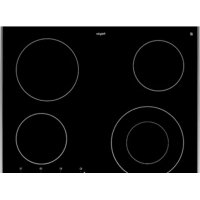
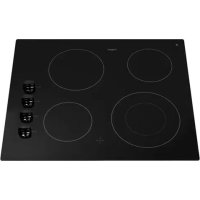
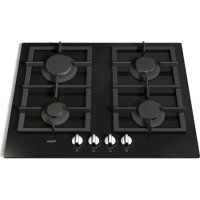
POSSIBILITIES Grill/ Upper heat (see Fig. 2) For grilling of dishes with or without spitbar. The dishes are heated by the radiation heat of the combined grill/backing element. The thermostat also sets the grill. The element will not continuously light, but only from time to time. The dishes get a crispy brown crust. Bottom heat only This function is advised for dishes of which the bottom need good cooking. The bottom of the dishes are thoroughly cooked. At the end of the cooking period, you can turn the function knob on to bottom heat. The temperatur knob can be left on the same setting. The dish will be mainly cooked by the lower element. Grill Grill is suitable for surface grilling and grilling with the rotisserie set. Always grill with a closed oven door. Fig. 2 Cookers Combi-oven 960 can only be combined with a Pelgrim electrical cooker or a Pelgrim ceramic cooker. Combi-oven 940 can be combined with a Pelgrim gas cooker. These cookers have separate operating instructions. Tip Switch on the cooker zones one at a time at the highest setting before using for the first time. This will remove the “new appliance” odour. Using pans Use only pans with a solid, even, preferably thick bottom, especially when cooking or frying at high temperatures (deep-fat frying, for example). Uneven pan bottoms will extend the cooking periods and require more energy. Heat is optimally transferred when the pan and the cooker zone are the same size. Always use lids When cooking without a lid, energy is wasted. Salty water and wet pan bottoms will damage the cooker. Make sure the cooker zones are always dry. If food boils over, always clean immediately. Oven Conventional The dish is heated by the radiation heat of the upper and lower elements. Because the heat comes both from the upper and the lower element, the position in the oven is important. Usually the dish should be put in the middle of the oven.Do not open the door at the beginning of the proces. Chances are the freshly risen pastry subsides. When preparing puff-pastry recipes, such as pastry rolls, sausage rolls and apple dumplings, or cream puffs, meringue pastries, soufflés, breads and biscuits, the best results will be achieved by using the upper and lower heating elements. Condensation When roasting or baking, condensation will develop, in particular when preparing bread, pizzas, pre-fried chips, etc. This is to be expected. When baking or roasting on multiple levels simultaneously, more condensation will develop. Fig. 1USE
USE Baking tips Oven levels Depending on the height of the pastry or cookies, place the baking sheet on the second or third level from the bottom. Tins should be placed on a rack on the first or second level from the bottom. Tins are important In particular in ovens with upper and lower heating elements, the material from which the tin is made is extremely important. The best tins are made from black tin or are lined with a special synthetic material: these tins absorb the heat the quickest and can shorten the baking time. How to test whether or not a cake is cooked: Prick a skewer into the cake at its thickest point about 10 minutes before the end of the given baking time. If the skewer remains dry and no cake mixture sticks to it you can turn off the oven and use the residual heat to let the cake cook thoroughly. The cake has not risen proper Use less liquid next time, or set the oven to a temperature 10°C lower. You should adhere exactly to the mixing times given in your cookery book. The cake has sunk in the middle The cake has risen beautifully at the edges but sunk in the middle. Do not grease the sides of the cake tin. Loosen the cake carefully with a knife after baking. The cake is too dark on the top Put the cake on a lower ridge in the oven, set a lower temperature, bake the cake for a little longer and, perhaps, use black baking tins. The cake is too dark on the bottom Put the cake on a higher ridge in the oven and set a lower temperature. The soufflé is much too dark on top Remove the crust. Grill the top for a moment to give a golden brown crust to the soufflé. Do not use Parmesan cheese: this type of cheese browns too quickly and will taste bitter. Next time put the dish a little lower in the oven and set the temperature 10°C lower. The biscuits stick to the baking sheet Slide the baking sheet back into the oven for a moment and then remove the biscuits immediately. The cake will not turn out of the tin. Carefully loosen the edge with a sharp knife. Turn the tin upside down again and cover with a cold, damp cloth a couple of times. Next time grease and flour the tin well. Table for baking with upper- and lower heat dish temp ridge time in in °C level min. Cakes and Biscuits Fruit cake 160 - 180 1 70 - 80 Walnut gateau 160 - 180 1 60 - 70 Fruit sponge 180 - 200 1, 2 35 - 40 Sponge flan 180 - 200 1 15 - 20 Shortbread 160 - 180 1 50 - 60 Biscuits 180 - 200 2 10 - 15 Meringues 130 - 140 2 30 - 50 Patries Flan pastry 180 - 200 1 15 - 20 Shortcrust pastry 180 - 200 1 20 - 25 Puff pastry 200- 220 1, 2 15 - 20 Choux pastry 190 - 180 2 20 - 25 Paté sucree 180 - 200 1 25 - 30 Yeast baking Bread 190 - 210 2, 3 40 - 50 Pizzas 190 - 210 2, 3 20 - 25 Fruitloaf 170 - 190 2 80 - 95 Croissants 230 - 240 2 20 - 25 Chelsea buns 190 - 210 2, 3 25 - 30 The figures in this table are guidelines The times will vary depending on the type and quantity of food being baked.Roasting If the meat is covered when roasted, e.g. in a casserole, it will retain its juices and little or no smoke will develop. When roasted in an open roasting tin it will brown and crisp more quickly. The oven’s roasting tin is ideal for roasting large joints, weighing over 1 kg. The table below applies only when you put the dishes into a cold oven. When using top and bottom heat the dishes should be put on to the second ridge. USE
USE Grilling ■ Place the roasting sheet on the first level in the oven. ■ Place the grill sheet in the middle of the oven. ■ Close the door and turn the knob to the grill setting. Dark meat such as beef, game and mutton will brown more quickly than light meat, such as veal, pork and poultry. Light meat and fish filets will not be as brown on the outside, even when they are done to juicy perfection on the inside. Smoke caused by burning grease will often develop when meat is grilled directly on the rack. The smoke development can be minimised by filling the roasting sheet with water and placing it underneath the grill rack. This will, of course, result in increased condensation. Time table for surface grilling Grill meat ridge level time in mins. Steak (4 pieces) 3 or 4 5 - 6 Schnitzel (4 pieces) 3 or 4 6 - 8 Liver (4 pieces) 3 or 4 4 - 5 Meat ball (4 pieces) 3 or 4 7 - 9 Saucage (4 pieces) 3 or 4 5 - 6 Toast 3 or 4 2 - 3 The figures in this table are guidelines. Roasting table Meat weigth in kg temp in °C time in mins. Pork 1 180 - 200 100 Beef 1 170 - 190 100 Veal 1 170 - 190 90 Spring Chicken 1 180 - 200 60 Chicken 1,3 170 - 190 75 Duck 1,5 150 - 170 90 Goose 3 170 - 190 160 - 180 Turkey 2 160 - 180 110 - 130 Turkey 3 160 - 180 150 - 180 Venison 1,5 170 - 190 90 Fish (whole) 1 160 - 180 50 The figures in this table are guidelines.MAINTENANCE
USE Browning To brown and crisp the outside of meat, switch the grill element on for a few moments. Wait until the top is golden brown; turn the food without pricking it. Small pieces of meat Grilled meat will retain its natural flavour if it is not coated with oil before grilling. Large pieces of meat These are best brushed with a thin coating of oil or butter to prevent the surfaces exposed to the heat from drying out. Cool door For safety reasons, in particular when grilling (when small children are around), it is wise to use a cool door. Cool doors are available upon request from Pelgrim, Service and Parts Department, (+ 31 (0)315 339700), order number D2000030. Grilling using grill set DR 100 (see Fig. 4) The grill set DR 100 is available as an oven accessory. This set can be used for spit roasting. The food will rotate underneath the grilling element, enabling it to brown evenly. The rotation motor is built into the oven. Cleaning Enamelled parts The inside of the oven door, the side panels, the base of the oven, the baking sheet and the roasting tin are all completely enamelled. These are best cleaned with hot, soapy water or a little liquid detergent (Jif); rinse well with clean water. Accessories Self-cleaning walls can be ordered as an accessory to this oven. These oven walls clean themselves at a temperature of 200°C and only need to be wiped off with a dry cloth. Chrome Clean the ridges, the rack and the control panel with hot soapy water or a little liquid detergent, rinse with clean water. Plastic/glass Clean the handle and knobs with soapy water or Glassex. Sealing rubber Clean with hot soapy water and rinse with clean water. A tip Cleaning the oven regularly will prevent stubborn stains. If you want to thoroughly clean the oven, the ledges can be removed by pushing the edges upwards and lift them from the hook (see Figure 5). Fig. 5 Fig. 4INSTALLATION
INSTALLATION Installation General When the appliance does not have a connecting cable and plug, then it may be connected to the mains only by an approved installer. Please note: The power rating and required mains voltage are shown on the rating plate at the back of the oven. Connection should take place according to national and local regulations. After installation the wall socket and plug must be accessible at all times. To connect the appliance a fixed connection has to be made. The wire which is coloured green and yellow must be connected to the terminal which is marked by the letter E or the earth symbol or which is coloured green, or green and yellow. The wire which is coloured blue must be connected to the terminal which is marked by the letter N or which is coloured black. The wire which is coloured brown must be connected to the terminal which is marked by the letter L or which is coloured red. If the input of the appliance exceeds 3 kW, the appliance has to be connected to an outlet with a rated current exceeding 13 Amp. Electrical connection 230 V -50 Hz ■ The appliance should always be earthed. Uase good quality cable for connecting e.g. H05RRF, 1,5 or 2,5 mm
, with 3 or 5 cores, depending on the regulations. With following colour code: brown = phase L blue = phase N green/yellow = earth ( ) black= neutral or phase Depending upon the wiring diagram, you can use the black cores for neutral or a phase. The cable must have a plug suitable for a nominal load of at least 15 A. If you want to make a fixed connection, ensure that a multi-pole switch with a distance between contacts of 3 mm is installed in the supply cable. Wiring diagrams ■ There is a label showing the wiring diagrams on the underside of the appliance. Supply terminals ■ The supply terminals are accessible by removing the cover plate on the underside. You can make the cross connections needed using the jumpers on the terminal block. Do not forget to secure the cable with the cable clamp. Refit the cover plate after you have secured the cable. Electrical connection Two or three phases. Technical data oven type 980 960 940 model combi-oven with cooker electric gas electrical connection 230 V ■ ■ 230 V 380 V/400V ■ 50 Hz ■ ■ ■ nominal power kW 2,1 2,1 - 10 2,1 Combination of oven 940 with Pelgrim cooker (see Figure 6) For installation of this combination appliance, see the cooker instructions. Solo oven 980 (see Figure 7) ■ Connect oven to the electrical mains. ■ Slide the oven into the cupboard. ■ Open the oven door and fasten the oven with two screws on each side wall. Combination of the 960 oven and the Pelgrim electrical or ceramic cooker After the electrical or ceramic cooker has been installed in accordance with the instructions supplied with the appliance: ■ Connect the oven to the electrical mains and connect the cooker’s 12-pole plug to the oven’s counter-plug. ■ Now slide the oven into the cupboard. ■ Open the oven door and fasten the oven with two screws on each side wall.
PACKAGING /APPLIANCES disposal of packaging and appliances The packaging of the appliance is recyclable. It is made up off: – cardboard – polyethylene – CFC free polystyrene (PS rigid foam) – polypropylene straps around the box Please dispose of these materials in a responsible way in accordance with the regulations of your local authority. Your local authority will also be able to give you information about disposing disused household appliances in a responsible way. This appliance complies the regulations concerning electromagnetic compatibility in directive 89/336/EEC.