TS 642 Cosi Combo - Phone TELEFUNKEN - Free user manual and instructions
Find the device manual for free TS 642 Cosi Combo TELEFUNKEN in PDF.
| Product Type | Cordless phone with base and answering machine |
| Brand | TELEFUNKEN |
| Model | TS 642 Cosi Combo |
| Base power supply | 6 V DC power adapter |
| Handset power supply | 2 NiMH rechargeable batteries (supplied) |
| Handset battery life (approximate) | Approximately 10 hours talk time / 100 hours standby |
| Range | 300 meters outdoors, 50 meters indoors |
| Directory capacity | Up to 50 entries |
| Built-in answering machine | Yes, 60 minutes total recording, messages up to 2 minutes |
| Main functions | Intercom, conference call, call transfer, speakerphone, call log, speed dial, handset search, keypad lock, alarm |
| Display | LCD screen with icons (base and handset) |
| Maximum number of handsets | Up to 5 handsets per base |
| Warranty | 24 months from date of purchase |
| Manufacturer | SOPEG SAS, Parc Burospace 2, Route de Gisy, BP24 91571 BIEVRES, France |
| After-sales service | 0892 70 50 44 (0.337 € incl. VAT/min) - assistance@sopeg.com |
| Cleaning | Damp cloth, no solvents or liquid cleaners |
| Safety | Use only NiMH batteries, do not immerse, unplug if damaged |
Frequently Asked Questions - TS 642 Cosi Combo TELEFUNKEN
User questions about TS 642 Cosi Combo TELEFUNKEN
0 question about this device. Answer the ones you know or ask your own.
Ask a new question about this device
Download the instructions for your Phone in PDF format for free! Find your manual TS 642 Cosi Combo - TELEFUNKEN and take your electronic device back in hand. On this page are published all the documents necessary for the use of your device. TS 642 Cosi Combo by TELEFUNKEN.
USER MANUAL TS 642 Cosi Combo TELEFUNKEN
MANUFACTURER INFORMATION 19
WARRANTY 20
AFTER-SALES SERVICE 20
SECURITY INSTRUCTIONS 21
INTRODUCTION
Thank you for purchasing TELEFUNKEN TF652 COSI COMBO model. To better use your phone, please read carefully this user guide. If you need assistance to use the product, please join our after-sales service:
assistance@sopeg.com
PACKAGE CONTENT
Coreded Phone
Cordless Handset / Charging base
User manual
Line cable
2 Power cables
T French plug
2 rechargeable batteries
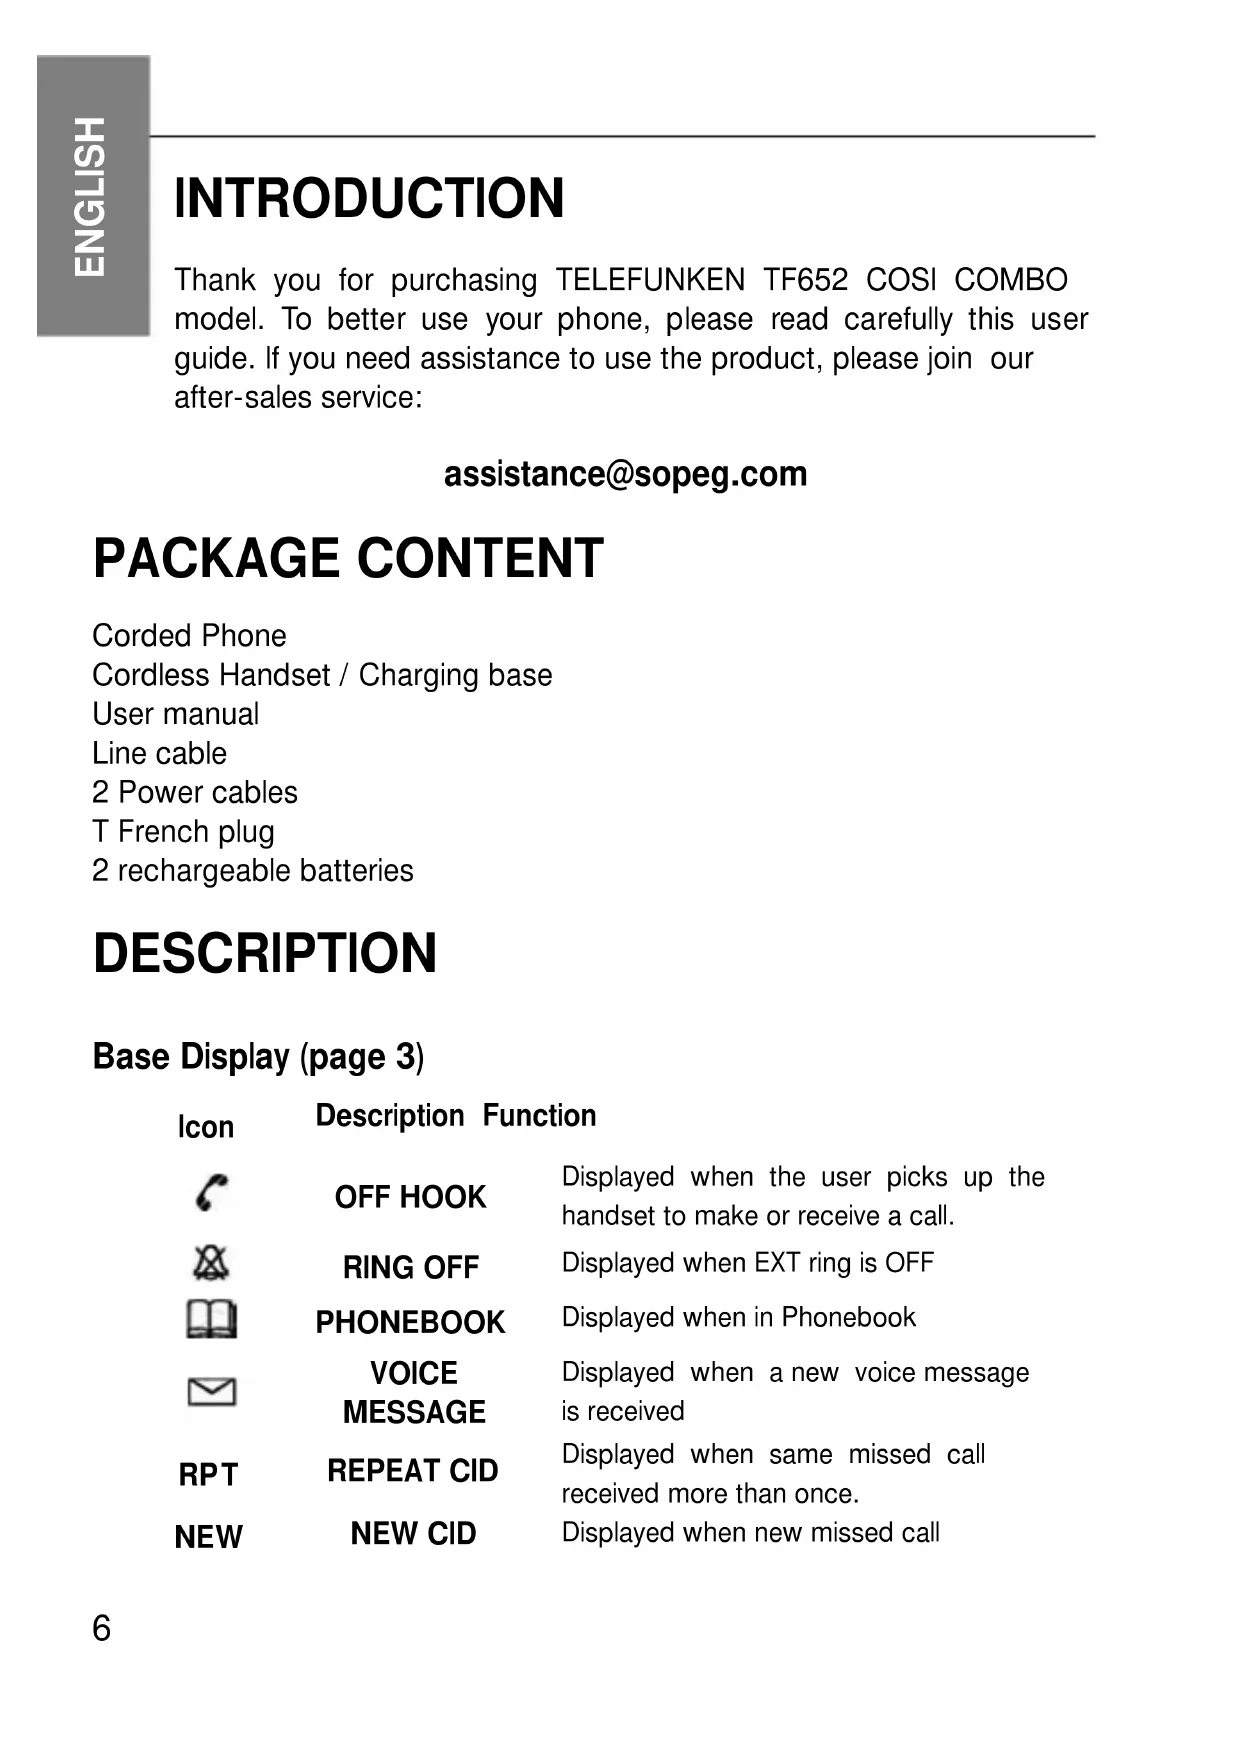
DESCRIPTION
Base Display (page 3)
| Icon | Description Function | |
| OFF HOOK | Displayed when the user picks up the handset to make or receive a call. | |
| RING OFF | Displayed when EXT ring is OFF | |
| PHONEBOOK | Displayed when in Phonebook | |
| VOICE | Displayed when a new voice message is received | |
| MESSAGE | ||
| RPT | REPEAT CID | Displayed when same missed call received more than once. |
| NEW | NEW CID | Displayed when new missed call |
| # | SEQUENCE | Indicates the sequence of the call while scrolling call logs |
| HANDSFREE | Displayed when speakerphone is in use. | |
| AM | A.M. | Morning in 12 hour clock mode. |
| PM | P.M. | Afternoon in 12 hour clock mode. |
Base Keypad (page 3)
Icon Description Function Definition
| MENU Menu/Mute | Entry to the menu functions from idle mode; Confirming (OK) selections & actions; During a call, Mute/Un-mute the conversation; Enter the phonebook; Exiting from a function during menu operation; Press and hold it to switch the answering machine ON or OFF. With TAM ON, press to select OGM 1 or OGM 2. | |
| BOOK BOOK | ||
| TAD ON/OFF | ||
| MEMO MEMO | Press and hold this key to record a memo During conversation, press and hold it to record conversation. In idle state, press it to listen to current OGM. In idle state, press and hold it to record current OGM. | |
| OGM OGM | ||
| Play/Pause | Press to play the messages. Press again to suspend the message playing. | |
| DEL Delete | Delete memory. During message play, press and hold to delete all old messages. | |
| ▲/CID | UP/CID | Scroll up through menu options; Increase earpiece/speakerphone volume during a call; Review the incoming calls. |
| ▼/OUT | DOWN/OUT | Scroll down through menu options; Decrease earpiece/speakerphone volume during a call; Review outgoing calls. |
INT INT
To make an internal call; To transfer an incoming call to handset; To set up a conference call
FLASH FLASH
Flash key to reset the line without leaving the handset
REDIAL/P Redial/Pause
Press one to redial the last dialed number; Press while dialing a number to insert a pause.

SPEAKER
Press this key to speakerphone mode
M1 M1
One-touch memory key
2
NUMERICAL KEY 2
During message play, press it to delete current message.
4
NUMERICAL KEY 4
During message play, press it to play back current message or press it twice to go back to the previous message.
5
NUMERICAL KEY 5
Press to pause (max 1 min) and restart the current message.
6
NUMERICAL KEY 6
During message play, press to go forward to the next message.
8
NUMERICAL KEY 8
When playing the message, press it to stop playing immediately.
Handset (page 4)
Icon Description Function
T.1
ANTENNA
Displayed to indicate signal strength.

OFF HOOK
Displayed when press state.

key once in idle

KEY LOCK
Displayed when the har
set keypad is locked.

ALARM
Shown on when the alarm is set.
Flashes when the alarm is triggered.

RING OFF
Displayed when external ring set to off

PHONE BOOK
Displayed when phonebook is open.

RPT
VOICE MESSAGE Repeat CID
Displayed when a new voice message is received.
Displayed when same missed calls received more than once.
NEW NEW CID
Displayed when there is a new missed call.
Sequence
Appears along with the digit to indicate the sequence of the call when scrolling call logs

HANDS FREE
Displayed when press key twice in idle state.

BATTERY
Displayed charging indication and current battery status.
AM A.M.
Morning in 12-hour system
PM P.M.
Afternoon in 12-hour system
Keypad (page 4)
Nb Icon Description Definition 1 LCD DISPLAY
2
INT
Intercom
3

Phonebook/ Back
4

TALK and H.F
5, 9
A
UP
6
R/CLR
Flash/Delete
7, 10
V
DOWN
11

SET/OK and MUTE
See functions above
Internal call handset; Call transfer; Conference call.
Direct access key to phonebook; Exiting from menu function
Press once to put the handset into off hook mode. Press twice to take the handset to hands free mode.
Scrolling up through lists and menu options; Increase volume; Access Received calls;
Deletes memory or current input
Scrolling down through lists and menu options; Low volume; Access Dialed calls;
Enter Menu; Confirm or OK button; MUTE function during call
12

HANG UP
/POWER
ON(OFF)
13 RD/P
Redial/
Pause
14
CHARGE
Charging
LED
15 DC Power plug
Press once to hang up the call;
Hold for 3 seconds to power on/off the handset.
Redial the last dialed number.
Press to insert a pause while dialing
DC 6V
INSTALLATION
Base
- Plug the main power lead and the phone line cord into the LINE and DC slots.
- Plug the main adapter into mains socket.
- Connect the base unit to phone wall socket by a phone line.
Handset
- Plug the main power lead into the back of the cradle.
- Plug the main adapter into mains socket.
- Put the batteries in the handset.
- To power up the handset, place it on the charging cradle or press and hold key.
NOTE: All passwords are 0000 by default.
BASE MENU
In standby mode, press MENU key to enter menu settings, press /CID or key to select submenu and press MENU to confirm your choice. You can press BOOK key to be back to standby mode.
Phonebook
Press MENU and then / CID or /OUT keys to select PHONEBOOK. Press MENU to confirm and enter. Submenus:
LIST
Phonebook records. Press or key to choose a contact and then press key or pick up handset to dial the number automatically.
NEW ENTRY
Add a new entry. Press or key to select NEW ENTRY and press MENU key. Enter the name and number using the keyboard. If any mistake, press DEL to correct. Press MENU to save the contact.
EDIT RECORD
Modify a phonebook record. Press MENU key and use the keypad to enter characters/numbers and DEL key to delete them.
DEL RECORD
Delete a phonebook entry. Press twice MENU to confirm and delete.
DELETE ALL
Delete all phonebook entries. Enter this submenu and press MENU key twice to confirm.
MEMORY STATUS
In this menu you can see how many registered records are in your phonebook. Your phone base can have 50 records max.
Call log
Press MENU key, use or key to choose CALL LOG, press MENU key to enter. Press MENU key to enter chosen submenu. If no entries are available in the list, the display shows EMPTY. Press key or pick up handset to dial the number automatically.
NOTE: In idle state, press key to Received calls, press key to review Dialed calls.
Settings
This submenu has the following options:
DELETE HS Delete a registered handset from the base. You need to input PIN code. By default: 0000.
RING SETUP Change the base ringing on Internal (INT RING) and External (EXT RING) calls.
DIAL MODE
Change the dial mode of the base. It can be TONE or PULSE mode. Depending on your phone line or PABX system you may change the dialing mode.
FLASH TIME
Select the flash time (100ms, 300ms, 600ms and 1000ms) to meet phone line or PABX requirement.
KEYTONE Turn on/off the keys' tone in standby mode.
LANGUAGE Choose the language of your phone
DATE & TIME Set date and time on the base
MODIFY PIN Change standard PIN (0000) to personal one. You should firstly enter the previous (or default) code, then enter and confirm new PIN code.
BS DEFAULT Restore factory default settings of the base. You need to enter PIN code to restore settings. The call log will be cleared but Phonebook will not be changed.
Pairing of handsets
The handset supplied with the base unit is already paired. You don't need to re-register them, unless you have a problem. Maximum 5 handsets can be registered to the same base unit and maximum 4 bases per handset. Firstly, be sure the base is connected to mains power and the handset is close to it (300m outside and 50 inside). If the handset is already registered, the display will show its number and strength of signal with the base. If not, you need to re-register the handset again using the following process:
NOTE: You need to operate the base and handset together
- On the base, press MENU key.
- Press or to select REGISTRATION submenu.
Press MENU to enter. Display shows SEARCHING and it flashes. - At the same time, press OK key on the handset to see PHONEBOOK
- Press or key to select REGISTRATION
-
Press OK to see BASE 1 (If the handset already has a registration to a base there is a "+" on the right side of the display, and you should choose another base number if you don't want to lose it).
-
Press OK to confirm. The display shows PIN?, Enter PIN code for the base (0000 by default).
Press OK to confirm
Answering Machine (TAM)
The answering machine can record messages from incoming callers or memos directly at the base. Each message or memo can be up to 2 minutes long, and the total recording time available for all messages/memos is about 60 minutes.
Press MENU key, then press /CID or /OUT key to select TAM. Then press MENU key to confirm and enter.
MESSAGE Press again MENU to enter and to listen to
messages. Press key to pause the message play.
DELETE ALL Press MENU to enter, the display will show CONFIRM?, you can press MENU to confirm. Or long press DEL key for same result
MEMO This allows users to record memo of up to 120 seconds.
TAM SETTINGS
TAM ON/OFF (press and hold / to switch TAM ON/OFF)
SET OGM (choose between announcement 1 or 2). Then, you
listen to OGM (outgoing message) - Record your outgoing message - Delete the OGM (set OGM to default)
Press OGM key on the base to switch between 2 announcements.
You can register your announcement with the possibility to leave a message: set OGM1 by default, long press OGM key, record your announcement and press /■to end recording. To record an announcement without the possibility to leave a message, do same procedure, but set the OGM2 by default before recording.
TAM ALERT activate message alert (to hear warning tone every 60 sec, if you have new messages)
SET RING
To set the number of rings before answering machine (between 2 and 9 rings, or TOLL Saver). By default, the answering
machine is activated after 5 rings. TOLL SAVER option helps to save call and energy time. It waits for 5 rings during the first call. If you have at least 1 new message on the machine, it will activate TAM after 2 rings.
TAM VOICE choose the TAM language
TAM PIN The 4-digit PIN is used to access the remote control.
The default code is "0000".
TAM DEFAULT You will restore the following settings after you select this command: Ring setting: 5; TAM ON; OGM 1; Security code: 0000; TAM alarm: OFF
REMOTE CONTROL
If you are away from home, TAM can be accessed by remote control. Call your number and wait for TAM to be activated. When you hear the OGM announcement, press “*” key, the answering machine will enter the remote control state, press your PIN code (default 0000). Then, you will hear a voice prompt about new messages and it will automatically play new messages firstly. If there’re no new messages, it will play all messages on the answering machine. When messages are playing, you can press keys as follows:
Press 2 To delete a message.
Press 4 Press once to play back current message, press two times to go back to the previous message.
Press 6 To forward to the next message
Press 5 To pause and restart the current message. The pause time maximum is one minute. If not quit from pause in one minute, then it will quite the message play after one minute automatically
Press 8 To stop playback
When in remote, but not playing messages, you can press keys to start functions:
Press 1 To play the main menu
Press 5 To play messages
Press 7 To switch the answer machine between OGM1 and OGM2
Press 9 To switch the answer machine to TAM OFF
HANDSET MENU
In standby mode, press OK key to enter the menu, press or V key to choose a submenu and then press OK to enter it. Press key to return to previous submenu or quit from pressing key.
PHONEBOOK
Each handset has its own phonebook, independent of other handsets, with a maximum of 50 entries. Press OK key, use or key to select PHONEBOOK. Press OK key to confirm.
LIST Access the list of phonebook entries. Press or to scroll up or down. You can press key to dial a chosen number automatically. Shortcut: for Phonebook
NEW ENTRY Add an entry to phonebook.
EDIT RECORD Modify a phonebook record.
DEL RECORD Delete a chosen contact from Phonebook.
DELETE ALL Delete all contacts from Phonebook
MEM STATUS Consult available space and number of empty contacts.
CALL LOG
Same as in BASE menu, there are 3 call logs: MISSED, RECEIVED and DIALED calls. If no entries are available in a list, display will show EMPTY. When a number is shown, press key to dial it automatically.
Press OK, use or key to choose among ADD TO PB? DELETE?, DELETE ALL?. Then press OK key to confirm:
ADD TO PB? To add the contact to phonebook
DELETE To delete the record from call log
DELETE ALL To delete all records from call log
NOTE: In idle state, press key to see RECEIVED calls or v key to review DIALED calls.
Base settings
You have an access to base settings while using the handset. Press OK key and use or key to select BS SETTINGS.
You have the following options:
DELETE HS Disconnect this handset from the base. You need to enter your PIN (0000 by default) to confirm your choice.
DIAL MODE Change the dial mode of base and handset (TONE or PULSE).
FLASH TIME Select flash time (100ms, 300ms, 600ms and 1000ms) to meet phone line or PABX requirements.
MODIFY PIN Change your PIN. The default PIN is 0000.
BASE DEFAULT Restore base factory default settings.
HS settings
Press OK key and use or V to select HS SETTINGS.
You have the following options:
ALARM
Set the alarm on the handset. Press or key to select ON or OFF, press OK key to confirm. After select ON, press OK key to set the time. Set up the snooze. Press OK key to confirm your selection. The appears on the top of the display.
NOTE: If the SNOOZE is set ON, the alarm will be repeated every 5 minutes for about 9 times. During alarm, press any key except
to snooze the alarm for 5 minutes. If the SNOOZE is set OFF, the alarm will sound for 45 seconds only one.
RING SETUP
Change the handset ringing for internal (INT RING) and external (EXT RING) calls. There are 10 ringer melodies and 5 volume levels.
NOTE: If you select ring OFF for INT RING, it will not ring during a call transfer from the base or another handset. If you select ring OFF for EXT RING, there will be a ringing off icon display on the screen and the handset will not ring during incoming call.
TONE SETUP
Change the handset tone settings. In this menu, press or v key to select KEY TONE, BATTERY LOW warning or RANGE ALARM (when the handset is out of the range) setup. Press or v key to select ON or OFF to enable/disable the sound of beeps respectively.
LANGUAGE Set up the language of the handset.
HS NAME Change the handset name
AUTO ANSWER Handset can be set to answer an incoming call automatically by picking it up from the cradle. You can enable/disable auto answer function.
BARRING You can set 4 numbers (up to 4 digits each) for call barring. When call barring is "ON", numbers beginning with the programmed digits will not be able to be dialed, and display shows CALLS BARRED
DATE & TIME Set date and time on the handset
HS DEFAULT
Restore handset factory default settings. Everything will be returned to initial default settings, the CID and DIALED call logs will be cleared. The phonebook will not be changed. To confirm your choice you need to enter PIN code (0000 by default).
REGISTRATION Pair a handset to a specified base. See the procedure in Base Menu settings.
ANSWERING MACHINE
Consult and manage the answering machine from the handset. Refer to BASE TAM settings and procedures, it is absolutely the same.
OPERATIONS
Redial
Press REDIAL/P (or RD/P) key will insert a time delay of 3.6 seconds while dialing a number.
DIRECT MEMORY ON BASE
Register number
- In idle state, pre-dial a number or choose from phonebook
- Press and hold M1 key till you hear a sound, so the number is stored.
Dial a direct memory number
In on-hook or off-hook state, press M1 key, the number is dialed.
Research handset(s)
Press INT key on BASE, then press "9" on the keypad of the base to page all paired handsets. Press INT key again to cancel the paging.
Intercom
The intercom feature is activated by pressing the INT key.
From Base
Press INT key once. If you have only one paired handset, the display will show "CALLING HS1".
If you have more than one paired handset, the display will show "HS?" with the registered handset numbers above. Press the number of handset. On the handset, answer the call by pressing (or) key.
From Handset
Press INT key, you hear a beep and display shows "HS?" with the numbers of other handsets, and "0" for the base. Key in the number you want.
Call transfer
Transfer the call by base unit
During a call, to transfer the call to a handset, press the INT key.
The call will be put on hold. If the base has only one paired handset, it will transfer directly. Key in the number of handset, if there are several paired handsets. Press key of the handset to answer the call. Base and handset will be connected. To complete the transfer, the transferring phone should hang up (the base in this case).
Transfer the call by handset
Press the INT key. Key in the number of the handset or the base (base number is "0") you want to transfer the call to. The external call will be put on hold. To complete the transfer, press key on initial handset.
If the other handset or base does not answer, you can get back to the external call by pressing INT key again or you will automatically be reconnected after 30 seconds.
Conference call
From Base
While on call via base unit, press INT key and enter the number of the handset you want to connect to the call. The display will show the handset name you have entered and the handset will ring. Once the handset answers the call, press key on the base keypad, then the base and the handset will be connected to the external call. When either base or handset hangs up, another will still be connected to the call.
From Handset
Press INT key, then key in the number of another handset (or key "0" for the base). When the other handset (or the base) answers the call, press key on the handset to connect the three parties together.

To Lock/Unlock the Keypad of Handset
Press and hold the key of the handset for about 2 seconds.
You will hear a beep tone, the icon will dis/appear on the top of display.
MANUFACTURER INFORMATION
SOPEG SAS
Parc Burospace 2,
Route de Gisy, BP24 91571 BIEVRES, France
Email: info@sopeg.com
Tel.: +33160130888
WARRANTY
This phone comes with a 24-month warranty, starting from the purchase date.
For more information on the applicability of this warranty, please refer to our website: www.telefunken-digital.com
AFTER-SALES SERVICE
In the event of a technical, contact our after-sales service:
0892 70 50 44
Service AUDIOTEL® 0,337 € VAT inc/min
assistance@sopeg.com
Address:
DECLARATION OF CONFORMITY
In accordance with Directives 1999/5/CE, 2006/95/CE and 2011/65/EC this product complies with the essential requirements and other relevant provisions. You can request full certificate and declaration of conformity by sending an email to:
assistance@sopeg.com
The symbol shown here and on the product means that the product is classed as Electrical or Electronic Equipment and should not be disposed with other household or
commercial waste at the end of its working life. The Waste of Electrical and Electronic Equipment (WEEE) Directive (2002/96/EC) has been put in place to recycle products using best available recovery and recycling techniques to minimize the impact on the environment, treat any hazardous substances and avoid the increasing landfill.


SECURITY INSTRUCTIONS
When using your telephone, simple safety precautions should be followed to prevent any risk of fire, electric shock or any other accident. Follow all the warnings contained in this guide and on the telephone.
Do not use any liquid or aerosol cleaners; use a lint-free cloth.
Do not use the telephone in close proximity to water, for example sinks, baths, taps, swimming pools and so on. Unplug the phone from the outlet, and contact technical support in the following cases:
- If the telephone has been dropped and some parts are broken.
- If the telephone shows clear signs of change in its operation.
Use only rechargeable NiMH (nickel-metal hydride) batteries.
Use of any other kind of battery or use of non-rechargeable batteries may be dangerous. It might cause interference or damage to the phone. The manufacturer shall not be held liable for repairing or replacing the telephone if batteries of a type different than that originally supplied have been used.
Do not submerge batteries in water, and do not incinerate them. If you have a mains power failure, you can still use your base to make and receive telephone calls. The phone will ring when you receive an incoming call in power failure mode but the display will not light up and the caller's details will not be stored in the calls list.
Use
This telephone is intended to be connected to a public analogue telephone network or to an analogue extension of an approved compatible PBX system.
Care and maintenance
Do not clean any part of your phone system with benzene, thinners or other solvent chemicals as this may cause permanent damage which is not covered by the Guarantee. When necessary, clean it with a damp cloth.
GUIDE D'UTILISATION
GUIDEDUPLICATION 22
INTRODUCTION 23
CONTENU DE L'EMBALLAGE 23
DESCRIPTION 23
INSTALLATION 28
MENUDELABASE 28
MENUDUCOMBINÉ 33
FONCTIONS 37
FABRIQUANT 39
GARANTIE 39
SERVICEAPRÈS-VENTE 39
INSTRUCTIONS DE SECURITE 40
INTRODUCTION
2 piles rechargeables