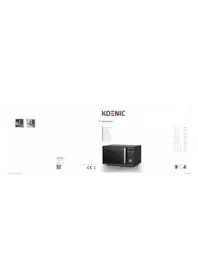
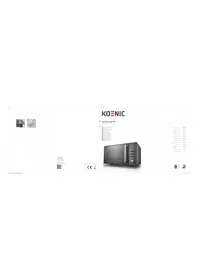
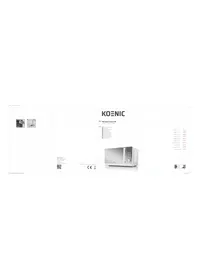
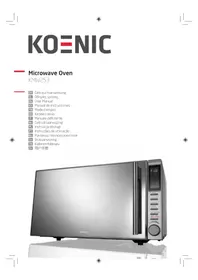
KMW203 - Microwave Oven Koenic - Free user manual and instructions
Find the device manual for free KMW203 Koenic in PDF.
Document temporarily unavailable
The manual is currently being transferred to our new server. It will be accessible again in a few hours. Thank you for your patience.
| Product type | Microwave with grill |
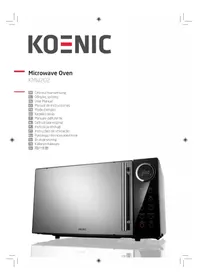
| Brand | Koenic |
| Model | KMW203 |
| Capacity | 20 liters |
| Dimensions (W x D x H) | 440 x 362 x 259 mm |
| Weight | 11.3 kg |
| Turntable diameter | 255 mm |
| Power supply | 230 V ~ 50 Hz |
| Microwave power (output) | 800 W |
| Grill power | 1000 W |
| Microwave input power | 1270 W |
| Frequency | 2450 MHz |
| Microwave power levels | 10%, 30%, 50%, 80%, 100% |
| Cooking modes | Microwave, Grill, Combination (C-1 and C-2) |
| Defrost | By weight (100-2000 g) or by time |
| Automatic programs | 8 (Reheat, Vegetables, Fish, Meat, Pasta, Potatoes, Pizza, Soup) |
| Preset function | Yes (delayed timer) |
| Child lock | Yes, by holding STOP for 3 seconds |
| Display | Digital (LCD) |
| Included accessories | Glass tray, metal rack, user manual |
| Cleaning the tray | Hand wash (not dishwasher) |
| Minimum installation height | 85 cm |
| Required free space | 30 cm above, 20 cm around |
| Allowed utensils in microwave mode | Glass, ceramic, microwave-safe plastic (no metal) |
Frequently Asked Questions - KMW203 Koenic
User questions about KMW203 Koenic
0 question about this device. Answer the ones you know or ask your own.
Ask a new question about this device
Download the instructions for your Microwave Oven in PDF format for free! Find your manual KMW203 - Koenic and take your electronic device back in hand. On this page are published all the documents necessary for the use of your device. KMW203 by Koenic.