Babycom 268 - Baby monitors SWISSVOICE - Free user manual and instructions
Find the device manual for free Babycom 268 SWISSVOICE in PDF.



User questions about Babycom 268 SWISSVOICE
0 question about this device. Answer the ones you know or ask your own.
Ask a new question about this device
Download the instructions for your Baby monitors in PDF format for free! Find your manual Babycom 268 - SWISSVOICE and take your electronic device back in hand. On this page are published all the documents necessary for the use of your device. Babycom 268 by SWISSVOICE.
USER MANUAL Babycom 268 SWISSVOICE
Touches apparel parents 18
Affichages 19
Raccorder le Babycom 268 19
Touches apparel parents
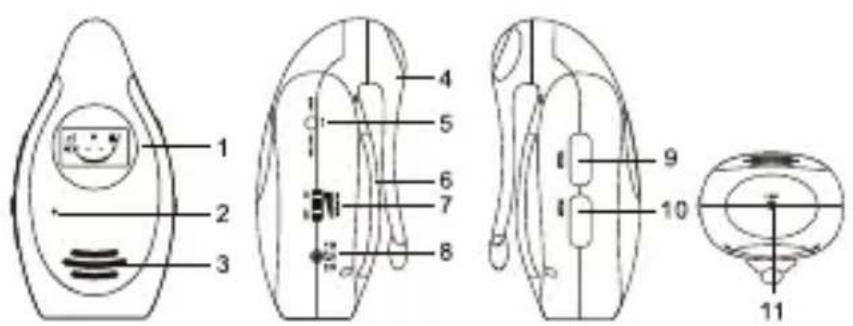
1 Affichage LCD
2 Microphone
3 Haut-parleur
4 Clip ceinture
5 Verrouillage / Déverrouillage
6 Compartment batteries
7 Interrupteur On / Off / Réglage volume
8 Prise AC/DC
9 Touche TALK
10 Touche PAGE
11 Touche LINK
Affichages
Welcome to Swissvoice
Set aside some time to read this user manual carefully and get to know and use the functions offered by your Babycom 268.
Safety notes
-
This product is not a substitute for responsible parental supervision.
-
This baby monitor is intended as an aid and is not suitable for medical supervision.
- Electrical equipment and cables must always be kept out of children's reach, and never placed in the cot or playpen!
- Never place the device in bathrooms or showers, and make sure it is protected from damp.
- The device will not work during a power cut, if the adapter is not plugged in or if the batteries are discharged.
- Do not attempt to remove the antenna or modify the device in any way!
Contents
Contents of the package 47
Keys and displays 48
Baby unit keys 48
Parental unit keys 48
Displays 49
Connecting your Babycom 268 49
Inserting the batteries (parental and baby unit) 49
Information on using the batteries 49
Charging the batteries initially / connecting the adapter 50
Charge displays 51
Charging the batteries 51
Test before use 52
Transmission from baby unit / reception on parental unit 52
Test transmission from baby unit 52
Test reception on parental unit 52
Settings 53
Setting the volume 53
Setting the CTCSS code 53
Setting the sensitivity (baby unit only) 54
Activating/deactivating the key lock 55
Operation 55
Out-of-range alarm (parental unit only) 55
Talking to the baby unit (from parental unit) 55
Sending a signal tone 56
Faults and trouble-shooting 56
Appendix 57
Care 57
Recycling (environmental protection) 58
Disposing of the rechargeable battery 58
Warranty conditions 58
Approval and conformity 59
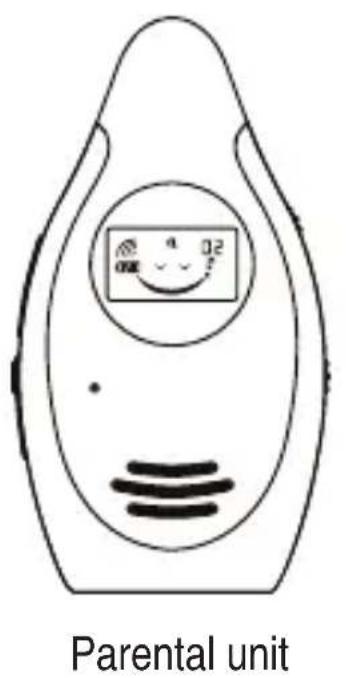
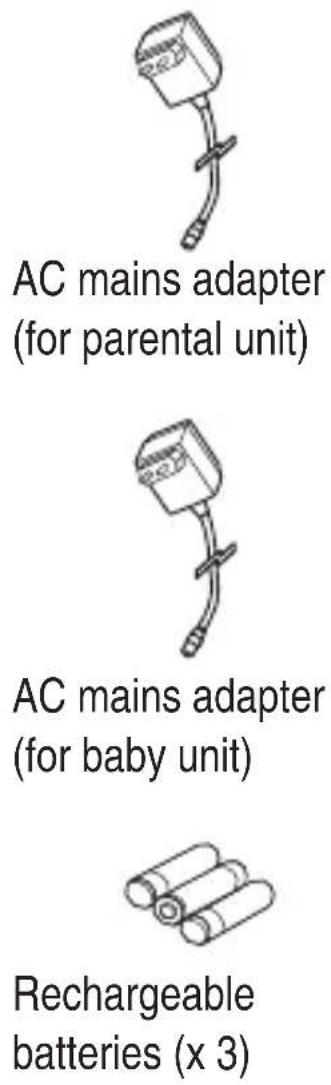
Contents of the package
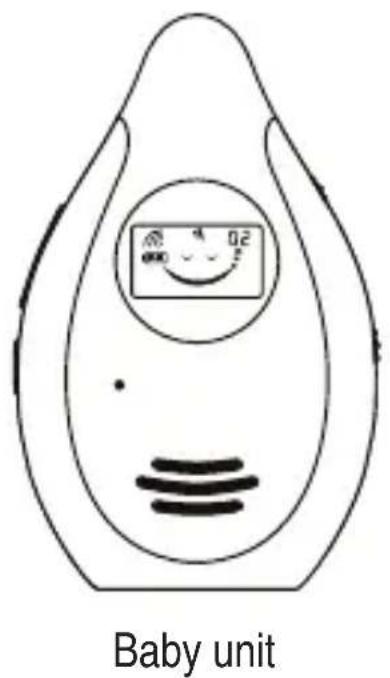
Keys and displays Baby unit keys
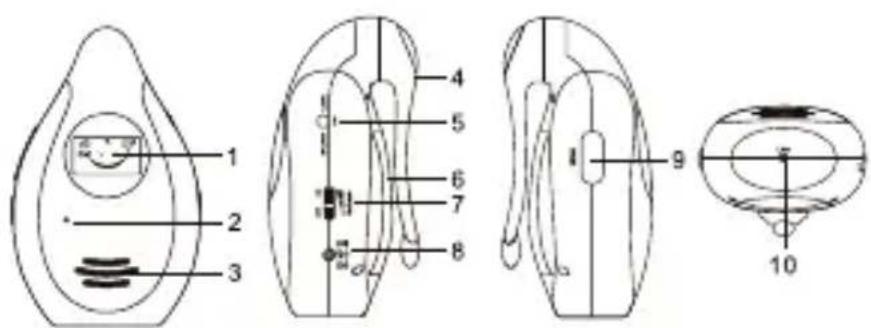
1 LCD display
2 microphone
3 loudspeaker
4 belt clip
5 key block on/off
6 battery compartment
7 ON/OFF / volume adjuster
8 AC/DC socket
9 PAGE key
10 LINK key
Parental unit keys
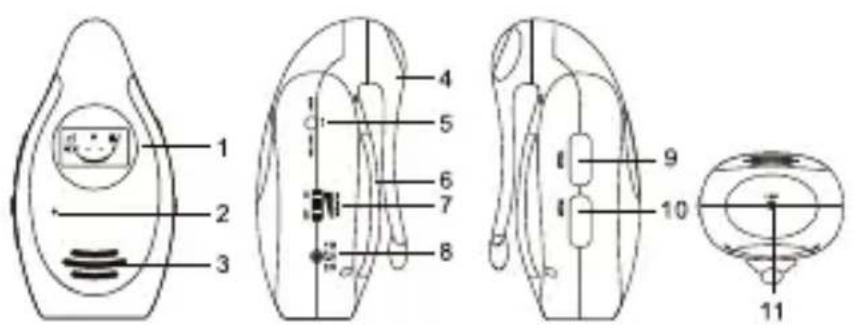
1 LCD display
2 microphone
3 loudspeaker
4 belt clip
5 key block on/off
6 battery compartment
7 ON/OFF / volume adjuster
8 AC/DC socket
9 TALK key
10 PAGE key
11 LINK key
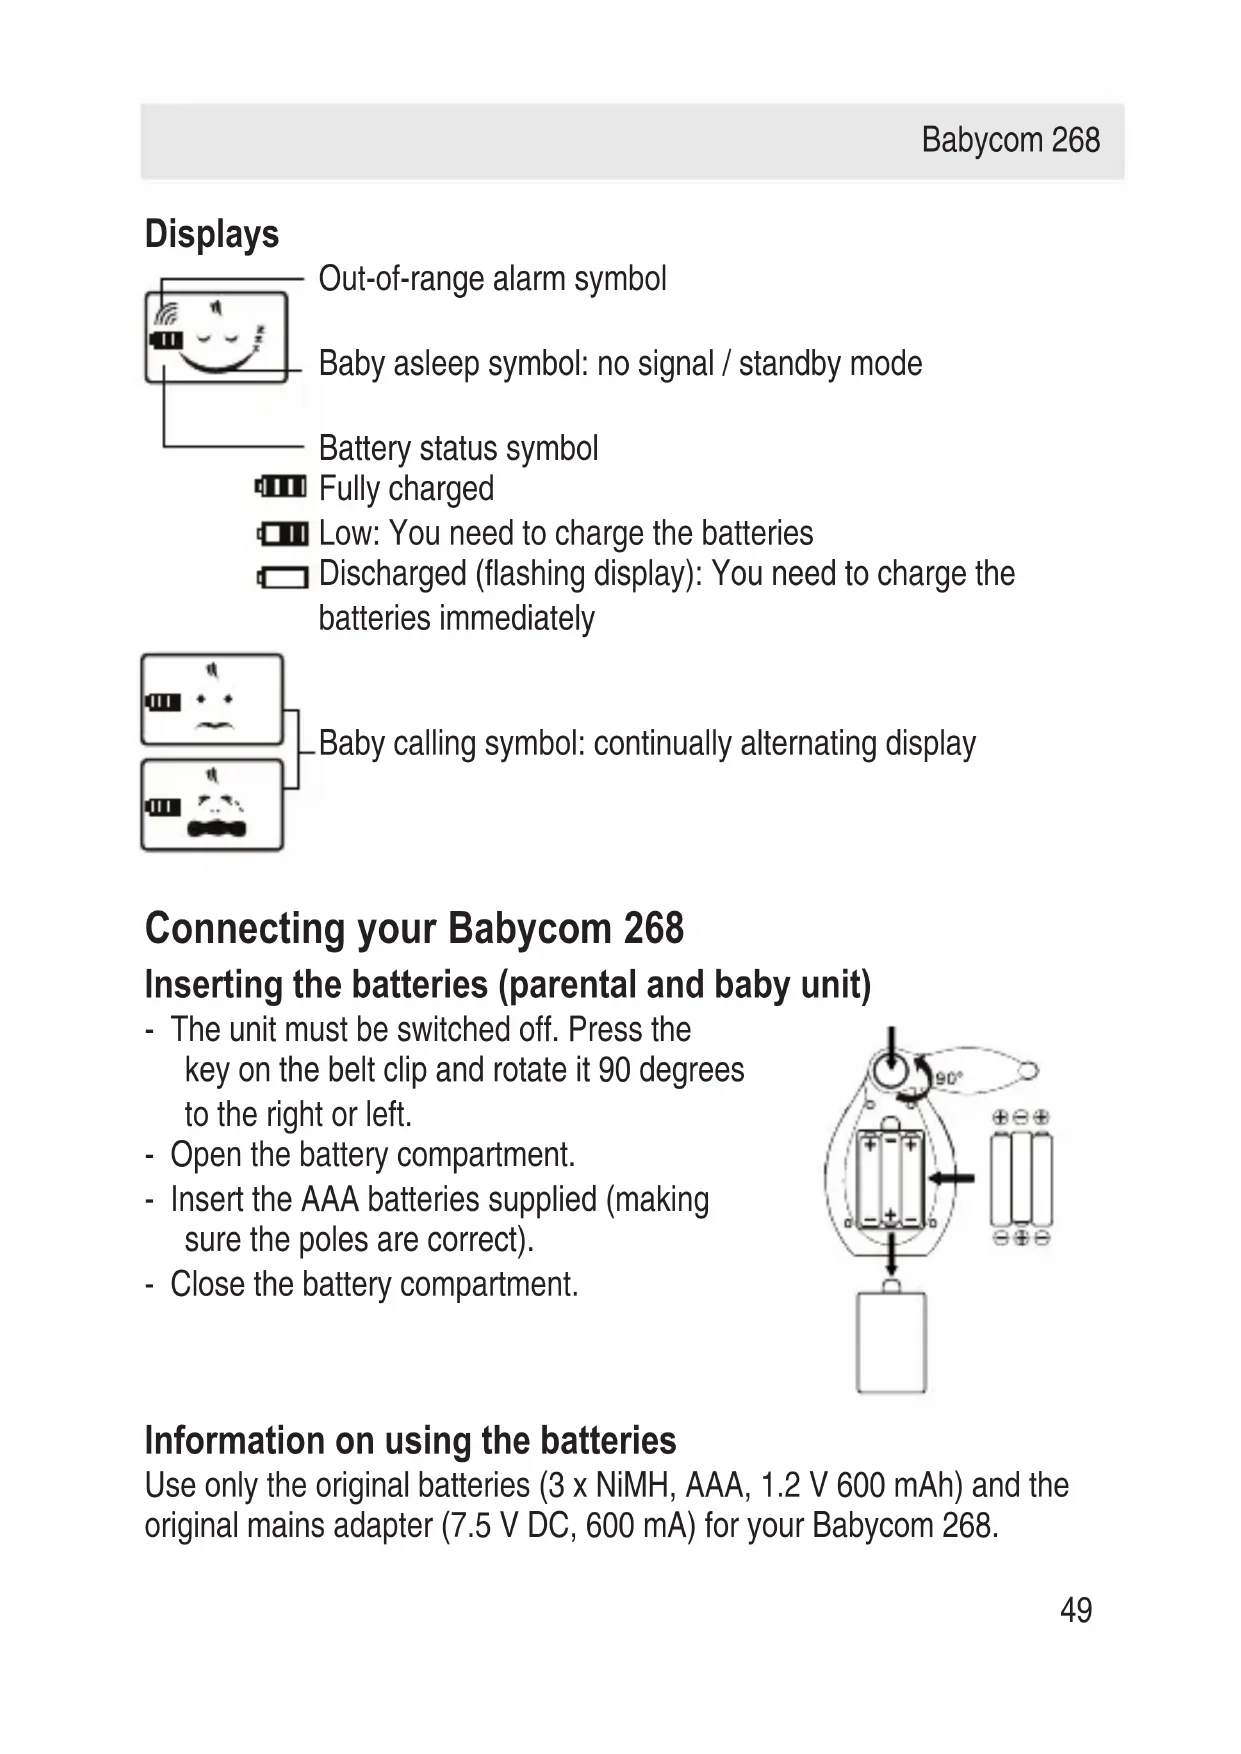
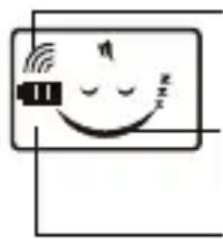
Displays
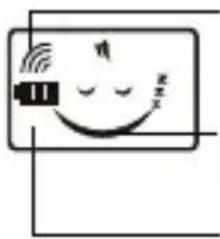
Out-of-range alarm symbol
Baby asleep symbol: no signal / standby mode
Battery status symbol
Fully charged
Low: You need to charge the batteries
Discharged (flashing display): You need to charge the batteries immediately
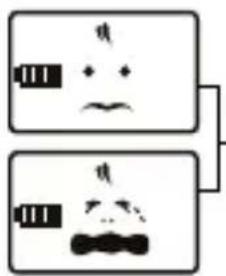
Baby calling symbol: continually alternating display
Connecting your Babycom 268
Inserting the batteries (parental and baby unit)
- The unit must be switched off. Press the key on the belt clip and rotate it 90 degrees to the right or left.
- Open the battery compartment.
- Insert the AAA batteries supplied (making sure the poles are correct).
- Close the battery compartment.
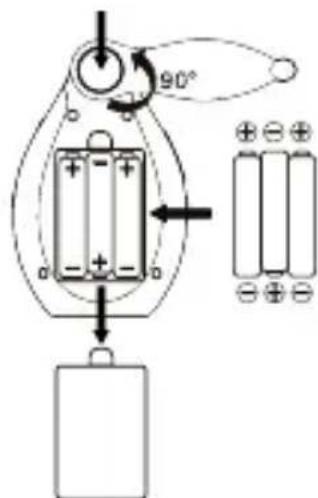
Information on using the batteries
Use only the original batteries (3 x NiMH, AAA, 1.2 V 600 mAh) and the original mains adapter (7.5 V DC, 600 mA) for your Babycom 268.
Note:
Using other rechargeable batteries or non-rechargeable batteries/primary cells can be dangerous and cause malfunctions or damage to the telephone. Do not short-circuit the batteries (danger). In particular, avoid inadvertent short-circuits during storage and transport e.g. bunch of keys, metal panels or similar objects, and make sure the batteries do not come into contact with greasy materials. For this reason, store the batteries only in an insulating package when they are not in the unit. Avoid also touching the contacts with greasy objects. Rechargeable batteries can become warm while recharging. This is a normal occurrence and is not dangerous.
Charging the batteries initially / connecting the adapter
- Before using the device for the first time, the batteries need to be charged.
- To charge the batteries, plug the adapter into the AC/DC sockets on the parental and baby units.
- Plug the adapter into an electrical socket. The batteries will then start to charge up and will take around 8 hours to fully charge (initially).
Note:
- The adapters supplied were developed specifically for this device. Do not use them for any other device. Never use another adapter for your Babycom 268.
- Non-rechargeable batteries must not be charged up.
- We recommend that you switch off the units before plugging in or unplugging the adapters.
- If the units are not to be used for some time, unplug the adapters.
Charge displays
| In charge (unit is turned on) | or The battery icon loops and flashes. |
| In charge (unit is turned off) | The battery icon loops and flashes. |
| Fully charged (unit is turned on) | or The battery icon is full and stops flashing. |
| Fully charged (unit is turned off) | The battery icon is full and stops flashing. |
Charging the batteries
When the batteries are low, the following display is shown:
You must charge the batteries within the next 5 minutes; otherwise the device will automatically switch off.
Note:
- Non-rechargeable batteries must not be charged up.
- Remove discharged batteries as they can leak and damage the unit.
- No alarm signal is emitted on the baby unit when the batteries are discharged!
Test before use
Transmission from baby unit / reception on parental unit
- Place the units in the rooms where you want them to operate.
- Switch the units on: - Slide the ON/OFF switch to ON. When you hear a click, the unit is switched on.
Test transmission from baby unit
- Use the sensitivity switch to set the preferred sensitivity level on the baby unit.
- As soon as the baby unit sends a signal, the following display is shown:
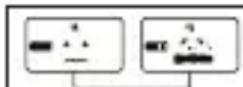
Constantly changing
- If the baby unit is on standby, the following display is shown:
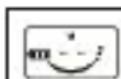
Test reception on parental unit
- Use the volume adjuster to set the preferred volume on the parental unit. The parental unit is ready to receive.
- As soon as the parental unit receives a signal, the following display is shown:
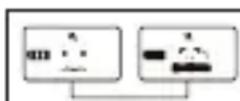
Constantly changing
- If the parental unit is on standby, the following display is shown:
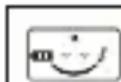
Note:
- If you hear any disturbance on the units due to interference (hissing, buzzing), change the CTCSS code on the parental and baby units. See "Setting the CTCSS code".
- Test reception on the parental unit before use and whenever you reposition the baby unit.
- Position the baby unit at least one meter away from the baby.
- The maximum range between the parental and baby units is 300 meters.
Settings
Setting the volume
Use the volume adjuster to set the preferred volume (up = increase volume / down = reduce volume).
Setting the CTCSS code
65,000 CTCSS codes are available for a protected private sphere: The receiver (parental unit) is activated only when it receives a signal from its own transmitter (baby unit). It is therefore essential for the same CTSS code to be set on the parental and baby unit so that they can communicate.
Changing the CTCSS code:
- Make sure the units are switched on
- Press the LINK key on the base of the unit (using a pointed object such as a pencil). The units automatically start to search for a new shared code. The following display is shown:
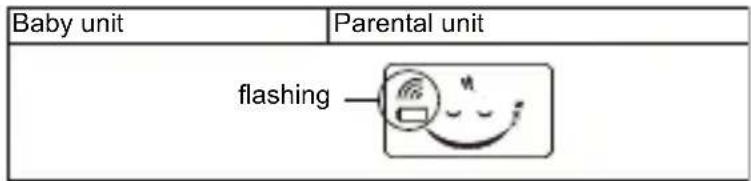
| Scanning the corresponding code automatically | Parental unit: Flashing |
| Baby unit: Flashing | |
| Corresponding code was scanned successfully | Baby unit and parental unit: or Constantly changing Normal status |
| Code scanning failed | Parental unit: still flashing |
| Baby unit: still flashing |
Note:
- There is no need to set CTCSS code before using the Babycom 268 for the first time: As soon as you switch the parental and baby units on, they automatically search for a shared code.
- If you are using the adapters for power, connect them first, and then switch the units on before changing the CTCSS code.
Setting the sensitivity (baby unit only)
Set the preferred sensitivity level by sliding the black switch on the battery compartment of the baby unit:
- Up: (HI) = high sensitivity (responds to noises within a range of 2-6 meters)
- Down: (LO) = medium sensitivity (responds to noises within a range of 1-2 meters).
Activating/deactivating the key lock
To activate the key lock, set the key lock switch on the right of the unit to LOCK.
To deactivate the key lock, set the key lock switch on the right of the unit to UNLOCK.
Operation
Out-of-range alarm (parental unit only)
The maximum range between the parental and baby units is approximately 300 meters. If the range is exceeded, the following display is shown:
| Parental unit: | Flashing |
| Baby unit: | Flashing |
Note:
The TALK and PAGE keys do not function if the units are out of range.
Talking to the baby unit (from parental unit)
- Press the TALK key on the left of the parental unit. Hold the key down while talking into the microphone.
- Release the TALK key again to return to normal reception mode.
Note:
The parental unit cannot receive any signals from the baby unit while the TALK key is pressed.
Sending a signal tone
Both units can send each other a signal tone:
- Press the PAGE key on the left of the parental/baby unit to call the other unit.
- A ring tone (3 beeps) is heard on the called unit
Faults and trouble-shooting
Not every malfunction results from a defect in your Babycom 268.
No power
- Unit is switched off. Switch the unit on.
- Check to ensure the batteries are correctly inserted.
- If you are using the adapters for power, check to ensure they are switched on and correctly connected.
- The batteries are discharged. Charge the batteries or replace them.
Unable to talk to baby unit
- Sensitivity on baby unit too weak. Increase the sensitivity level.
- The units are out of range. Reduce the distance between them.
- Check that the TALK key is not pressed
- Make sure the key block is not activated.
- Check that the parental and baby units are set to the same CTSS code.
Unable to send signal tone
- Volume on parental unit too weak. Increase the volume.
- Sensitivity on baby unit too weak. Increase the sensitivity level.
- The units are out of range. Reduce the distance between them.
- Check that the TALK key is not pressed
-
Make sure the key block is not activated.
-
Check that the parental and baby units are set to the same CTSS code.
Reception of calls/interference from neighbours
- Signal interference due to another baby monitor or cordless telephone on the same CTCSS code. Set the parental and baby units to another CTCSS code.
Interference (hissing, buzzing)
- The units are too close (less than 1 meter apart). Increase the distance between the parental and baby unit.
- Volume on parental unit too high. Reduce the volume.
- The batteries are discharged. Charge the batteries or replace them.
Rapidly flashing green power display, no send/receive
- The batteries are discharged. Charge the batteries or replace them.
Appendix
Care
Your baby monitor is a sophisticated product in terms of design and construction, and should therefore be handled with care.
To clean the baby monitor, wipe first with an antistatic cloth or a damp, soft leather cloth and then dry using a dry cloth.
Recycling (environmental protection)
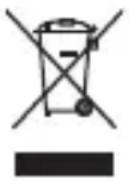
At the end of the product's life cycle, the unit must not be disposed of in normal domestic waste. Please take it to a collection point for processing electrical and electronic equipment: see symbol on the product, in the user manual and/or packaging.
Some materials used in this product can be recycled if you take it to a recycling depot. By recycling parts or raw materials from used products you will be making an important contribution to environmental protection. Please contact your local authority if you require information about collection points in your neighbourhood.
Disposing of the rechargeable battery
By law, all used batteries and accumulators must be recycled and not disposed of in domestic waste. Please dispose of them according to the official regulations. Take them to a recycling depot. The batteries/accumulators will be recycled since they may, for example, contain nickel cadmium (Ni - Cd), lead (Pb), cadmium (Cd) or mercury (Hg). The batteries and accumulators are labelled with symbols and information on their contents,
e.g.:
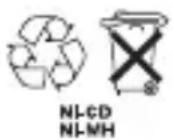
Warranty conditions
Your baby monitor is subject to a guarantee from the date of purchase in accordance with the legal provisions of the country in which the unit was purchased. As evidence of the date of purchase, please keep the receipt or the warranty card completed by the retailer. All defects attributable to material and manufacturing faults will be corrected free of charge within
the warranty period, either by repairing or replacing the defective equipment.
The warranty does not cover expendable materials (battery cells), defects which affect the value or use of the equipment only insignificantly, and damage caused by incorrect use, ordinary wear and tear, or manipulation by third parties.
This warranty does not cover consequential damage caused by the use, failure or defectiveness of the product. In particular, no liability whatsoever is accepted for damage to property and pecuniary loss. To claim under this warranty, please contact the retailer where you purchased your baby monitor.
Approval and conformity
This baby monitor complies with the basic requirements contained in the R&TTE Directive 1999/5/EC on radio equipment and telecommunications terminal equipment and is suitable for connection and operation in the member state indicated on the base station and/or packaging.
The declaration of conformity may be viewed at: www.swissvoice.net.

The CE symbol confirms the conformity of the baby monitor with the above directive.
Bienvenido a Swissvoice
Witamy w Swissvoice!
Warranty Certificate
swissvoice
Warranty Certificate
Garantieschein, Bon de garantie, Certificato di garanzia, Garantiebewijs, Takuutodistus, Garantibevis, Garantisedel, Garantibevis, Certificado de Garantia, Talao de garantia
| device type: | (Geräte typ, type d'appareil, tipo di apparecchio, toesteltype, laitetyppi, maskintype, apparattyp, apparattype, modelo del aparato, modelo do aparelho): |
| serial number: (Seriennummer, numero de série, numero di serie, serienummer, sarjanumero, serienummer, serienummer, serienummer, numero de series, numero de série): | |
| dealer stamp: | (Händlerstempel, sceau du vendeur, timbro del rivenditore, stempel van de dealer, kauppiaan leima, forhandlerens stempel, fösäljarens stämpel, forhandlerstempel, sello del commerciante. carimbo do vendedor): |
| dealer signature: | (Unterschrift des Händlers, signature du vendeur,irma del rivenditore, handtekening van de dealer, kauppiaan allekirjoitus, forhandlerens underskrift, fösäljarens underskrift, forhandlers underskrift,irma del commerciante, assinatura do vendedor): |
| date of purchase: | (Kaufdatum, date d'achat, data d'acquisto, datum van aankoop, ostopäiväys, kjøpsdato, datum für köpet, salgsdato, fecha de requisión, data de compra): |
Internet:
www.swissvoice.net
© Swissvoice SA 2009
20405063xx ba a0
SV 20405063