IP RoboCam 8 - Surveillance Camera MARMITEK - Free user manual and instructions
Find the device manual for free IP RoboCam 8 MARMITEK in PDF.

User questions about IP RoboCam 8 MARMITEK
0 question about this device. Answer the ones you know or ask your own.
Ask a new question about this device
Download the instructions for your Surveillance Camera in PDF format for free! Find your manual IP RoboCam 8 - MARMITEK and take your electronic device back in hand. On this page are published all the documents necessary for the use of your device. IP RoboCam 8 by MARMITEK.
USER MANUAL IP RoboCam 8 MARMITEK
- To prevent short circuits, this product should only be used inside and only in dry spaces. Do not expose the components to rain or moisture. Do not use the product close to a bath, swimming pool etc.
- Do not expose the components of your systems to extremely high temperatures or bright light sources.
- Do not open the product: the device contains live parts. The product should only be repaired or serviced by a qualified repairman.
- In case of improper usage or if you have opened, altered and repaired the product yourself, all guarantees expire. Marmitek does not accept responsibility in the case of improper usage of the product or when the product is used for purposes other than specified. Marmitek does not accept responsibility for additional damage other than covered by the legal product responsibility.
- Adapters: Only connect the adapter to the mains after checking whether the mains voltage is the same as the values on the identification tags. Never connect an adapter or power cord when it is damaged. In that case, contact your supplier.
MINIMUM SYSTEM REQUIREMENTS
Hardware: CD ROM drive
Operating system: MS Windows 98SE, ME,NT, NT4.0, 2000, XP.
LAN port: 10 Base-T Ethernet or 100 Base-TX Fast Ethernet
For camera setup and Web Browser Users:
Processor: Pentium 2 or above
Memory: 64 MB RAM, 5MB free disk space
Web browser: Supporting ActiveX or Java
For installation and IP View Pro Application Users:
Processor: Pentium 3 or above
Memory: 128 MB RAM, 500 / 1000MB free disk space.
Web browser: Supporting ActiveX or Java
PACKAGE CONTENTS
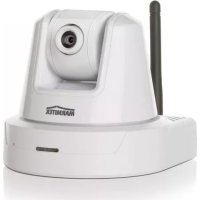
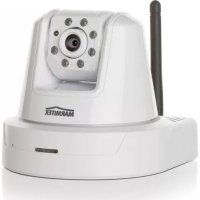
One Pan/Tilt Internet Camera
- One AC Power Adapter
One RJ-45 Ethernet Cable
- One Metal Clip
This Quick Installation Guide
- One Installation CD-ROM
Note: If any item contained is damaged or missing, please contact your local dealer immediately.
This is the quick installation guide describing how to connect the IP Robocam. For an extensive description of all the possibilities of the camera, consult the user manual, which can be found on the CD ROM provided.
HARDWARE INSTALLATION: ATTACHING THE METAL CLIP
To attach the metal clip, remove the two rubber pads under the base of the camera firstly. Place the metal clip onto the camera base, and align the two holes of metal clip with two screw holes on the base. Secure the metal clip to the base with two screws (provided). Then, you can: install the camera to the ceiling using two ceiling screws (1); or, install the camera to the wall using two wall screws (2).

CONNECTING THE ETHERNET CABLE
Connect an Ethernet cable to the network cable connector located on the camera's rear panel, and then attach it to the network.

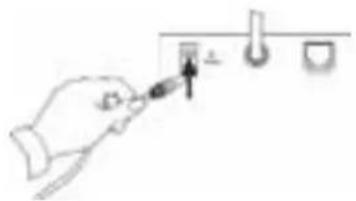
CONNECTING THE POWER SUPPLY
Attach the external power supply to the DC power input connector located on camera's rear panel, and then connect it to your local power supply.
TIP: You can check if power is supplied when the Power LED on the camera is illuminated.
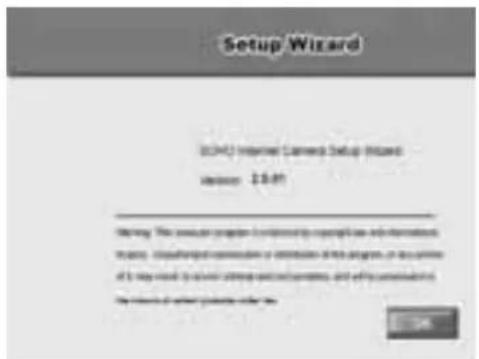
RUNNING THE SETUP WIZARD
The Setup Wizard is a convenient tool that will guide you through the installation of your camera easily and quickly. After connecting the camera to your computer, you can install the Setup Wizard and complete the configuration now.
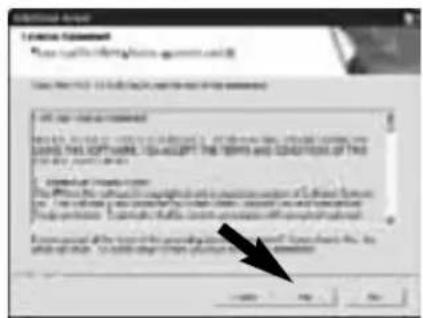
- Insert the Installation CD-ROM into your CD-ROM drive.
Click Install Wizard.
-
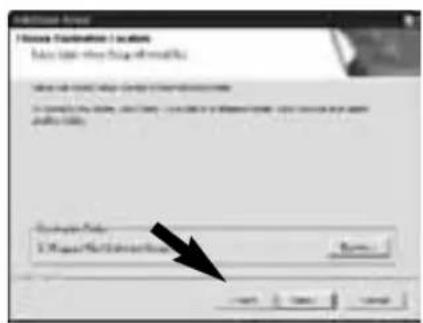
Click Next.
-
Click Yes.
-
Click Next.

- Click Finish.
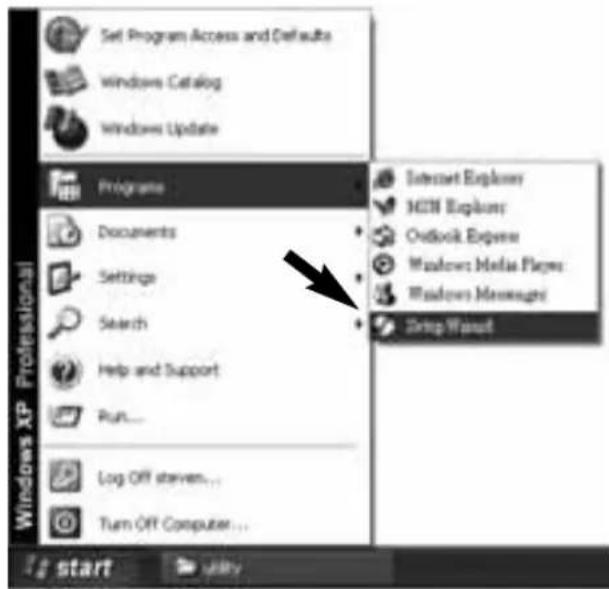
To run the Setup Wizard, click Start -> Programs -> Setup Wizard.
USING THE SETUP WIZARD
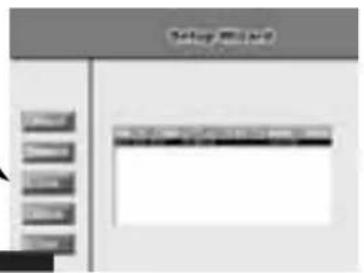
When you launch the Setup Wizard, the main window will appear as shown, and the connected camera will be displayed in the list.
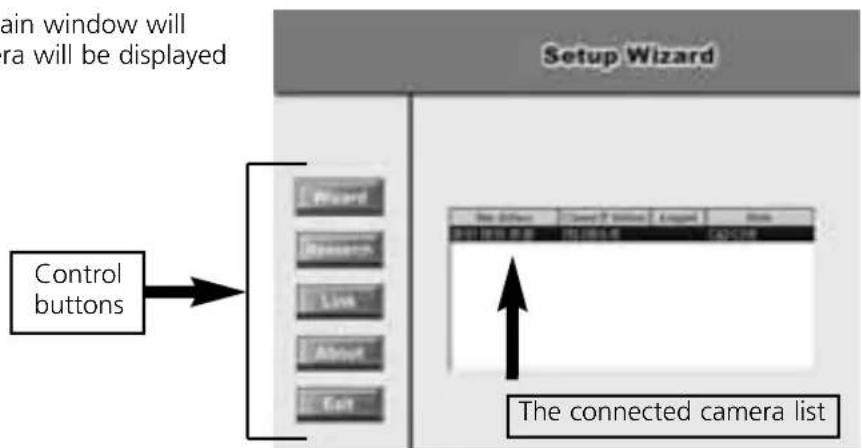
THE COMPONENTS ON THE SETUP WIZARD

Click Wizard to begin configuring the selected camera.
Click Research to allow you to search the connected camera again.
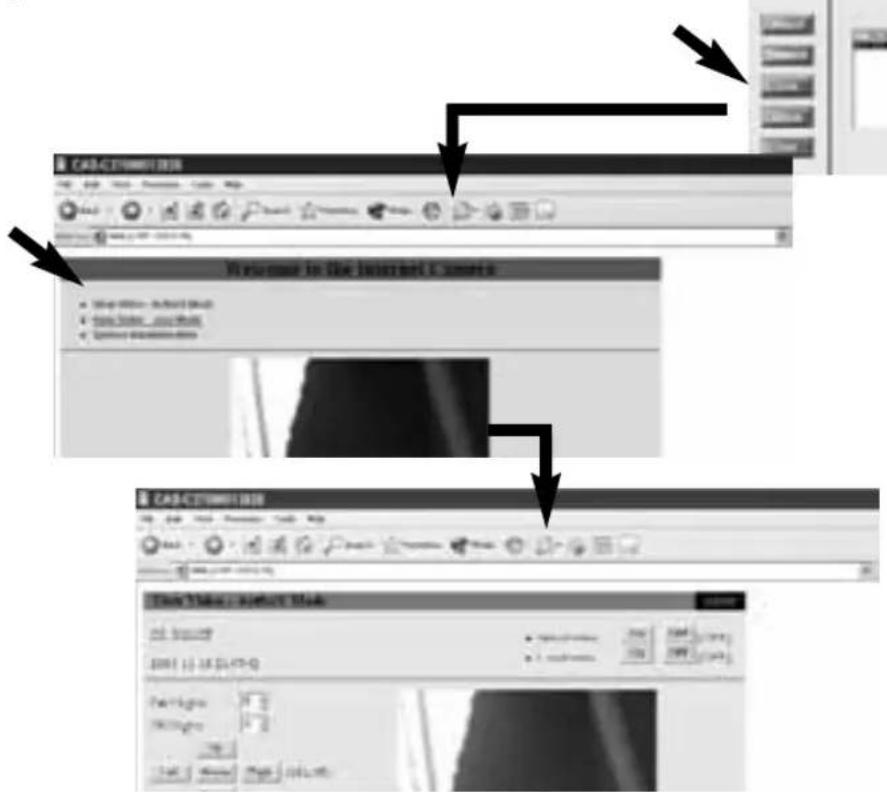
Click Link to launch the web browser and view the images.
Click About to show the general information of the selected camera.
Click Exit to close the Setup Wizard.
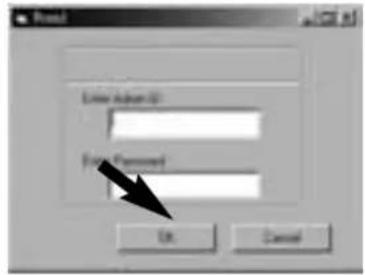
CHANGING THE ADMIN ID AND PASSWORD
By default settings, the Admin ID and Password are blank. For security purpose, you are recommended to change the Admin ID and Password immediately.
Click Wizard. The dialog box as shown appears, asking you to enter the Admin ID and Password.
Click OK.
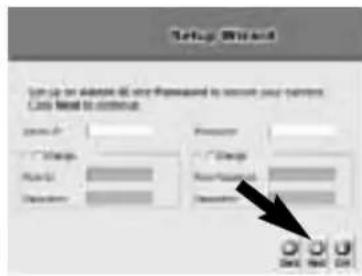
If required, select the Change options and enter the new Admin ID and Password.
Click Next.
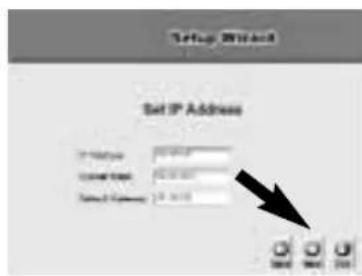
The settings of IP Address, Subnet Mask and Default Gateway must correspond with your camera and networking settings. Please check with your network administrator for correct settings.
Click Next.
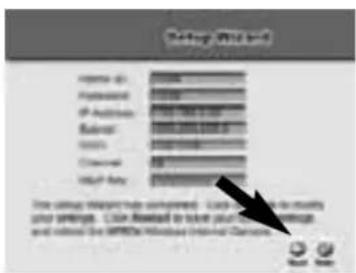
This window displays the settings you set up. For any change, click Back to modify your settings. Otherwise, click Restart to save and apply the settings.
The configuration is completed, and you will return to the main window. Click Link to launch the web browser and view the images.
SOFTWARE INFORMATION
Click About to show the general information of the selected camera.
Click OK to return to the main window.
TECHNICAL DATA
General:
Camera: 1/4" colour CMOS, 640x480 pixels
Lens: f: 6.0mm, F: 1.8
Minimum illumination: 2.5 Lux
Compression: JPEG, 5 levels
Frame rate: Max 30fps
Resolution: 160x120, 320x240, 640x480
Power: 5VDC 2,5A, 230 V power adapter included
Temperature for use: +5^ / +40^ C
Pan&Tilt: Horizontal -170^ +170^ , Vertical +45^ -90^
Dimensions: 120x120x110mm
Communication:
LAN port: RJ45, 10/100Mb auto-sense, auto MDI-X
Protocol: HTTP, FTP, TCP/IP, UDP, ARP, ICMP, BOOTP, RARP, DHCP, PPPoE, DDNS, UPnP
Software:
Web browser: Supporting ActiveX or Java
Application: IP View Pro (16 cameras)
Users: max. 64
TECHNICAL SUPPORT
For more information, please refer to the User's Guide located on the CD-ROM.
SICHERHEITSINWEISE
Operating system: MS Windows 98SE, ME,NT, NT4.0, 2000, XP.
Application: IP View Pro (16 K cameras)
Anwender: max. 64
Operating system: MS Windows 98SE, ME, NT, NT4.0, 2000, XP.
LAN port : Ethernet 10 Base-T ou Fast Ethernet 100 Base-TX
illumination minimum: 2.5 Lux
Compression: JPEG, 5 niveaux
Dimensions: 120x120x110 mm
Communication :
Port LAN: RJ45, 10/100Mb autosense, auto MDI-X
Protocole: HTTP, FTP, TCP/IP, UDP, ARP, ICMP, BOOTP, RARP, DHCP, PPPoE, DDNS, UPnP
Logiciel:
Navigateur WWW: Supportant ActiveX ou Java
Application : IP View Pro (16 cameras)
Operating system: MS Windows 98SE, ME,NT, NT4.0, 2000, XP.
LAN port: 10 Base-T Ethernet o 100 Base-TX Fast Ethernet
Objetivo: f: 6,0 mm, F: 1.8
Resolution: 160x120, 320x240, 640x480
Operating system: MS Windows 98SE, ME,NT, NT4.0, 2000, XP.
LAN port: 10 Base-T Ethernet o 100 Base-TX Fast Ethernet
Telecamera: colore 1/4" CMOS, 640x480 pixel
Frame rate: Max 30fps
VEILIGHEIDSWAARSCHUWINGEN
Operating system: MS Windows 98SE, ME,NT, NT4.0, 2000, XP.
LAN poort 10 Base-T Ethernet of 100 Base-TX Fast Ethernet
Frame rate: Max 30fps
Resolutie: 160x120, 320x240, 640x480
DECLARATION OF CONFORMITY
Hereby, Marmitek BV, declares that this IP RoboCam8™ is in compliance with the essential requirements and other relevant provisions of the following Directives:
Council Directive 89/336/EEC of 3 May 1989 on the approximation of the laws of the Member States relating to electromagnetic compatibility
Council Directive 73/23/EEC of 19 February 1973 on the harmonization of the laws of Member States relating to electrical equipment designed for use within certain voltage limits
Marmitek is a trademark of Marmidenko BV I IP ROBOCAM8™ is a trademark of Marmitek BV. All rights reserved.
Copyright and all other proprietary rights in the content (including but not limited to model numbers, software, audio, video, text and photographs) rests with Marmitek B.V. Any use of the Content, but without limitation, distribution, reproduction, modification, display or transmission without the prior written consent of Marmitek is strictly prohibited. All copyright and other proprietary notices shall be retained on all reproductions.