MC 4459 BT - Système hifi AEG - Free user manual and instructions
Find the device manual for free MC 4459 BT AEG in PDF.
Download the instructions for your Système hifi in PDF format for free! Find your manual MC 4459 BT - AEG and take your electronic device back in hand. On this page are published all the documents necessary for the use of your device. MC 4459 BT by AEG.
USER MANUAL MC 4459 BT AEG
Overview of the Components Page 3
Overview of the Components
Anschlüsse„RundL“an.
20 Bouton (Lecture/Pause)
Thank you for choosing our product. We hope you will enjoy
using the appliance.
Symbols in these Instructions for Use
Important information for your safety is specially marked. It is
essential to comply with these instructions in order to avoid
accidents and prevent damage to the machine:
This warns you of dangers to your health and indicates pos-
This refers to possible hazards to the machine or other
NOTE: This highlights tips and information.
General Safety Instructions
Readtheoperatinginstructionscarefullybeforeputtingthe
appliance into operation and keep the instructions including
thewarranty,thereceiptand,ifpossible,theboxwiththein-
ternal packing. If you give this device to other people, please
also pass on the operating instructions.
• Toavoidtheriskofreorelectricshock,youshouldnot
exposethedevicetorainorhumidity.Donotusethe
device near water (e.g. bathroom, swimming pool, humid
tended purpose. This unit is not designed for commercial
• Makesurethatthepowercableisnotbent,pinched,or
comes into contact with heat sources.
• Nevertouchthemainsplugorthecordwithwethands.
socket. Be sure the device voltage corresponds to the
• Thisapplianceshallnotbeexposedtodrippingor
splashing water and that no object filled with liquids such
as vases shall be placed on apparatus.
• Opensourcesofre,suchase.g.burningcandlesmay
not be placed onto the unit.
• Neveropenthedevice’scase.Improperrepairscancause
severe danger to the user. If the device or particularly the
power cord is damaged, don’t use the device any further
and have it repaired by a qualified specialist. Check the
power cord regularly for damages.
• Toavoidanydanger,adamagedpowercordmustbe
replaced only by the producer, its customer service or a
similarly qualified person with an equal cord.
• Ifthedevicewon’tbeusedoveranextendedperiodof
time, disconnect the power cord and remove the batter-
These symbols may be found on the machine and are
intended to indicate the following:
The lightning symbol should advise the user
of parts in the inside of the device which carry
dangerously high voltage levels.
Thesymbolwithanexclamationmarkshould
advise the user of important operation or
maintenance instructions in the accompanying
Devices bearing this symbol work with a
“class 1 laser” for tracing the CD. The built-in
safety switches should prevent the user being
exposedtodangerouslaserlight,whichisinvis-
ible to the human eye, when the CD compart-
Under no circumstances should these safety switches be
bypassed or manipulated, as this could result in a danger of
exposuretothelaserlight.
Children and Frail Individuals
• Inordertoensureyourchildren‘ssafety,pleasekeepall
Caution! Do not allow small children to play with the
foil as there is a danger of suffocation!
• Thisdeviceisnotintendedtobeusedbyindividuals
(including children) who have restricted physical, sensory
or mental abilities and/or insufficient knowledge and/or
experience,unlesstheyaresupervisedbyanindividual
who is responsible for their safety or have received
instructions on how to use the device.
• Childrenshouldbesupervisedatalltimesinorderto
ensure that they do not play with the device.
Special safety information
This device works with a class 1 laser.English
Overview of the Components
PUSH (push) open CD tray
4 IR Sensor for the remote control
10 VOL+/VOL- (Increase/decrease volume)
/ (next/previoustrack)
11 Control (Operational readiness)
Reverse Side (no picture)
Loudspeakerconnections(R/L)
This device is used for
It may only be used in the manner described in these instruc-
tions for use. The device must not be used for commercial
Anyotheruseofthisdeviceisconsideredtobecontraryto
the intended use and may result in damage to materials or
even personal injury.
The firm ETV – Elektro-Technische Vertriebsgesellschaft mbH
does not accept any liability for damage caused as a result of
the use of this device contrary to its intended use.
Start-up of the device/Introduction
• Selectasuitablelocationforthedeviceandfortheloud-
speakers.Adry,at,non-slipsurfaceonwhichthedevice
can be easily operated.
• Makesurethatthedeviceisadequatelyventilated!
• Connectthespeakersonthebacktotheterminals“R
information on the type plate.
Batteries of remote control (Batteries not included)
• Openthecoverofthebatterycompartmentontherear
side of the remote control.
• Insert2xR03“AAA”1.5Vbatteries.Pleaseobservecor-
rect polarity (see bottom of battery compartment)!
• Ifyoudonotusetheremotecontrolforalongerperiod
of time, please remove the batteries in order to avoid
“leakage” of battery acid.
not be used together.
• Donotdisposeofbatterieswithyourhouseholdtrash.
Please hand over at authorized collection points or
return to your dealer.
CD deck transport protection
• PleaseopentheCDcompartment(1)bypressingthe
• RemovethetransportprotectionfromtheCDplayer
if present before use.English
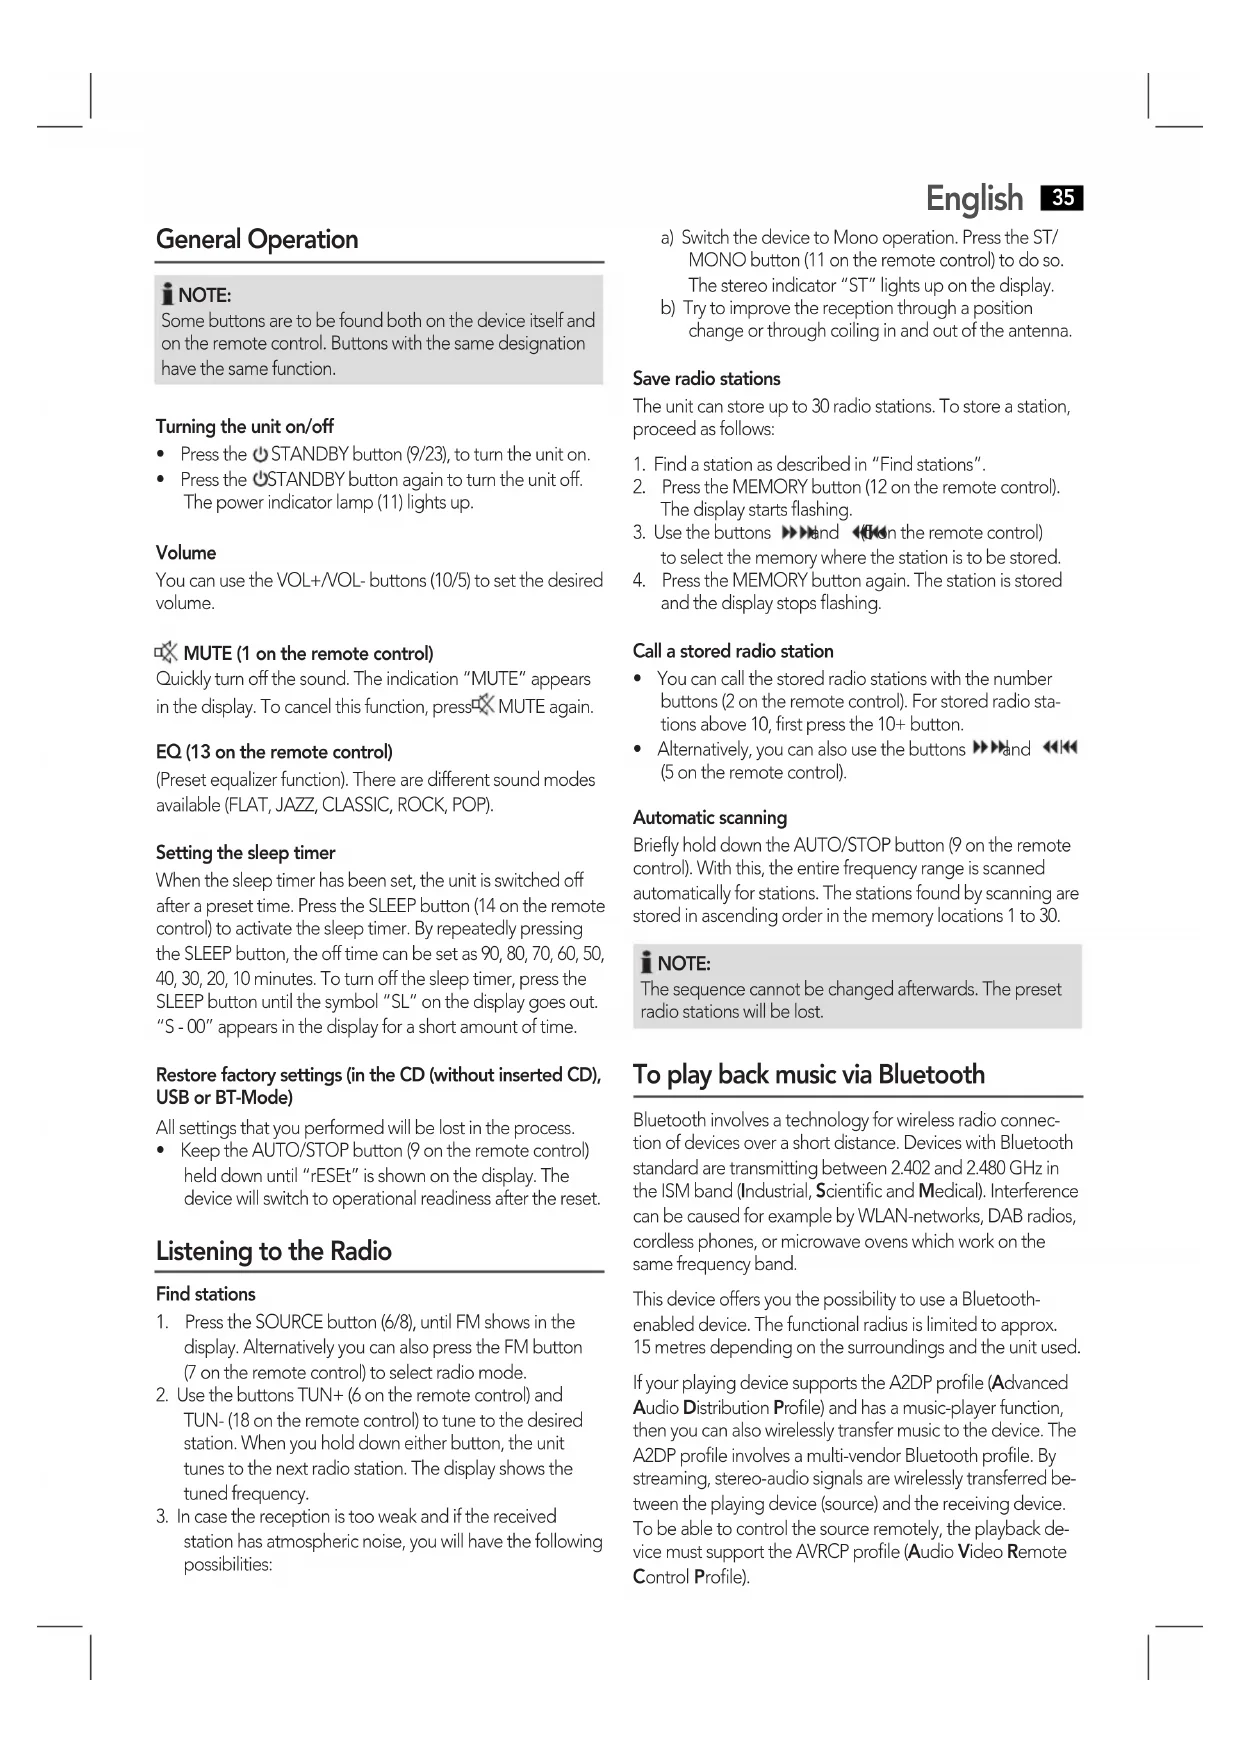
Some buttons are to be found both on the device itself and
on the remote control. Buttons with the same designation
have the same function.
Turning the unit on/off
STANDBYbutton(9/23),toturntheuniton.
The power indicator lamp (11) lights up.
YoucanusetheVOL+/VOL-buttons(10/5)tosetthedesired
MUTE (1 on the remote control)
Quickly turn off the sound. The indication “MUTE” appears
in the display. To cancel this function, press
EQ (13 on the remote control)
(Preset equalizer function). There are different sound modes
available(FLAT,JAZZ,CLASSIC,ROCK,POP).
Setting the sleep timer
When the sleep timer has been set, the unit is switched off
after a preset time. Press the SLEEP button (14 on the remote
control) to activate the sleep timer. By repeatedly pressing
the SLEEP button, the off time can be set as 90, 80, 70, 60, 50,
40, 30, 20, 10 minutes. To turn off the sleep timer, press the
SLEEP button until the symbol “SL” on the display goes out.
“S - 00” appears in the display for a short amount of time.
Restore factory settings (in the CD (without inserted CD),
Allsettingsthatyouperformedwillbelostintheprocess.
• KeeptheAUTO/STOPbutton(9ontheremotecontrol)
held down until “rESEt” is shown on the display. The
device will switch to operational readiness after the reset.
Listening to the Radio
1. PresstheSOURCEbutton(6/8),untilFMshowsinthe
display.AlternativelyyoucanalsopresstheFMbutton
(7 on the remote control) to select radio mode.
2. Use the buttons TUN+ (6 on the remote control) and
TUN- (18 on the remote control) to tune to the desired
station. When you hold down either button, the unit
tunestothenextradiostation.Thedisplayshowsthe
3. In case the reception is too weak and if the received
station has atmospheric noise, you will have the following
a) Switch the device to Mono operation. Press the ST/
MONO button (11 on the remote control) to do so.
The stereo indicator “ST” lights up on the display.
b) Try to improve the reception through a position
change or through coiling in and out of the antenna.
The unit can store up to 30 radio stations. To store a station,
1. Find a station as described in “Find stations”.
Thedisplaystartsashing.
and (5 on the remote control)
to select the memory where the station is to be stored.
4. PresstheMEMORYbuttonagain.Thestationisstored
andthedisplaystopsashing.
Call a stored radio station
BrieyholddowntheAUTO/STOPbutton(9ontheremote
control). With this, the entire frequency range is scanned
automatically for stations. The stations found by scanning are
stored in ascending order in the memory locations 1 to 30.
The sequence cannot be changed afterwards. The preset
radio stations will be lost.
To play back music via Bluetooth
Bluetooth involves a technology for wireless radio connec-
tion of devices over a short distance. Devices with Bluetooth
standard are transmitting between 2.402 and 2.480 GHz in
the ISM band (Industrial, Scientific and Medical). Interference
canbecausedforexamplebyWLAN-networks,DABradios,
cordless phones, or microwave ovens which work on the
same frequency band.
This device offers you the possibility to use a Bluetooth-
enableddevice.Thefunctionalradiusislimitedtoapprox.
15 metres depending on the surroundings and the unit used.
IfyourplayingdevicesupportstheA2DPprole(Advanced
Audio Distribution Profile) and has a music-player function,
then you can also wirelessly transfer music to the device. The
A2DPproleinvolvesamulti-vendorBluetoothprole.By
streaming, stereo-audio signals are wirelessly transferred be-
tween the playing device (source) and the receiving device.
To be able to control the source remotely, the playback de-
vicemustsupporttheAVRCPprole(Audio Video Remote
Control Profile).English
Due to the different device manufacturers, models, and
software versions, a full functionality cannot be guaranteed.
Logging on devices (Pairing)
Before you listen to music via the unit, you must pair the
1. Ensure, that the Bluetooth function is activated in your
player (e.g. mobile phone). For this, refer to the operation
manual of your player.
2. PresstheSOURCEbutton(6/8)repeatedly,until“bLUE”
is shown on the display.
button(5/20)pressedforapprox.4seconds
to switch the device to pairing mode.
4. Chose the Bluetooth menu in your player and register
the device in your player. For this, refer to the operation
manualofyourplayer.Thedevice“AEGMC4459BT”
will show in your player as a selection.
Only one playback device may be connected with the
music center at one time. If the music center is already
connected with a different playback device, the music
center will not appear in the BT selection menu.
5. Now enter the password “0000” in your player, depend-
ing on the device manufacturers, model, and software
If pairing has been carried out successfully, “CONNECt” is
shown on the display.
For the further procedure, please refer to the user manual
performtheregistration(PAIRING)againtoconnect
• TheBluetoothcompatibilitycannotbeensuredfor
devices (e.g. mobile phones) getting released in the
• Toensureanoptimalconnection,makesurethatthe
battery of your player is completely charged.
• Someofthemobilephonebrandshaveanenergy-
saving mode. Deactivate the energy-saving mode as
it can otherwise result in problems during the data
transfer through Bluetooth.
• Tobeabletotransferaudiodata,Bluetoothneedsto
stay activated in your player. Observe the operation
manual of your player.
• Ifamobilephoneonwhichyouareplayingmusic
receives a call, the music will be interrupted. The sound
isnothoweverplayedbackbythespeakers.After
you have completed your phone call, the devices are
reconnectedwitheachother.Youmayhavetopossibly
restart the playback.
This is how you play a CD
1. PresstheSOURCEbutton(6/8)untilCDshowsinthe
display.AlternativelyyoucanalsopresstheCDbutton
(17 on the remote control) to select CD mode.
2. In order to open the CD compartment (1), press the
3. Insert an audio CD with the printed side facing upwards
on to the central cone so that the CD clicks into place and
then close the lid of the CD compartment. The message
“rEAd”willbeshownonthedisplayforashorttime.
For an audio CD: The total number of tracks and the
playing time of the CD is shown.
For an MP3-CD/file: The number of files and titles are
4. The CD will play from the first title. The current track,
MP3 and the elapsed playing time are shown on the
5. InordertoremoveaCD,pleasepresstheAUTO/STOP
button (9 on the remote control), open the CD compart-
ment and lift the CD out carefully.
AlwayskeeptheCDdeckclosed.
• Whenadiscisinsertedupsidedownorwhennodiscis
inserted, “NO dISC” (no disc) is shown on the display.
• PlaybackofCDsproducedbytheusercannotbe
guaranteed due to the large variety of software and CD
Description of the CD buttons
Youcanbrieyinterrupt andresumeplaybackusingthisbut-
“ appears on the display. Pressing again
During music playback:
youcanjumptothenextorprevioustracketc.
• Ifthebuttoniskeptpresseddown,themachinestartsto
search through the tracks. (The sound is thereby set to
button can be used as follows:
Pressonce= Thisjumpsbacktotheprevioustrack.
Presstwice= Thisplaysthesongbeforeetc.Ifthebutton
is kept pressed down, the machine starts
to search through the tracks. (The sound is
thereby set to mute.)English
AUTO/STOP (9 on the remote control)
The music playback is stopped. If an audio CD is inserted,
the overall number of songs and the playback time of the
CD are now displayed. In case of an MP3 CD or USB storage
medium, the number of folders and the overall number of
songs will be displayed.
Press this button to start automatic station scanning. Impor-
tant: The stations that you stored previously are overwritten.
REPEAT (15 on the remote control)
In case of a playing Audio CD:
Pressonce= (REPemitsaxedlight)thecurrent
track is repeated continuously.
Presstwice= (REPALLallemitsaxedlight)the
whole CD is played continuously.
Pressthreetimes= allfunctionsarecancelled.Thenormal
play mode is resumed.
Only with MP3 music playback:
Pressonce= thecurrenttrackisrepeatedcontinu-
ously(REPappearsinthedisplay).
Presstwice= thecurrentfolderoftheMP3CDorof
the USB storage medium is repeated
continuously(REPALBappearsinthe
display).Youcanselecttheindividual
folderswiththebuttonsALB+andALB-
(4/21 on the remote control).
Pressthreetimes= thewholeCDisplayedcontinuously
(REPALLappearsinthedisplay).
Pressfourtimes= thefunctionisdeactivatedandtheCD
is played in the normal mode.
RANDOM (10 on the remote control)
ThedisplaycontainsthewordRNDandthetracknumber
thatistobeplayedrst.Alltracksareplayedbackinrandom
INTRO (16 on the remote control)
up or down. If this button is pressed in stop mode the display
10+ (3 on the remote control)
Is used to directly enter a title number.
• Pressthebuttononce,titlesabove10canbeentered.
01- appears on the display.
• Iftherearemorethan19titlesonaCDorUSBstorage
device, the entry option can be increased by 10 titles
each time you press the button. 02- etc. appears on the
This can be used to program any desired sequence of tracks.
(Only for CD/USB operation)
1. PresstheAUTO/STOPbutton(9ontheremotecontrol).
2. PressthePROGbutton(22ontheremotecontrol).“P01”
(preset location) appears on the display and the title “00”
or “000” in the case of MP3 CDs/files. Use the
buttons (5 on the remote control) to select the desired
trackandthenpressthePROGbuttonagain.Thedisplay
changes to memory slot P02.
• Youcanalsodirectlyenterthetitles.Enterthede-
sired title with the numeric buttons on the remote
• Whenthestoragecapacityofthetitlestobepro-
grammed has been reached, the message “FULL”
will appear on the display.
3. Selectthenexttrackwiththe
all the desired tracks are selected.
4. Press the button (5/20). The playback starts. The first
selected title number is shown on the display, and the
indicator CD or MP3 lights up.
5. PresstheAUTO/STOPbutton(9ontheremotecontrol),
playback stops and the programming is deleted.
The device stops automatically after all programmed titles
have been played back. The programmed sequence is
deleted from the memory.
Playing back Music in MP3 Format
With this device it is possible to play back pieces of music in
MP3 format. The device also supports all standard CD types:
This machine of is able to play MP3 CDs. Up to 200 tracks
canbecompressedandstoredontheseCDs.Yourmachine
detects an MP3 CD automatically (the total number of tracks
and MP3s appears in the display). If you would like to play
one of these CDs, proceed as described under “Playing
CDs/MP3”. Tracks can be programmed as described under
“Playing Back Programmed Tracks”.
There are a number of different recording and compression
methods, as well as quality differences between CDs and
selfrecorded CDs.English
Furthermore,themusicindustrydoesnotadheretoxed
standards (copy protection).
For these reasons it is possible that in rare cases there are
problems with the playback of CDs and MP3 CDs. This is not
a malfunction of the device.
Connection of external devices
This device has been developed in accordance with the
latest technical developments in the USB field. Unfortunately
the large number of different types of USB storage media on
offer today makes it impossible to guarantee full compatibil-
ity with all USB storage media. For this reason there may be
problems in rare cases with playing back from USB storage
media. This is not a malfunction of the device.
1. PresstheSOURCEbutton(6/8)untilUSBshowsinthe
display.AlternativelyyoucanalsopresstheUSBbutton
(18 on the remote control) to select USB mode.
2. Insert a USB storage medium directly into the corre
sponding connection.
3. “USb”appearsbrieyonthedisplay.Thenumberof
folders and titles are then displayed.
4. Playback then begins. The current track,
elapsed playing time is shown on the display.
For operating instructions please see the section “Playing
• Alwaysdirectly connect a USB storage medium to the
Connect analogue playback devices. When connecting to
this jack you may also listen to the audio of other devices,
such as MP3 or CD players etc., via the speakers.
1. Pleaseconnecttheexternaldevicevia3.5mmplugjack
3. Youcanhearthesoundfromtheexternaldevicethrough
theloudspeakers.YoucanusetheVOL+/VOL-buttons
(10/5) to adjust the volume. The CD buttons are not ac-
4. For further functions please refer to the user manual of
theexternalaudiodevice.
Setthevolumeoftheexternaldevicetoaproperaudible
Cleaning and Maintenance
damp cloth without any additives.
Symptoms Course Solution
Ensure that the disc is
inserted with the label
Then turn the device
with the audio source,
Volume too low Increase the volume
on the audio source.
pressedforapprox.
reconnect the devices
audio source supports
Turn on the Bluetooth
Use a different play-
Power consumption:20 W Protection class: II Net weight: 1.95 kg
Frequency ranges:VHF/FM 87.5 ~ 108.0 MHz
The right to make technical and design modifications in
the course of continuous product development remains
This device has been tested according to all relevant current
CE guidelines, such as electromagnetic compatibility and low
voltage directives, and has been constructed in accordance
with the latest safety regulations.
Meaning of the “Dustbin” Symbol
Protect our environment: do not dispose of electrical equip-
ment in the domestic waste.
Please return any electrical equipment that you will no longer
use to the collection points provided for their disposal.
This helps avoid the potential effects of incorrect disposal on
the environment and human health.
This will contribute to the recycling and other forms of reutili-
sation of electrical and electronic equipment.
Information concerning where the equipment can be dis-
posed of can be obtained from your local authority.MC 4459 BT Stand 07/12
Elektro-technische Vertriebsges. mbH