SRC 4438 - Radio AEG - Free user manual and instructions
Find the device manual for free SRC 4438 AEG in PDF.
Download the instructions for your Radio in PDF format for free! Find your manual SRC 4438 - AEG and take your electronic device back in hand. On this page are published all the documents necessary for the use of your device. SRC 4438 by AEG.
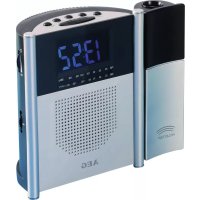
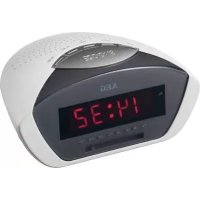
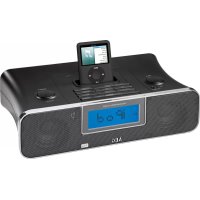
USER MANUAL SRC 4438 AEG
iPhone and iPod are trademarks of Apple Inc., registered in the USA and other countries.
Location of Controls page 3
Brightness (Helligkeit)
punti di raccolta.40
ENGLISH General Safety Guidelines
Before using this device, carefully read this user manual
and keep it together with the Warranty Certicate, cashier
receipt and if possible, the original package inclusive its
interior packing. If you hand on the device to any third
person, include the user manual as well.
• To avoid the risk of re or electric shock, you should
not expose the device to rain or humidity. Do not use
the device near water (e.g. bathroom, swimming pool,
• The unit is designed solely for private use and its intended
purpose. This unit is not designed for commercial use.
• Plug the device only into a properly installed socket. Be
sure the device voltage corresponds to the grid voltage.
• When using external grid adaptors, pay attention to the
correct polarity and voltage. Insert batteries correctly.
• Avoid covering the device’s vent openings.
• Never open the device’s case. Improper repairs can
cause severe danger to the user. If the device or
particularly the power cord is damaged, don’t use the
device any further and have it repaired by a qualied
specialist. Check the power cord regularly for damages.
• To avoid any danger, a damaged power cord must be
replaced only by the producer, its customer service or a
similarly qualied person with an equal cord.
• If the device won’t be used over an extended period
of time, disconnect the power cord and remove the
These symbols may be found on the device and shall
indicate the following:
The lightning symbol warns the user of
dangerously high voltages inside the case.
The exclamation mark symbol points to
important instruction or maintenance
remarks in the accompanying guidelines.
Children and disabled persons
• For the safety of your children, keep any packing parts
(plastic bags, cartilage, Styrofoam etc.) out of their reach.
Don’t let small children play with foils for danger of
• This device is not intended for use by persons (includ-
ing children) with reduced physical, sensory or mental
capabilities, or lack of experience and/or knowledge
unless they have been given supervision or instructions
concerning the use of the device by a person respon-
sible for their safety.
• Supervise children to ensure they do not play with the
Symbols in this user manual
Important notes for your safety are marked distinctively.
Pay absolute attention to them to avoid accidents and
damage to the device:
Warns of dangers for your health and indicates poten-
tial risks of injury.
Indicates potential dangers for the device or other
Highlights tips and information for you.
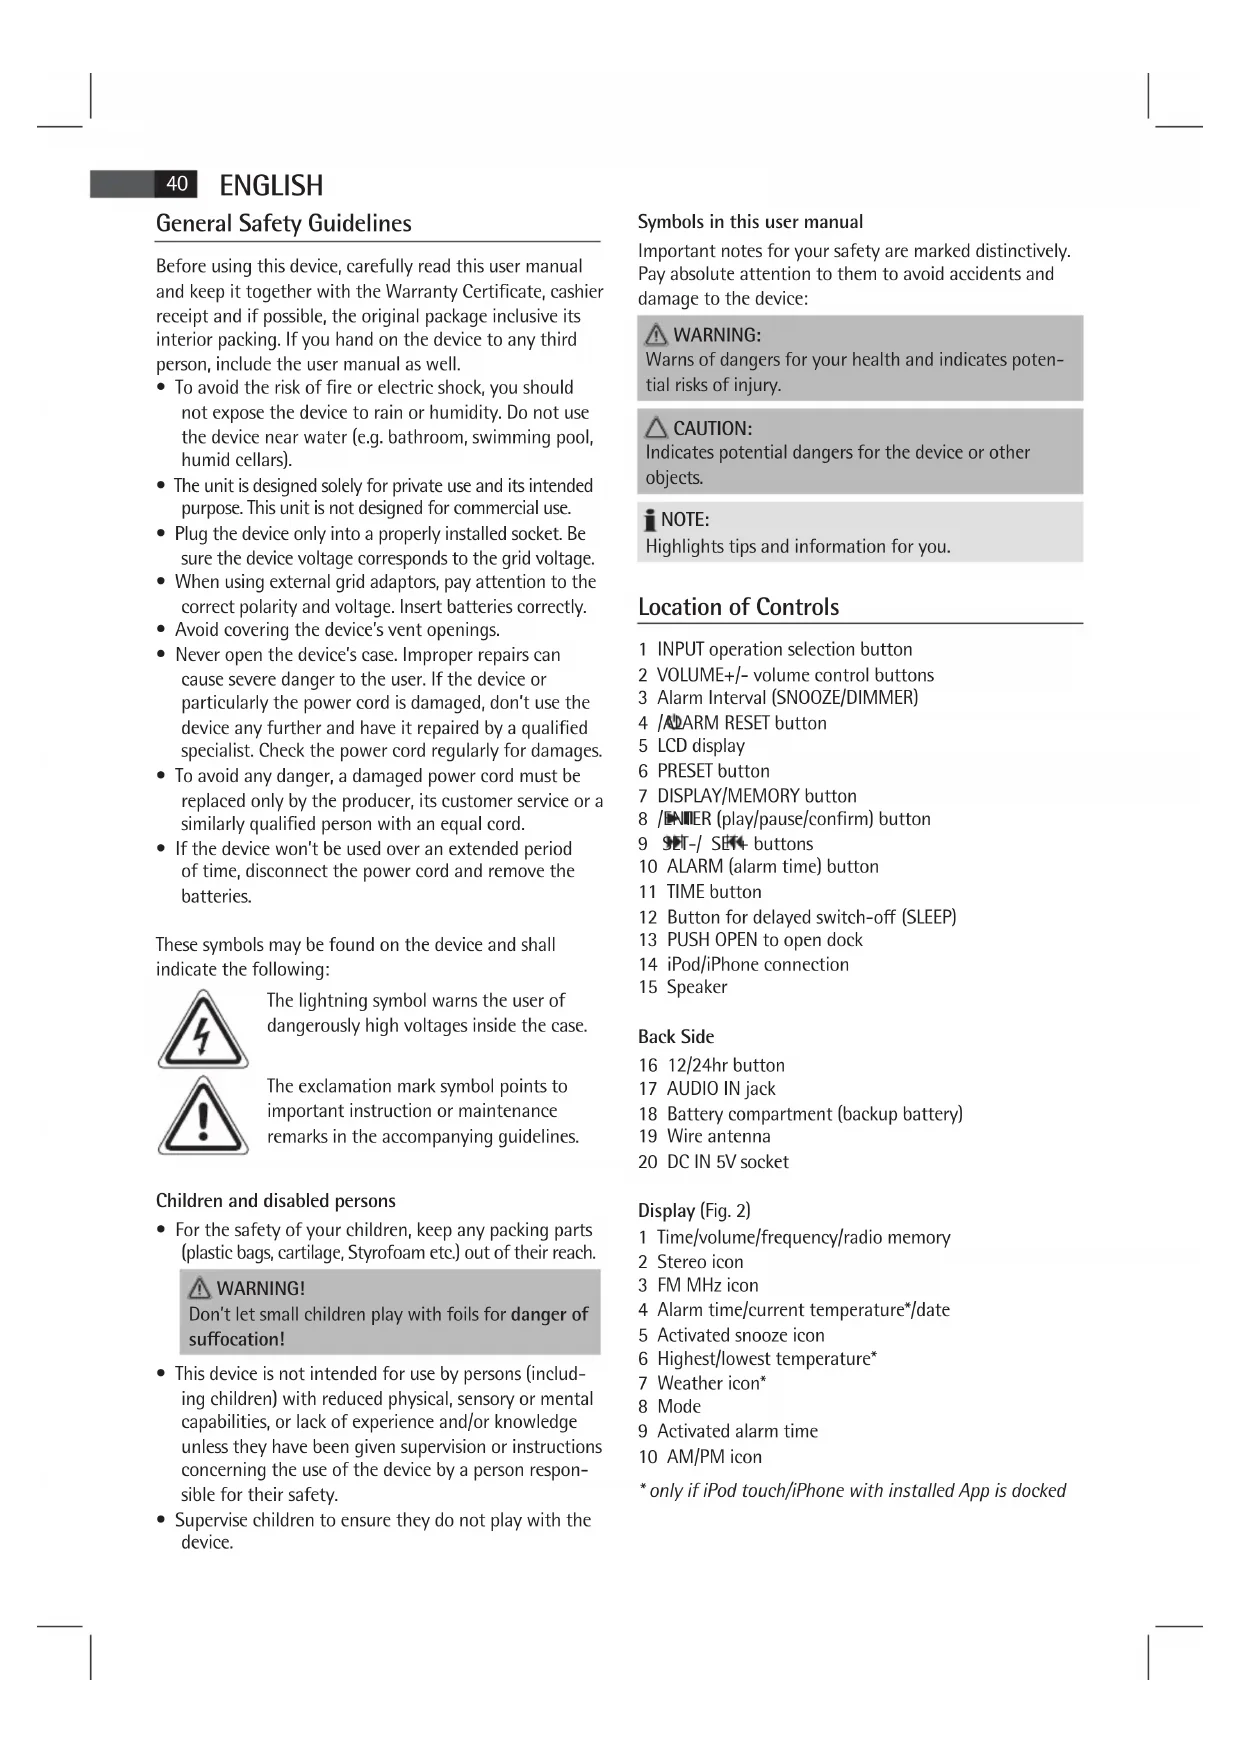
Location of Controls
1 INPUT operation selection button
2 VOLUME+/- volume control buttons
10 ALARM (alarm time) button
12 Button for delayed switch-o (SLEEP)
13 PUSH OPEN to open dock
14 iPod/iPhone connection
18 Battery compartment (backup battery)
9 Activated alarm time
* only if iPod touch/iPhone with installed App is docked41
ENGLISH First Use of the Device/Introduction
• Before the rst use of the device, read the user manual
• Select a proper place for the device such as a dry, and
even non slip area where you can easily operate the
• Make sure the device is vented suciently!
• If still in place, remove the protection foil from the display.
Battery Installation
In case of power failure or a disconnection from mains
power supply the backup battery, if inserted, memorizes
• Open the battery compartment at the bottom of the
device. Turn the lid towards the open lock icon ( ).
• Insert one button cell (CR 2032) in the battery com-
partment. Make sure the polarity is correct.
• Close the battery compartment. Turn the lid towards
Remove the battery during longer periods of non-use to
avoid battery leakage.
• Do not expose batteries to intense heat or direct
sunlight. Never throw batteries onto a re. Danger
• Keep batteries out of the reach of children. They are
• Do not force batteries open.
• Avoid contact with metallic objects. (Rings, nails,
screws etc.) Danger of short circuits!
• Short circuits may overheat or even ignite batteries.
This may lead to combustion.
• When transporting the batteries, cover the terminals
for your safety with an adhesive strip.
• If a battery leaks, do not rub the uid into the eyes
or the skin. If acid comes into contact with the eyes,
rinse with puried water and seek medical advice if
Do not dispose of batteries with household waste. Please
take used batteries to an authorised collection point or
Remove the backup battery during longer periods of
• Insert the grid plug into a properly installed three
prong socket with 230V, 50Hz. Connect the device
with the plug connector by inserting its plug into the
DC 5V jack (20) of the device.
• Make sure the grid voltage corresponds to the gures
on the rating plate.
• Time and preset settings are lost if mains power is
disconnected in case no backup battery is inserted.
• The plug connector included must only be used with
this device. Don’t use for other devices.
• Only use a power adapter with 5V ( ), a dif-
ferent adapter may damage the device.
If the device is not used for an extended period of time,
the power adapter must be removed from the socket.
Set Time/Date on the Device
Unless using the “iDock Speaker” App in your iPod touch
or iPhone the time must be set manually on the device.
1. Press the TIME button (11). The hour display ashes.
2. Press the SET-/ SET+ buttons (9) to set the current
3. Press the /ENTER button (8) to conrm your settings.
4. Press and hold the TIME button for approx. 3 seconds
5. Press the SET-/ SET+ buttons (9) to set the date.
6. Press the /ENTER button (8) to conrm your settings.
Due to the many dierent iPod-Models and generations
currently available on the market, full compatibility can-
not be guaranteed. Before connecting your iPod, ensure
that it has a compatible interface.
The delivery includes adaptors for the following devices:
- iPhone 3G Automatic time setting, weather display, etc. is only
available if an iPod touch or iPhone with installed App is
Switch device on/o (4)
By pressing the /ALARM RESET button, you can put the
device into standby mode. Pressing the button again will
switch the device on. The display shows the current mode (8).
You can select or switch o the display brightness with
the DIMMER button (3).42
By pressing the VOLUME+/- buttons (2) you can adjust the
DISPLAY/MEMORY Button (7)
• Repeatedly press this button to display the entered
alarm times, date and/or weather data.
• By default the current date, and with docked iPod/
iPhone with activated App, the weather is displayed
12/24-Hour Mode (16)
Press the 12/24hr button to toggle between the 12-hour
• In 12-hour mode AM and PM is displayed.
• With the iPod touch/iPhone docked you can change
the display mode by pressing the 12/24hr button
only if the “iDock Speaker” App is deactivated.
• The display mode set in the “iDock Speaker” App is
automatically activated when iPod touch/iPhone
with activated App is docked.
Install “iDock Speaker” App
• Important: System requirement for your iPod touch
or iPhone is the operating system iOS 3.0 or above!
• You need a WLAN Internet connection to install the
App. You may be charged for it.
1. Insert the adaptor supplied for your iPod touch/iP-
hone in the dock (14). Only the dock adaptor ensures
correct docking of your iPod/iPhone.
2. Insert your iPod touch or iPhone in the dock (14).
Insert your iPod/iPhone straight in the dock. Do not
bend or tilt the iPod/iPhone when docked. This can
damage the dock/iPod/iPhone.
3. Your iPod touch/iPhone displays that the required App
4. Select “Yes”. The Apple iTunes App Store is automati-
cally displayed. Select the App “iDock Speaker”
and follow the installation instructions.
5. After installing the App the additional functions are
With the App, the following settings can be executed:
• Set Alarm time 1 and 2
• Set and save radio station preset
• Display the current weather data of the nearest avail-
able weather station*
* You need a WLAN Internet connection to display the
weather data. You may be charged for it.
1. Insert the adaptor supplied for your iPod touch/iP-
hone in the dock (14). Only the dock adaptor ensures
correct docking of your iPod/iPhone.
2. Insert your iPod touch or iPhone in the dock (14).
Insert your iPod/iPhone straight in the dock. Do not
bend or tilt the iPod/iPhone when docked. This can
damage the dock/iPod/iPhone.
3. Start the “iDock Speaker” App. The following user
The rst three times you start the App you are
prompted to save your current position data. Touch
OK to conrm the adoption of the weather and date
If you are not connected to
the Internet the message
on the right appears when
accessing the App and the
You can set up to two alarm times.
1. Open the alarm time menu (A).
2. Activate the rst or second alarm time.
3. Select the alarm volume with the scroll bar.
4. Activate and deactivate the snooze function under
5. Touch the “Set Time” screen ash to show the “Set
6. Set the desired alarm time.
7. Select your wake-up track in “Select Song”.
8. Set the wake-up day(s) of the week in “Repeat”.
9. Touch the top right “Done” screen ash to adopt the
settings. With activated App the settings are trans-
ferred to the clock radio. The display shows “ ” and
• With a docked iPod touch/iPhone and activated App
the alarm-function can only be used in iPod mode.
• Previous alarm times which have been set manually
are overwritten with the iPod/iPhone data.
Tune Into/Save Radio Station
The radio stations saved in the App are not synced with
the clock radio. After undocking the iPod/iPhone the
previously preset stations are available on the clock radio.
• Open the radio menu (C).
1. Tune into the desired radio station.
2. Touch “SAVE” to save the station.
3. Select a preset between M1 and M20. Touch OK to
1. Touch the “AUTO” screen ash to start auto search.
2. The detected radio stations are saved in sequence.
Assign station names:
1. Touch the area below the preset to assign a name.
2. Use the virtual keyboard to enter a name.
Please note that assigned station names are short-
ened if they are too long.
3. Touch the “return” screen ash to save the name.
Display Weather Data
You need a WLAN Internet connection to display the
weather data. You may be charged for it.
1. Open the weather menu (D).
2. The weather data of the nearest available weather
station are displayed.
3. Open the “Details >” for detailed current and/or next
day(s) weather information.
1. Open the setup menu (B). You can set the following
Flash Colon (Doppelpunkt)
Set the separator (:) to ash or illuminate.
Brightness (Helligkeit)
Select the App brightness.
24 Hour Mode (24 Std. Modus)
Select between the 24-hour and 12-hour display modes.
In 12-hour mode the display shows AM and PM.
Auto-Lock (Automatische Tastensperre)
Activate and deactivate the automatic key lock.
2. Touch the top right “Done” screen ash to adopt the
Tune Into Radio Station on the Device
• Tune the program by pressing the SET-/ SET+ but-
Press and hold the corresponding tuning button for
approx. 1 second in order to start searching for the
• The stereo icon on the display only illuminates if the
selected station is received in stereo quality. If the
reception is too weak and there is interference on the
channel, try to improve the reception by changing the
position of the aerial and/or coil/uncoil it.
1. Press and hold the DISPLAY/MEMORY button (7) for
approx. 3 seconds to save the radio station.
2. Press the SET-/ SET+ buttons (9) to select a sta-
tion preset between P01 and P20.
3. Briey press the DISPLAY/MEMORY button to save the
Recall Saved Radio Stations
Repeatedly press the PRESET button (6) to recall the saved
ENGLISH Set Alarm on the Device
If not using the “iDock Speaker” App in your iPod touch or
iPhone the alarm time must be set manually on the device.
You can set two alarm times; proceed as follows:
• Press and hold the ALARM button (10). The display
shows the currently set rst alarm time. The display
shows “ ”. The hours ash.
Press the ALARM button again to set the second alarm
time. The display shows “ “. The hours start ashing.
• Press the SET-/ SET+ buttons to set the hours.
Press the /ENTER button to conrm. The minutes
want to be woken. Conrm your selection with the
The following options are available:
An alarm sounds when the wake-up time is
reached. The volume increases slowly.
As soon as your set wake-up time is reached, the
radio switches on. The last set channel will play. The
volume increases slowly.
Before plugging in the iPod/iPhone, make sure
that the radio is not in iPod mode.
• Insert the adaptor supplied for your iPod touch/
iPhone in the dock (14). You can only ensure
that the iPod ts correctly into the iPod/iPhone
port if the adapter is plugged in.
• Insert your iPod touch or iPhone in the dock (14).
Make sure that your iPod/iPhone is plugged up-
right into the port. Do not bend or tilt the iPod/
iPhone whilst it is plugged into the port. This may
lead to the port/iPod/iPhone being damaged.
• Playback from your iPod/iPhone starts in the
set mode at the set alarm time. The volume
• Follow your iPod/iPhone manual to select the
• If no iPod/iPhone is connected the device
wakes you in BUZZER mode.
• Press the ALARM button once or twice, the indicators
“ “ or “ “ appears on the display. The rst or second
wake-up time is active.
• Switch the unit onto Standby Mode using the
/ALARM RESET button (4).
• With docked iPod touch/iPhone and activated App
setting the alarm-function can only be used in iPod
• Previous alarm times which have been set manually
are overwritten with the iPod/iPhone data if iPod/
iPhone with activated App is docked.
Press the /ALARM RESET button to turn o the alarm
Press the SNOOZE/DIMMER button (3) to deactivate the
alarm for approx.10 minutes. The “ “ and “ “ icons
respectively start ashing on the display.
To deactivate the alarm time repeatedly press the ALARM
button (6) until the display (Fig. 2/9) disappears.
Sleep Timer (SLEEP button (12))
During ON mode you can set the automatic sleep timer
in 00-minute steps between 90 and 10 minutes; after this
period of time the device turns into standby mode. Press
and hold the button for approx. 3 seconds. The display
shows “ “ and “00” starts ashing. Press the SET-/
SET+ buttons (9) until the desired snooze time is dis-
played. Press the /ENTER button (8) to conrm. “ “
is displayed if the function is activated. After the set time
the device automatically turns o.
Press the /ALARM RESET button (4) to deactivate this
Music Playback from iPod/iPhone
(iPod/iPhone not supplied)
Before plugging in the iPod/iPhone, make sure that the
radio is not in iPod mode.
1. Insert the adaptor supplied for your iPod touch/iPhone
in the dock (14). You can only ensure that the iPod ts
correctly into the iPod/iPhone port if the adapter is
2. Connect your iPod/iPhone to the iPod dock (14).45
Make sure that your iPod/iPhone is plugged upright
into the port. Do not bend or tilt the iPod/iPhone
whilst it is plugged into the port. This may lead to
the port/iPod/iPhone being damaged.
3. Press the /ALARM RESET button (4) to turn the
device on. Press the INPUT button (1) repeatedly, until
the Display shows “ “.
4. Depending on the iPod/iPhone Model, rstly release
the button lock and start playing music if necessary
with the /ENTER button (8).
5. Follow your iPod/iPhone manual for further use of the
Return to radio mode before disconnecting your iPod/
iPhone from this device to avoid damages to your iPod/
Description of iPod/iPhone Controls
You can pause and continue music playback. Press again
to continue playback.
Press 1 x = Restart of the song from the beginning.
Press 2 x = Skip to the previous song.
Press 3 x = Skip to the song before the previous song,
etc. Press and hold during playback to
search in reverse through the song.
Press to skip to the next song and the following songs.
Press and hold during playback to search forward through
Your iPod/iPhone battery is charged as soon as the iPod/
iPhone is docked. To do this, the unit must be connected
iPod/iPhone connection.
• Not all iPod generations support the charge mode.
• The duration of the charging process depends on
the iPod/iPhone which is used and its operating
AUDIO IN Socket (17)
Connect any analog playback source. You can also listen
to other playback units such as an MP3 Player, CD player
etc. through the speaker via this jack.
1. Connect the external device via 3.5mm stereo jack to
the AUDIO IN socket.
2. Now select AUX out mode with the INPUT button (1).
3. You will nd further instructions in the manual of
your external sound source.
4. You can listen to the playback from the external unit
via the speaker. You can adjust the volume with the
VOLUME+/- volume buttons (2).
Set the volume of the external device to a reasonable level.
• Before cleaning disconnect from mains power supply.
• Clean the device with a soft damp cloth without
• Do not submerge the device in water.
Technical Specications
Backup battery: 1x CR 2032
External power adaptor
Input: AC 100-240V, 50/60Hz
Output: DC 5V/1.2A Polarity:
Protection Class:II Radio
Frequency Range: FM 87.5 ~ 108MHz
Technical modications reserved!
This device complies with all current CE directives, such as
electromagnetic compatibility and low voltage directive
and is manufactured according to the latest safety
“Made for iPod” and “Made for iPhone“ mean that an
electronic accessory has been designed to connect specically
to iPod or iPhone and has been certied by the developer to
meet Apple performance standards. Apple is not responsible
for the operation of this device or its compliance with safety
and regulators standards.46
ENGLISH Meaning of the “Wheelie Bin” Symbol
Take care of our environment, do not dispose of electrical
applicances via the household waste.
Dispose of obsolete or defective electrical appliances via
municipal collection points.
Please help to avoid potential environmental and health
impacts through improper waste disposal.
You contribute to recycling and other forms of utilization
of old electric and electronic appliances.
Your municipality provides you with information about
collecting points.SRC 4438 Stand 07/10
Elektro-technische Vertriebsges. mbH Industriering Ost 40 • 47906 Kempen