
CL-HM300XRW - Mixer COSYLIFE - Free user manual and instructions
Find the device manual for free CL-HM300XRW COSYLIFE in PDF.
| Brand | COSYLIFE |
| Model | CL-HM300XRW |
| Product type | Electric mixer |
| Power | 400 W |
| Supply voltage | 220-240 V~, 50 Hz |
| Protection class | II |
| Number of speeds | 6 + turbo |
| Included accessories | 2 whisks, 2 dough hooks |
| Maximum flour capacity (kneading) | 350 g |
| Maximum continuous use duration | 5 minutes |
| Rest between cycles | 20 minutes minimum |
| Cleaning of accessories | Dishwasher safe |
| Cleaning of the appliance body | Damp cloth, do not immerse |
| Intended use | Domestic, mixing and kneading |
| Warranty | 2 years |
Frequently Asked Questions - CL-HM300XRW COSYLIFE
User questions about CL-HM300XRW COSYLIFE
0 question about this device. Answer the ones you know or ask your own.
Ask a new question about this device
Download the instructions for your Mixer in PDF format for free! Find your manual CL-HM300XRW - COSYLIFE and take your electronic device back in hand. On this page are published all the documents necessary for the use of your device. CL-HM300XRW by COSYLIFE.
USER MANUAL CL-HM300XRW COSYLIFE
Thank you for choosing this COSYLIFE product. COSYLIFE products are chosen, tested, and recommended by ELECTRO DEPOT, so you can be sure you are getting a top-quality, easy-to-use product that won't let you down.
We're confident your new device will be a pleasure to use every day!
Welcome to ELECTRO DEPOT.
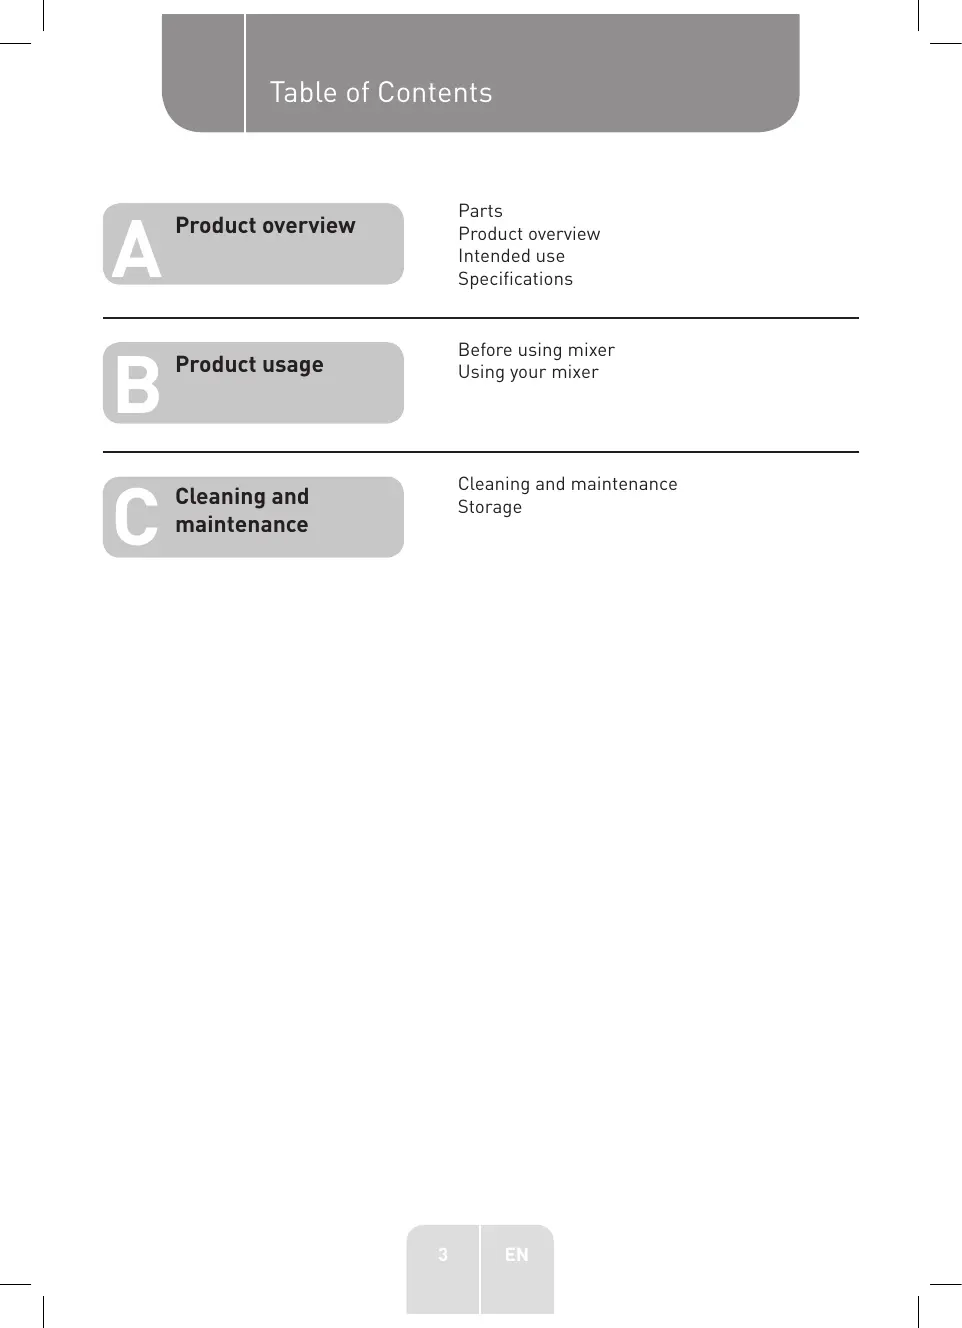
Table of Contents

Parts
Product overview
Intended use
Specifications

Before using mixer
Using your mixer

Cleaning and maintenance
Storage
Parts

Ejector Button

Speed Selector

Turbo Button

Beaters

Dough Hooks

Fixing bracket
Product overview
- Unpack the product. Remove all the labels from the product. Check that it is complete and in a good condition. If the unit is damaged or faulty, do not use it and take it to your retailer or after-sales service centre.
- Keep all packaging out of the reach of children. There is a risk of accidents if children play with packaging materials.
Intended use
This unit has been designed exclusively for kneading and mixing food in private homes.
Any other use may damage the unit or cause injury.
Specifications
| Model: | 988636 - CL-HM300XRW |
| Operating voltage: | 50Hz, 220-240V~ |
| Electric power: | 400W |
| Protection class: | Class II |
B Product usage
Before using mixer
Remove any packages, disassemble any detachable parts. Clean the dough hooks and beaters. Before assembling the mixer, make sure the power cord is unplugged from the power outlet and the speed selector is at the "0" position.
Using your mixer
- Assemble proper beaters or dough hooks into mixer.

NOTE: Beaters can be inserted in either socket, as the beaters are identical. For dough hooks, the one with washer can only be inserted into the bigger socket and the other one can only be inserted into smaller one. The two dough hooks cannot be inserted in reverse.
- Ensure that the unit is at the "0" setting, then plug in the power source.
- Set the speed selector to your desired speed. There are 6 speed settings to be selected. When kneading yeast dough, suggesting to select the speed selector by lower speed and then by higher speed to achieve the best results. Press and hold the turbo button to switch to the highest speed.

WARNING: Do not stick knife, metal spoons, fork and so on into bowl while operating.
- The max operation time per time shall be less than 5 minutes. Minimum 20 minutes rest time must be maintained between continuous two cycles.

NOTE: During operation you may rotate the bowl with hand to achieve the best results.
- When mixing is complete, turn the speed selector to "0" setting, and unplug the cord from power outlet.
- If necessary, scraping the excess food particles from the beaters or dough hooks by rubber or wooden spatula.
- Hold the beaters or dough hooks with one hand and press the Ejector button firmly down with the other hand to remove the beater or dough hooks.

NOTE:
- Remove the beaters or dough hooks only the speed selector at the "0" setting.
During operation, you can put the mixer vertically, but make sure the speed selector is at the "0" setting.
B Product usage
Recipe (for beaters): Cake
Ingredients:
Egg:3
Butter (with 80% fat): 150g
White sugar: 150g
Wheat flour: 150g
Yeast powder: 3g (according to instruction manual)
Operation:
- Separate egg white and yolk;
- Put egg white into bowl, choose beaters and run the appliance under setting 6 for 1.5 - 2.5 mins;
- Cut the butter into 20mm cubes;
- Put sugar, butter and yolk into bowl, choose beaters and run the appliance under setting 1 for 1 - 2.5 mins;
- Mix the wheat flour and yeast powder, then put into bowl;
- Bake dough by toaster oven.
Recipe (for dough hook): Bread
Ingredients:
Wheat flour: 350g
Salt: 5g
White sugar: 10g
Butter (with 80% fat): 10g
Water: 200g
Yeast powder: 3g (according to instruction manual)
Operation:
- Mix the wheat flour and salt, sugar, then put into bowl;
- Put yeast powder, butter and water into bowl;
- Choose dough hook, run the appliance under setting 1 for 10s - 15s, then run the appliance under setting 2 for 20s - 30s, then run the appliance under setting 6 for 2.5 - 3.5 mins;
- Warm dough by temperature chamber for 45 mins at 35^
- Bake dough by toaster oven.

NOTE: Never knead dough containing more than 350g of flour with this appliance! Larger quantities of flour can result in overloading the appliance!
COOKERY TIPS
- Refrigerated ingredients, i.e., butter and eggs should be at room temperature before mixing beginning. Set these ingredients out ahead of time.
- To eliminate the possibility of shells or deteriorated-off eggs in your recipe, break eggs into separate container first, then adding to the mixture.
- Do not over-beat. Be careful that you only mix/blend mixtures until recommended in your recipe. Fold into dry ingredients only until just combined. Always use the low speed.
B Product usage
- Climatic conditions. Seasonal temperature changes, temperature of ingredients and their texture variation from area to area all play a part in the required mixing time and the results achieved.
- Always start mixing at slow speeds. Gradually increase to the recommended speed as stated in the recipe.
Cleaning and maintenance
- Unplug the appliance and wait it completely cool down before clean.
- Wipe over the outside surface of the head with a damp cloth and polish with a soft dry cloth.
- Wipe any excess food particles from the power cord.
- Wash the beaters and dough hooks in warm soapy water and wipe them with a dry cloth. The beaters and dough hooks may be washed in the dishwasher.

CAUTION: The mixer cannot be immersed into water or other liquid.

Warning: Any other serving should be performed by an authorized service representative.
Storage
- Always unplug the unit before storing it.
- Store the unit in a fresh, dry and dust-free place, out of the reach of children and pets.
- Please retain the packaging and use it to store your unit when it is not in use for an extended period of time.

Merci!
This product is guaranteed against faults caused by defects in manufacturing or the materials used for a period of two years, starting from the date of purchase.* This warranty does not cover defects or damage caused by failure to install the device correctly, incorrect use of the product, or excessive wear and tear.
*proof of purchase required.
CONDITION DE GARANTIE
FR


Brand : COSYLIFE
Model : CL-HM300XRW
Category : Mixer