
CL-HM300X - Beater COSYLIFE - Free user manual and instructions
Find the device manual for free CL-HM300X COSYLIFE in PDF.
| Product type | Stand mixer |
| Brand | COSYLIFE |
| Model | CL-HM300X (964078) |
| Power | 220-240 V ~ 50 Hz, 300 W |
| Protection class | Class II |
| Speeds | 6 adjustable speeds + Turbo function |
| Included accessories | 2 whisks, 2 dough hooks (one with washer), accessory holder |
| Maximum operating time | 5 minutes (normal), less than 1 minute (Turbo) |
| Minimum rest time between cycles | 20 minutes |
| Cleaning the motor unit | Slightly damp cloth, do not immerse |
| Cleaning of accessories | Warm water and dish soap or dishwasher |
| Warranty | 2 years |
| Intended use | Beating, mixing and kneading food in a domestic setting |
Frequently Asked Questions - CL-HM300X COSYLIFE
User questions about CL-HM300X COSYLIFE
0 question about this device. Answer the ones you know or ask your own.
Ask a new question about this device
Download the instructions for your Beater in PDF format for free! Find your manual CL-HM300X - COSYLIFE and take your electronic device back in hand. On this page are published all the documents necessary for the use of your device. CL-HM300X by COSYLIFE.
USER MANUAL CL-HM300X COSYLIFE
Thank you for choosing this COSYLIFE product. COSYLIFE products are chosen, tested, and recommended by ELECTRO DEPOT, so you can be sure you are getting a top-quality, easy-to-use product that won't let you down.
We're confident your new device will be a pleasure to use every day!
Welcome to ELECTRO DEPOT.
Table of Contents

Parts
Product overview
Intended use
Technical specifications

Before first use Use Recipes Tips and tricks

Cleaning and maintenance Storage
Parts
A Motor unit
B Power cable (with mains plug)
Eject button
Speed selector
E TURBO button
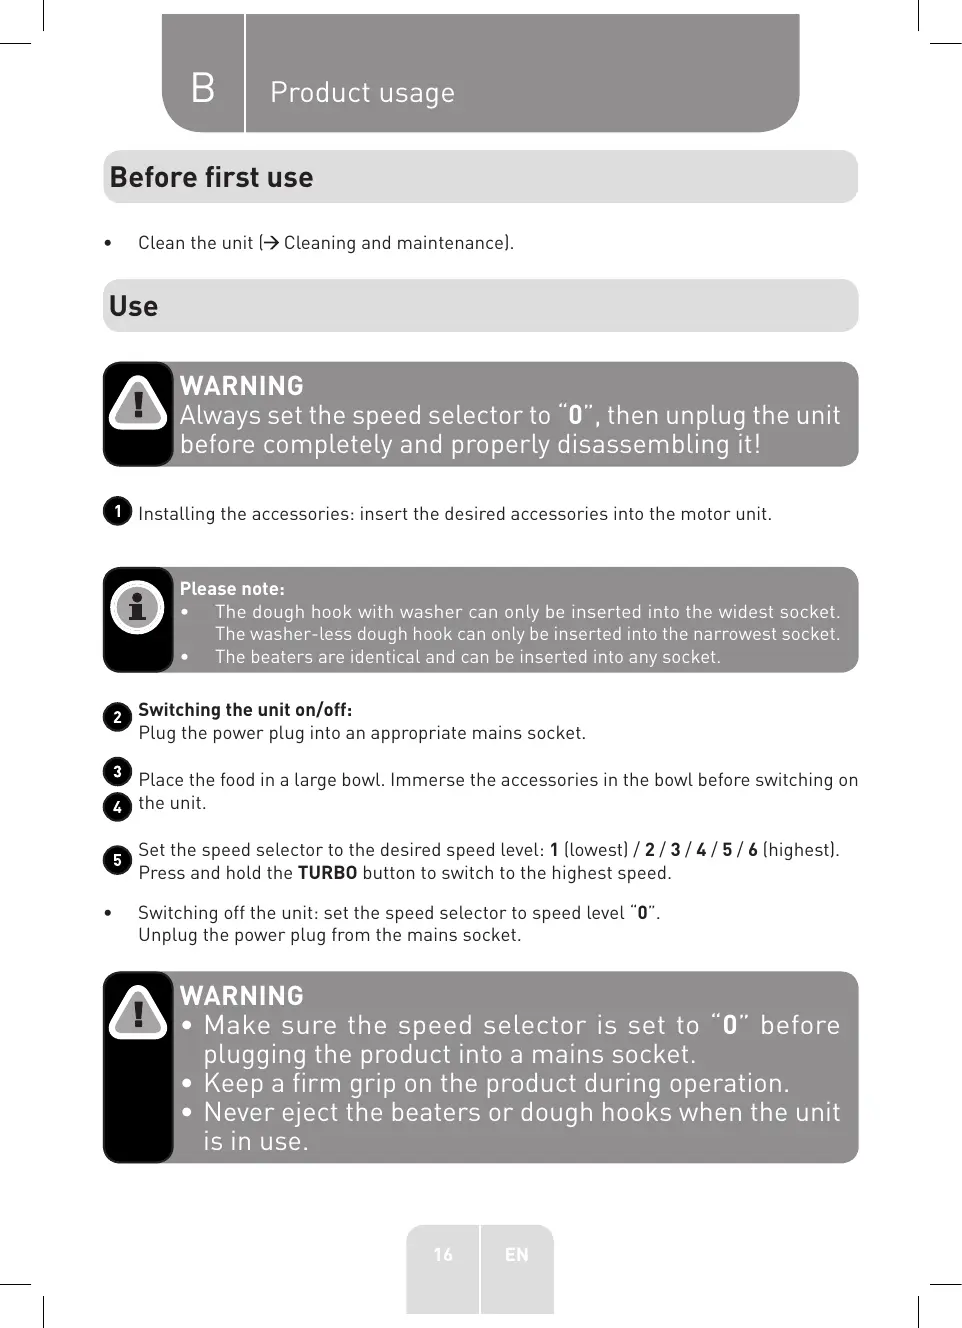
F Beaters
Dough hook with washer
Dough hook
Socket for the dough hook with washer
Accessory holder
Product overview
- Unpack the unit. Remove all the labels from the unit. Check that the unit is complete and in a good condition. If the unit is damaged or faulty, do not use it and take it to your retailer or after-sales service centre.
- Keep all packaging out of the reach of children. There is a risk of accidents if children play with packaging materials.
Intended use
This unit has been designed exclusively for kneading and mixing food in private homes.
Any other use may damage the unit or cause injury.
Technical specifications
Model: 964078-CL-HM300X
Operating voltage: 220-240 V ~, 50 Hz
Electric power: 300 W
Protection class: Class II
Before first use
Clean the unit ( Cleaning and maintenance).
Use

WARNING
Always set the speed selector to "0", then unplug the unit before completely and properly disassembling it!
1 Installing the accessories: insert the desired accessories into the motor unit.

Please note:
- The dough hook with washer can only be inserted into the widest socket. The washer-less dough hook can only be inserted into the narrowest socket.
- The beaters are identical and can be inserted into any socket.
Switching the unit on/off: Plug the power plug into an appropriate mains socket.
Place the food in a large bowl. Immerse the accessories in the bowl before switching on the unit.
Set the speed selector to the desired speed level: 1 (lowest) / 2 / 3 / 4 / 5 / 6 (highest). Press and hold the TURBO button to switch to the highest speed.
- Switching off the unit: set the speed selector to speed level "0". Unplug the power plug from the mains socket.

WARNING
- Make sure the speed selector is set to "0" before plugging the product into a mains socket.
- Keep a firm grip on the product during operation.
- Never eject the beaters or dough hooks when the unit is in use.
Removing the accessories: hold the accessories with one hand and firmly press the eject button.

Please note: You can rotate the bowl with your hand, during operation, for best results.

Please note:
The speed can be changed while the product is running.
Always start mixing at a low speed. Gradually increase to the recommended speed indicated in the recipe.
Using the beaters
- Insert the beaters into the motor unit.
- Place the ingredients in a large bowl.
- Beat the ingredients according to the recipe.
- After use: wait until the unit has come to a complete stop. Unplug the power plug from the mains socket.

Please note:
- Do not beat excessively. Make sure you only beat or knead the mixtures indicated in your recipe.
- To prevent getting eggshells or spoilt yolks in your recipe, break the eggs into a separate container before adding them to the mixture.
- Ingredients taken from the refrigerator, such as butter or eggs, should be brought to room temperature before being mixed. Prepare these ingredients in advance.
Using the dough hooks
- Insert the dough hook and dough hook with washer into the motor unit.
- Place the ingredients in a large bowl.
Plug the power plug into an appropriate mains socket. - Knead the ingredients according to the recipe.
- After use: wait until the unit has come to a complete stop. Unplug the power plug from the mains socket.

Please note: Only stir into dry ingredients until smooth. Always use the lowest speed.
Recipes
Sponge cake batter
Required accessory:
| Quantity | Ingredients |
| 4 | Eggs |
| 30 ml | Water |
| 3 g | Salt |
| 125 g | White sugar |
| 150 g | Flour |
Preparation :
- Add the eggs, water, salt and white sugar.
- Beat the mixture on the highest speed (6) for 3 minutes.
- Add the flour and beat the mixture on the lowest speed (1) for 20 seconds.
Recommended accessory and speed:
| Speed | Accessory | Ingredient |
| 1 | Thick dough | |
| 2 | Sauces, milk-based mixtures etc. | |
| 3 | Light dough | |
| 4 | Desserts, instant puddings | |
| 5/6 | Beaten egg whites, whipped cream |

WARNING!
Maximum operating time = 5 minutes.
- Operating time in TURBO mode: < 1 minute. Do not overload the unit.
- Minimum pause time Between two consecutive operating cycles = 20 minutes.
Tips and tricks
- If necessary, use a rubber or wooden spatula to scrape off any mixture left on the beaters or dough hooks.
- When not in use, place the mixer in a vertical position on a table/counter, with the speed selector set to "0".
Cleaning and maintenance

WARNING
Before performing any cleaning or maintenance operations: unplug the power plug from the mains socket, then remove the accessories from the motor unit.
| Part | Cleaning |
| Motor unit | WARNING! Never immerse this part in water or any other liquid. Do not hold this part under running water. • Do not use abrasive cleaners, harsh cleaners or stiff-bristle brushes to clean the unit. • Clean with a slightly damp cloth. Use a little washing-up liquid if necessary. |
| Beaters Dough hooks | Thoroughly clean these parts with lukewarm water and washing-up liquid. These parts are also dishwasher-safe. |
| Storage |
Whenever you are not using the product, store its accessories on the accessory holder.
- Always unplug the unit before storing it.
- Store the unit in a fresh, dry and dust-free place, out of the reach of children and pets.
- Please retain the packaging and use it to store your unit when it is not in use for an extended period of time.

Bedankt!
This product is guaranteed against faults caused by defects in manufacturing or the materials used for a period of two years, starting from the date of purchase.* This warranty does not cover defects or damage caused by failure to install the device correctly, incorrect use of the product, or excessive wear and tear.
*proof of purchase required.
NL
GARANTIEVOORWAARDEN


- Table of Contents
- Parts
- Product overview
- Intended use
- Technical specifications
- Before first use
- Use
- WARNING
- Please note:
- Using the beaters
- Using the dough hooks
- Recipes
- Sponge cake batter
- Preparation :
- Recommended accessory and speed:
- WARNING!
- Tips and tricks
- Cleaning and maintenance
- Bedankt!
- GARANTIEVOORWAARDEN
Brand : COSYLIFE
Model : CL-HM300X
Category : Beater