
CA20 - Wireless Headphones PLANTRONICS - Free user manual and instructions
Find the device manual for free CA20 PLANTRONICS in PDF.
| Product Type | DECT Adapter for Wireless Headset |
| Brand | Plantronics |
| Model | CA20 |
| Technology | DECT |
| Range | Up to DECT range limit (audible warning at limit) |
| Power Supply | Class 2 AC adapter (ref. Plantronics 34659-01/02) |
| Battery | Rechargeable NiMH (ref. Plantronics 34592-01) |
| Charge Time | 1 hour minimum before first use |
| Functions | Headset/handset switch, mute button, tone adjustment (3 modes), transmit/receive volume control, charge indicator, low battery indication, out-of-range warning |
| Included Accessories | Base unit, remote unit, charging cradle, AC adapter, cables |
| Warranty | 2 years (against material and manufacturing defects) |
| Maintenance | Clean with a damp cloth, do not use solvents |
| Safety | Indoor use only, do not block ventilation openings, do not immerse |
| Spare Parts Available | Battery (34592-01), AC adapter (34659-01/02) |
Frequently Asked Questions - CA20 PLANTRONICS
User questions about CA20 PLANTRONICS
0 question about this device. Answer the ones you know or ask your own.
Ask a new question about this device
Download the instructions for your Wireless Headphones in PDF format for free! Find your manual CA20 - PLANTRONICS and take your electronic device back in hand. On this page are published all the documents necessary for the use of your device. CA20 by PLANTRONICS.
USER MANUAL CA20 PLANTRONICS
This product carries the CE mark which indicates conformity with the European Directive on Electromagnetic Compatibility (EMC Directive 89/336/EEC) and the European Low Voltage Directive (LVD 73/23/EEC), as amended. It also conforms with European Directives on Telecommunications Terminal Equipment and Satellite Earth Stations (TTE-SES Directive 98/13/EC).
Plantronics Ltd
Interface Business Park
Bincknoll Lane
Wootton Bassett
Wiltshire
SN4 8QQ
ENGLAND
Tel: +44 1793 842200
Fax: +44 1793 848853
Plantronics Denmark
Andersen Nexø Vej 29
2860 Søborg
Denmark
Tel: +45 39551051
Fax: +45 39551052
Plantronics B.V.
Antareslaan 9
2132 JE Hoofddorp
The Netherlands
Tel: +31 (0)23 5648025
Fax: +31 2356 48015
Plantronics France
424, La Closerie Mont d'Est
93194 Noisy-le-Grand Cedex
Tel.: +33 (0)1 41 67 41 41
Fax: +33 (0)1 41 67 41 40
Plantronics GmbH
Gildenweg 7
50354 Hürth
Germany
Tel: +49 22 33 3990
Fax: +49 22 33 399399
Plantronics Nordic Region
Oskarsvagen 10
S-702 14 Örebro
Sweden
Tel: +46 19 121930
Fax: +46 19 121933
Plantronics Acoustics Italia Srl Palazzo G/2, Via Roma 108 20060 Cassina de Pecchi MI Tel: +39 02 9511900 Fax:+39 02 9511903
Plantronics Spain
Europa Empresarial
Ctra. de la Coruña Km. 2
Edificio Londres Of. 7
Las Rozas 28230 Madrid
Tel: +34 91 640 47 44
Fax: +34 91 640 47 46
Plantronics MEEA
Sales Region
262 Regents Park Road
Finchley
London N3 3HN
Tel: +44 208 349 3579
Fax: +44 203 346 0038
Plantronics Ltd, Interface Business Park, Bincknoll Lane, Wootton Bassett, Wiltshire SN4 8QQ. ENGLAND
www.plantronics.com

PLANTRONICS
World Leader in Communications Headsets
CA20 Adapter
User Guide
Gebruiksaanwijzing
Brugsanvisning
Kayttoohjeet
Uttag for AC adapter
6 Power indicator
Stroom Indicator
Strömindikator
Tehonilmaisin
Témoin de marche
Stromanzeige
Indicatore On/Off
Strömindikator
14 Receiver Volume Control
Volumeregeling
Hojttaler regulating
Kuulokkeen
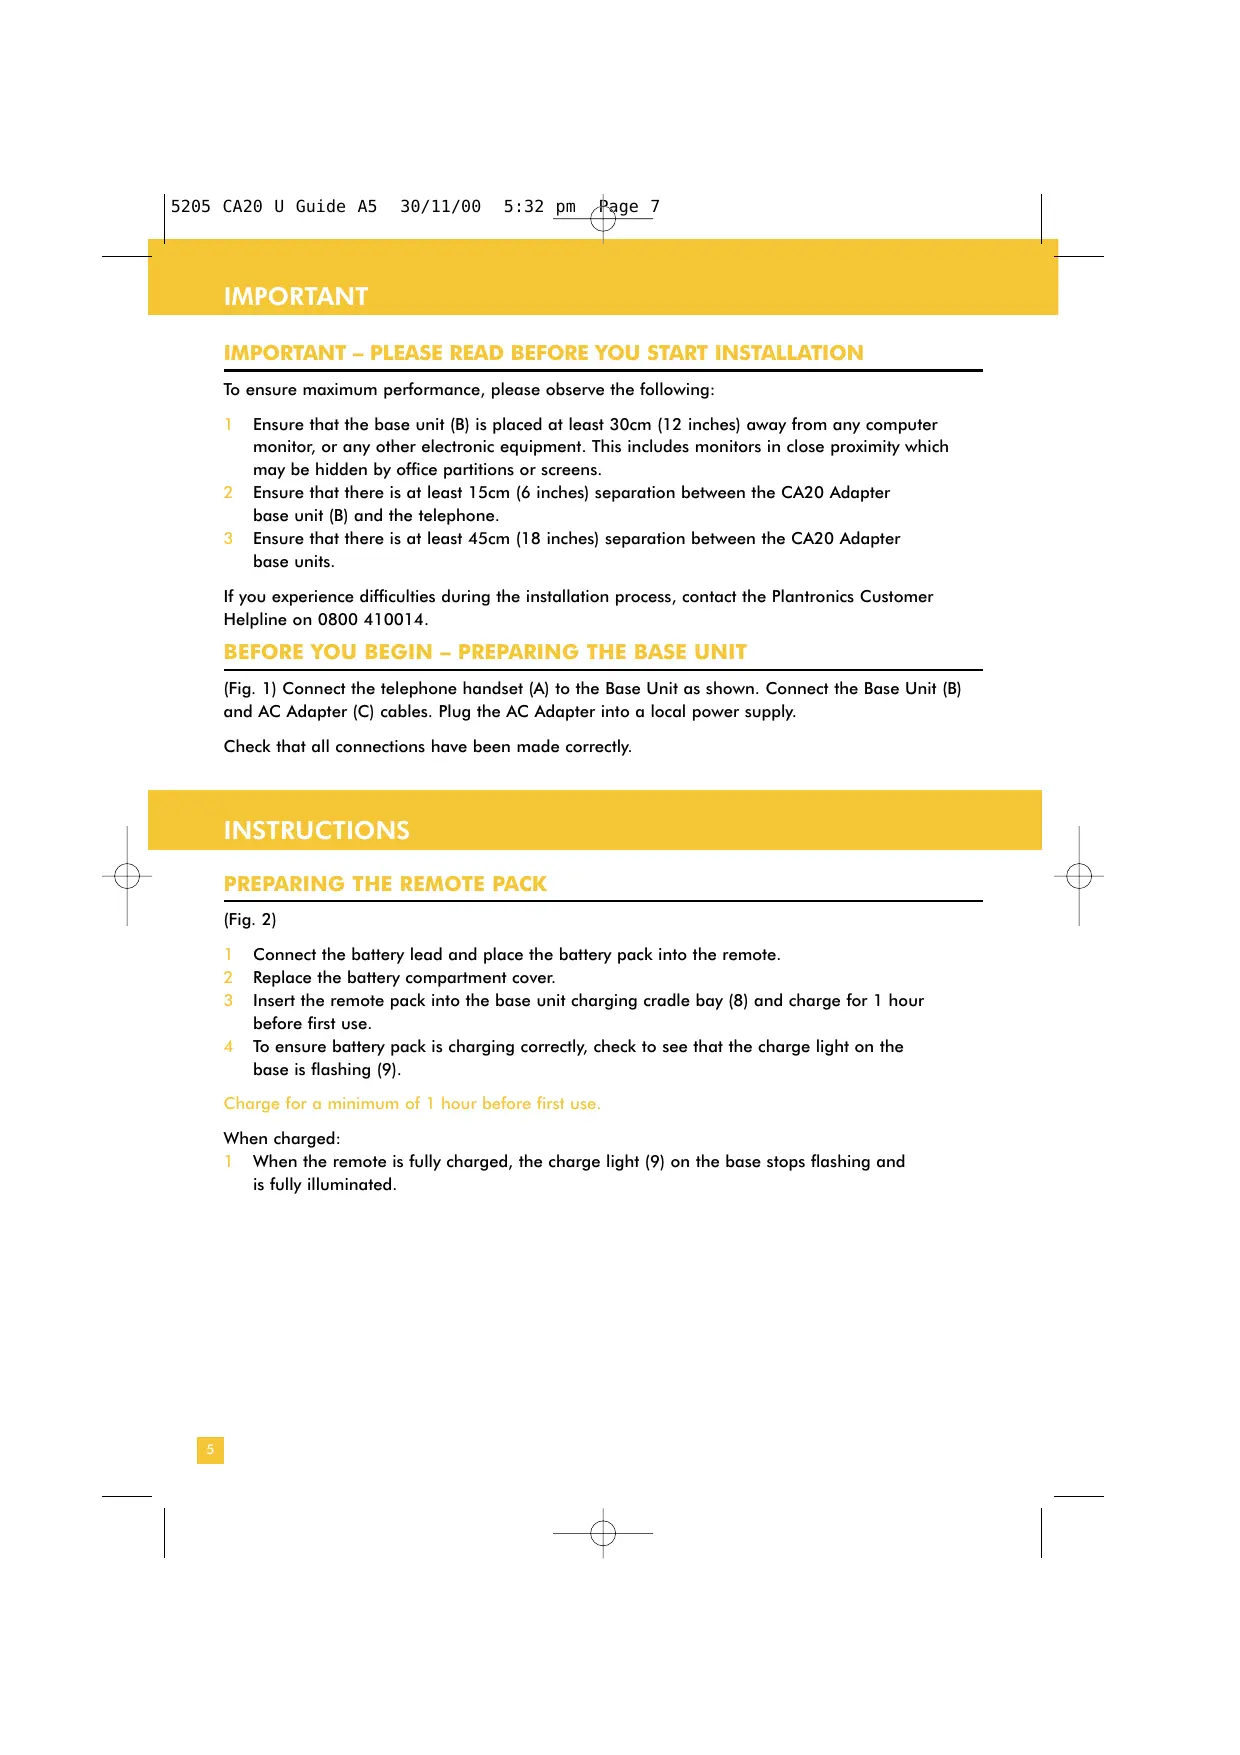
To ensure maximum performance, please observe the following:
1 Ensure that the base unit (B) is placed at least 30cm (12 inches) away from any computer monitor, or any other electronic equipment. This includes monitors in close proximity which may be hidden by office partitions or screens.
2 Ensure that there is at least 15cm (6 inches) separation between the CA20 Adapter base unit (B) and the telephone.
3 Ensure that there is at least 45cm (18 inches) separation between the CA20 Adapter base units.
If you experience difficulties during the installation process, contact the Plantronics Customer Helpline on 0800 410014.
BEFORE YOU BEGIN - PREPARING THE BASE UNIT
(Fig. 1) Connect the telephone handset (A) to the Base Unit as shown. Connect the Base Unit (B) and AC Adapter (C) cables. Plug the AC Adapter into a local power supply.
Check that all connections have been made correctly.
INSTRUCTIONS
PREPARING THE REMOTE PACK
(Fig. 2)
1 Connect the battery lead and place the battery pack into the remote.
2 Replace the battery compartment cover.
3 Insert the remote pack into the base unit charging cradle bay (8) and charge for 1 hour before first use.
4 To ensure battery pack is charging correctly, check to see that the charge light on the base is flashing (9).
Charge for a minimum of 1 hour before first use.
When charged:
1 When the remote is fully charged, the charge light (9) on the base stops flashing and is fully illuminated.
REGISTRATION OF THE BASE UNIT AND REMOTE PACK
(Fig. 3)
Once the remote unit is fully charged, plug in your chosen Plantronics headset to the port (19).
2 Re-dock your remote pack into the base unit.
3 Push down the tone control switch (18), and hold for 5 seconds before releasing. The on-line LED on the base unit will flash (17).
4 Press the mute button on the remote pack (15) and hold for 5 seconds before releasing. If the registration of the remote unit to the base unit has been successful, the 'on-line' buttons on the remote (17) and the base unit (17) will be illuminated, within 60 seconds. The LED illumination will be intermittent on the remote (17) and permanent on the base unit (17).
If the LED's are not illuminated in this way, repeat the process.
ESTABLISHING COMPATIBILITY
The CA20 Adapter is supplied with it's compatibility switches set to work with 90% of telephones. If however, you do not get a dial tone when lifting your receiver, please follow these steps:
1 Set compatibility switch 1 to position A and compatibility switch 2 to position 1 (20).
2 Lift your receiver and listen for a dial tone. If there is no tone, repeat the steps below for the following switch positions:
| Switch 1 | A | B | B |
| Switch 2 | 2 | 1 | 2 |
One of these configurations will give you a dial tone.
If you have followed these steps and still experience problems, please contact your nearest Plantronics office (for details see reverse of guide).
SETTING THE VOLUME LEVELS
(Fig. 4) In order to set the transmit and receive volume levels, you will need the help of a colleague.
1 The transmit level controls how loud or quiet your voice is heard by people on the other end of the line. Put on your headset ensuring that the headset/handset switch (11) is in headset mode. Make a call to a colleague. Using the transmit volume control (12), adjust the sound level until your colleague says that the ideal sound level is reached.
2 The receive level (14) allows you to adjust the volume of your callers' voice. To change the volume, rotate the volume control on the remote unit until the appropriate level is reached.
It is also important to ensure that the volume control on your telephone is correctly adjusted to work in harmony with your CA20 Adapter. Ensure that the volume on the phone is set to mid-range.
USING THE CA20 ADAPTER
Mute Button (Fig. 5)
Press the mute button (15) to stop callers hearing you. (You can still hear them). When the mute button is pressed, you will hear a beep through the headset and the mute indicator light (16) on the remote pack will illuminate. Press the mute button again to re-establish the connection.
Receive Tone Control (Fig. 6)
1 There are a choice of 3 receive tone settings. These can be selected by using the tone control switch (18). The default setting on registration is 'normal'. Pressing the tone control switch will alter this setting to 'bass'. Pressing the switch again will alter the setting to 'treble'. A third press will return the setting to 'normal'.
Handset/Headset Selector (Fig. 7)
In order to switch between headset and handset use, simply depress the headset/handset switch (11).
Out of Range Warning (Fig. 8)
It is ideal to stay inside the DECT range when using the CA20 Adapter, however, as you approach the limit of the DECT range, the following indication occurs:
1 The out of range warning lets you know that you are about to go beyond the useable range of the product. As you approach the range boundary, there will be 3 short warning beeps in the headset.
2 Once you are out of range, there will be a short beep every 5 seconds, and the Ready/On-Line indicators on the base (17) and remote (17) units will turn off. Any calls in progress will automatically be placed on hold.
3 Once you move back into range, the warning beeps will stop, and the Ready/On-Line indicators will illuminate. If a call was in progress, it will be resumed.
Low Battery Indication (Fig. 9)
Low battery charge is indicated by warning tones through the headset as follows:
Approximately 15 minutes talktime remaining. 2 short beeps repeated every 30 seconds
b 5 minutes talktime remaining. 2 short beeps repeated every 20 seconds
c 1 minute talktime remaining. Continual rapid sequence of beeps
Charging the Battery
Once you hear one of these indicators, you should recharge the remote pack by docking it in the base station. The battery charging indicator (9) will flash. Once the battery is fully recharged, the battery charging indicator (9) will be permanently illuminated.
USING THE HEADSET DURING BATTERY CHARGING
You can continue using the headset as normal while the remote unit's battery is charging.
Replacing the Battery
The remote unit uses nickel metal hydride rechargeable batteries. After the batteries have been discharged many times, their performance may become degraded and you may notice a significant reduction in talktime performance when fully charged. When this occurs, the remote unit's battery pack will need replacing with a Plantronics replacement battery pack, part number 34592-01. Remove the battery compartment cover from the remote using the special tool. Dispose of the old battery pack safely, according to local regulations. Never dispose of batteries in a fire. See the Replacement Parts & Accessories guide for more details.
PROBLEM
You experience difficulties during registration
Possible cause
Incorrect Registration
Remedy
Ensure that the remote unit has not become registered with another base unit by removing and replacing the battery pack, and by un-plugging and re-plugging the base unit AC Adapter Plug
PROBLEM
You cannot hear or be heard
Headset/handset button not engaged
No power
CA20 Adapter is not connected correctly
Incorrect configuration switch settings for your telephone
Out of range
Remote unit battery is flat
Headset is not compatible with remote pack
Push down headset/handset switch so that the coloured bar is visible above the switch
Check: AC Adapter is connected to the base unit.
Check: AC Adapter is connected to the mains supply. Check: power indicator on the base unit is illuminated
Check: headset is properly connected to the remote unit's headset port (19). Check: your telephone is connected to the base unit's telephone port.
Check: handset is connected to the base unit's handset port (1)
Try other configuration switch settings (20) on the base unit
Listen for the warning beeps. Walk back into range
Recharge the battery by placing the remote unit in the charging cradle (8)
Contact your supplier to check headset compatibility
PROBLEM
Others can't hear you
Mute is selected
Transmit volume is too low
Incorrect configuration switch settings for your telephone
Press the mute button (15) on the remote unit. The mute indicator (16) should then turn off
Adjust the transmit volume (12) on the base unit
Try other configuration switch settings on the base unit
PROBLEM
You can't hear others
Possible cause
Receive volume too low
Incorrect configuration switch settings for your telephone
Remedy
Adjust the receive volume (14) on the remote unit
Try other configuration switch settings on the base unit
PROBLEM
Receive sound distorted
Receive volume too
high on telephone
If your telephone has a receive volume control,
lower this until the distortion disappears
PROBLEM
Hear too much back-ground conversation, noise or sidetone
Transmit volume is too high
Adjust the transmit volume on the base unit
PROBLEM
Battery charging light is not illuminated when the remote unit is in the charging cradle, or remote unit inoperable after removing from base unit
Remote unit not replaced
in base correctly
Ensure remote is placed in base unit correctly.
Battery charge light will start to flash
PROBLEM
If your battery talktime performance is significantly degraded even after full recharge
Battery approaching
end of life
Replace with a new battery pack
(Plantronics part number 34592-01)
OPTIONAL PARTS & ACCESSORIES*
There are a range of Plantronics accessories designed to enhance the functionality of the CA20 Adapter.
1 Handset Lifter
2 On-Line Indicator
*Subject to availability
GUARANTEE
GUARANTEE
PLANTRONICS guarantees the satisfactory condition of the equipment with regard to manufacturing and material defects, for 2 years from the date of purchase (please retain the original receipt).
If you experience any problems with the equipment, please contact your authorised Plantronics dealer.
Warnings
1 The product is suitable for indoor use only.
2 The mains socket outlet for the AC adapter must be installed near to where the base unit is placed and be easily accessible.
3 Use only the supplied class 2 AC adapter (Plantronics part number 34659-01 UK, 34659-02 Euro).
4 Ensure that the voltage rating and frequency marked on the AC adapter corresponds to the local supply you intend to use.
5 Slots and openings at the rear of the base unit are for ventilation purposes and must not be blocked, obstructed or covered in any way.
6 Do not push any objects through the base unit ventilation slots.
7 Do not spill liquid of any type on the product.
8 Do not immerse in any type of liquid.
9 Exercise care when handling the remote unit and do not 'short' the metal contacts (on the plastic casing) with electrically conducting materials such as rings, bracelets, keys, etc.
10 Only charge the remote unit's battery in accordance with the instructions of this manual.
11 To reduce the risk of electric shock, do not disassemble this product yourself.
12 Keep all products cords and cable away from operating machinery.
Maintenance Hints
Unplug the unit from the telephone set and the AC adapter from the mains supply before cleaning.
2 Clean the equipment with a damp (not wet) cloth.
3 Do not use solvents or other cleaning agents.
BELANGRIJK - S.V.P. LEZEN VOOR U MET DE INSTALLATIE BEGINT
INDSTALLING AF LYDSTYRKEN
Du opplever problemer under registering.
Mulig Årsak
Feil registering
Lösning
- CA20 Adapter
- BEFORE YOU BEGIN - PREPARING THE BASE UNIT
- INSTRUCTIONS
- PREPARING THE REMOTE PACK
- (Fig. 2)
- When charged:
- REGISTRATION OF THE BASE UNIT AND REMOTE PACK
- (Fig. 3)
- ESTABLISHING COMPATIBILITY
- SETTING THE VOLUME LEVELS
- USING THE CA20 ADAPTER
- Mute Button (Fig. 5)
- Receive Tone Control (Fig. 6)
- Handset/Headset Selector (Fig. 7)
- Out of Range Warning (Fig. 8)
- Low Battery Indication (Fig. 9)
- Charging the Battery
- USING THE HEADSET DURING BATTERY CHARGING
- Replacing the Battery
- PROBLEM
- Possible cause
- Remedy
- OPTIONAL PARTS & ACCESSORIES*
- GUARANTEE
- Warnings
- Maintenance Hints
- BELANGRIJK - S.V.P. LEZEN VOOR U MET DE INSTALLATIE BEGINT
- INDSTALLING AF LYDSTYRKEN
- Mulig Årsak
- Lösning
Brand : PLANTRONICS
Model : CA20
Category : Wireless Headphones