
CT10 - Wireless Headphones PLANTRONICS - Free user manual and instructions
Find the device manual for free CT10 PLANTRONICS in PDF.
| Product Type | Wireless telephone headset |
| Brand | PLANTRONICS |
| Model | CT10 |
| Power Supply | AC adapter 9 V DC, 500 mA (120 V AC or 220-240 V AC depending on model) |
| Talk Time | Approximately 6 hours |
| Standby Time | Approximately 7 days |
| Base Dimensions (estimated) | 20 x 15 x 5 cm |
| Handset Dimensions (estimated) | 15 x 5 x 3 cm |
| Main Functions | Dialing, receiving, mute, redial (last number), channel selection, flash, memory up to 10 numbers, dual-function volume control |
| Components | Handset, base, headset with adjustable microphone |
| LED Indicators | Power (red), in use (green), charging (amber) |
| Battery | Rechargeable built-in, part no. 46365-02 |
| Cleaning | Damp cloth, do not use liquid or spray |
| Safety | Follow safety instructions: avoid water, do not overload outlets, disconnect before cleaning |
| Repairability | Repair by qualified personnel only; limited 1-year warranty (USA/Canada) |
| Included Accessories | Telephone cord, AC adapter, clothing clip |
| Optional Accessories | Additional battery, neck cord |
| Replacement Part Numbers | Handset (47348-01), battery (46365-02), neck cord (42157-01) |
| Support | Phone: 1.831.458.7700, website: www.plantronics.com |
Frequently Asked Questions - CT10 PLANTRONICS
User questions about CT10 PLANTRONICS
0 question about this device. Answer the ones you know or ask your own.
Ask a new question about this device
Download the instructions for your Wireless Headphones in PDF format for free! Find your manual CT10 - PLANTRONICS and take your electronic device back in hand. On this page are published all the documents necessary for the use of your device. CT10 by PLANTRONICS.
USER MANUAL CT10 PLANTRONICS
Cordless Headset Telephone
Model CT10
User Guide
Guide d'Utilisation
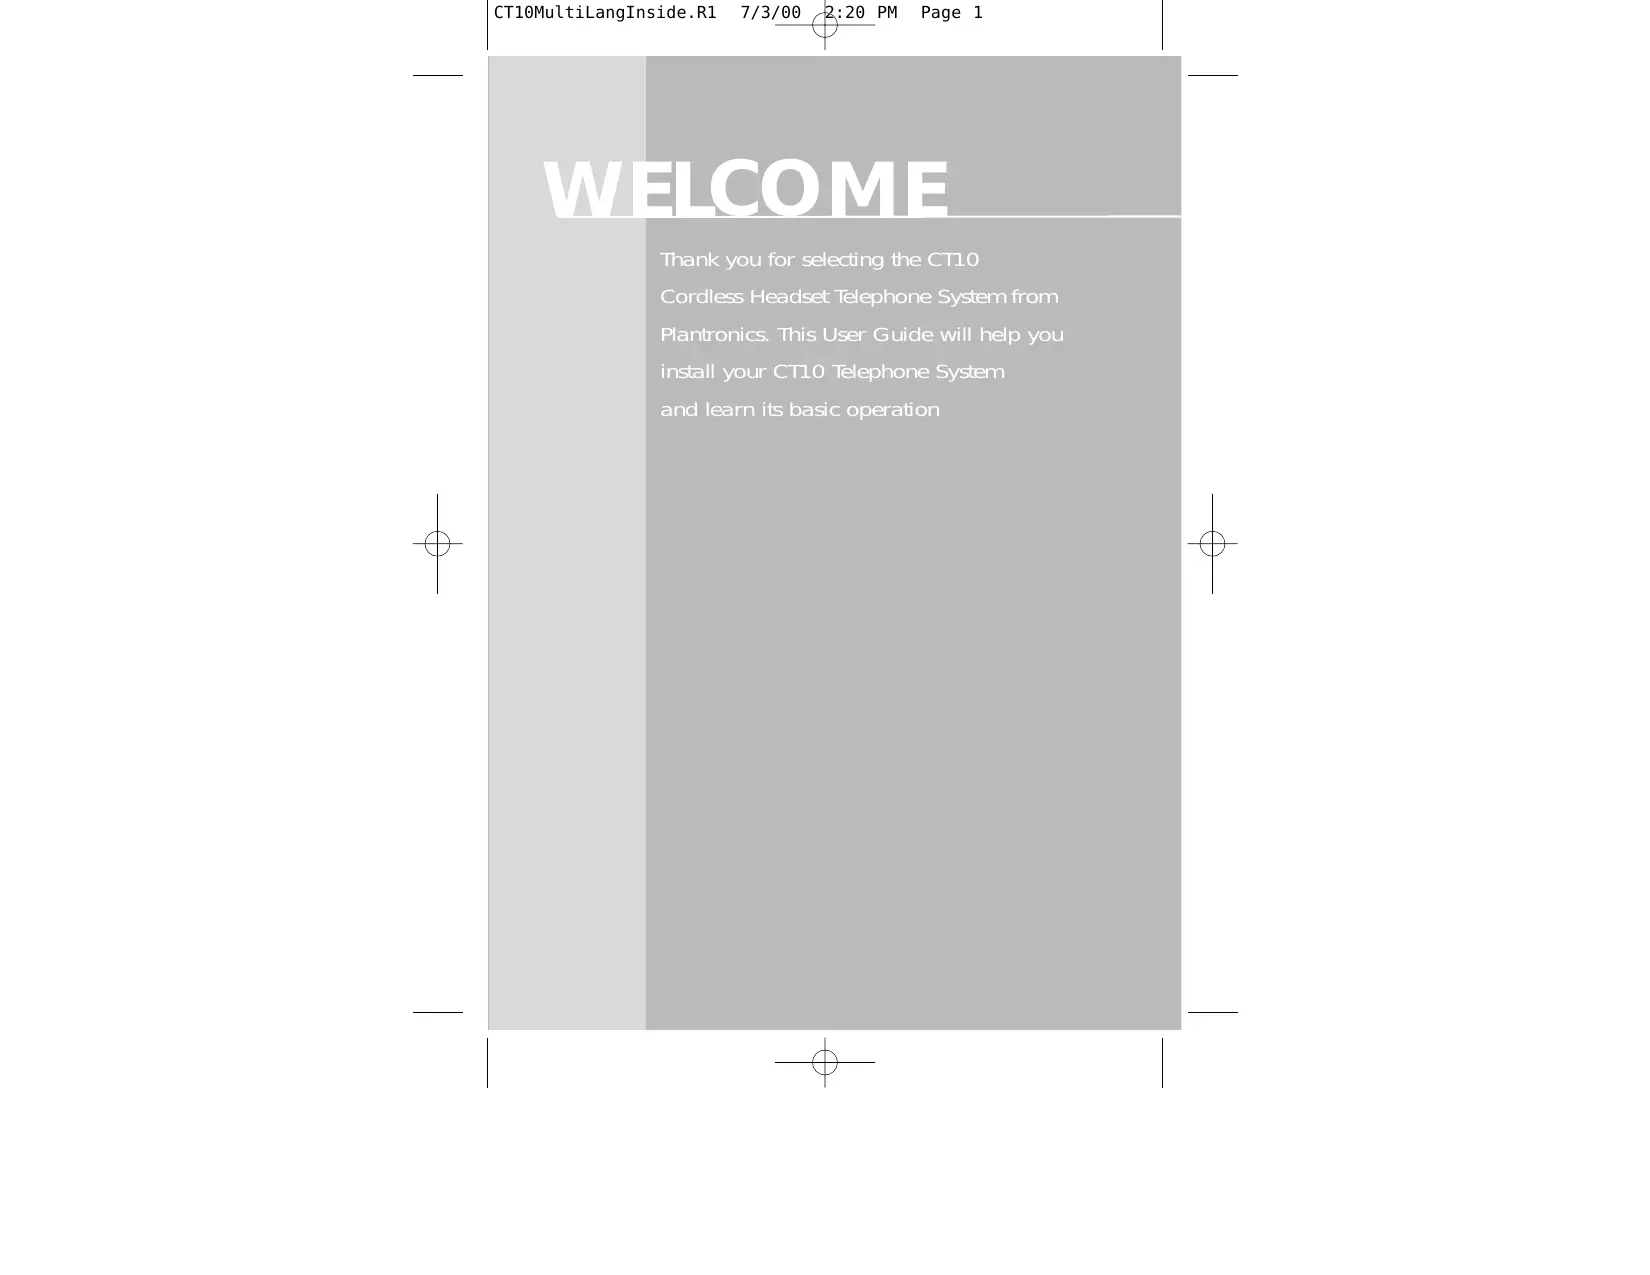
3 CT10 Remote
Mute Indicator Light
Mute Button
6 Jack
7 Redial Button
8 Channel Button
Headset Cable Retainer
In-Use Indicator Light
11 Talk/Hangup Button
12 Flash Button
13 Memory (Mem) Button
14 12 Button Keypad
15 Dual Function Receive Volume Control
16 Antenna
17 Ringer ON/OFF
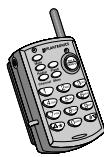
18 Rechargeable Battery and Belt Clip
Base (Front)
19 CT10 Base
20 Headset Holder/Antenna
21 Power Indicator Light
In-Use Indicator Light (Talk)
23 Battery Charge Indicator Light
Remote Charging Well
25 Page Button
Base (Underside)
26 AC Adapter Jack
27 AC Adapter Plug
28 AC Adapter
(P/N 46924-01 for 120V) or
(P/N 46935-01 for 220V - 240V
Telephone Wall Jack
30 Telephone Line Cord
31 Telephone Jack
32 Cord Retainer Clip
33 Pulse/Tone Switch
CT10MultiLangCover.R1 7/3/00 2:16 PM Page 6
WELCOME
Thank you for selecting the CT10
Cordless Headset Telephone System from
Plantronics. This User Guide will help you
install your CT10 Telephone System
and learn its basic operation
IMPORTANT SAFETY INSTRUCTIONS
When using your telephone equipment, basic safety precautions should always be followed to reduce the risk of fire, electric shock, and injury to persons, including the following:
- Read and understand all instructions.
- Follow all warnings and instructions marked on the product. The symbol identifies and alerts the user to the presence of important operating and service instructions.
- Unplug this product from the wall outlet before cleaning. Do not use liquid cleaners or aerosol cleaners. Use a damp cloth for cleaning.
- Do not locate base unit near water, for example, near a bathtub, wash bowl, kitchen sink, or laundry tub, in a wet basement or near a swimming pool.
- Do not place this product on an unstable cart, stand or table. The product may fall, causing serious damage to the product.
- This product should never be placed near or over a radiator or heat register. This product should not be placed in a built-in installation unless proper ventilation is provided.
- This product should be used with the supplied Class 2 Direct Plug-In Power Unit rated 9 VDC 500 mA. Plantronics Part No. 46924-01 has a rated input voltage of 120 VAC, 60 Hz and an output voltage of 9 VDC at 500mA. Plantronics Part No. 46935-01 has a rated input voltage of 220 VAC - 240 VAC, 50 Hz and an output voltage of 9 VDC at 500mA.
IMPORTANT SAFETY INSTRUCTIONS
- Do not allow anything to rest on the power cord. Do not locate this product where the cord will be abused by persons walking on it.
- Do not overload outlets and extension cords as this can result in the risk of fire or electric shock.
- Never push objects of any kind into this product through base unit slots as they may touch dangerous voltage points or short out parts that could result in a risk of fire or electric shock. Never spill liquid of any kind on the product.
- To reduce the risk of electric shock, do not disassemble this product, but take it to qualified service personnel when service or repair work is required. Opening or removing covers may expose you to dangerous voltages or other risks. Incorrect re-assembly can cause electric shock when the product is subsequently used.
- Avoid using telephone equipment during an electrical storm. The CT10 System has built-in surge protection circuits that meet or exceed FCC requirements. However, an incident such as a lightning strike at or near the telephone lines, could cause serious damage. There may also be a remote risk of electric shock or damage from lightning. If the CT10 System is installed in an area with frequent and/or severe electrical storms, it is suggested that the telephone be disconnected during these storms or that additional surge suppression equipment be added to the installation.
- Do not use the telephone equipment to report a gas leak in the vicinity of the leak.
SAVE THESE INSTRUCTIONS
IMPORTANT SAFETY INSTRUCTIONS
- Unplug this product from the wall outlet and refer servicing to qualified service personnel under the following conditions
a) When the power supply cord or plug is damaged or frayed.
b) If liquid has been spilled into the product.
c) If the product has been exposed to rain or water.
d) If the product does not operate normally by following the operating instructions. Adjust only those controls that are covered by the operating instructions because improper adjustments of other controls may result in damage and will often require extensive work by a qualified technician to restore the product to normal operation.
e) If the product has been dropped or the base unit has been damaged.
f) If the product exhibits a distinct change in performance.
- This product requires AC power in order to operate. In order to have phone service during a power outage, have another telephone available that is powered only by the telephone line.
- Keep all product cords and cables away from operating machinery.
IMPORTANT SAFETY INSTRUCTIONS
BATTERY SAFETY
CAUTION: To reduce the risk of fire or injury to persons, read and follow these instructions.
- Use only the battery pack supplied with this product.
- Do not dispose of battery pack in a fire. The cells may explode. Check with local codes for possible disposal instructions.
- Do not open or mutilate battery pack. Released electrolyte is corrosive and may cause damage to eyes or skin and may be toxic if swallowed.
- Exercise care in handling the battery pack in order not to "short" the battery contacts with conducting materials such as rings, brackets, and keys. The battery or conductor may overheat and cause burns.
- Charge the battery pack in accordance with instructions supplied with this unit.
- Observe proper orientation between battery pack and charger contacts.
- Contact your local, county, or state hazardous waste management authorities for information on recycling or disposal programs in your area.
- Important: The new battery pack must be attached to the Remote ③ and charged in the Charging Well ② until the Charge Indicator Light ② goes off before it can be used away from the Base ⑨.
- The maximum standby time for a freshly charged battery pack is approximately 7 days. The maximum talk time is approximately 6 hours.
SAVE THESE INSTRUCTIONS
STEP1
GENERAL SETUP
SELECTING A LOCATION
Install the CT10 Base Unit in a location that is near an AC power outlet and a modular telephone line jack. The base's location effects the telephone's range. Try several locations to see which provides the best performance. Select a location that is away from electrical machinery, electrical appliances, metal walls, filing cabinets, wireless security alarms, room monitors, and areas of excessive moisture.
GETTING STARTED
Unpack the unit and check for the following items:
CT10 Remote 5
Rechargeable Battery 19
CT10 Base 19
AC Adapter 26
Telephone Line Cord 39
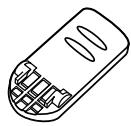
Headset 1
CONNECTING THE TELEPHONE BASE
Place the Base 19 on its back exposing the AC Adapter Jack 26 and Telephone Jack 31 on its underside.
Plug the AC Adapter Plug 27 into the AC Adapter Jack 26. Plug the AC Adapter 28 into an AC power outlet. The Power Indicator 21 will light after being connected. The In-Use Indicator 22 will remain off.
Connect one end of the Telephone Line Cord 30 into the Base's Telephone Jack 31 and the other end into a Telephone Wall Jack 29.
Press both the Telephone Line Cord and the AC Adapter Cord into the Cord Retainer Clip 32.


STEP1
SETUP THE REMOTE
PREPARING THE REMOTE FOR USE
Remove the paper separator between the Remote 3 and the Rechargeable Battery 18 by pulling it out.
Note: If the paper rips before coming out. The Remote and the Rechargeable Battery Pack can be separated by sliding the Remote up and the Battery Pack down. They can be reassembled by reversing this action.
Plug the Headset into the Headset Jack 6 on the Remote 3 and snap the Cable into the Headset Cable Retainer 9.
CHARGE THE REMOTE
Firmly slide the Remote ③ into the Remote Charging Well ② until the Battery Charge Indicator Light ③ flashes.
The Battery Charge Indicator Light will go off when the battery is fully charged.
(It's important to make good contact in the charging well to properly charge the battery.)
The Remote may be operated while in its Charging Well after gaining 5 seconds of orientation. The Charge Indicator Light will stop flickering when orientation is attained.
Once charged, the Remote can be operated away from the Base.
STEP1
SETUP THE HEADSET
Put on the Headset 1, and adjust the band until it rests with almost no pressure on your ear and the top of your head.
If the headset is too loose, remove it and gently push the headset band inward slightly to tighten it. If the headset is tight, gently pull the headset band out to loosen it.
The microphone boom can be swiveled to position the headset on either your right or left ear by rotating it up over the head.
Use one hand to hold the headset in place. Adjust the microphone boom until it is about 1 inch from the side of your mouth. Do not twist the microphone on the end of the boom as this may damage the internal wiring.
Use the Clothing Clip ② to attach the headset cord to your lapel or collar and out of your way.
Leave enough slack in the headset cord so that you can move your head freely.
PULSE/TONE SWITCH
The Pulse/Tone Switch 33 is located under the Base 19 simply push the switch to Pulse or Tone as desired or required by your telephone service.
STEP 2
MAKE A CALL
Before using your cordless telephone, put the headset on and adjust it as needed.
To make a call, press the Talk/Hangup Button 1 on the Remote 3. The In-Use Indicator 10 will light.
When you hear dial tone, enter the number you want to call.
To disconnect a call, press the Talk/Hangup Button 1.

STEP 3
RECEIVE A CALL
Set the Ringer Switch 17 on the Remote 3 to the ON position.
To answer a call press the Talk/Hangup Button 1. The In-Use Indicator 10 on the Remote and the In-Use Indicator (Talk) 22 on the Base 19 will light.
When you press any button on the Remote, a short sound will be heard indicating that the Base has accepted the command.
Three short warning beeps indicate that you are out of range, or there is too much interference.
If there is interference, move closer to the base before you press any key. If interference is severe, the Remote might lose communication with the Base and the call might be disconnected.
This does not happen often, but if it does, return the Remote to the Charging Well for a few seconds.
SPECIAL BUTTONS
MUTE
The Mute Button ⑤ stops the voice transmission to the receiving party. When activated, the red LED ④ is "On." Press the Mute Button again to deactivate the mute function.

REDIAL
The Redial Button ⑦ redials the last number dialled. To use, press the Talk/Hang-up Button ⑩. When a dial tone is heard, press the Redial Button.

The last number entered will be dialled just as you would have redialled it manually.
CHANNEL
Your cordless headset telephone has an auto scan feature that automatically selects a clear channel when you press the Talk/Hangup Button 1. If you experience interference during a call, press the Channel Button 8 to switch to another channel until you have good reception.

FLASH
Use the Flash Button to access services such as call waiting, etc.

MEM (MEMORY)
The CT10 speed dial memory can store up to 10 phone numbers, containing a maximum of 16 digits. The 0 through 9 buttons on the keypad recall and dial the phone numbers stored in memory.

SPECIAL BUTTONS
MEM (MEMORY)
TO STORE NUMBERS
The In-Use Indicator Light 22 should be off. If it is not off, press the Talk/Hang Up Button 1 once to shut it off.

Press the Mem Button 13 followed by the numbers you want to store.
Press the Mem Button 13 followed by the one digit number (0-9) on the Telephone Keypad that you want to assign for that number.
You can repeat the process for storing numbers until the 10 single numbers on the keypad are used up.
TO CHANGE STORED NUMBERS
To change a number stored in memory, simply store a new number in that memory location.

TO DIAL STORED NUMBERS
Press the Talk/Hang Up Button 1. The In-Use Indicators 22 and 10 will light up.

When the dial tone is heard, press the MEM Button 13, then press the desired single digit (0-9) memory location button.
The stored number you have selected will be automatically dialed.
TO DIAL A STORED NUMBER DURING A CALL

The memory/recall function also works when additional numbers are required during the call such as a numeric password. At the appropriate time during the call press Mem 13 and the assigned key to rapidly transmit the stored numbers.

SPECIAL BUTTONS
VOLUME CONTROL
The Dual Function Volume Control Keys 15 on the 12 Button Keypad 14 allow you to adjust the sound level that you hear through the headset. The feature is especially useful for people who have trouble hearing, or are in an especially noisy area like a kitchen or workshop.

To increase volume, push and hold the / ' Key on the Remote for a minimum of 2 seconds or until the volume is comfortable, then release the key.
To decrease the volume, push and hold the / # Key on the Remote for a minimum of 2 seconds until the volume is comfortable, then release the key.
Pressing the ^ or # key for less than 1 second will cause the ^ or # to function normally as ^ or # keys.
PAGE FUNCTION
The Page Button on the Base allows someone to summon you. By pressing the Page Button for less than 2 seconds, it sends a message to the Remote by emitting two long, loud beeps.

If you have misplaced the Remote, press the Page Button for a minimum of 3 seconds and the Remote will emit a steady alert. Press the Talk Button once you have located the Remote or put it into the Charging Well.
SPECIAL BUTTONS
VISUAL
REMOTE 3
In-Use Indicator Light 10 — Green LED is "On" only when Remote Talk Button 11 is activated.
Mute Indicator Light 4 — Red LED is "On" only when transmit audio is "muted."
BASE 19
Power Indicator Light — Red LED is "On" whenever the power is applied to the Base via the AC Power Adapter.
In-Use Indicator Light (Talk) — Green LED is "On" only when Remote Talk Button 1 is activated.
Charge Indicator Light 23 — Amber LED flashes for 2 seconds while verifying contact when Remote is placed in Charging Well 24. It remains "On" while charging and turns off when battery is fully charged.
AUDIO
Low Battery — Two (2) beeps generated at 30 second intervals whenever battery power is low, heard only through the headset in TALK mode.
Out-of-Range — Three (3) beeps generated whenever the Remote is taken out-of-range of the Base, heard only through the headset in TALK mode.
TROUBLESHOOTING
THE REMOTE DOES NOT RING
Make sure that the Ringer 17 is "On".
Ensure that the Telephone Cord 39 and the AC Adapter 28 are installed correctly.
Recharge the Remote Battery 19 by firmly placing it in the Remote Charging Well 24.
Disconnect the AC Adapter from the power source and reconnect it in a known good outlet.
Use the Remote in an area closer to the Base 19.
I CANNOT HEAR A DIAL TONE
Make sure your Remote Rechargeable Battery 13 is securely seated in the Charging Well 24 and/or fully charged. The Battery may need to be charged for 8 hours prior to first use.
Check that all cords are correctly connected and firmly in place.
Adjust the Dual Function Receive Volume Control Key 15 up to increase the volume.
Make sure the Remote is within range of the Base.
Separate and then reconnect the Rechargeable Battery 19 and Remote 3.
Return the Remote to the Charging Well 2 for 5 seconds to re-establish a communication link.
A
E
G
E
A
G
C
E
TROUBLESHOOTING
MY REMOTE STOPPED WORKING
Separate and then reconnect the Rechargeable Battery 18 and Remote 3.
Remove and replace the AC power cord from the Base 19.
Return the Remote to the Charging Well 24 for 5 seconds to reestablish a communication link.
CALLER CANNOT HEAR MY VOICE
Make sure the Mute Button 5 is off.
Change Channels using the Channel Button
I HEAR A BUZZ OR HUM
Try locating your Base in different positions and make sure no objects obstruct the Remote or Base.
Locate the Remote and Base away from electronic equipment or other radio-frequency devices.
Change Channels using the Channel Button
I CAN HEAR OTHER CORDLESS DEVICE USERS
Press the Channel Button 8 until you get a clear signal.
Use the Remote closer to the Base 19.
TROUBLESHOOTING
I NEED MORE TALK TIME
A second Battery 16 may be held in the Charging Well while the Remote is in use. This provides an immediate source of additional talk time. Extra Batteries are listed under Supplies and Accessories.
MAINTENANCE
The CT10 System has been designed to give years of trouble free service. To help insure its longevity, please read the following maintenance instructions:
Keep the CT10 System dry. If it gets wet, first unplug the AC adapter then wipe the unit dry immediately. Liquids can contain minerals that can corrode electronic circuits.
Use and store the CT10 System only in normal temperature environments. High temperatures can shorten the life of electronic components and distort or melt its plastic parts.
Keep the CT10 System away from dust and dirt, which can cause premature product failure.
Handle the CT10 System gently and carefully. Dropping it can cause serious damage to circuitry, or plastic case, which may result in causing it to malfunction.
PLANTRONICS HELP DESK
The Plantronics Help Desk is ready to assist you!
Dial 1.831.458.7700 (Prompt 1 then 2) Monday through Friday, 8:00 a.m. to 5:00 p.m. Pacific Standard Time; FAX Plantronics at 1.831.425.8654; visit our website at www.plantronics.com; or contact your local distributor.
INDUSTRY CANADA NOTICE
This Class B digital apparatus complies with Canada ICES003.
Notice: The Industry Canada label identifies certified equipment. This certification means that the equipment meets certain telecommunications network protective, operational and safety requirements. The Department does not guarantee the equipment will operate to the users satisfaction.
Before installing this equipment, users should ensure that it is permissible to be connected to the facilities of the local telecommunications company. The equipment must also be installed using an acceptable method of connection. In some cases, the company's inside wiring associated with a single line individual service may be extended by means of a certified connector assembly (telephone extension cord). The customer should be aware that compliance with the above conditions may not prevent degradation of service in some situations.
Repairs to certified equipment should be made by an authorised Canadian maintenance facility designated by the supplier. Any repairs or alterations made by the user to this equipment, or equipment malfunctions, may give the telecommunications company cause to request the user to disconnect the equipment.
Users should ensure for their own protection that the electrical ground connections of the power utility, telephone lines and internal metallic water pipe system, if present, are connected together. This precaution may be particularly important in rural areas.
Caution: Users should not attempt to make such connections themselves, but should contact the appropriate electric inspection authority, or electrician, as appropriate.
Notice: The Ringer Equivalence Number (REN) assigned to each terminal device provides an indication of the maximum number of terminals allowed to be connected to a telephone interface. The termination on an interface may consist of any combination of devices subject only to the requirement that the sum of the Ringer Equivalence Numbers of all devices does not exceed 5.
See label on unit for REN No., as applicable.
WARRANTY AND SERVICE
The following warranty and service information applies only to the U.S. and Canada. For information in other countries, please contact your local distributor.
Limited Warranty
Plantronics, Inc. ("Plantronics") warrants to the original consumer purchaser that, except for limitations and exclusions set forth below, this product shall be free from defects in materials and workmanship for a period of one (1) year from the date of original retail purchase ("Warranty Period"). The obligation of Plantronics under this warranty shall be limited to repair or replacement, at Plantronics' option, without charge, of any part or unit that proves to be defective in material or workmanship during the Warranty Period.
Exclusions From Warranty
This Warranty applies only to defects in factory materials and factory workmanship. Any condition caused by accident, abuse, misuse or improper operation, violation of instructions furnished by Plantronics, destruction or alteration, improper electrical voltages or currents, or repair or maintenance attempted by anyone other than Plantronics or an authorised service centre, is not a defect covered by this Warranty. In such cases, Plantronics may charge you for materials and labor, even during the warranty period. Parts subject to wear and tear in normal usage are not covered by the Warranty.
Implied Warranties
Under state law, you may be entitled to the benefit of certain implied warranties. THESE IMPLIED WARRANTYES WILL CONTINUE IN FORCE ONLY DURING THE WARRANTY PERIOD. Some states do allow limitations on how long an implied warranty lasts, so the above limitation may not apply to you.
Incidental or Consequential Damages
NEITHER PLANTRONICS NOR YOUR RETAIL DEALER OR SELLING DISTRIBUTORS HAS ANY RESPONSIBILITY FOR ANY INCIDENTAL OR CONSEQUENTIAL DAMAGES INCLUDING WITHOUT LIMITATION, COMMERCIAL LOSS OR PROFIT, OR FOR ANY INCIDENTAL EXPENSES, EXPENSES, LOSS OF TIME, OR INCONVENIENCE. Some states do not allow exclusion or limitation of incidental or consequential damage, so the above limitation or exclusion may not apply to you.
WARRANTY AND SERVICE
Other Legal Rights
This Warranty gives you specific legal rights and you may also have other rights which vary from state to state.
How to Obtain Warranty Repairs
To obtain in or out of warranty service, please prepay shipment and return the unit to the appropriate facility listed below:
IN THE UNITED STATES
Plantronics Service Centre
345 Encinal Street
Santa Cruz, CA 95060
Tel. 1.800.544.4660
1.831.458.7700
Fax 1.800.279.0162
IN CANADA (ONLY)
Plantronics Service Centre
1455 Pitfield Boulevard
Saint-Laurent, Quebec H4S 1G3
Tel. 1.800.540.8363
1.514.956.8363
Fax 1.514.956.1825
Please use the original container, or pack the unit(s) in a sturdy carton with sufficient packing material to prevent damage. Include the following information:
- A proof-of-purchase indicating model number and date of purchase.
- Bill-to address
- Ship-to address
- Number and description of units shipped
- Name and telephone number of person to call, should contact be necessary
- Reason for return and description of the problem
Damage occurring during shipment is deemed the responsibility of the carrier, and claims should be made directly with the carrier.
The name Plantronics and the Plantronics logo are registered trademarks of Plantronics, Inc. DuoSet, Quick Disconnect, Polaris and the clear colour and curvature of the voice tube are trademarks of Plantronics, Inc.
SUPPLIES AND ACCESSORIES
Remote 3 (P/N 47348-01)
Battery 16 (P/N 46365-02)
Extend talk time by having a second Battery charged and ready. (Replace the remote battery pack if it does not hold a charge for more than 2 hours after an overnight charge.)
Neck Strap (P/N 42157-01)
Allows Remote to be worn around your neck.
INFORMATION ON SUPPLIES AND ACCESSORIES
Contact your local distributor or visit our website at www.plantronics.com. See also Diagram Key for additional part numbers.
BIENVENUE
CHOIX D'UN EMPLACEMENT
Batterie Rechargeable 19
Base CT10 19
Adaptateur CA 28
Plantronics Service Centre
Plantronics Service Centre
345 Encinal Street
1455 Pitfield Boulevard
Santa Cruz, CA 95060
Saint-Laurent, Quebec H4S 1G3
Tél. 1.800.544.4660
Tél. 1.800.540.8363
1.831.458.7700
1.514.956.8363
Fax 1.800.279.0162
Fax 1.514.956.1825
MATERIALS E ACCESSORIES
Telephone sem Fio (P/N 47348-01)
Bateria 18 (P/N 46365-02)
AraeF 1 ACRnTRe T 30
MEXIJI·BOSAN13 to押to、次仁、其之KeHsKoJi-100014001400140014001400140014001400140014001400140014001400140014001400140014001400140014001400140014001
一10 1 1 1 1 1 1 1 1 1 1 1 1 1 1 1 1 1 1 1 1 1 1 1 1 1 1 1 1 1 1 1 1 1 1 1 1 1
記憶济の番号を変更する
- Cordless Headset Telephone
- Base (Front)
- Base (Underside)
- WELCOME
- IMPORTANT SAFETY INSTRUCTIONS
- BATTERY SAFETY
- SAVE THESE INSTRUCTIONS
- STEP1
- GENERAL SETUP
- SELECTING A LOCATION
- GETTING STARTED
- CONNECTING THE TELEPHONE BASE
- SETUP THE REMOTE
- PREPARING THE REMOTE FOR USE
- CHARGE THE REMOTE
- The Battery Charge Indicator Light will go off when the battery is fully charged.
- SETUP THE HEADSET
- PULSE/TONE SWITCH
- STEP 2
- MAKE A CALL
- STEP 3
- RECEIVE A CALL
- SPECIAL BUTTONS
- MUTE
- REDIAL
- CHANNEL
- FLASH
- MEM (MEMORY)
- VOLUME CONTROL
- PAGE FUNCTION
- VISUAL
- AUDIO
- TROUBLESHOOTING
- THE REMOTE DOES NOT RING
- I CANNOT HEAR A DIAL TONE
- MY REMOTE STOPPED WORKING
- CALLER CANNOT HEAR MY VOICE
- I HEAR A BUZZ OR HUM
- I CAN HEAR OTHER CORDLESS DEVICE USERS
- I NEED MORE TALK TIME
- MAINTENANCE
- PLANTRONICS HELP DESK
- INDUSTRY CANADA NOTICE
- This Class B digital apparatus complies with Canada ICES003.
- WARRANTY AND SERVICE
- The following warranty and service information applies only to the U.S. and Canada. For information in other countries, please contact your local distributor.
- SUPPLIES AND ACCESSORIES
- INFORMATION ON SUPPLIES AND ACCESSORIES
- BIENVENUE
- CHOIX D'UN EMPLACEMENT
- MATERIALS E ACCESSORIES
- 記憶济の番号を変更する
Brand : PLANTRONICS
Model : CT10
Category : Wireless Headphones