ME 2930 - Weather Station GoGen - Free user manual and instructions
Find the device manual for free ME 2930 GoGen in PDF.


| Product Type | Weather Station |
| Brand | GoGen |
| Model | ME 2930 |
| Dimensions (approx.) | 150 x 100 x 50 mm |
| Weight (approx.) | 200 g |
| Power Source | 2 x AAA batteries (not included) |
| Display Type | LCD screen |
| Indoor Temperature Range | -10°C to 50°C (14°F to 122°F) |
| Outdoor Temperature Range | -40°C to 60°C (-40°F to 140°F) |
| Humidity Range | 20% to 95% RH |
| Barometric Pressure Range | 800 to 1100 hPa |
| Weather Forecast | Sunny, cloudy, rainy, stormy (icon based) |
| Wireless Range (outdoor sensor) | Up to 100 m (328 ft) in open area |
| Transmission Frequency | 433 MHz |
| Additional Functions | Time/date display, alarm, moon phase, trend indicators |
| Care and Cleaning | Wipe with a soft, dry cloth. Do not use abrasive cleaners. |
| Safety Warnings | Keep away from water and extreme heat. Do not open the device. |
| Spare Parts | Batteries and optional additional sensors |
| Repairability | Not user-serviceable; contact support for issues. |
Frequently Asked Questions - ME 2930 GoGen
User questions about ME 2930 GoGen
0 question about this device. Answer the ones you know or ask your own.
Ask a new question about this device
Download the instructions for your Weather Station in PDF format for free! Find your manual ME 2930 - GoGen and take your electronic device back in hand. On this page are published all the documents necessary for the use of your device. ME 2930 by GoGen.
USER MANUAL ME 2930 GoGen
3. VENKOVNÍ TEPLOTNÍ SENZOR
natural_image
Weather icon showing Sun and Cloud against black background (no text or symbols on the Sun or Cloud)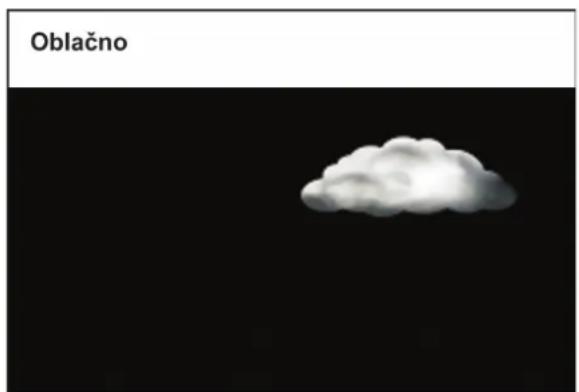
natural_image
Weather icon showing Sun and Cloud against black background (no text or symbols)
natural_image
Solar eclipse image showing the Sun with bright yellow glow against black background (no text or symbols)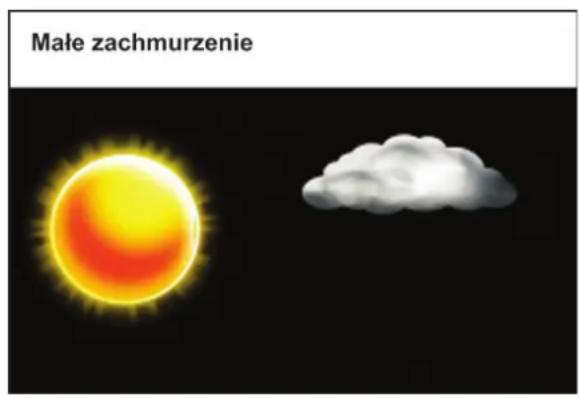
natural_image
Weather scene with a cloud and falling blue droplets against a black background (no text or symbols)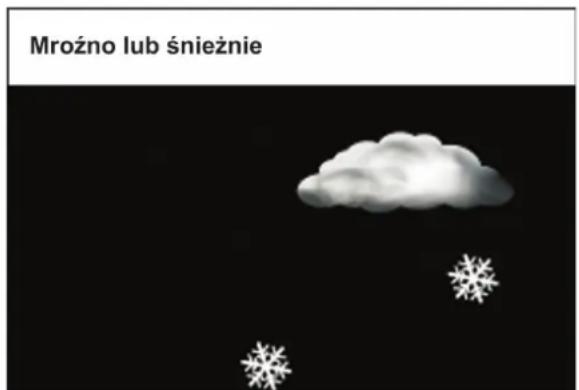
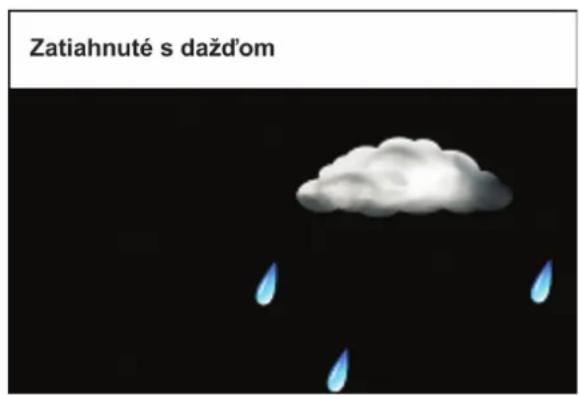
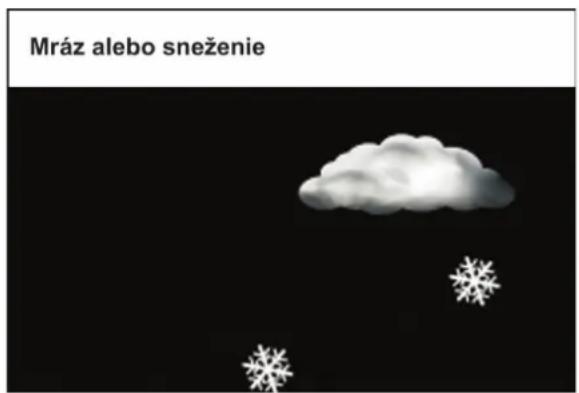
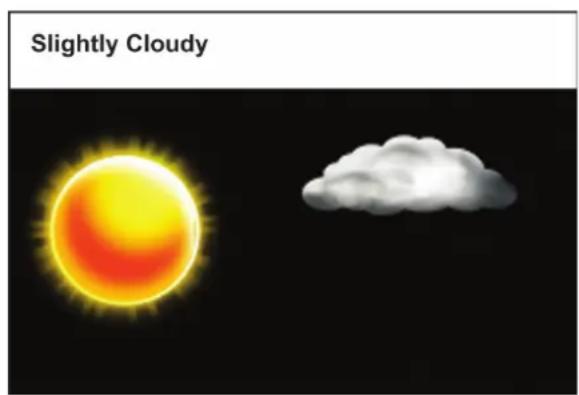
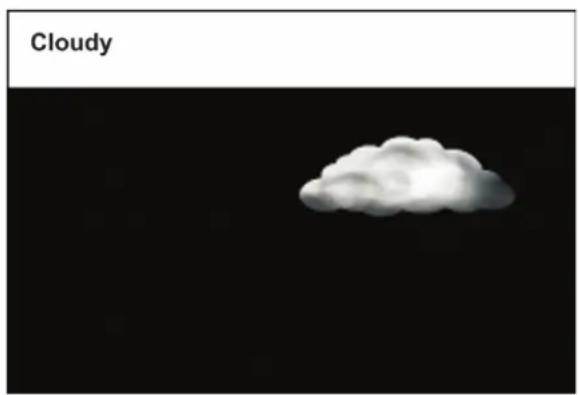
-Sunny, Slightly Cloudy, Cloudy, Rainy and Snow animation
1.2 Time
-Radio Controlled Time DCF77, 77,5 kHz
-Perpetual Calendar Up to Year 2099
-Day of week in 8 languages user selectable
-Daily Alarm Function
1.3 Humidity
-Indoor & Outdoor measurable range: 20 \~ 99 %
- Outdoor Humidity Record from Start-Up/Reset, and the corresponded time
-24 Hours Min/Max Display for Outdoor Humidity
1.4 Temperature
-Indoor measurable range: -10 \~ 50 °C
-Measures °C / °F user selectable
-Outdoor measurable range: -20 \~ 50 °C
- Outdoor Temperature Record from Start-Up/Reset, and the corresponded time
-24 Hours Min/Max Display for Outdoor Temperature
-Comfort Indicator Bar
1.5 Wireless Outdoor Sensor
-Low-battery indicator for Outdoor Thermo Sensor
-Wall Mount or Table Stand
-One Wireless Thermo Sensor Included
-433,92 MHz RF transmitting frequency, ERP 0,06 mW
-50 meter transmission range in an open area
2. MAIN UNIT APPEARANCE
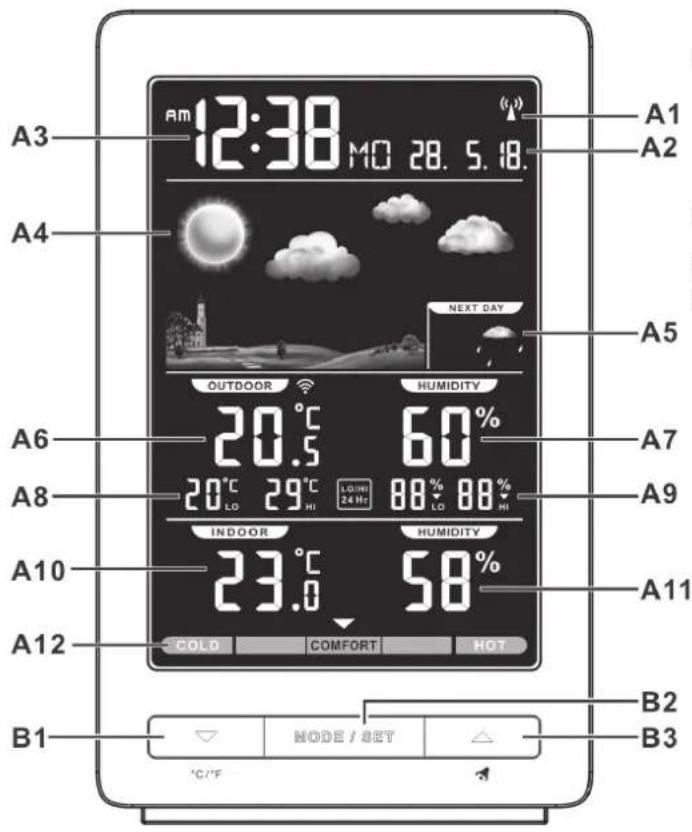
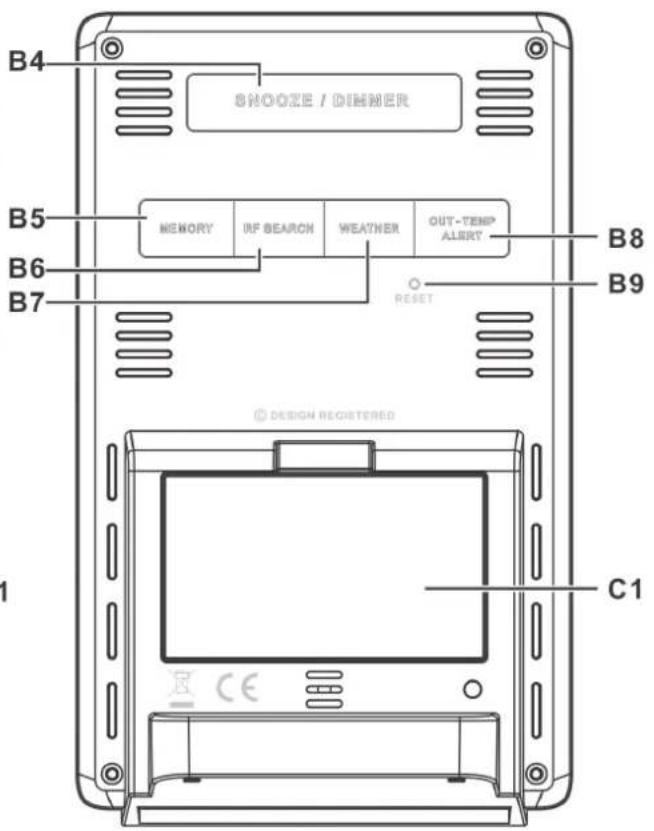
2.1 Part A - LCD
A1: Radio control icon
A2: Date
A3: Time
A4: Current weather condition
A5: Weather forecast
A6: Outdoor temperature
A7: Outdoor humidity
2.2 Part B – Buttons
B1: “▼/ (C/F)” button
B2: "MODE/SET" button
B3: "▲/ 🔔" button
B4: "SNOOZE/DIMMER" button
B5: "MEMORY" button
2.3 Part C – Structure
C1: Battery Cover
A8: Past 24 hours highest & lowest temperature record
A9: Past 24 hours highest & lowest humidity record
A10: Indoor temperature
A11: Indoor humidity
A12: Comfort indicator
B6: "RF SEARCH" button
B7: "WEATHER" button
B8: "OUT-TEMP ALERT" button
B9: "RESET" button
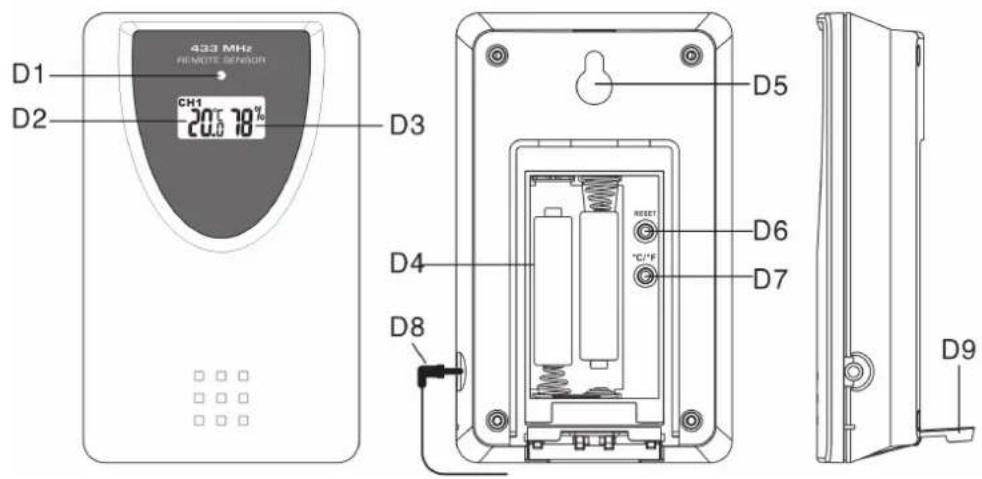
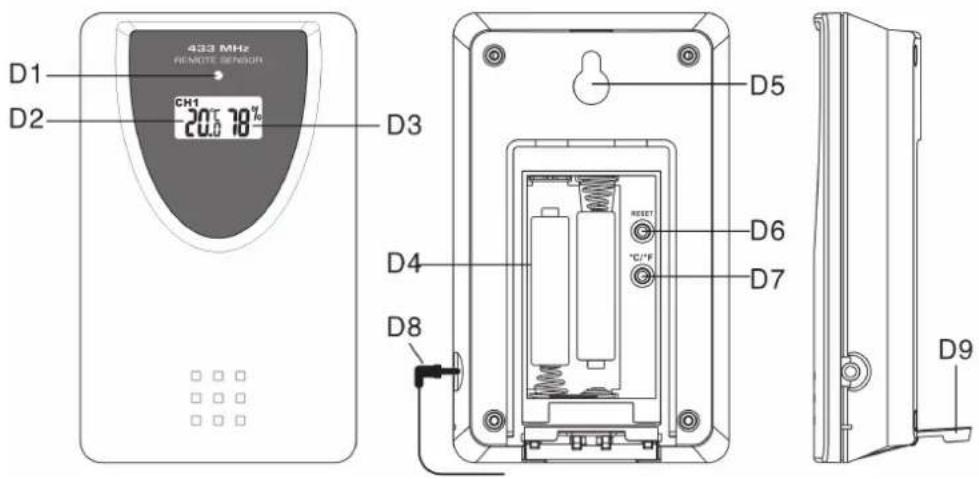
3. OUTDOOR THERMO SENSOR
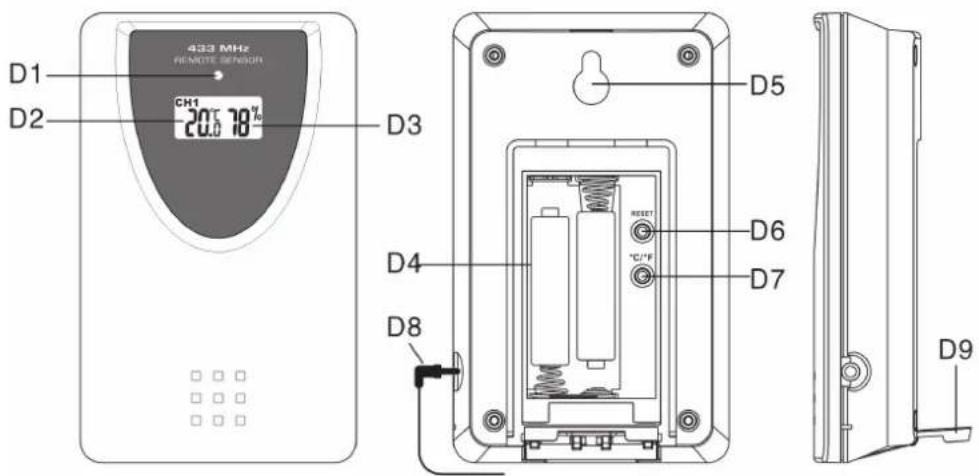
D1: Transmission Indication LED
D2: Outdoor Temperature display
D3: Outdoor Humidity display
D4: Battery Compartment
D5: Wall Mount Hole
D6: "RESET" button
D7: "C/F" button
D8: Temperature Probe Plug & Jack
D9: Stand
4. GETTING STARTED
4.1 Main Unit
Remove battery compartment door and insert 2pcs AA size battery.
Or connect the power cord to the wall outlet. Before connecting the unit to power, please make sure your local voltage is the same as marked on the adaptor.
Note:
- When powered by battery only, backlight would be off. Press snooze button, backlight will last for around 5 seconds.
- When connecting with the adaptor on the premise that batteries have been installed correctly, this product will switch to the external power supply automatically.
4.2 Outdoor Thermo Sensor
- Batteries compartment (D4) of thermo sensor is locating behind the back cover,
- Insert 2 x AAA batteries observing polarity ["+" and "-" marks]
5. INSTALLATION
5.1 Main Unit
The main unit can be placed onto any flat surface.
5.2 Outdoor Thermo sensor
The remote sensor should be securely mounted onto a horizontal surface.
Note: Transmissions between receiver and transmitter can reach up to 50 m in open area. Open Area: there are no interfering obstacles such as buildings, trees, vehicles, high voltage lines, etc
6. WEATHER FORECAST FUNCTION
6.1 Operation
- After Batteries inserted, or holding “WEATHER” button (B7) for 3 seconds, weather icon flash (A4) on the LCD. Enter the current weather by pressing “▼” or “▲” button. Press “WEATHER” (B7) button to confirm the setting. The weather forecast may not be accurate if the current weather entered is not correct.
- There are two weather icons, the upper one indicates current weather condition, the lower one forecasts the weather in terms of getting better or worse. The weather station will start the first forecast at around 6 hours later after the current weather status is entered.
- The current weather status should be entered again if the altitude of the Main Unit is changed. (Barometric pressure is lower at higher altitude location. Therefore, altitude change will affect the weather forecast).
6.2 Weather Conditions
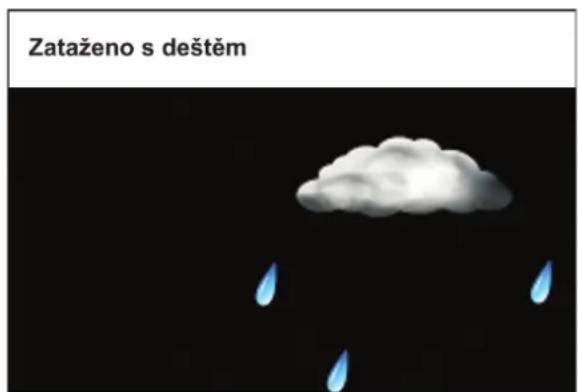
There are totally 5 different weather status animations in the weather forecast.
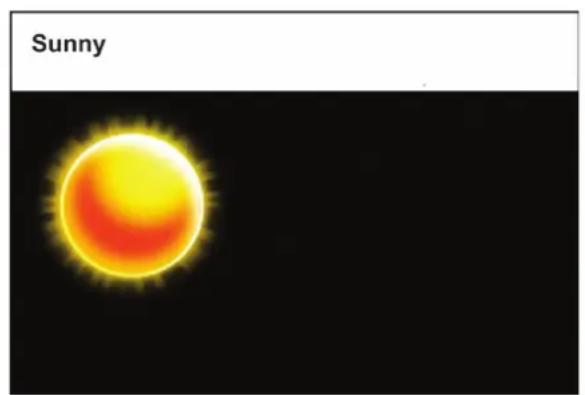
natural_image
Cloudy cloud on black background (no text or symbols)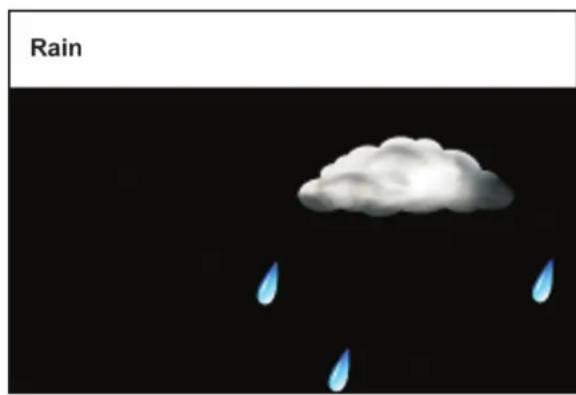
natural_image
Simple illustration of a cloud with raindrops falling against a black background (no text or symbols)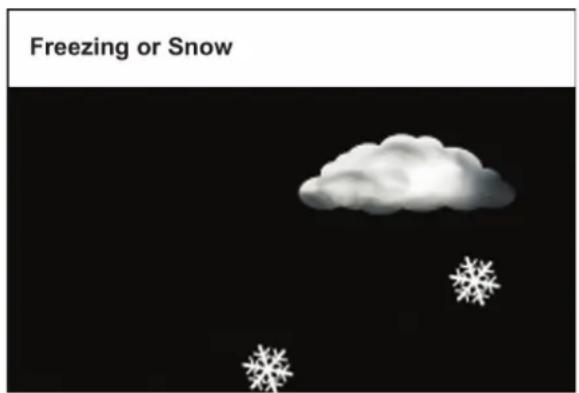
Note:
- "Freezing or snow" is shown if the weather forecast is Rainy and outdoor temperature (any channel) under 0 °C.
- Frost Alert: “ICE” is shown if the outdoor temperature (any channel) is between -2^ +3^ .
- If there is any inconsistency of weather forecast between Local Weather Station and this unit, the Local Weather Station's forecast should prevail. The manufacture will not hold responsible for any trouble that may come up due to wrong forecasting from this unit.
7. THERMOMETER
7.1 RF Transmission Procedure:
- The main unit automatically starts receiving transmission from outdoor thermo sensor for outdoor temperature & humidity after weather condition setting.
- The outdoor sensor will automatically transmit temperature and humidity signal to the main unit after batteries inserted.
- If main unit failed to receive transmission from outdoor thermo sensor in first 3 minutes after the batteries inserted (“- - . -” display on the LCD), hold “RF SEARCH” button (B6) for 3 seconds to receive transmission manually. RF icon “
7.2 Temperature & Humidity
(1) Past 24 Hours Maximum / Minimum Outdoor Temperature and Humidity
- After start up, the unit automatically shows past 24 hours the highest & lowest outdoor temperature and humidity record. "HI" & "LO" show on the LCD
(2) Recorded highest & lowest Outdoor Temperature and Humidity from Start-up/Reset
- Press “MEMORY” button (B5) to view the maximum and minimum temperature and humidity record from start-up or reset. “MEM” flash on the LCD.
- When viewing the memory record, hold "MEMORY" button for 3 seconds to clear the maximum and minimum record.
- When viewing the memory record, press “MEMORY” button (B5) again to check the corresponded time and date for memory maximum and minimum temperature & humidity record. The memory record value and corresponded time and date flash. Press “MEMORY” button select to view: Time & date for lowest temperature memory record, Time and date for highest temperature memory record, Time & date for lowest humidity memory record, Time and date for highest humidity memory record.
- Press “°C/°F” button (B1) to select Indoor/Outdoor Temperature in Celsius mode or Fahrenheit mode.
- If the temperature is out of the measurable range, LL.L (beyond the minimum temperature) or HH.H (beyond the maximum temperature) will be shown on the LCD.
(4) Humidity
- The humidity measurable range is 20% \~ 99%. If the current humidity measurement is lower than 20%, the LCD would display 20%.
(5) Outdoor Temperature Alert Function
- Press "OUT-TEMP ALERT" button (B8) to select to activate or deactivate outdoor temperature alert function.
- Press ALERT button select to: Active outdoor upper temperature alert, the icon “ ” besides outdoor temperature digit would display. Active outdoor upper& lower temperature alert, the icon “ ” besides outdoor temperature digit would display. Active outdoor lower temperature alert, the icon “ ” besides outdoor temperature digit would display. Deactivate outdoor temperature alert, alert icon disappear.
- Hold "OUT-TEMP ALERT" button (B8) for 3 seconds to enter outdoor temperature alert setting. Icon "■" or "■" beside Temperature's digits flash. Press "▼" or "▲" button to adjust the setting value, press "OUT-TEMP ALERT" button (B8) to confirm the setting. Setting Sequence as follow: Upper limit of temperature, Lower limit of Temperature.
- When it's alert, the corresponding icon “ ” or “ ” and temperature digit would flash on the LCD. Press any buttons to stop the alert sound, otherwise, it will sound for 2 minutes, and stop automatically.
(6) Comfort Indicator Bar (A12) for the display of pleasant / unpleasant climate.
(7) The use of 1.5 m cord Temperature Probe
- Insert the probe plug (D8) to the jack on the right hand side of the Thermo Sensor Unit.
- Put the cable outside and leave the Thermo Sensor Unit indoor to avoid freezing up the battery when the outdoor temperature is below -20^ .
- Always use the temperature probe to sense the temperature when the temperature is between the following range: -50^ 0^ and +50^ +70^
8. TIME AND ALARM SETTING
8.1 Radio Controlled Clock:
- After batteries inserted and main unit finishes receiving the transmission from outdoor sensor, the clock automatically starts to scan the DCF time signal. Radio Control Icon “💡” flashes on the LCD.
 flashesIndicating now is receiving DCF signal flashesIndicating now is receiving DCF signal |  turns onIndicating signal received successfully turns onIndicating signal received successfully |  disappearIndicating signal reception failed disappearIndicating signal reception failed |
- The clock automatically scans the time signal at 3.00 a.m. every day to maintain accurate timing. If reception fail, scanning stops ("", " on LCD disappear).
- The clock can be set to scan the time signal manually by holding “▼” and “▲” button for 3 seconds. Each reception takes about 5 minutes. If receptions fail, scanning stops.
- Stop scanning by holding “▼” and “▲” button for 3 seconds.
- “shown on the LCD if it is in daylight saving time mode.
8.2 Manual Time Setting:
- Hold "MODE" button (B2) for 3 seconds to enter Clock / Calendar setting mode.
- Press “▲” or “▼” button to adjust the setting and press “MODE” button (B2) to confirm each setting.
- (By keeping the “▲” or “▼” button pressed, could accelerate the process and reach the desired value more quickly)
- The setting sequence is shown as follow: 12/24 Hour, Time Zone, Hour, Minutes, Second, Year, Month, Day, Day-of-week language.
- 8 languages can be selected in Day-of-week, they are: German, French, Spanish, Italian, Dutch, Danish, Russian, and English.
- The languages and their selected abbreviations for each day of the week are shown in the following table:
| Language Sunday | Monday | Tuesday | Wednesday | Thursday | Friday | Saturday | ||
| German, GE | SO | MO | DI | MI | DO | FR | SA | |
| English, EN | SU | MO | TU | WE | TH | FR | SA | |
| Russian, RU | BC | ПН | BT | CP | ЧТ | ПТ | СБ | |
| Danish, DA | SO | MA | TI | ON | TO | FR | LO | |
| Dutch, NE | ZO | MA | DI | WO | DO | VR | ZA | |
| Italian, IT | DO | LU | MA | ME | GI | VE | SA | |
| Spanish, ES | DO | LU | MA | MI | JU | VI | SA | |
| French, FR | DI | LU | MA | ME | JE | VE | SA |
Note:
1) Second adjusted to zero only.
2) The Time Setting Mode will automatically exit in 15 seconds without any adjustment.
3) The Time zone is used for the countries where can receive the DCF time signal but the time zone is different from the German time. When the country time is faster than the German time for 1 hour, the zone should be set to +1. Then the clock will automatically set 1 hour faster from the signal time received.
8.3 Daily Alarm Function
- Press “MODE/SET” button (B2) to select to view:
Time → Time & Day of Week → Alarm Time (“AL” shown on the LCD)
- When viewing the Alarm Time, hold „MODE“ button (B2) for 3 seconds to enter Alarm Time setting. Press“▲” or “▼” button to adjust the alarm time. Press „MODE“ button (B2) to confirm the setting.
- Press „” button (B3) to switch alarm on or off. If it is on, “shown on the LCD.”
- When Alarming, alarm icon „flash. Press „SNOOZE“ button (B4) to activate the snooze alarm, („flash on the LCD). The alarm will snooze for around 5 minutes, then it alarms again. This snooze function can be enabled for maximum 7 times.
- Except „SNOOZE“ button, press any buttons to stop the snooze alarm. Otherwise, the alarm signal sounds for about 2 minutes, and then stops automatically.
9. LIGHT
Press "DIMMER" button (B4) to adjust the LED brightness.
10. LOW BATTERY INDICATION:
The low battery icon “☐” will appear I indicating that thermo sensor is in low battery status. The batteries should be replaced.
11. PRECAUTIONS
- Use a pin to press the reset button (B9) if the Unit does not work properly.
- Avoid placing the clock near interference sources/metal frames such as computer or TV sets.
- The clock loses its time information when the battery is removed.
- Do not expose it to direct sunlight, heavy heat, cold, high humidity or wet areas.
- The outdoor sensor must not be set up and installed under water. Set it up in away direct sunlight and Rain.
- Never clean the device using abrasive or corrosive materials or products. Abrasive cleaning agents may scratch plastic parts and corrode electronic circuits.
- If there is any inconsistency of weather forecast between Local Weather Station and this unit, the Local Weather Station's forecast should prevail. The manufacturer will not take responsible for incorrect forecasting from this unit.
WE RESERVE THE RIGHT TO CHANGE TECHNICAL SPECIFICATIONS.
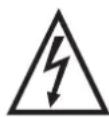
WARNING: DO NOT USE THIS PRODUCT NEAR WATER, IN WET AREAS TO AVOID FIRE OR INJURY OF ELECTRIC CURRENT. ALWAYS TURN OFF THE PRODUCT WHEN YOU DON'T USE IT OR BEFORE A REVISION. THERE AREN'T ANY PARTS IN THIS APPLIANCE WHICH ARE REPARABLE BY CONSUMER. ALWAYS APPEAL TO A
QUALIFIED AUTHORIZED SERVICE. THE PRODUCT IS UNDER A DANGEROUS TENTION.


TO AVOID DANGER OF SUFFOCATION, KEEP THE PLASTIC BAG AWAY FROM BABIES AND CHILDREN. DO NOT USE THIS BAG IN CRIBS, BEDS, CARRIAGES OR PLAYPENS. THIS BAG IS NOT A TOY.
Disposal of old Electrical & Electronic Equipment (Applicable in the European Union and other European countries with separate collection systems)
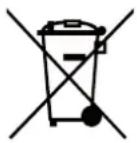

This symbol on the product or on its packaging indicates that this product shall not be treated as household waste. Instead it shall be handed over to the applicable collection point for the recycling of electrical and electronic equipment. By ensuring this product is disposed of correctly, you will help prevent potential negative consequences for the environment and human health, which could otherwise be caused by inappropriate waste handling of this product. The recycling of materials will
help to conserve natural resources. For more detailed information about recycling of this product, please contact your local Civic Office, your household waste disposal service or the shop where you purchased the product.
Hereby, ETA a.s. declares that the radio equipment type ME2930 is in compliance with Directive 2014/53/EU. The full text of the EU declaration of conformity is available at the following internet address: http://www.gogen.cz/declaration_of_conformity
1. JELLEMZÖK
B6: "RF SEARCH" gomb
B7: "WEATHER" gomb
B8: "OUT-TEMP ALERT" gomb
B9: "RESET" gomb
3. KÜLTÉRI HŐ SZENZOR
natural_image
Solar image labeled 'Napos' showing a bright yellow-orange sun against a black background (no other text or symbols)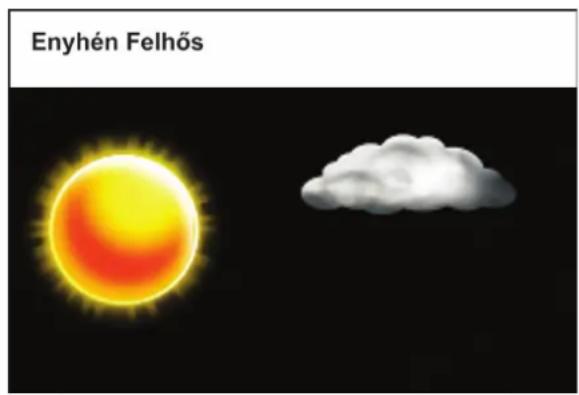
natural_image
White cloud against black background, labeled 'Felhós' in top-left corner (no other text or symbols)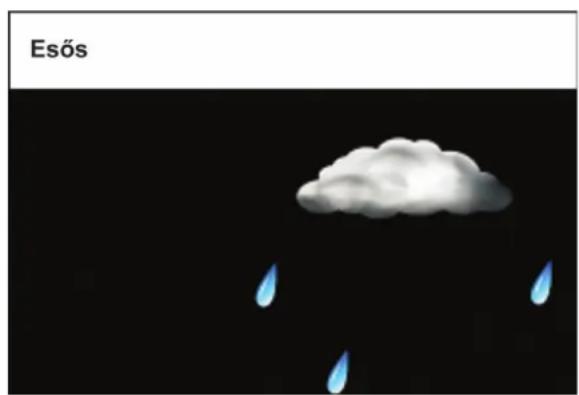
natural_image
Simple illustration of a cloud with falling blue droplets against a black background (no text or symbols)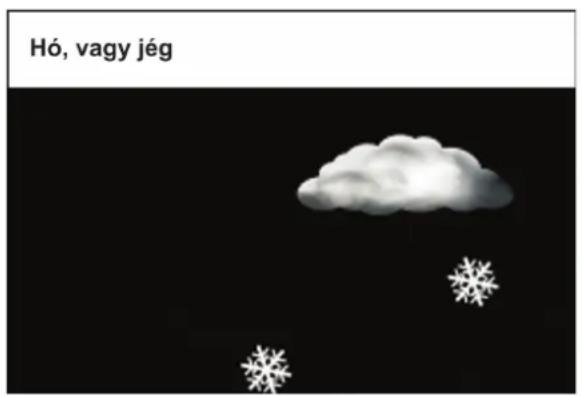
| EN - English | ||
| Charging adapter | ||
| A | Manufacturer's name or trademark, business registration number and address | DongGuan City Yang Yuan Electronics Co.,LTD., Two Building. KunHo A DistrictZI. ChangPing Town DongGuan City. GuangDong Province. China |
| B | Model identifier KCAD-0450150 | |
| C | Input voltage 230 V | |
| D | Input frequency 50 Hz | |
| E | Output voltage 4,5 V | |
| F | Output current 0,15 A | |
| G | Output power 0,68 W | |
| H | Average efficiency in active mode 67,88 % | |
| I | Low load efficiency (10%) | - |
| J | Power consumption without load | 0,071 W |
natural_image
Abstract black and white circular logo with stylized white lines inside (no text or symbols)


- VENKOVNÍ TEPLOTNÍ SENZOR
- Time
- Humidity
- Temperature
- Wireless Outdoor Sensor
- MAIN UNIT APPEARANCE
- Part A - LCD
- Part B – Buttons
- Part C – Structure
- OUTDOOR THERMO SENSOR
- GETTING STARTED
- Main Unit
- Note:
- Outdoor Thermo Sensor
- INSTALLATION
- Main Unit
- Outdoor Thermo sensor
- WEATHER FORECAST FUNCTION
- Operation
- Weather Conditions
- THERMOMETER
- RF Transmission Procedure:
- Temperature & Humidity
- Past 24 Hours Maximum / Minimum Outdoor Temperature and Humidity
- Recorded highest & lowest Outdoor Temperature and Humidity from Start-up/Reset
- Humidity
- Outdoor Temperature Alert Function
- The use of 1.5 m cord Temperature Probe
- TIME AND ALARM SETTING
- Radio Controlled Clock:
- Manual Time Setting:
- Daily Alarm Function
- LIGHT
- LOW BATTERY INDICATION:
- PRECAUTIONS
- WE RESERVE THE RIGHT TO CHANGE TECHNICAL SPECIFICATIONS.
- Disposal of old Electrical & Electronic Equipment (Applicable in the European Union and other European countries with separate collection systems)
- JELLEMZÖK
- KÜLTÉRI HŐ SZENZOR
Brand : GoGen
Model : ME 2930
Category : Weather Station