
SWL9140 - Exercise bike HMS Premium - Free user manual and instructions
Find the device manual for free SWL9140 HMS Premium in PDF.


| Product Type | Indoor exercise bike (spinning bike) |
| Brand / Model | HMS Premium / SWL9140 |
| Dimensions (L x W x H) | 105 x 48 x 89 cm |
| Net Weight | 23.75 kg |
| Gross Weight | 27.5 kg |
| Max User Weight | 100 kg |
| Classification | Class H (home use) according to EN ISO 20957-1 |
| Intended Use | Fitness training; not for therapeutic or rehabilitation purposes |
| Computer Display Functions | Time, Speed, Distance, Calories, Pulse (heart rate), Scan, Total accumulated distance |
| Computer Power Supply | Battery-operated (recommend 2 x AA batteries, not included) |
| Resistance System | Friction brake (braking independent of speed) |
| Pedals | Right pedal (clockwise thread), left pedal (anti-clockwise thread) |
| Adjustable Parts | Seat height, seat fore/aft, handlebar height, armrest angle |
| Assembly Tools Included | Open wrench, cross L-style wrench |
| Maintenance | Regularly check and tighten bolts; replace worn parts immediately |
| Safety Clearance | At least 0.6 m from other objects |
| Warranty | 24 months (within Poland, subject to terms) |
| Spare Parts Available | Detailed list in manual (bolts, nuts, washers, cranks, pedals, etc.) |
| Recommended Exercise Phases | Warm-up (5 min), Exercise (15-20 min), Cool-down (5 min) |
| Heart Rate Monitoring | Via handlebar sensors; for reference only, not medically accurate |
Frequently Asked Questions - SWL9140 HMS Premium
User questions about SWL9140 HMS Premium
0 question about this device. Answer the ones you know or ask your own.
Ask a new question about this device
Download the instructions for your Exercise bike in PDF format for free! Find your manual SWL9140 - HMS Premium and take your electronic device back in hand. On this page are published all the documents necessary for the use of your device. SWL9140 by HMS Premium.
USER MANUAL SWL9140 HMS Premium
natural_image
Abstract geometric logo with black and yellow angular shapes forming a hexagonal frame (no text or symbols)HMS
PREMIUM
ROWER SPINNINGOWY – SPIN BIKE -SPININGOVÝ TRENAŽÉR – SPINNING-BIKE
SWL9140
natural_image
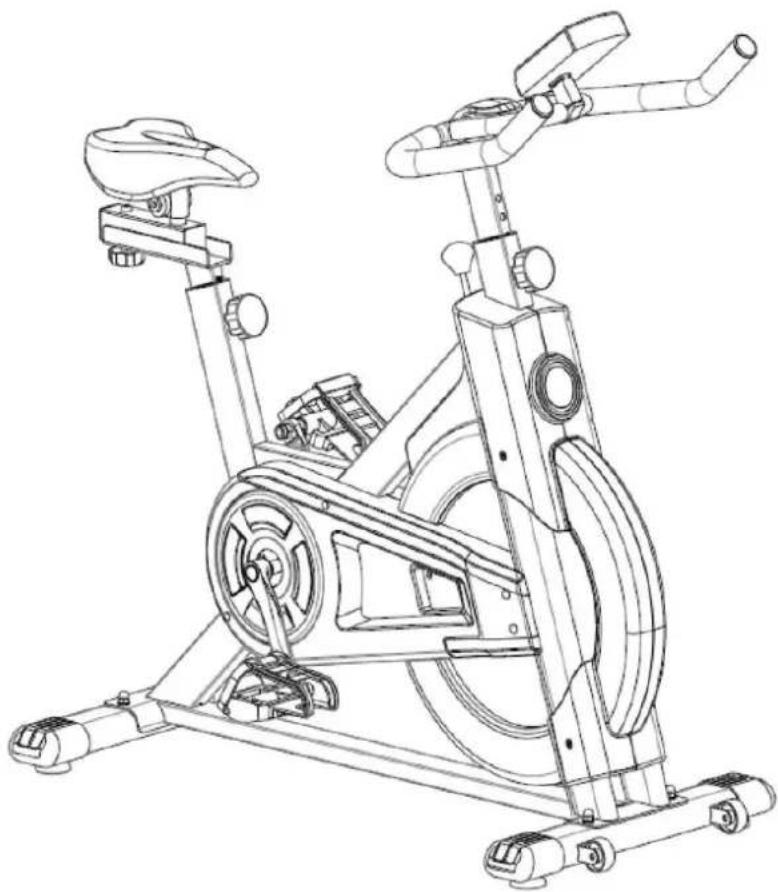
Line drawing of a stationary exercise bike with visible wheels, headboard, and front-mounted arms (no text or labels)INSTRUKCJA UŻYTKOWANIA – MANUAL INSTRUCTION – NÁVOD K OBSLUZE - BEDIENUNGSANLEITUNG
KROK 4
natural_image
Digital medical device with red button and screen (no visible text or symbols)PRZYCISK FUNKCJONANY:
- Read this manual carefully before first using and retain it for future reference.
- Observe all warnings and precautions including assembly steps. Use it only for intended purpose.
- Assemble and use it only according to this manual to assure your safety. Inform all other users about safe usage.
- Keep it away from children and pets. Don't let children unattended near this device. Only an adult person may assemble and use it.
- Ask your physician for advice before starting any exercise program. It is especially necessary if your suffer from some health problems or if you take some medication that could affect your heart rate, blood pressure or cholesterol level.
- Observe body signals. If you feel some problems (pain, tightness in chest, irregular heartbeat, breathing shortness, dizziness or nausea), stop immediately, improper exercising can result in serious health problems or in an injury.
- Put it only on a flat, dry and clean surface and keep a safety safety clearance of at least 0.6 m from other objects for higher safety. Use a protective cover to protect carpet or floor.
- Wear adequate sports clothes and sports shoes. Avoid too loose clothes.
- Don't use it outdoors.
- Check this device for damage or wearing before each using. Regularly check all bolts and nuts. They should be well tightened, Re-tighten, if necessary. Never use damaged or worn device to assure your safety.
- If some sharp edges occur, stop using.
- If you hear some unusual noises coming from this device, stop using.
- No adjustable part should protrude and obstruct user movements. Only one person may use it at time.
- Braking is independent of the speed.
- It is not intended for therapeutic purpose.
- Pay attention while lifting or transporting it to avoid back injury. Use only proper lifting techniques or ask some other person for help.
- Don't do any improper modification of this product. If necessary, contact authorized service.
- Max user weight: 100 kgs
- Category: The equipment has been tasted and certified according EN ISO 20957-1 under class H. It is not suite for therapeutic use.
WARNING! The heart rate frequency monitoring may not be completely accurate. Overexertion during training can lead to a serious injury or even death. If you start to feel faint, stop the exercise immediately.
PART LIST
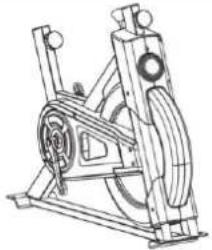 | 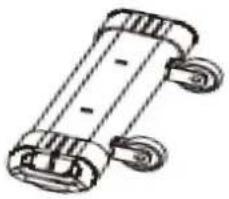 | 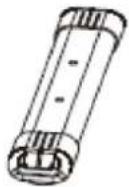 |
| 1.Main frame welding | 2A.Front feet tube | 2B.Rear feet tube |
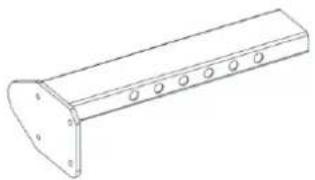 | 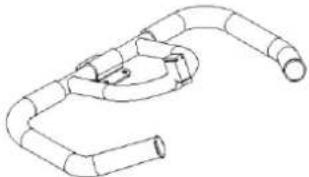 | 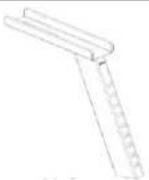 |
| 3.Armrest adjustment | 4.Armrest | 5.Seat lift adjust |
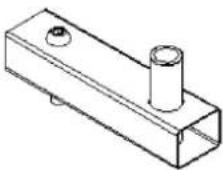 | 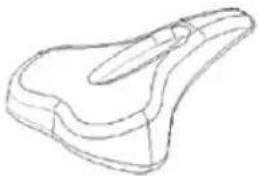 | 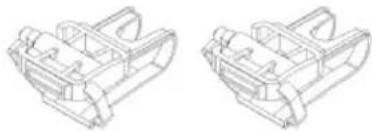 |
| 6.Seat tube | 7.Seat | 11L.Pedal/11R.Pedal |
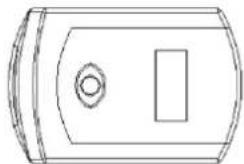 | 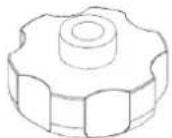 | 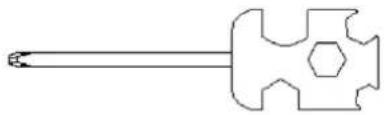 |
| 15. Computer | 19. Fixing knob M10 | 20.Open wrench |
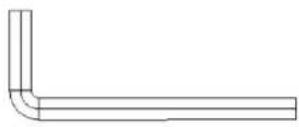 | 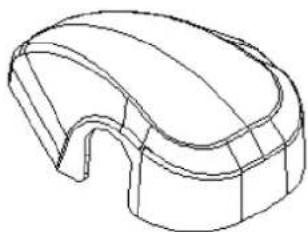 | 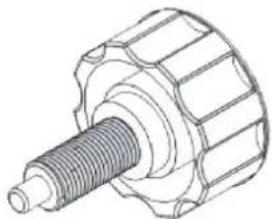 |
| 21.Cross L style wrench | 24.Armrest cover | 22Adjustable knob M16 |
DETAIL LIST OF SPARE PARTS
| 8. Carriage bolt M8*50 | 9. Dome nut M8 | 10.Washer φ8.5*φ16 |
| 12. Hexagon socket bolt M6 | 13. Washer φ6 | 14. Spring washer φ8 |
| 31. Washerφ10.5*φ20 | 59L. Left crank | 59R. Right crank |
ASSEMBLY MANUAL
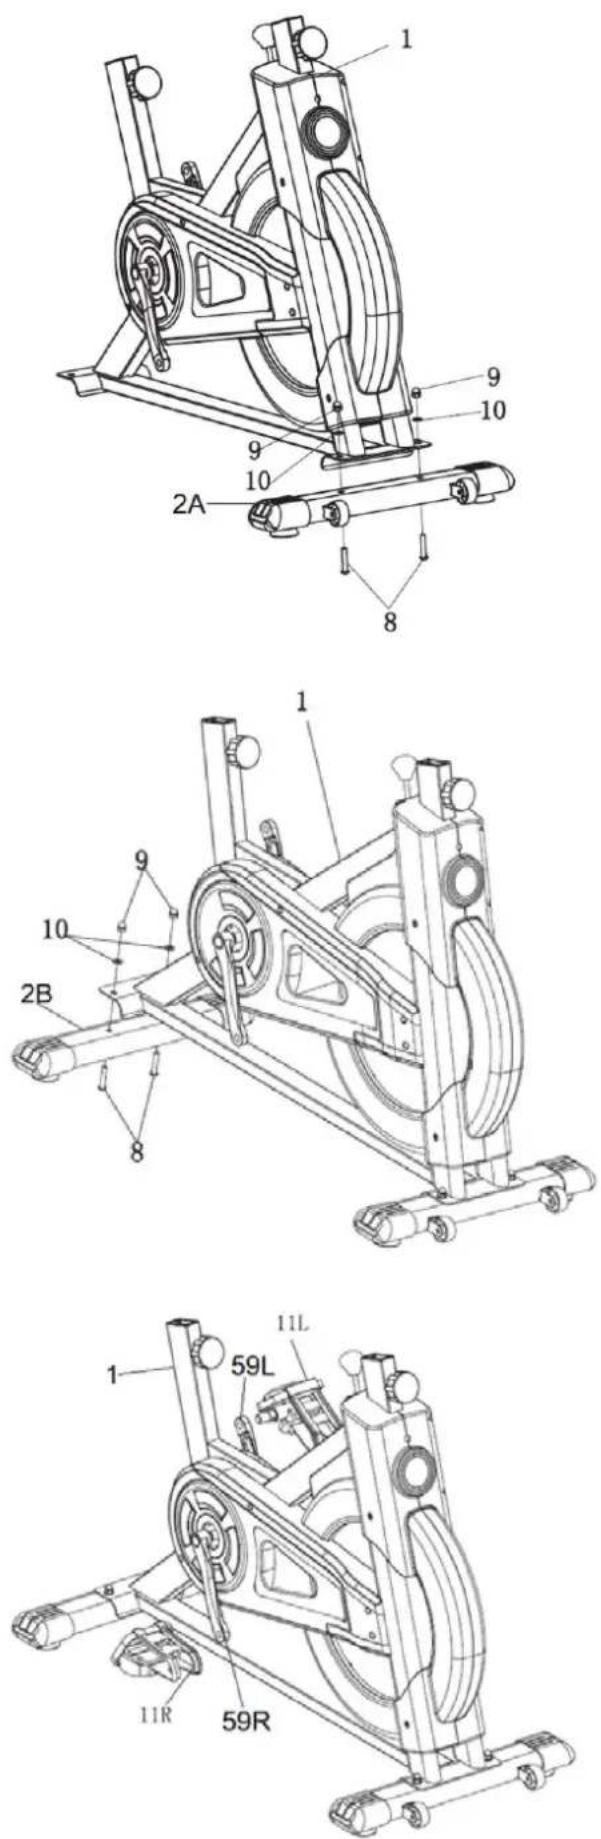
ASSEMBLY STEP 1
1) Secure the front stabilizer (2A) to the main frame (1), using 2 sets carriage bolts (8), dome nuts (9) and washers (10).
ASSEMBLY STEP 2
Secure the rear stabilizer (2B) to the main frame (1), using 2sets carriage bolts (8), dome nuts (9) and washers (10).
ASSEMBLY STEP 3
Screw the right pedal (11R) into the crank shaft (59R) in the CLOCKWISE direction. Screw the left pedal (11L) into the crank shaft (59L) in the ANTI-CLOCKWISE direction. You must use a spanner (20) to tighten securely.
ASSEMBLY STEP 4
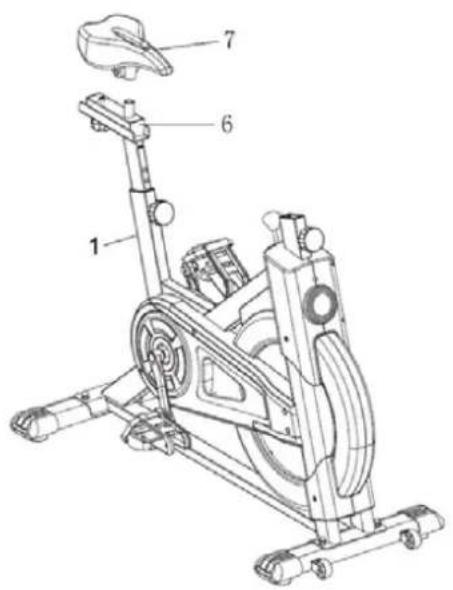
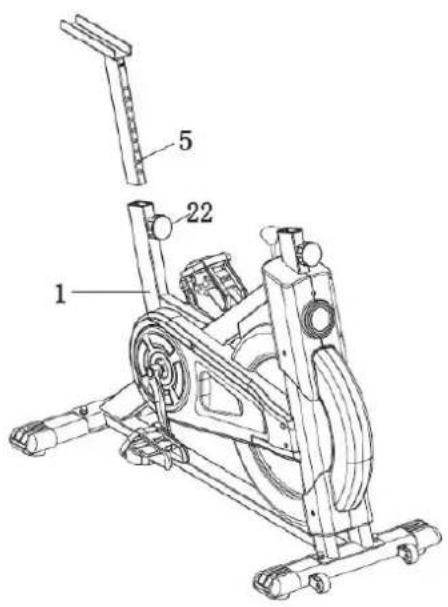
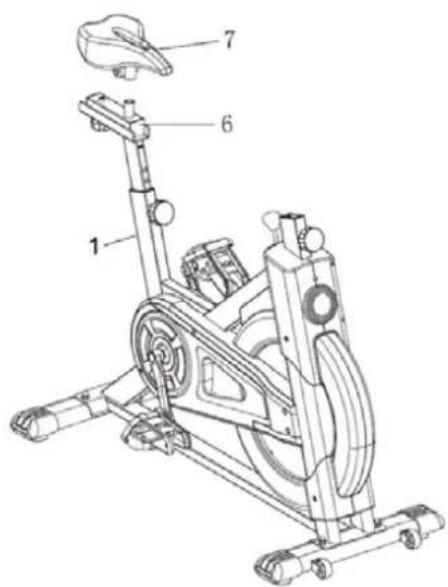
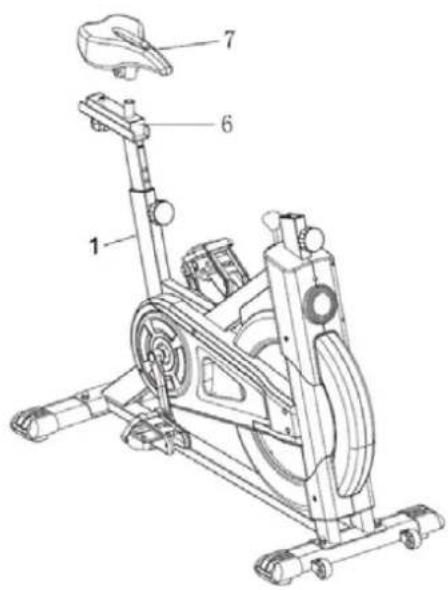
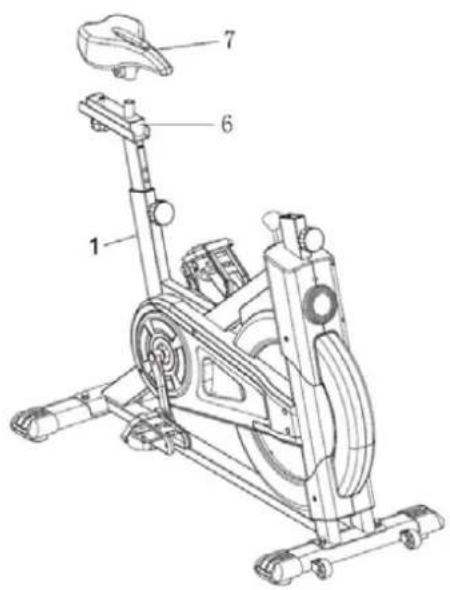
Loosen the adjustable knob (22) and insert seat post (5) into the main frame (1). Then align the holes and tighten the fixing knob (22).
ASSEMBLY STEP 5
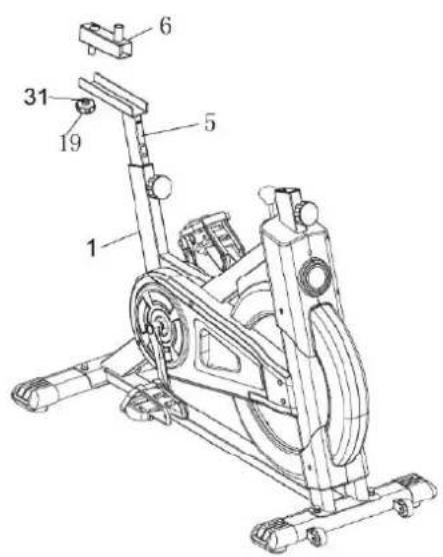
Put the seat slider (6) into the seat post (5). The bolt which is welded on the bar (6) must be located into the slot of the seat post (5). Then tighten it with fixing knob (19).
ASSEMBLY STEP 6
Slide the seat (7) onto the rod of the seat bar (6). Then tighten the two nuts under the seat (7) securely.
ASSEMBLY STEP 7
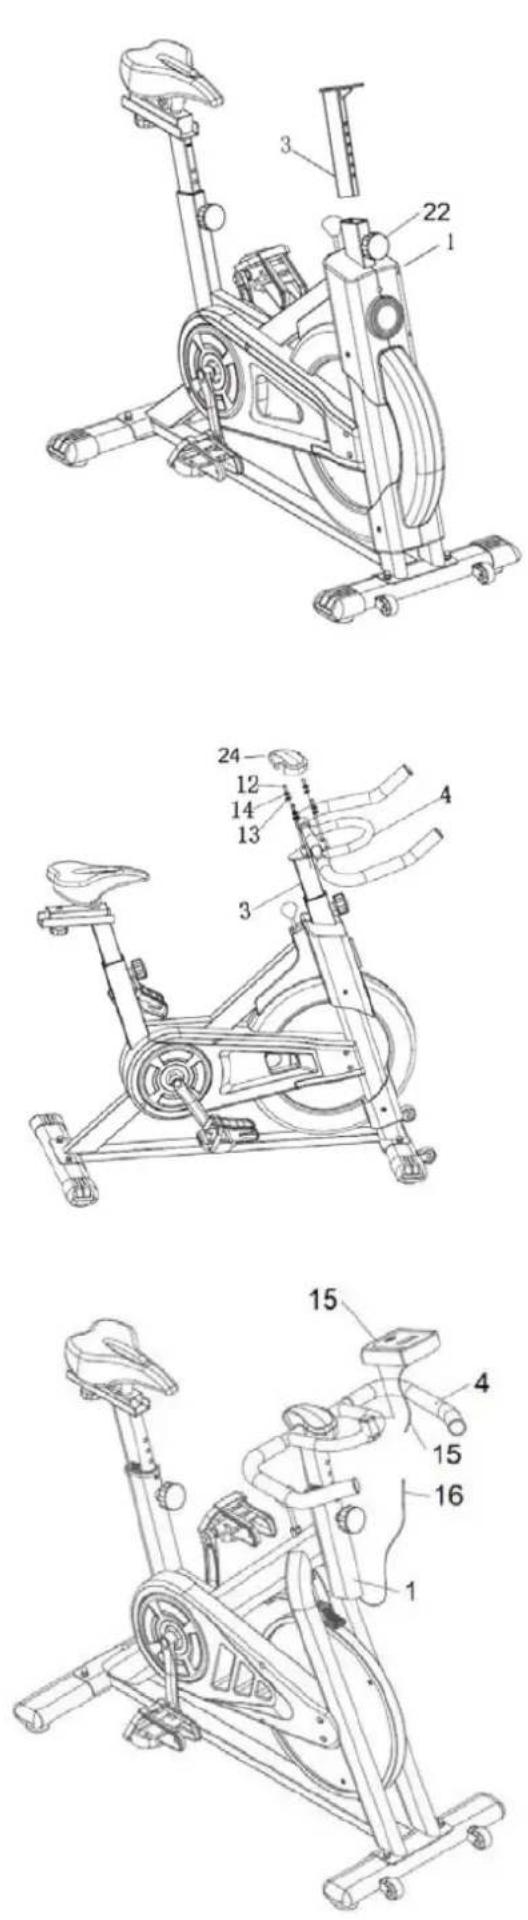
Loosen the adjustable knob (22) and insert the handlebar stem (3) into the mainframe (1). After align the hole to the adjustable knob (22), then secure the adjustable knob (22).
ASSEMBLY STEP 8
Put the handlebar (4) onto the handlebar stem (3) and make the holes aligned completely. Tighten them with 4 sets hexagon socket bolts (12), spring washers (14), washers (13) securely.
ASSEMBLY STEP 9
Slide the computer (15) into the handlebar (4) along the bulge on handlebar (4). Then plug the sensor connector (16) into the connector of the computer (15).
COMPUTER INSTRUCTION MANUAL
FUNCTIONAL BUTTONS:
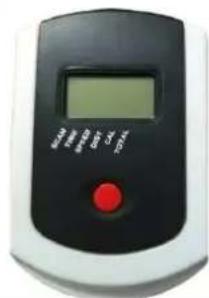
MODE – Press it to select functions.
- Hold it for 3 seconds to reset time, distance and calories.
- The design of calories meter may vary following different production batch.
FUNCTIONS:
- SCAN: Press MODE button until “▲” appears at SCAN Position (or until “SCAN” appears), computer will rotate through all the 4 functions: Time, Speed, Distance, and Calorie. Each display will be hold for 6 seconds.
- TIME: Count the total time from exercise start to end.
- SPEED: Display current speed.
- DIST: Count the distance from exercise start to end.
- CALORIES (CAL): Count the total calories from exercise start to the end.
- TOTAL: Count the total accumulated distance will be shown
- PULSE : Press the MODE key until the pointer advance to PULSE. user's current heart rate will be displayed in beats per minute. Place
Warm up
I. WARM-UP PHASE
This phase should help improving blood circulation and make your muscles working properly while reducing a cramp risk or injury. It is advisable to do a few stretching exercises as shown below. Each stretching exercise should be taken for approx. 30 seconds. Don't overstretch and don't jerk your muscles. If you feel pain, stop immediately.
II. EXERCISE PHASE
It is a phase, during which you should put in your effort. After regular workout, your leg muscles should get more flexible. Keep steady tempo throughout your exercising. The workout intensity should be sufficient to raise your heartbeat into the target zone as shown below.
NOTE: This stage should last for at least 12 mins. Thus, most people start at approx. 15-20 mins.
III. COOL-DOWN PHASE
In this stage, your cardio-vascular system and muscles should get calm. Repeat the warm-up exercises, reduce your tempo and continue for approx. 5 mins. Repeat the stretching exercises, but don't overstretch or jerk your muscles. As you get fitter, you can exercise longer and harder. It is advisable to train at least three times a week and, if possible, to space your workouts evenly throughout a week.
Maintenance
Proper maintenance is very important to ensure a faultless and operational condition of the treadmill. Improper maintenance can cause damage to the treadmill or shorten the life of the product.
All parts of the must be checked and tightened regularly. Worn out parts must be replaced immediately.
Technical data
Max user's weight: 100 kg
Dimension: 105 x 48 x 89 cm
Net weight: 23.75 kg
Gross weight: 27.5 kg
GUARANTEE CARD
Article name:
EAN code:
Date of sale:
GUARANTEE TERMS
- The Seller provides guarantee on behalf of the Guarantor within the territory of the Republic of Poland for the period of 24 months from the date of sale.
- The Guarantee will be recognised by the shop or service centre after the client provides:
- clearly and correctly filled-in guarantee card with the sale stamp and the
seller's signature - valid purchase confirmation for the equipment including
the date of sale / bill / - complained product.
- Possible defects and damages revealed during the guarantee period shall be remedied free of charge within not more than 21 days from the delivery of the product to the shop or service.
-
Should it be necessary to import some components, the guarantee term can be extended by the period required to import such part, however such period shall not be longer than 40 days.
-
The guarantee does not cover:
-
mechanical damages and subsequent defects,
- damages and defects resulting from incorrect storage and usage of the equipment against its purpose,- incorrect assembly and maintenance,
-
damages and consumption of such elements as: cables, straps, rubber parts, pedals, sponge grips, wheels, bearings, etc.
-
The guarantee expires in the event of:
-
expiry of the validity term,
- self-repairs,
-
failure to follow the rules of correct operation.
-
No duplicates of the guarantee cards shall be issued.
- The product handed over for repair should be complete and clean. If some parts are missing, the service is entitled to refuse to accept the product for repair. The service may refuse to accept a dirty product or clean in on the client's expense after the client's written permit.
- The guarantee does not cover activities related to assembly, maintenance, which, according to the instruction, the user is obliged to perform themselves.
- The Guarantor also informs that they offer post-guarantee service.
- The product should be provided in its original packaging and should be secured for shipment.
The guarantee for sold goods is not exclusive, does not limit or suspend entitlements of the buyer resulting from the non-compliance of the product with the agreement.
THE EQUIPMENT IS NOT INTENDED FOR REHABILITATION AND THERAPY
NOTES ON THE COURSE OF REPAIRS
| Item | Date of notificacion | Date of provision | Course of repairs | Signature of the recipient (shop, owner) |
Bezpečnostní pokyny
KROK 4
FUNKČNÍ TLAČÍTKO:
MODE:
SCHRITT 4
natural_image
Abstract geometric logo composed of black and white interlocking hexagonal shapes (no text or symbols)HMS
PREMIUM
- HMS
- PREMIUM
- ROWER SPINNINGOWY – SPIN BIKE -SPININGOVÝ TRENAŽÉR – SPINNING-BIKE
- KROK 4
- PRZYCISK FUNKCJONANY:
- PART LIST
- DETAIL LIST OF SPARE PARTS
- ASSEMBLY MANUAL
- ASSEMBLY STEP 1
- ASSEMBLY STEP 2
- ASSEMBLY STEP 3
- ASSEMBLY STEP 4
- ASSEMBLY STEP 5
- ASSEMBLY STEP 6
- ASSEMBLY STEP 7
- ASSEMBLY STEP 8
- ASSEMBLY STEP 9
- COMPUTER INSTRUCTION MANUAL
- FUNCTIONAL BUTTONS:
- FUNCTIONS:
- Warm up
- WARM-UP PHASE
- EXERCISE PHASE
- COOL-DOWN PHASE
- Maintenance
- Technical data
- GUARANTEE CARD
- GUARANTEE TERMS
- THE EQUIPMENT IS NOT INTENDED FOR REHABILITATION AND THERAPY
- Bezpečnostní pokyny
- FUNKČNÍ TLAČÍTKO:
- MODE:
- SCHRITT 4
Brand : HMS Premium
Model : SWL9140
Category : Exercise bike