
MP8880 - Exercise bike HMS Premium - Free user manual and instructions
Find the device manual for free MP8880 HMS Premium in PDF.


| Product Type | Exercise Bike |
| Brand | HMS Premium |
| Model | MP8880 |
| Assembled Dimensions (L x W x H) | 120 x 35 x 66 cm |
| Net Weight | 41.5 kg |
| Gross Weight | 46 kg |
| Maximum User Weight | 135 kg |
| Resistance System | Magnetic |
| Display Type | LCD |
| Display Metrics | Time, Distance, Speed, RPM, Calories, Watt |
| Training Programs | Manual, Interval (20/10, 10/20, Custom), Target Distance, Target Calories, Target Time, Target Heart Rate |
| Adjustable Saddle | Yes, vertical adjustment with locking knob |
| Adjustable Handlebars | Yes, multi-position via bolts |
| Pedals | Adjustable pedal plates with toe straps |
| Transportation Wheels | Yes, on front stabilizer for easy moving |
| Bottle Holder | Yes, integrated in computer post |
| Power Source | 2 AA batteries (not included) |
| Certification | EN ISO 20957-1 class HC |
| Intended Use | Indoor home use only |
| Warranty | 24 months |
| Assembly Required | Yes, includes Allen wrench and spanner |
| Maintenance | Regularly check and tighten bolts; replace worn parts immediately |
Frequently Asked Questions - MP8880 HMS Premium
User questions about MP8880 HMS Premium
0 question about this device. Answer the ones you know or ask your own.
Ask a new question about this device
Download the instructions for your Exercise bike in PDF format for free! Find your manual MP8880 - HMS Premium and take your electronic device back in hand. On this page are published all the documents necessary for the use of your device. MP8880 by HMS Premium.
USER MANUAL MP8880 HMS Premium
natural_image
Technical line drawing of an exercise bike with visible internal components and body structure (no text or labels)natural_image
Line drawing of a stationary exercise bike with a person standing beside it (no text or symbols)FUNKCJE WYŚWIETLACZA
Rysunek 15
Rysunek 16
Rysunek 17
Rysunek 18
Rysunek 19
- Wybierz Manual, Interval, Target Distance, Target Calories, Target HR, Target Time program: 3.1 Tryb ręczny:
1.1 Interval CUSTOM:
Thank you for choosing our product. To ensure your safety and health, please use this equipment correctly. It is important to read this entire manual before assembling and using the equipment. Safe and effective use can only be achieved if the equipment is assembled, maintained and used properly. It is your responsibility to ensure that all users of the equipment are informed of all warnings and precautions.
- Before starting any exercise program, you should consult your physician to determine if you have any medical or physical conditions that could put your health and safety at risk, or prevent you from using the equipment properly. Your physician's advice is essential if you are taking medication that affects your heart rate, blood pressure or cholesterol level.
- Be aware of your body's signals. Incorrect or excessive exercise can damage your health. Stop exercising if you experience any of the following symptoms: pain, tightness in your chest, irregular heartbeat, shortness of breath, dizziness or feelings of nausea. If you do experience any of these conditions, you should consult your physician before continuing with your exercise program.
- Keep children and pets away from the equipment. The equipment is designed for adult use only.
- Use the equipment on a solid, flat level surface with a protective cover for your floor or carpet. To ensure safety, the equipment should have at least 2 feet (60 CM) of free space all around it.
- Ensure that all nuts and bolts are securely tightened before using the equipment. The safety of the equipment can only be maintained if it is regularly examined for damage and/or wear and tear.
- Always use the equipment as indicated. If you find any defective components while assembling or checking the equipment, or if you hear any unusual noises coming from the equipment during exercise, discontinue use of the equipment immediately and do not use until the problem has been rectified.
- Wear suitable clothing while using the equipment. Avoid wearing loose clothing that may become entangled in the equipment.
- Do not place fingers or objects into the moving parts of the equipment.
- The maximum weight capacity of this unit is 135 KG.
- The equipment is not suitable for therapeutic use.
- To avoid bodily injury and/or damage to the product or property, proper lifting and moving is required.
- The Product is intended for use in cool, dry conditions. You should avoid storage in extreme cold, hot or damp areas as this may lead to corrosion and other related problems.
- This equipment is designed for indoor and home use only, it is not intended for commercial use!
- Category: The equipment has been tasted and certified according EN ISO 20957-1 under class HC. It is not suite for therapeutic use.
Maintenance
Proper maintenance is very important to ensure a faultless and operational condition of the treadmill. Improper maintenance can cause damage to the treadmill or shorten the life of the product. All parts of the must be checked and tightened regularly. Worn out parts must be replaced immediately.
Exploded-view drawing
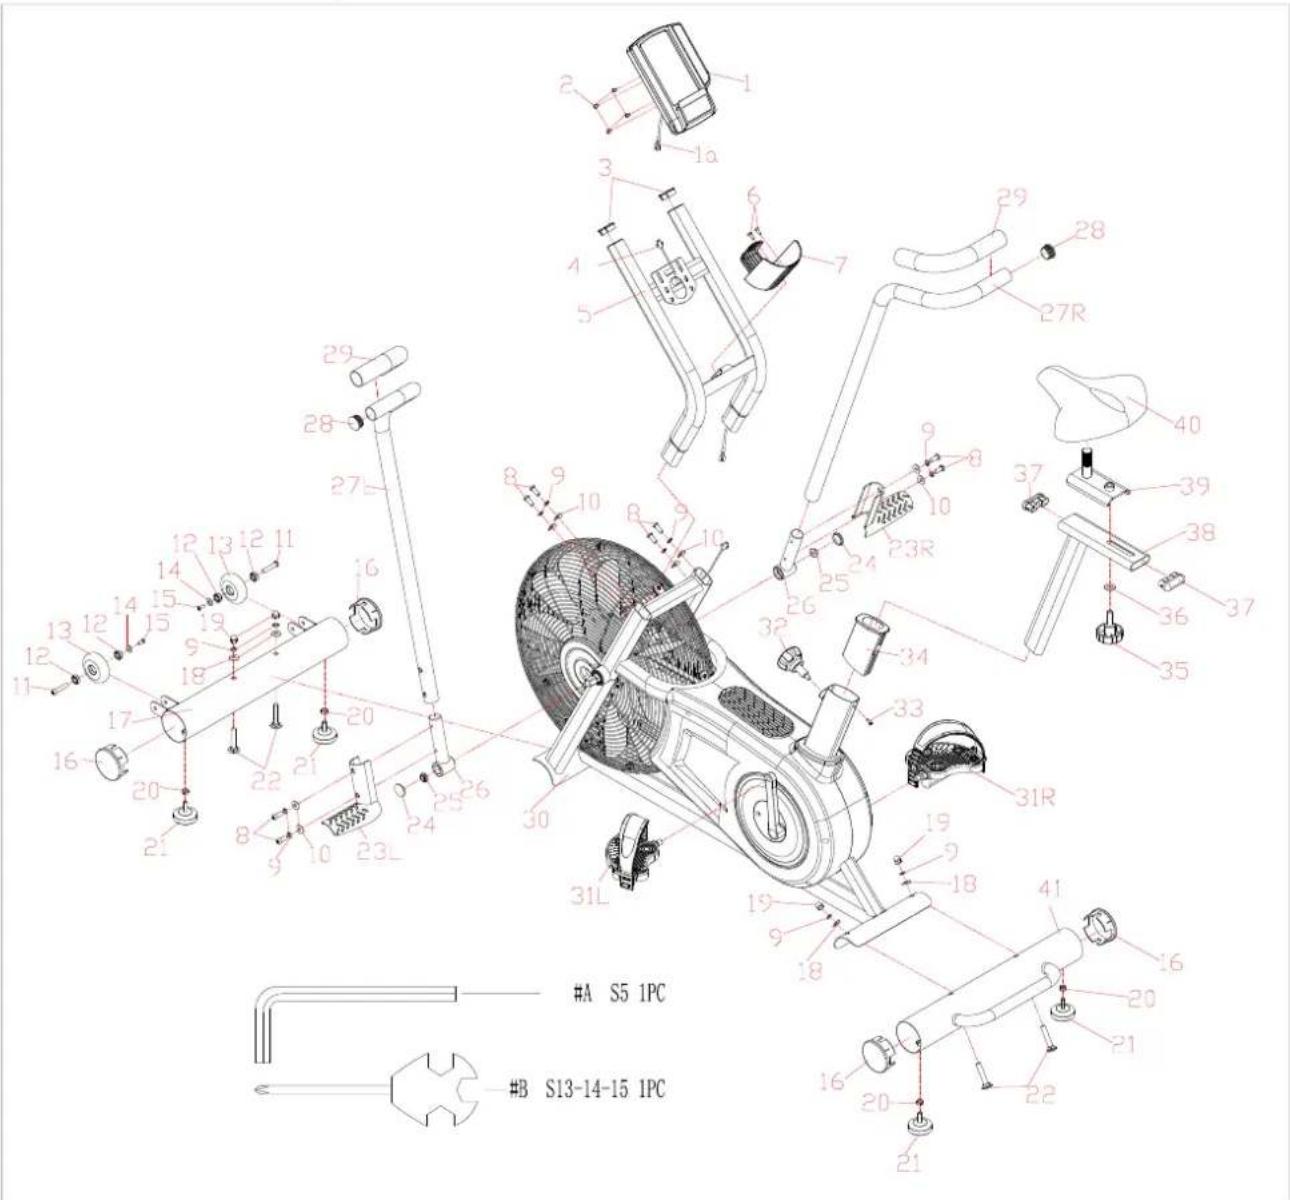
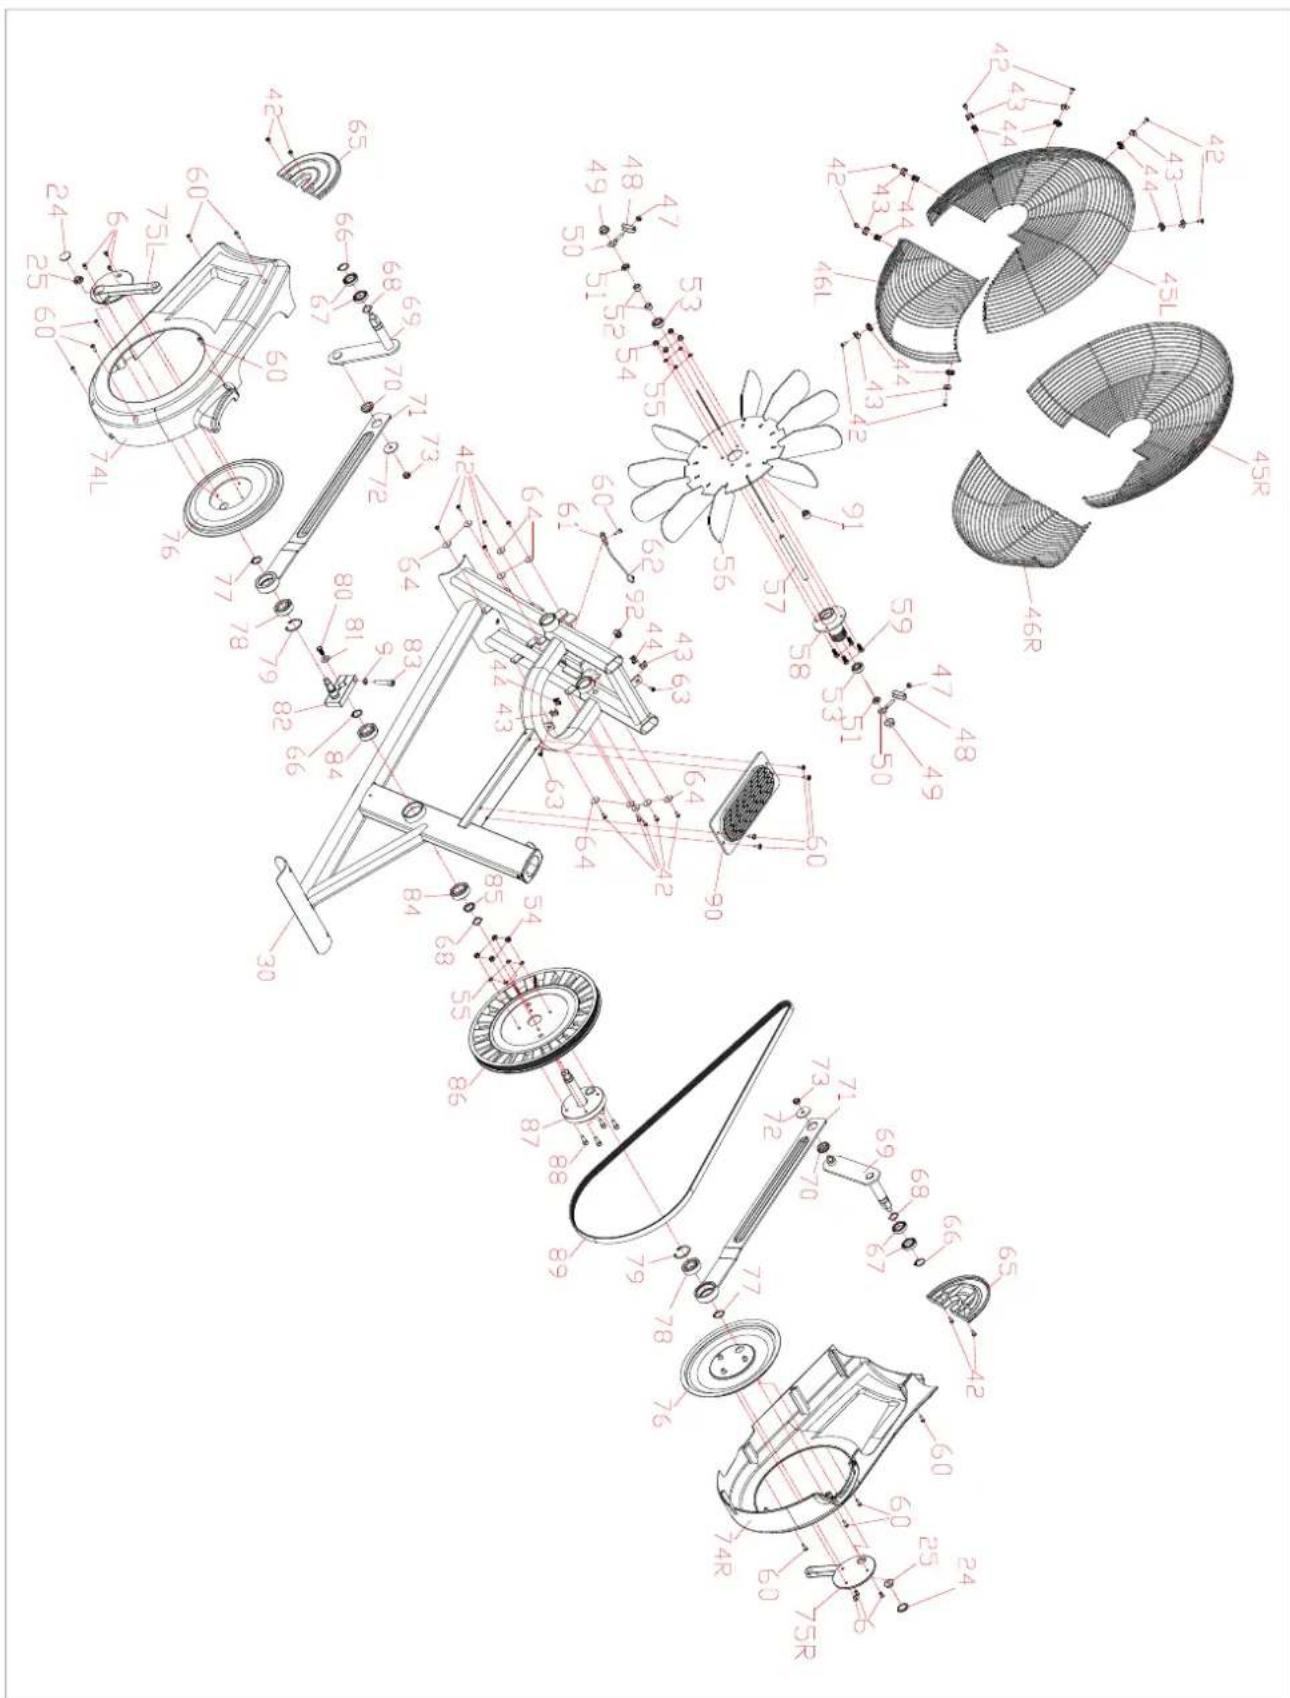
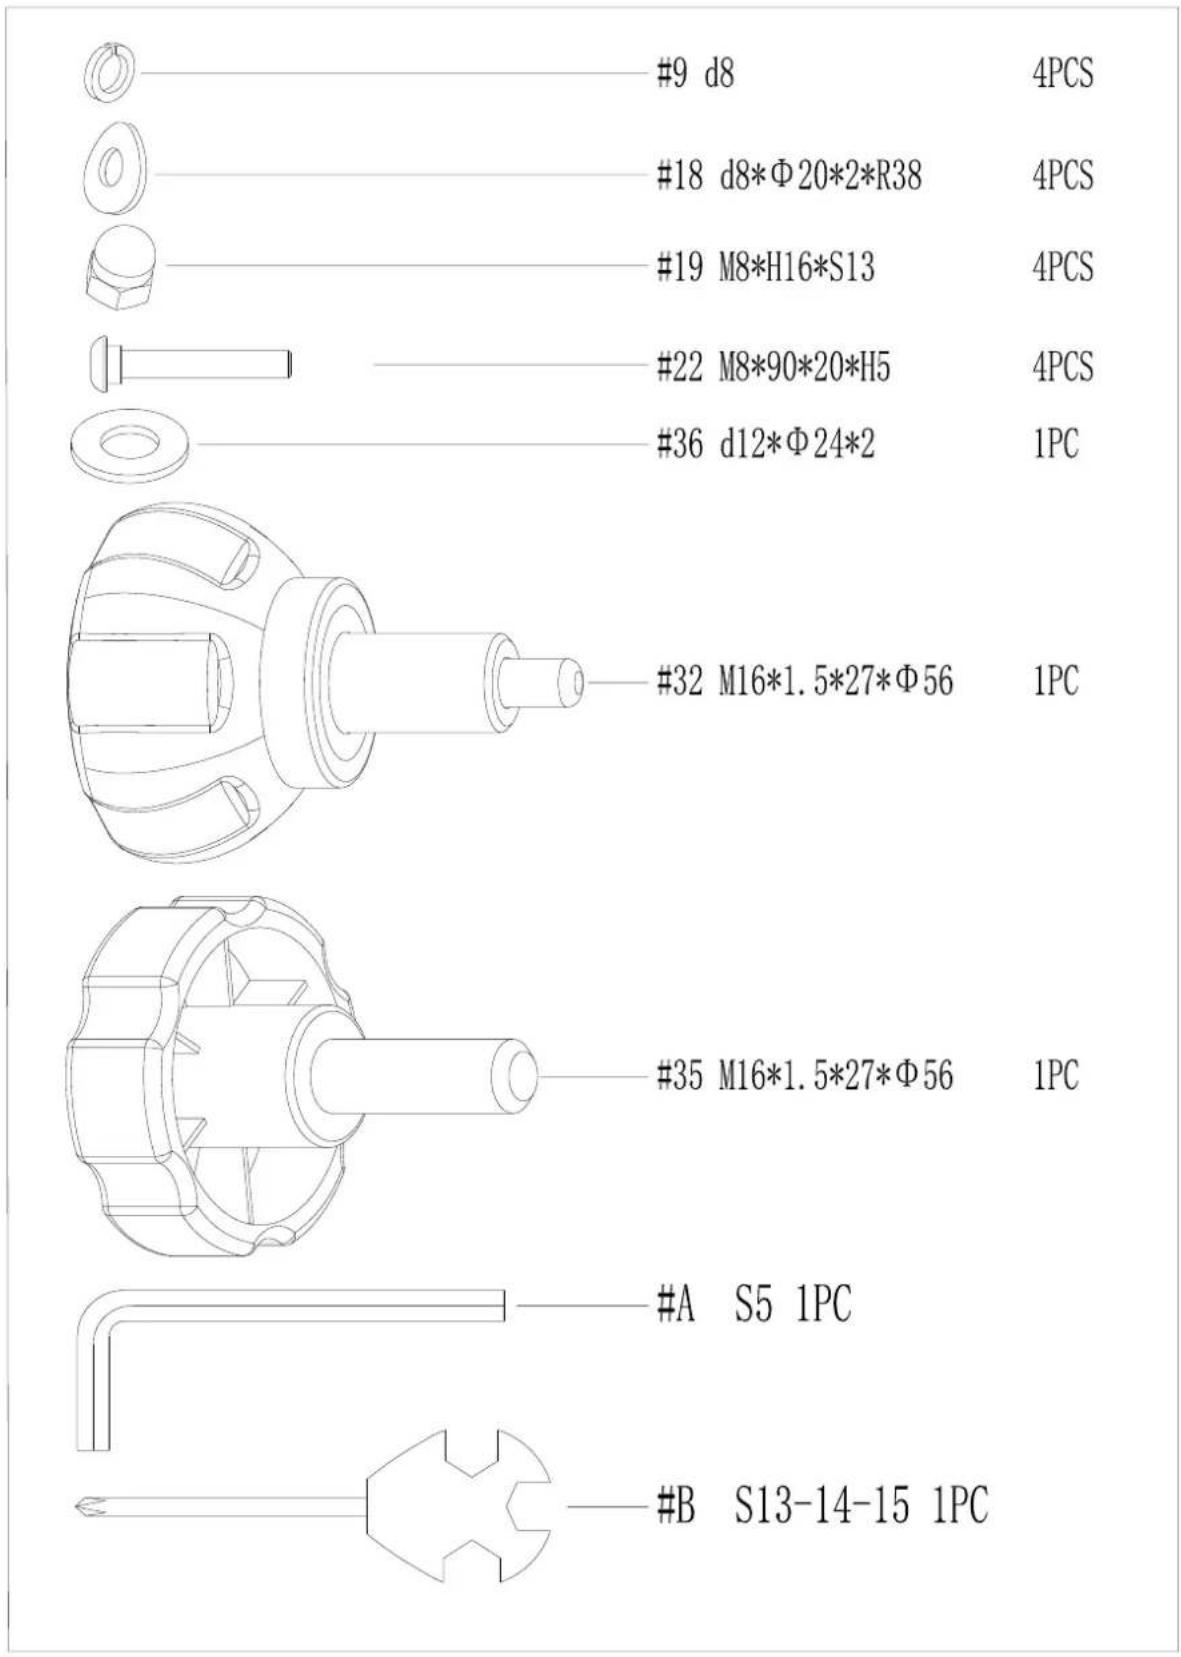
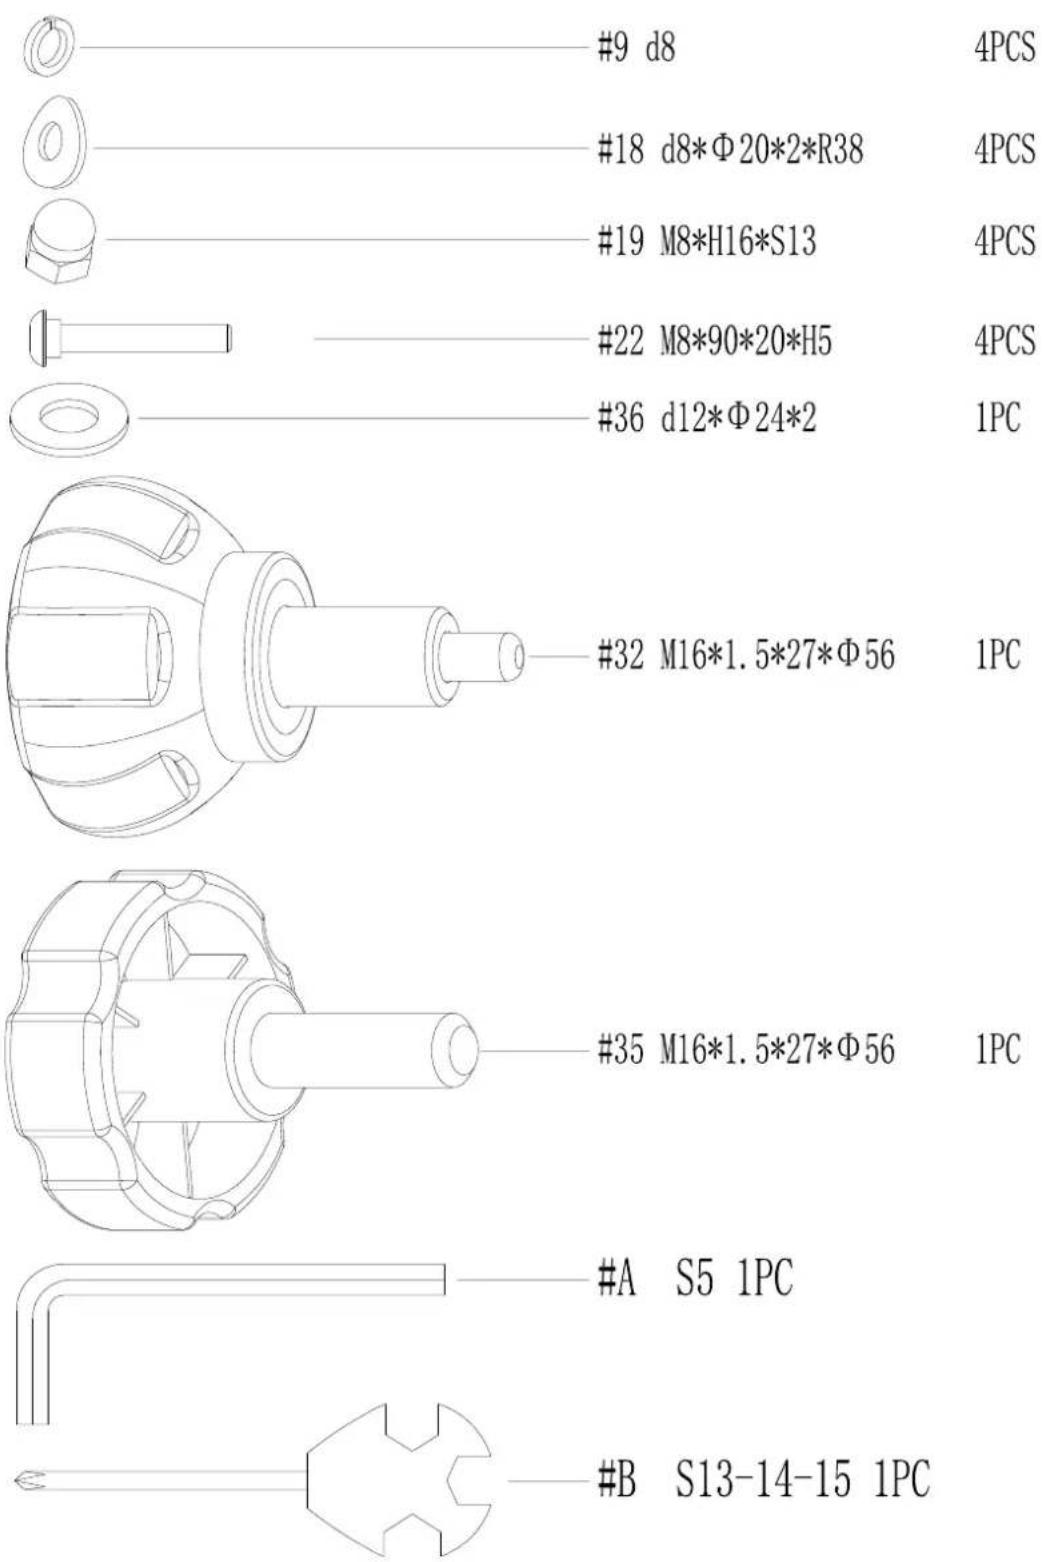
Hardware package
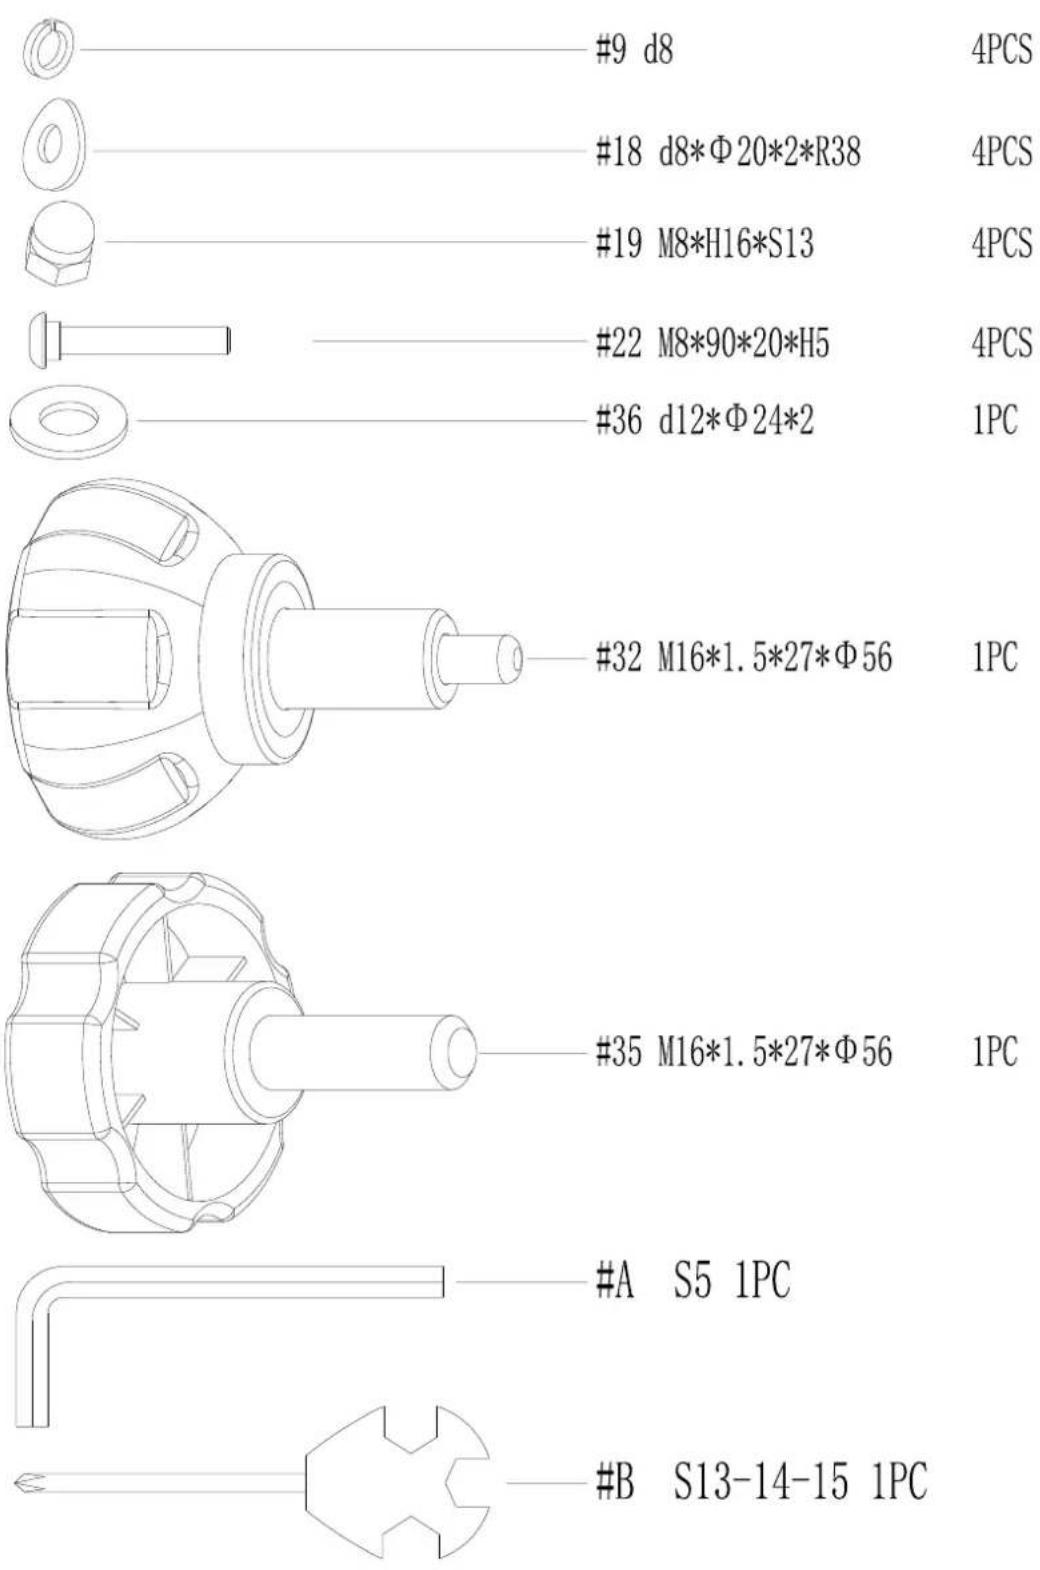
Parts list
| No. | Description | Qty. |
| 1 | Computer | 1 |
| 2 | Bolt M5*10 | 4 |
| 3 | End Cap | 2 |
| 4 | Trunk Wire | 1 |
| 5 | Computer Post | 1 |
| 6 | Bolt M5*10*Φ8.5 | 8 |
| 7 | Bottle holder | 1 |
| 8 | Bolt M8*20*S5 | 8 |
| 9 | Spring Washer d8 | 13 |
| 10 | Arc Washer d8*Φ20*2*R16 | 8 |
| 11 | Bolt M8*30*M6*15*S5 | 2 |
| 12 | Bearing 608Z | 4 |
| 13 | Transportation Wheel φ71*24 | 2 |
| 14 | Washer d6*Φ12*1.5 | 2 |
| 15 | Bolt M6*15*S5 | 2 |
| 16 | End Cap Φ76 | 4 |
| 17 | Front Stabilizer | 1 |
| 18 | Arc Washer d8*Φ20*2*R38 | 8 |
| 19 | Cap Nut M8*H16*S13 | 4 |
| 20 | Nut M8*H5.5*S14 | 4 |
| 21 | Adjustable Footpad | 4 |
| 22 | Bolt M8*90*20*H5 | 4 |
| 23L/R | Pedal Plate | 1set |
| 24 | Crank Cover | 4 |
| 25 | Nut M10*1.25*H7.5*S14 | 4 |
| 26 | Swing Bar | 2 |
| 27L/R | Handlebar | 1set |
| 28 | End Cap φ32*17 | 2 |
| 29 | Foam Grip Φ30*3*280 | 2 |
| 30 | Main Frame | 1 |
| 31L/R | Pedal | 1set |
| 32 | Knob M16*1.5*27*Φ56 | 1 |
| 33 | Screw ST4.2*10*Φ8 | 1 |
| 34 | Bushing | 1 |
| 35 | Knob M12*37*15*Φ58 | 1 |
| 36 | Washer d12*Φ24*2 | 1 |
| 37 | End Cap PT60*20*30 | 2 |
| No. | Description | Qty. |
| 39 | Saddle Fixed Plate | 1 |
| 40 | Saddle | 1 |
| 41 | Rear Stabilizer | 1 |
| 42 | Bolt M4*10*Φ8 | 18 |
| 43 | Outside Button Of Net-caps | 10 |
| 44 | Inside Button Of Net-caps | 10 |
| 45L/R | Front Net-caps | 1set |
| 46L/R | Rear Net-caps | 1set |
| 47 | NutM6*H6*S10 | 2 |
| 48 | U Seat | 2 |
| 49 | Nut M10*1*H8*S15 | 2 |
| 50 | Chain Bolt | 2 |
| 51 | Nut M10*1*H5*S17 | 2 |
| 52 | Spacer φ10.1*φ15*9 | 2 |
| 53 | Bearing 6000-2RS | 2 |
| 54 | Nylon Nut M6*H6*S10 | 8 |
| 55 | Spring Washerd6 | 8 |
| 56 | Fan Wheel | 1 |
| 57 | Shaft | 1 |
| 58 | Sleeve | 1 |
| 59 | Bolt M6*16*S10 | 4 |
| 60 | Bolt ST4.2*19*Φ8 | 15 |
| 61 | Sensor Seat | 1 |
| 62 | Sensor | 1 |
| 63 | Bolt M4*15*Φ8 | 2 |
| 64 | Washer d4*Φ18*1.5 | 10 |
| 65 | Front cover | 2 |
| 66 | Washer | 3 |
| 67 | Bearing6804-2RS | 4 |
| 68 | Wave washerd20*Φ26*0.3 | 3 |
| 69 | Connector | 2 |
| 70 | Bushing φ28*6.2 | 2 |
| 71 | Rod | 2 |
| 72 | Washerd8*Φ32*2 | 2 |
| 73 | Nylon NutM8*H7.5*S13 | 2 |
| 74L/R | Chain Cover | 1set |
| 75L/R | Crank | 1set |
| 38 | Saddle Tube | 1 |
| No. | Description | Qty. |
| 77 | Spring d17 | 2 |
| 78 | Bearing 6203-2RS | 2 |
| 79 | Spring D40 | 2 |
| 80 | Bolt M6*16*S10 | 1 |
| 81 | Washerd6*Φ20*2 | 1 |
| 82 | Small Crank | 1 |
| 83 | Bolt M8*40*S6 | 1 |
| 84 | Bearing 6004-2RS | 2 |
| 85 | Spacer Φ25*Φ20.1*4 | 1 |
| 76 | Turntable | 2 |
| No. | Description | Qty. |
| 86 | Belt Plate | 1 |
| 87 | Axle | 1 |
| 88 | Bolt M6*16*S5 | 4 |
| 89 | Belt | 1 |
| 90 | Plastic Pedal | 1 |
| 91 | Magnet φ15*7 | 1 |
| 92 | Grommet Φ12.5 | 1 |
| A | Allen Wrench S5 | 1 |
| B | Spanner S13-14-15 | 1 |
Assembly instruction
STEP 1:
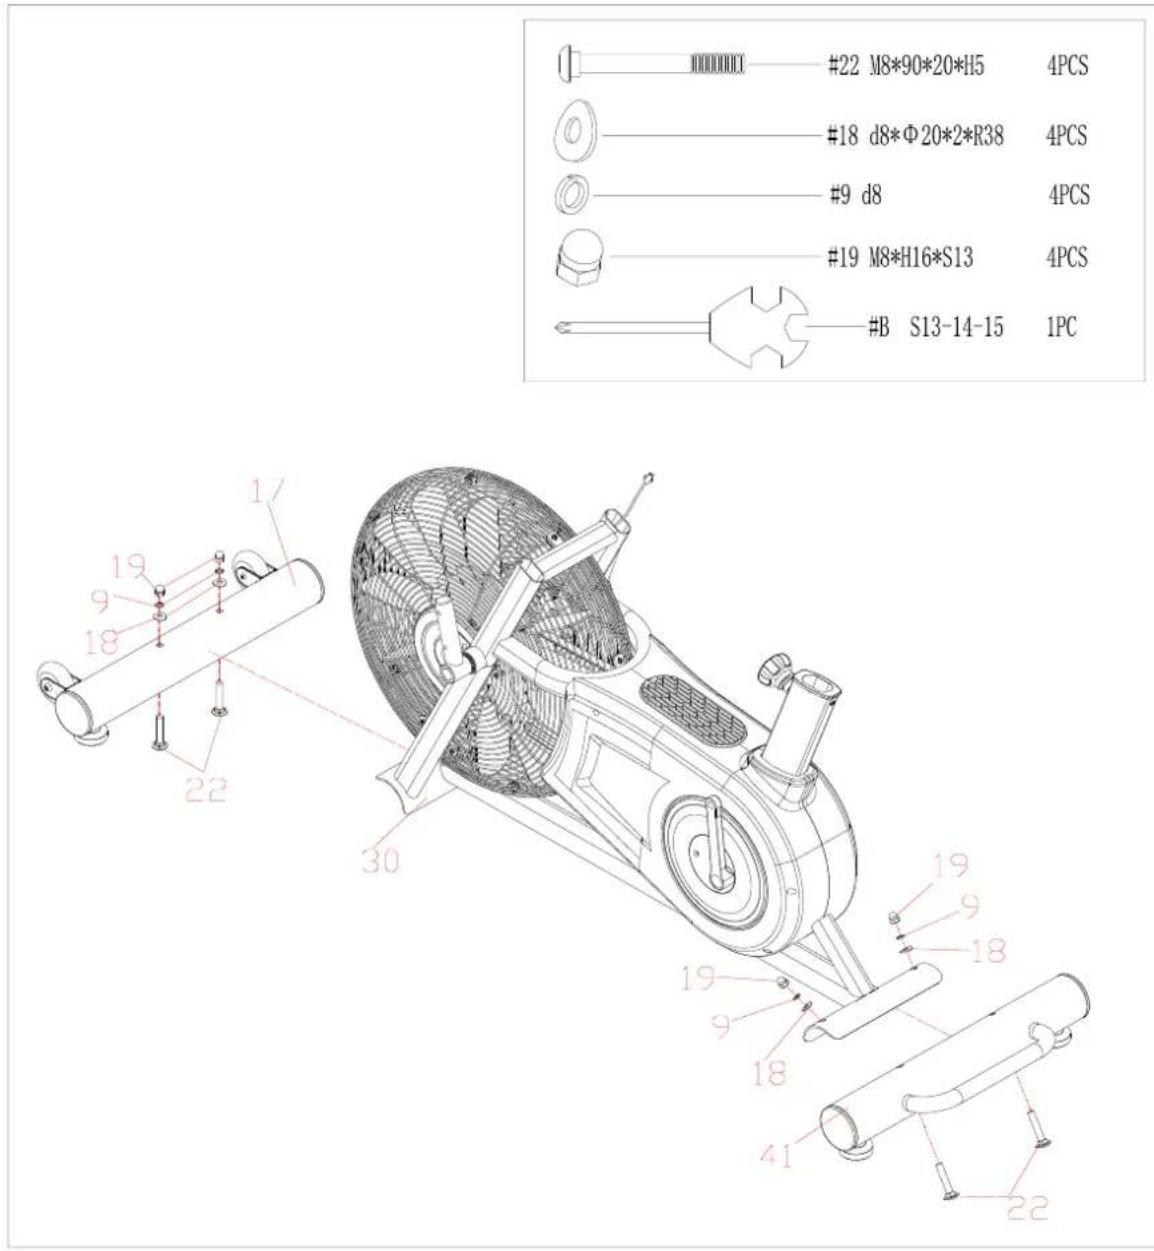
Attach the front stabilizer (17) and rear stabilizer (41) to main frame (30) using 4 bolts (22), 4 arc washers (18), 4 spring washers (9) and 4 cap nuts (19) by spanner (B).
STEP 2:
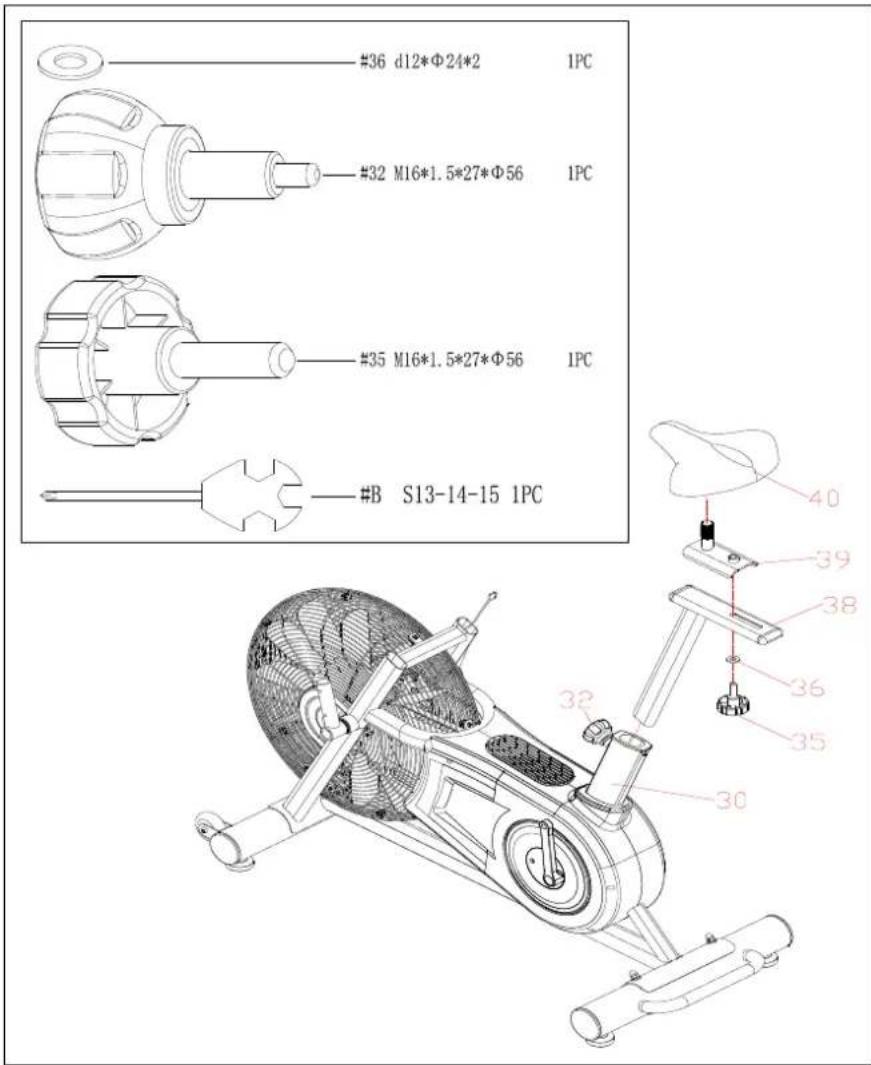
A. Insert saddle tube(38) into the main frame(30), then secure it with knob (32).
B. Secure saddle fixed plate(39) in the saddle tube(38) using knob (35) and washer (36).
C. Attach the saddle (40) into saddle fixed plate (39), then secure them by spanner (B).
STEP 3:
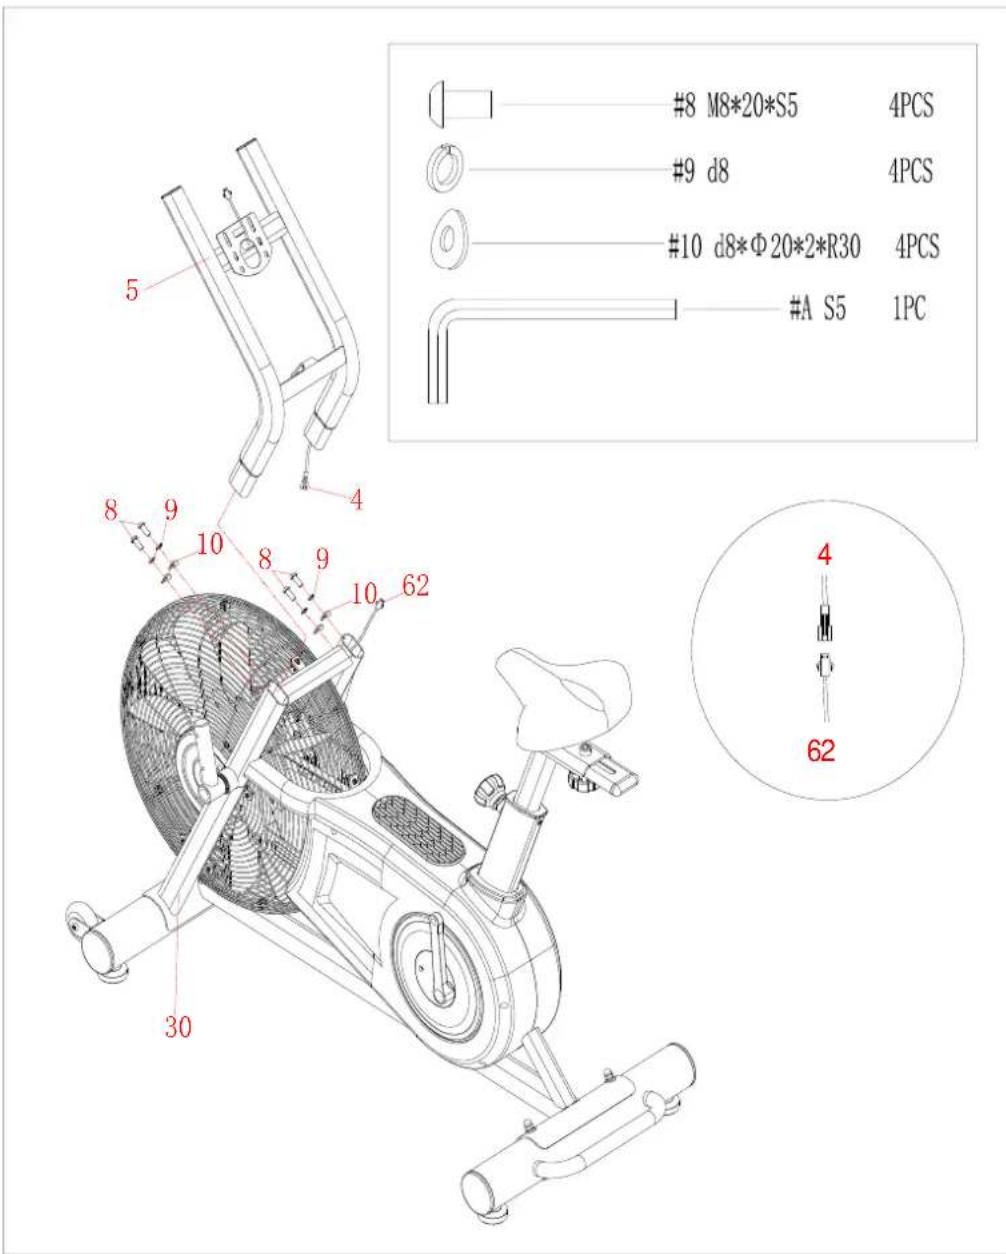
A. Unlock 4 bolts (8), 4 spring washers (9) and 4 arc washers(10) from main frame (5) by allen wrench(A).
B. Connect sensor wire (62) and trunk wire (4) well.
C. Insert wire into the main frame(30), then insert computer post (5) into the main frame (30), and secure them using 4 bolts (8), 4 spring washers(9) and 4 arc washers(10) by allen wrench (A).
STEP 4:
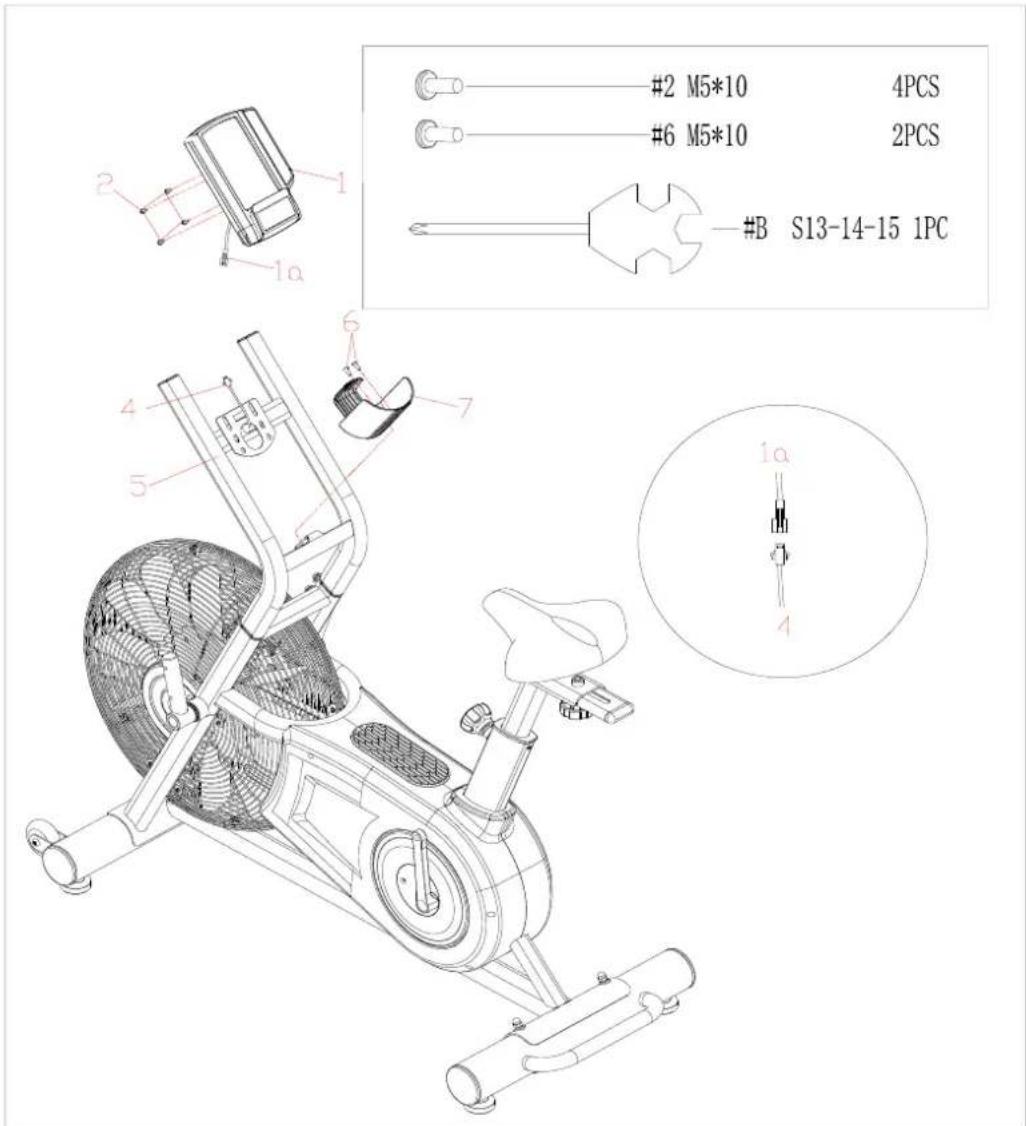
A. Unlock 2 bolts (6) and 4 bolts (2) from computer post (5) by spanner (B).
B. Secure bottle holder (7) in the computer post (5) using 2 bolts (6) by spanner (B).
C. Connect trunk wire (4) and computer wire (1a) well.
D. Secure computer (1) in the computer post (5) using 4 bolts (2) by spanner (B).
STEP 5:
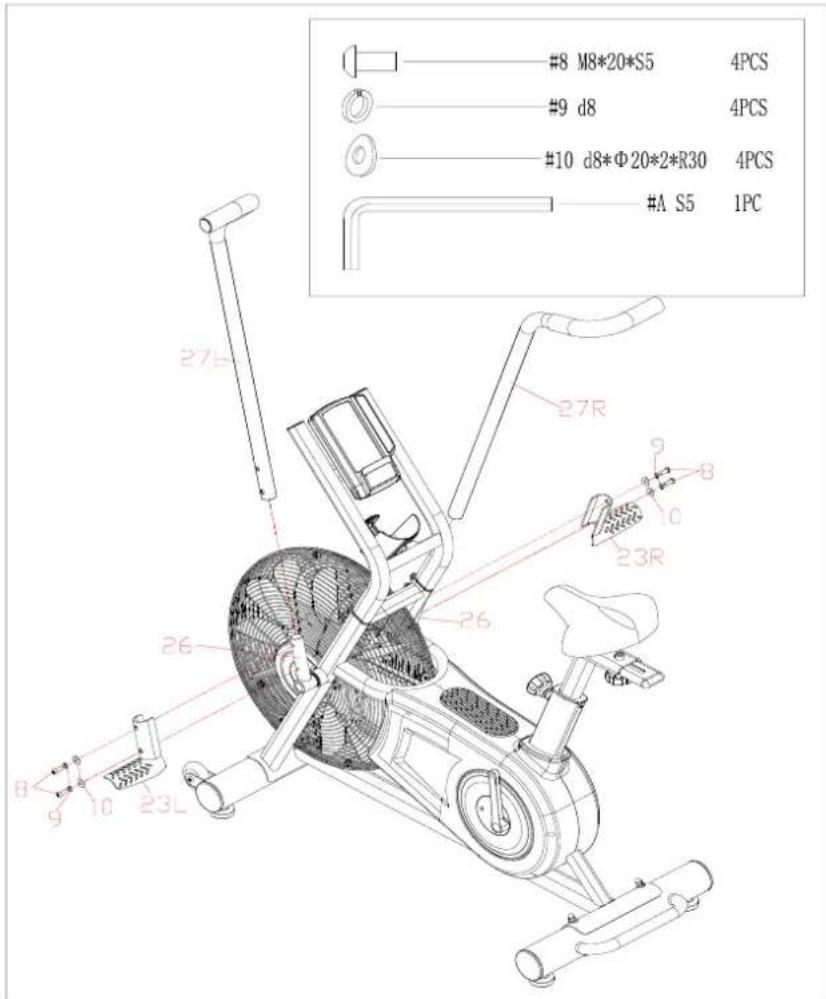
A. Unlock 4 bolts (8), 4 spring washers (9) and 4 arc washers (10) from swing bar (26) by allen wrench (A).
B. Attach handlebar (27L/R) into swing bar (26).
C. Secure pedal plate (23L/R) and handlebar(27L/R) into swing bar(26) using 4 bolts (8), 4 spring washers (9) and 4 arc washers (10) by allen wrench (A).
STEP 6:
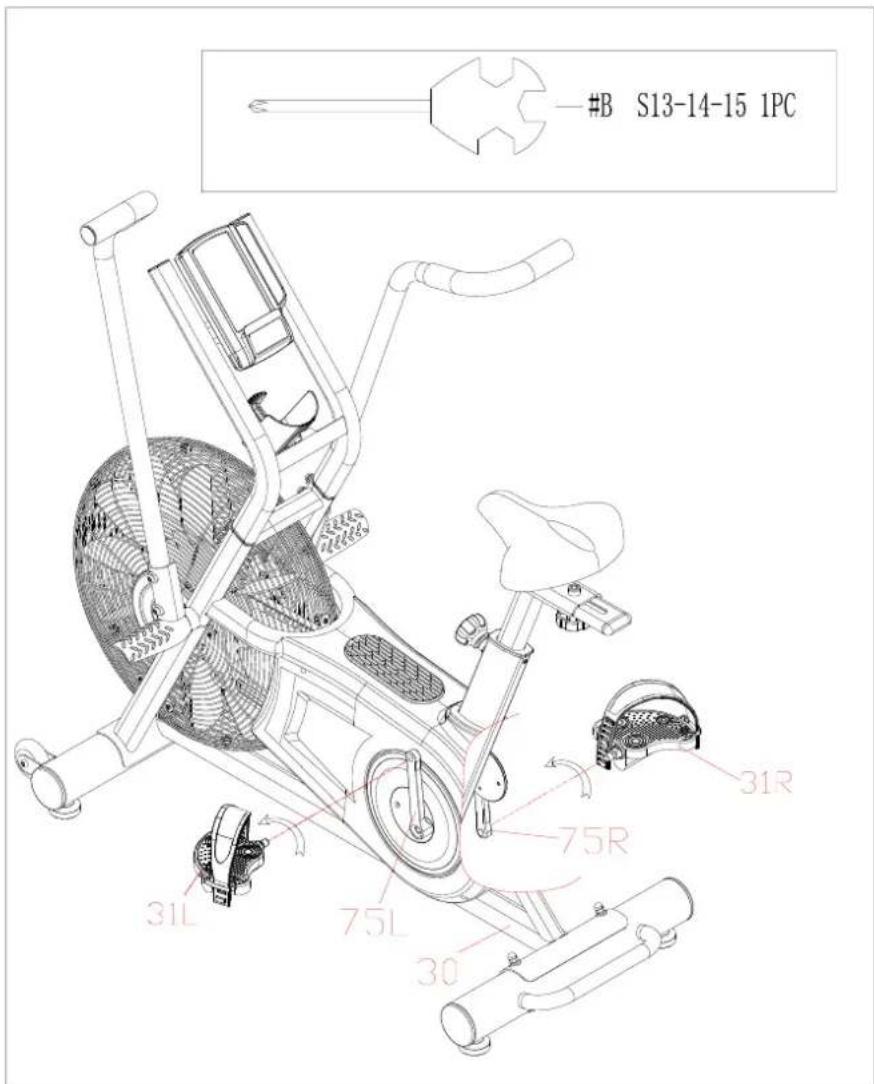
Connect the left & right pedals (31L/R) onto the left & right cranks (75L/R).
Left Pedal: Align the left pedal (31L) with the left crank (75L) at 90 degrees and gently insert the pedal into the crank arm. Turn the pedal counter-clockwise as tightly as you can with your hand. Secure with spanner (B).
Right Pedal: Align the right pedal (31R) with the right crank (75R) at 90 degrees and gently insert the pedal into the crank arm. Turn the pedal clockwise as tightly as you can with your hand. Secure with spanner (B).
Moving the machine
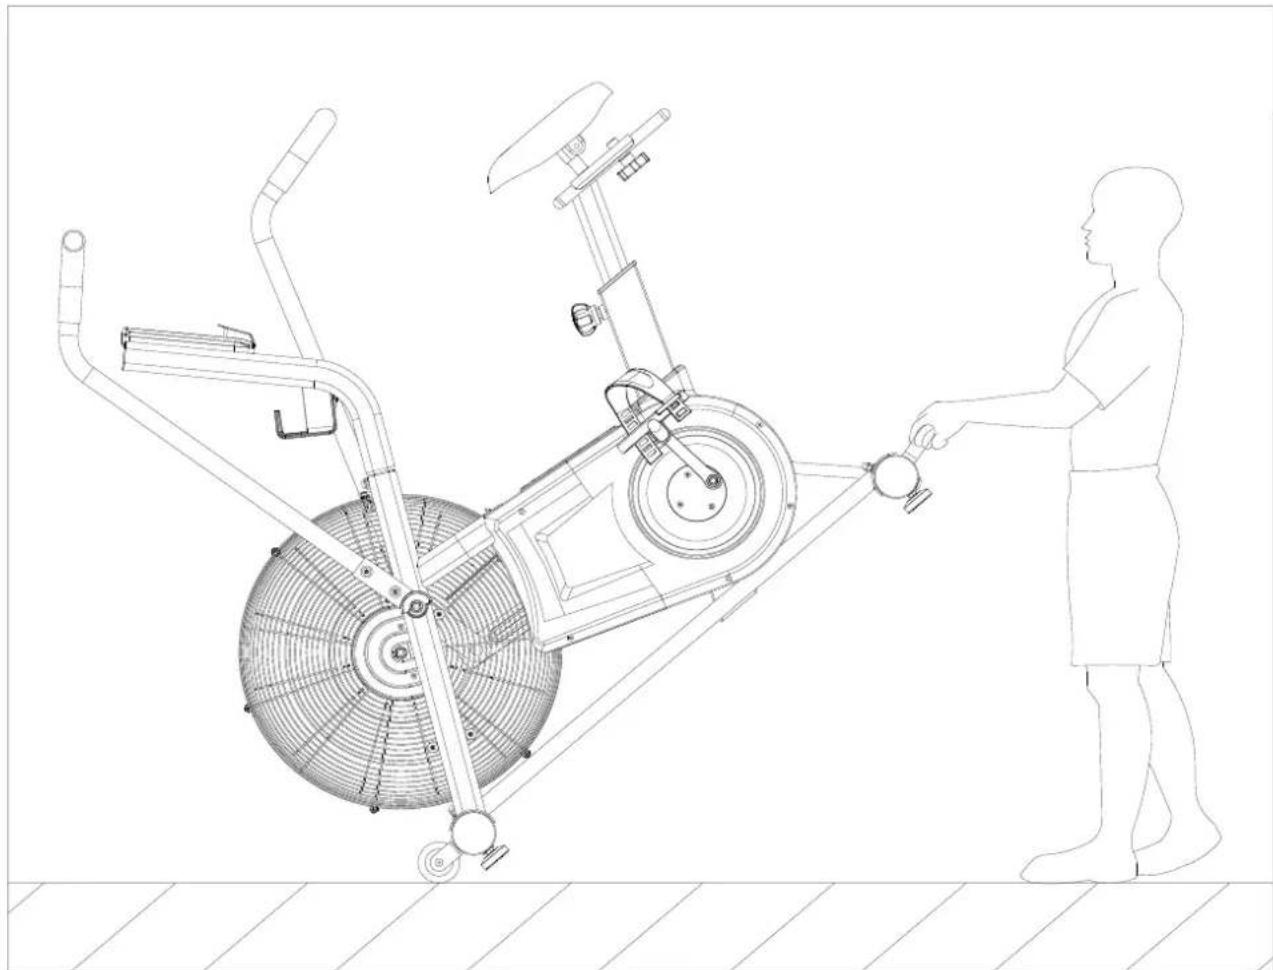
To move the machine, lift up the handlebar of rear stabilizer (41) until the transportation wheels on the front stabilizer (17) touch the ground. With the wheels on the ground, you can transport the bike to the desired location easily.
natural_image
Line drawing of a stationary exercise bike with a person standing beside it (no text or symbols)DISPLAY FUNCTIONS
| TIME | DESCRIPTION |
| RPM | • Display the rotation per minute with range from 0~199. |
| SPEED | • Display current training speed. Maximum speed is 99.9 KM/H or ML/H. |
| TIME | • Count up - No preset target, Time will count up from 00:00 to maximum 1:59:59 with each increment is 1 minute.• Count down – The console will countdown from preset time to 00:00:00 and each preset increment or decrement will be 1 minute between 00:01:00 to 1:59:00. |
| DISTANCE | •Accumulates total distance from 0.0 up to 999.9 KM or ML or count down from preset value. User may preset target distance value with UP/DOWN key. Each increment is 1.0KM or ML. |
| CALORIES | • Accumulates calories consumption or count down during training from 0 to maximum 999 calories. User may preset target Calories with UP/DOWN key. |
| WATT | • Display the power consumption during training.• Display Range: 0~1999. |
BUTTON FUNCTIONS
| TIME | DESCRIPTION |
| START | To start workout quickly or resume workout in Stop mode. |
| STOP | To stop/pause workout.To clear up all settings.Hold on this key for 2 seconds to reboot the console. |
| DOWN | To adjust Distance, Calories, Heart-rate, Time, Age value down. |
| UP | To adjust Distance, Calories, Heart-rate, Time, Age value up. |
| Target Distance | Fast access to Target Distance training mode. |
| Target Calories | Fast access to Target Calories training mode. |
| Target Time | Szybki dostęp do trybu docelowego czasu trwania treningu. |
| Interval | There are 3 programs: INTERVAL 10/20,INTERVAL 20/10, Custom. |
| ENTER | To confirm settings or enter program. |
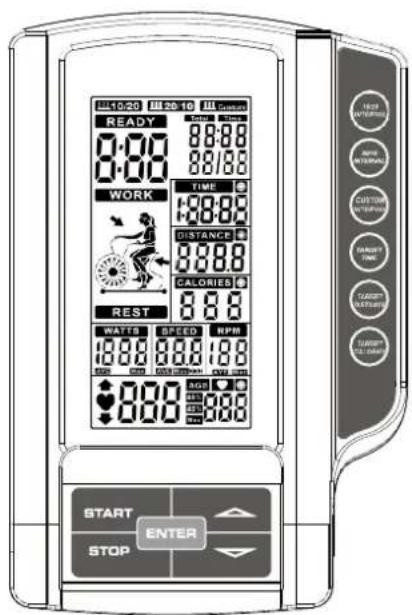
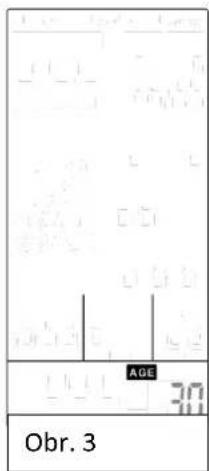
When POWER ON, LCD will full display 2s (Figure 1) with long beep sound, then display wheel diameter 1s in DIST area (Figure 2). Then enter into AGE setting mode, the AGE flashing to be set (Figure 3). Press the UP/DOWN to set age and press ENTER to confirm then go to Standby mode.
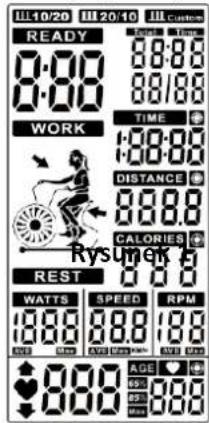
Figure 1
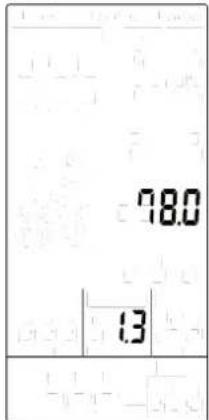
Figure 2
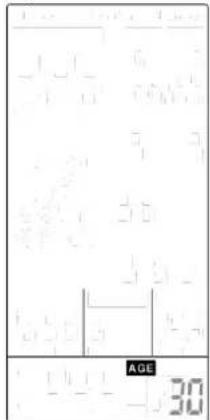
Figure 3
- The windows of INTERVAL10/20、INTERVAL10/20、NTERVAL CUSTOM、READY、WORK、REST、TIME、
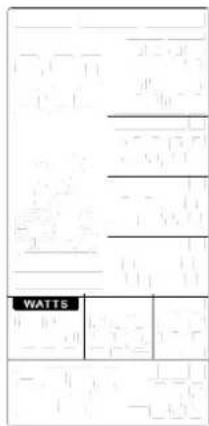
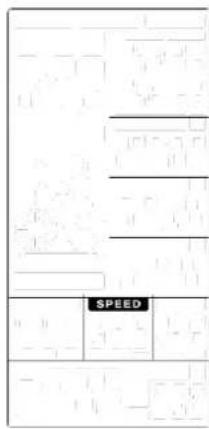
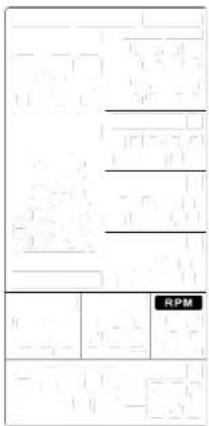
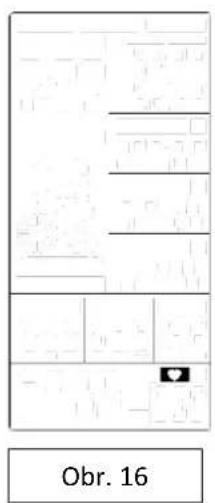
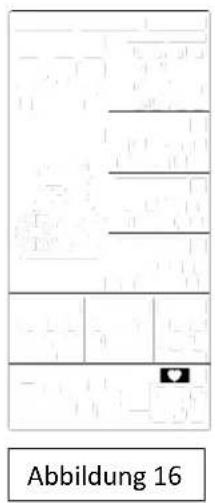
DISTANCE、CALORIES、WATTS、SPEED、RPM will flash in every 1s 1s (Figure 4\~Figure 16).
If no input of key operation or RPM signal or pulse input for 60s, computer will go to Sleeping mode.
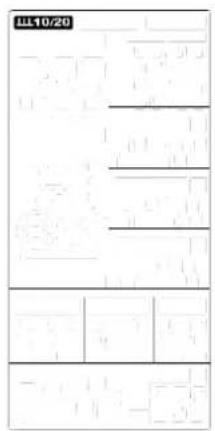
Figure 4
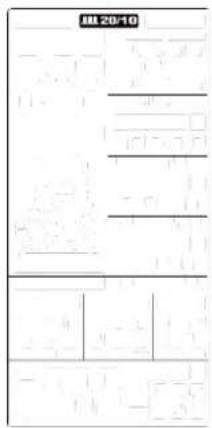
Figure 5
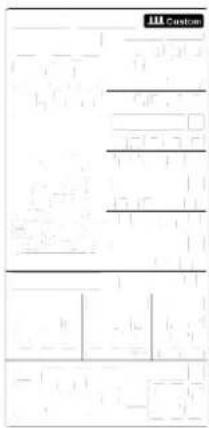
Figure 6
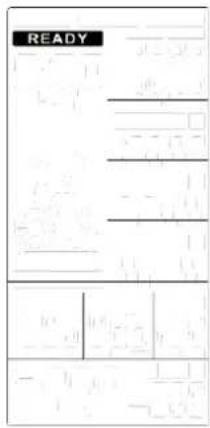
Figure 7
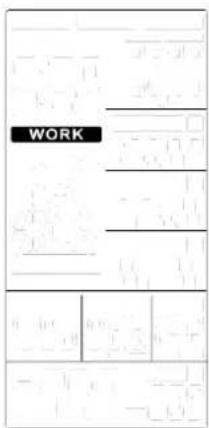
Figure 8
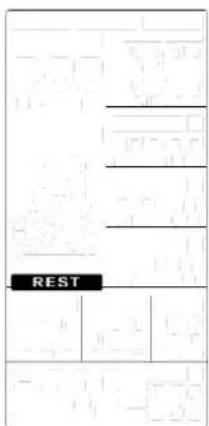
Figure 9
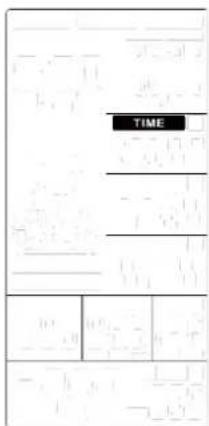
Figure 10
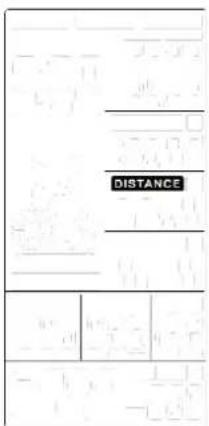
Figure 11
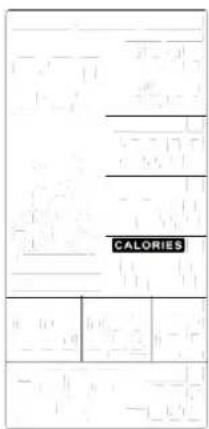
Figure 12
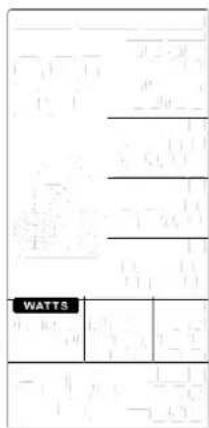
Figure 13
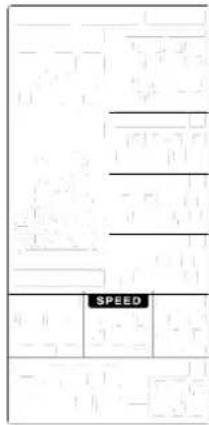
Figure 14
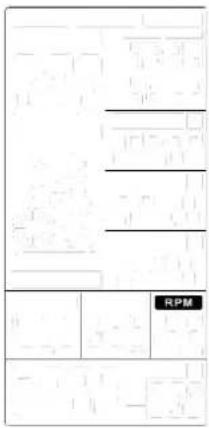
Figure 15
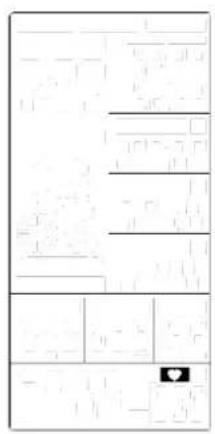
Figure 16
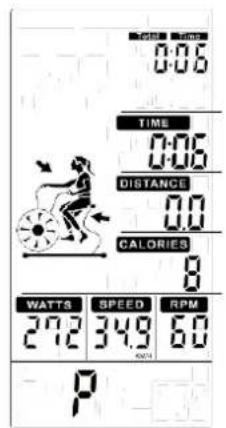
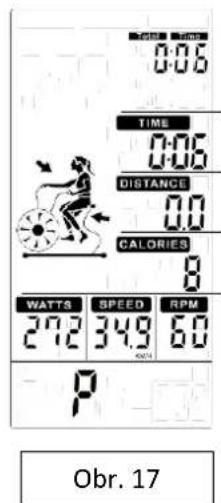
Figure 17
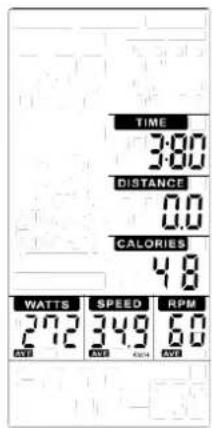
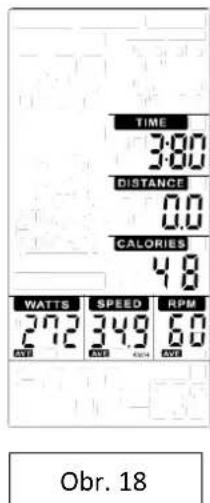
Figure 18
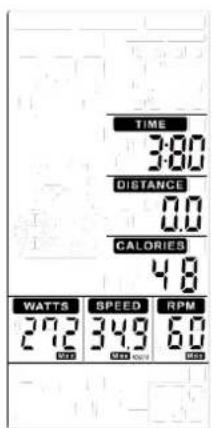
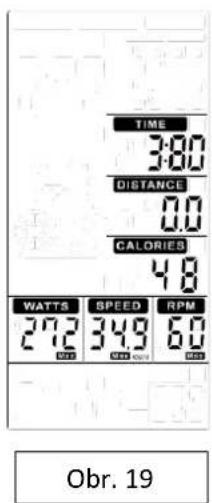
Figure 19
- Select Manual, Interval, Target Distance, Target Calories, Target HR, Target Time program:
3.1 Manual mode:
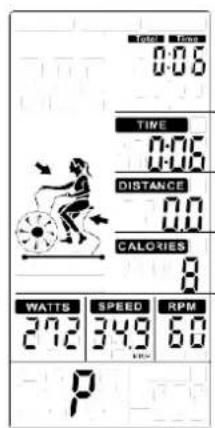
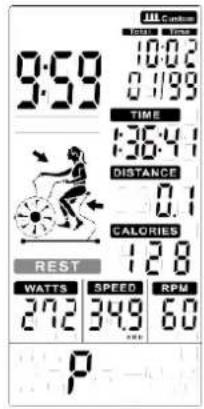
①In Standby mode, press START to start workout quickly, the buzzer sound 1 second. TOTAL TIME/ TIME/ DISTANCE/ CALORIES/ WATTS/ SPEED/ RPM start to count up (Figure 17).
②No signal input for 30s, buzzer sounds 1 short beep and enter to Wake-up mode. Press any to wake up the console.
③Press START key once to pause training, Buzzer will sound for 0.5s in every 30s. All values are displaying on LCD and flashing in every 4s. If continue to stop training for 5 minutes, buzzer sounds 2s and enter to Wake-up mode. Press START to resume workout.
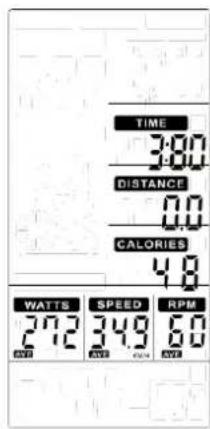
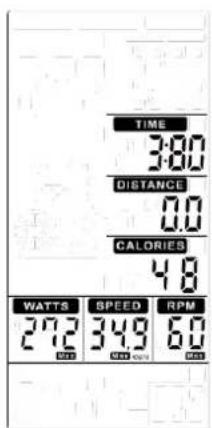
④Press STOP key, TIME will display total workout time; DISTANCE will display total workout distance; CALORIES will display total consumption during workout; WATT, SPEED and RPM will switch to display AVG. & MAX. (Figure 18\~19) each 5s.
⑤Press any PROGRAM key then perform the program accordingly.
3.2 Interval 20/10 mode:
①Press INIERVAL key to select INTERVAL20/10, press ENTER then INTERVAL20/10 will light up, along with a long sound for 1s.
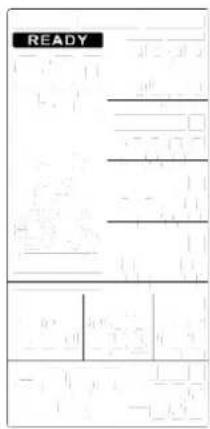
②Cycle time counts down from 3 to 0 then console start, meanwhile buzzer beeps once per second and READY flashes once per second, counting displays '00/08'(Figure 20).
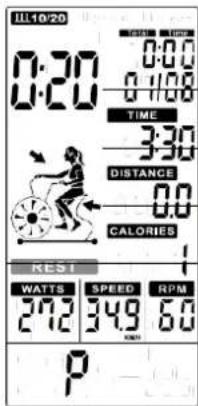
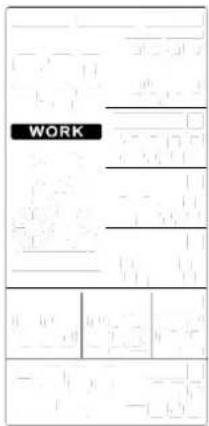
③Cycle time counts down from 20 to 0 and WORK flashes once per second. Meantime windows displays rotation animation and count down from 4 minutes. Then TOTAL TIME, DISTANCE, CALORIES, WATTS, SPEED & RPM start calculating, counting displays '01/08'(Figure 21).
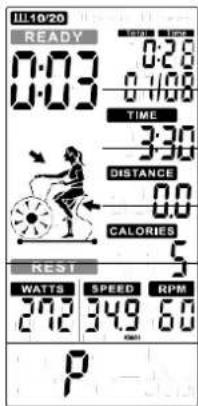
④Cycle time counts down from 10 to 0 and REST flashes once per second along with 10 beeps(Figure 22), meanwhile READY will flash in last 3s (Figure 23).
⑤The above ③&④ continue cycle counting and add 1 per each cycle, until displays 08/08 WORK, then go to End page.
⑥Press START button once enter into PAUSE mode, Buzzer will sound for 0.5s in every 30s. All values are displaying on LCD and flashing in every 4s. If continue to stop training for 5 minutes, buzzer sounds 2s and enter to Wake-up mode. Press START to resume workout.
⑦Press STOP or end up training, buzzer beeps 1s then displays TOTAL TIME, DISTANCE, CALORIES for 30s, and WATT, SPEED & RPM will switch to display AVG. & MAX. (Figure 18\~19) each 5s.
⑧Press any PROGRAM key then perform the program accordingly.
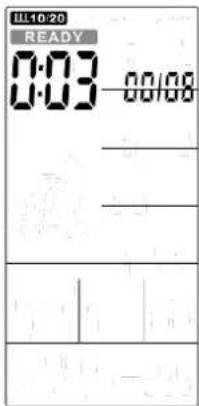
Figure 20
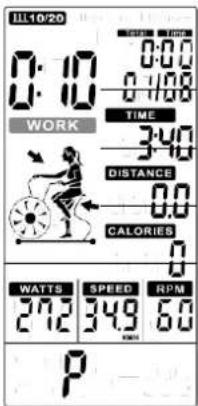
Figure 21 Figure 22 Figure 23
3.3 Interval 10-20 mode:
①Press INTERVAL to select INTERVAL10/20, press ENTER then INTERVAL10/20 will light up along with buzzer beeps 1s.
②Cycle time counts down from 3 to 0 then console start, meanwhile buzzer beeps once per second and READY flashes once per second, counting displays '00/08'(Figure 24).
③Cycle time counts down from 10 to 0 and WORK flashes once per second. Meantime REMAINING will light up and count down from 4 minutes. Then TOTAL TIME, DISTANCE, CALORIES, WATTS, SPEED & RPM start calculating, counting displays '01/08'(Figure 25).
④Cycle time counts down from 20 to 0 and REST flashes once per second along with beeps (Figure 26), meanwhile READY will flash in last 3s(Figure 27).
⑤The above ③&④ continue cycle counting and add 1 per each cycle, until displays 08/08 WORK, then go to End page.
⑥Press START button once enter into PAUSE mode, Buzzer will sound for 0.5s in every 30s. All values are displaying on LCD and flashing in every 4s. If continue to stop training for 5 minutes, buzzer sounds 2s and enter to Wake-up mode. Press START to resume workout.
⑦Press STOP or end up training, buzzer beeps 1s then displays TOTAL TIME, DISTANCE, CALORIES for 30s, and WATT, SPEED & RPM will switch to display AVG. & MAX. . (Figure 18\~19) each 5s.
⑧ Press any PROGRAM key then perform the program accordingly.
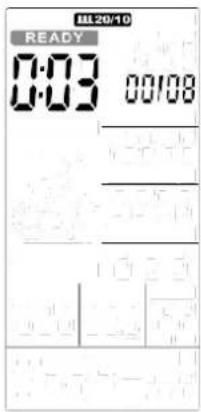
Figure 24 USTOM:
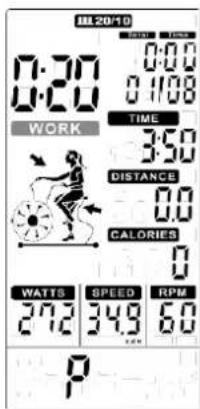
Figure 25
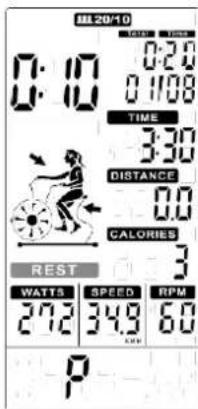
Figure 26
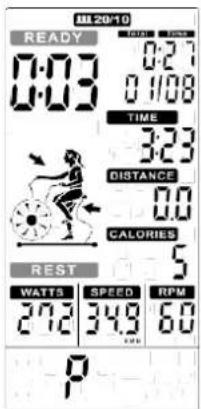
Figure 27
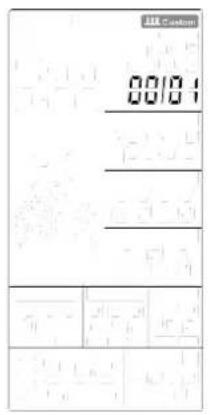
①Press INTERVAL to select INTERVAL CUSTOM, press ENTER to enter into this mode then
INTERVAL CUSTOM 00/XX flashes
to be set along with buzzer beeps 1s. Press UP/DOWN to set 00/XX within 1\~99 Circularly. Press ENTER to confirm along with buzzer beeps 1s then enter into next setting.(Figure 28)
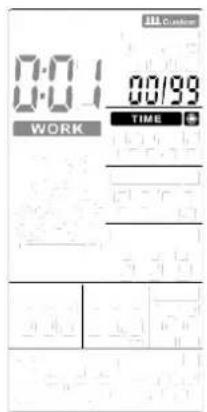
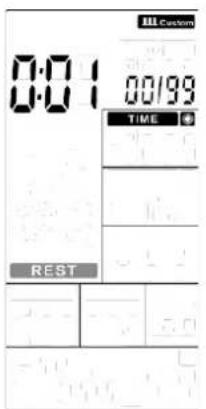
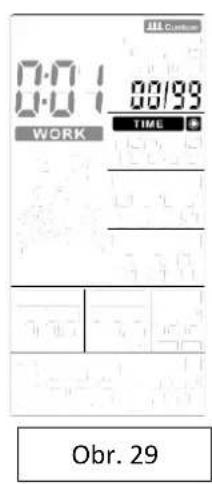
②The TIME continues lighting up, WORK and 0:01 will flash, press UP/DOWN to set training time within 0:00\~9:59 circularly
(Figure 29). Press ENTER to confirm along with buzzer beeps 1s and INTERVAL CUSTOM continues lighting up.
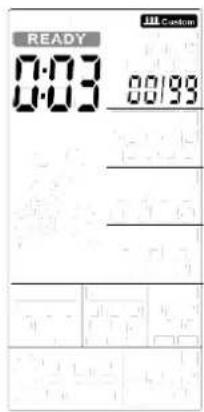
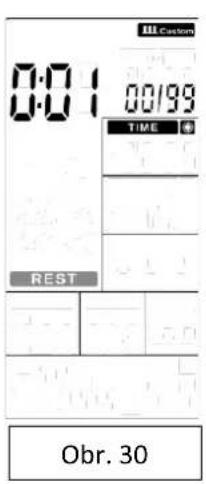
③The TIME continues lighting up, REST will flash, press UP/DOWN to set rest time 0:01\~9:59 circularly (Figure 30). Press ENTER
to confirm along with buzzer beeps 1s and INTERVAL CUSTOM continues lighting up.
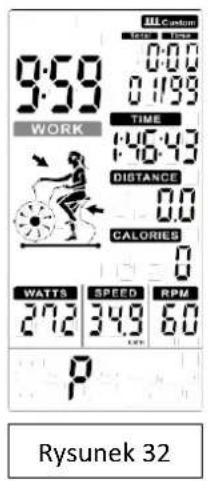
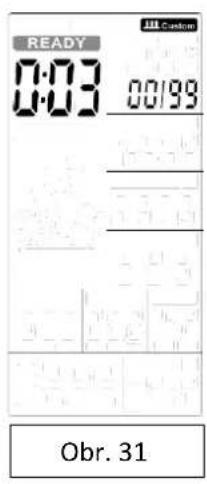
④Cycle time counts down from 3 to 0 then console start, meanwhile buzzer beeps once per second and
READY flashes once per
second, counting displays '00/XX'(Figure 31).
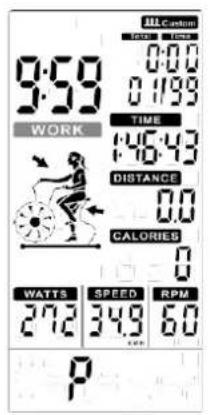
⑤Cycle time counts down from the preset total time and WORK flashes once per second. Then TOTAL TIME, DISTANCE,
CALORIES, WATTS, SPEED & RPM start calculating, counting displays '01/XX'(Figure 32).
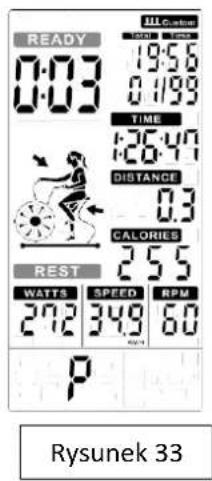
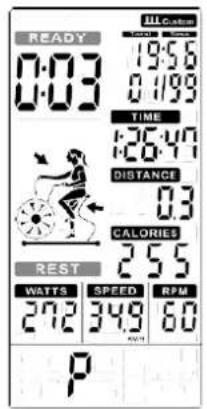
⑥Cycle time counts down from and REST flashes once per second along with buzzer beeps(Figure 33), meanwhile READY will flash in last 3s(Figure 34).
⑦The above ③&④ continue cycle counting and add 1 per each cycle, until the WORK setting value finished then go to End page.
⑧In WORK mode, buzzer beeps 1s then enter into wake up mode if no any signal inputs within 30s.
⑨Press START button once enter into PAUSE mode, Buzzer will sound for 0.5s in every 30s. All values are displaying on LCD and
flashing in every 4s. If continue to stop training for 5 minutes, buzzer sounds 2s and enter to Wake-up mode. Press START to resume workout.
⑩Press STOP or end up training, buzzer beeps 1s then displays TOTAL TIME, DISTANCE, CALORIES for 30s, and WATT, SPEED
& RPM will switch to display AVG. & MAX. (Figure 18\~19) each 5s.
⑪Press any PROGRAM key then perform the program accordingly.
Rysunek 28
Rysunek 29
Rysunek 30
Rysunek 31
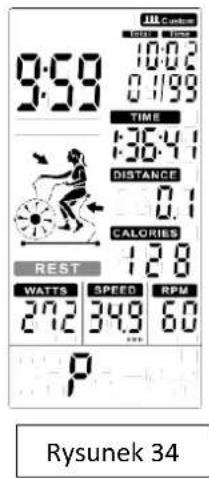
3.5. Target TIME Mode
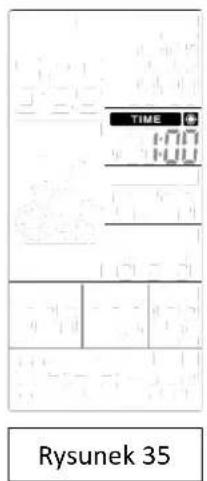
①In Standby mode, press Target Time key and. TIME will light up, along with a long sound for 1s.
TIME value is flashing, press UP and DOWN to adjust value (Figure 35) and press ENTER to confirm meanwhile buzzer beeps 1s and TIME lasting lighting up.
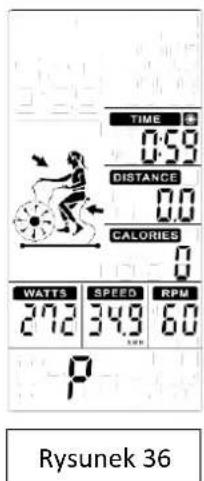
③Preset TIME value counts down, DISTANCE, CALORIES, WATTS, SPEEDED, RPM start to count up. (Figure 36).
④Press START button once enter into PAUSE mode, Buzzer will sound for 0.5s per second within 30s. All values are displaying on LCD and flashing in every 2s. If continue to stop training for 5 minutes, buzzer sounds 2s and enter to Wake-up mode. Press START to resume workout.
⑤No signal inputs for 30s, buzzer sounds 1 short beep and enter to Wake-up mode.
⑥Press STOP or end up training, TIME will display total workout time; DISTANCE will display total workout distance; CALORIES will display total consumption during workout; WATT, SPEED and RPM will switch to display AVG. & MAX. (Figure 18\~19) each 5s.
⑦Press any PROGRAM key then perform the program accordingly.
3.6 Target Distance mode:
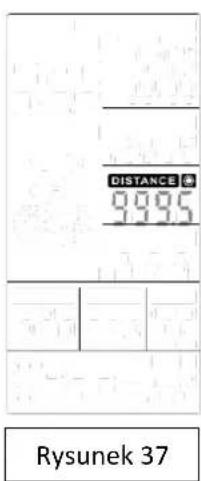
①In Standby mode wciśnij przycisk Target Distance and DISTANCE will light up, along with a long sound for 1s.
② DISTANCE value is flashing, press UP and DOWN to adjust (Figure 37). Press ENTER to confirm meanwhile buzzer beeps 1s and DISTANCE lasting lighting up.
③Preset DISTANCE value counts down, TIME, CALORIES, WATTS, SPEED, RPM start to count up. (Figure 38).
④Press START button once enter into PAUSE mode, Buzzer will sound for 0.5s per second within 30s. All values are displaying on LCD and flashing in every 2s. If continue to stop training for 5 minutes, buzzer sounds 2s and enter to Wake-up mode. Press START to resume workout.
⑤No signal input for 30s, buzzer sounds 1s and enter to Wake-up mode.
⑥Press STOP key or end up training, TIME will display total workout time; DISTANCE will display total workout distance; CALORIES will display total consumption during workout; WATT, SPEED and RPM will switch to display AVG. & MAX. (Figure 18\~19) each 5s.
⑦Press any PROGRAM key then perform the program accordingly
3.7 Target Calories mode:
①In Standby mode, press Target Calories key and CALORIE will light up, along with a long sound for 1s
②CALORIES value is flashing, press UP and DOWN to adjust (Figure 39). Press ENTER to confirm meanwhile buzzer beeps 1s and CALORIES lasting lighting up
③Preset CALORIES value counts down, TIME, DISTANCE, WATTS, SPEED & RPM start to count up.(Figure 40)
④Press START button once enter into PAUSE mode, Buzzer will sound for 0.5s per second within 30s. All values are displaying on LCD and flashing in every 2s. If continue to stop training for 5 minutes, buzzer sounds 2s and enter to Wake-up mode. Press START to resume workout.
⑤No signal input for 30s, buzzer sounds 1s and enter to Wake-up mode.
⑥Press STOP key or end up training, TIME will display total workout time; DISTANCE will display total workout distance; CALORIES will display total consumption during workout; WATT, SPEED and RPM will switch to display AVG. & MAX. (Figure 18\~19) in each 5s.
⑦Press any PROGRAM key then perform the program accordingly.
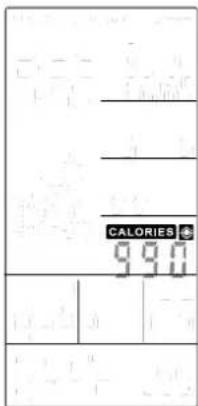
Rysunek 39
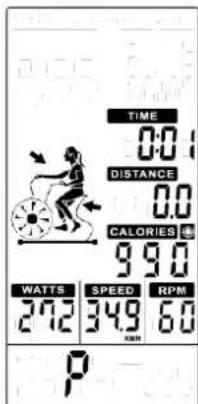
Rysunek 40
OPTION SETTING:
SETTING mode-
-
Hold on START&ENTER key for 2s, buzzer will sound 1 long beep. SPEED keep lighting up, M/H,KM/H flash once per second (Figure 41\~42).
-
Press UP or DOWN to select KM/H or M/H, press ENTER to confirm then skip to Standby mode.
- Computer will turn of and bill be in Standby mode if there will be no action for 30 sec.
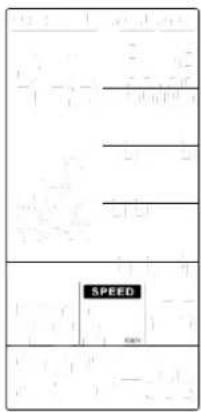
Rysunek 41
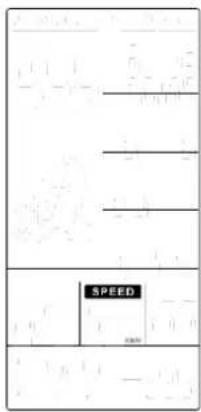
Rysunek 42
RESET mode-
- In any mode, press STOP for 2s, system will do TOTAL RESET.
- LCD falsh in every 2 seconds, buzzer sound for 2 seconds.
- All setting resume to preset value.
SLEEPING mode-
In Standby mode, if no key press/RPM for 30s, console will go to SLEEPING mode.
Technical data
Assembly size: 120 x 35 x 66 cm
Max User's weight: 135 kgs
N.W.: 41,5 kgs
G.W.: 46 kgs
Bezpečnostní pokyny
SEZNAM DÍLŮ
natural_image
Line drawing of a stationary exercise bike with a person standing beside it (no text or symbols)Počítač
NO.00266
FUNKCE DISPLEJE
Obr. 6
Obr. 7
Obr. 8
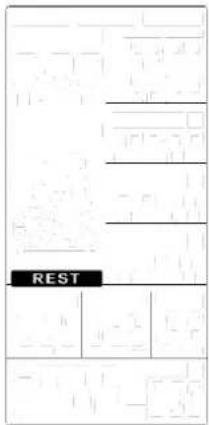
Obr. 9
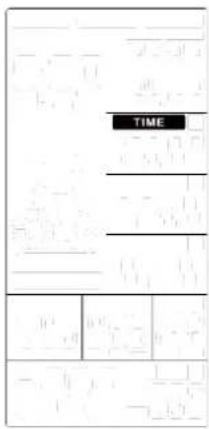
Obr. 10
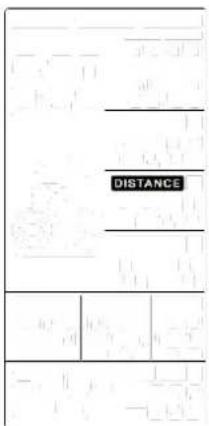
Obr. 11
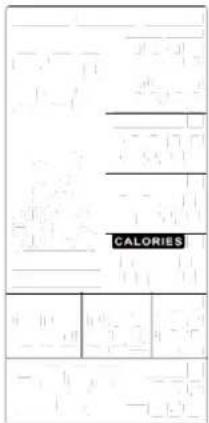
Obr. 12
Obr. 13
Obr. 14
Obr. 15
3.4 Interval MANUÁLNÍ:
Obr. 32
Obr. 33
Obr. 34

3.5 Program CÍLOVÝ ČAS:
Obr. 41
Obr. 42
RESET-
LISTE DER TEILE
natural_image
Line drawing of a stationary exercise bike with a person standing beside it (no text or symbols)Computer
NR.00266
FUNKTIONEN DER ANZEIGE
Abbildung 5
Abbildung 6
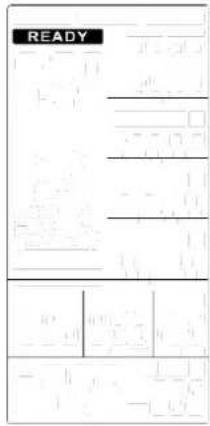
Abbildung 7
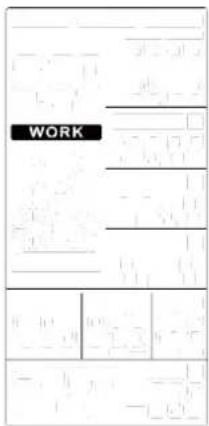
Abbildung 8
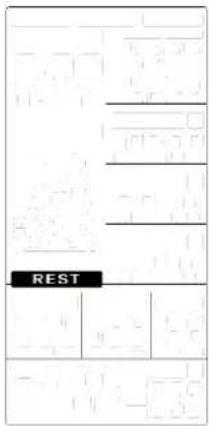
Abbildung 9
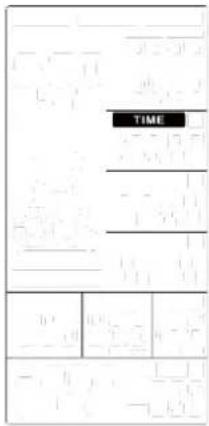
Abbildung 10
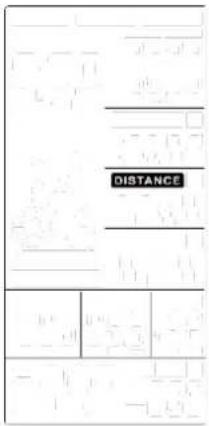
Abbildung 11
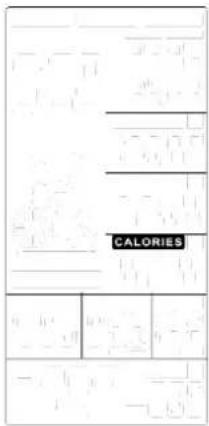
Abbildung 12
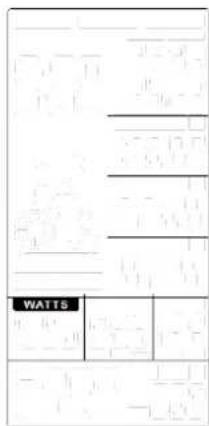
Abbildung 13
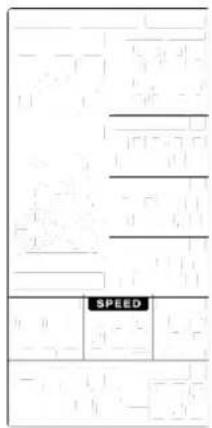
Abbildung 14
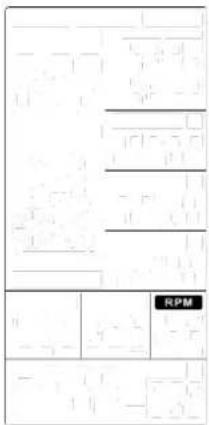
Abbildung 15
line
| Age | Heart Rate | | --- | --- | | 40 | 160 | | 75 | 90 |I. WARM-UP PHASE
This phase should help improving blood circulation and make your muscles working properly while reducing a cramp risk or injury. It is advisable to do a few stretching exercises as shown below. Each stretching exercise should be taken for approx. 30 seconds. Don't overstretch and don't jerk your muscles. If you feel pain, stop immediately.
II. EXERCISE PHASE
It is a phase, during which you should put in your effort. After regular workout, your leg muscles should get more flexible. Keep steady tempo throughout your exercising. The workout intensity should be sufficient to raise your heartbeat into the target zone as shown below.
NOTE: This stage should last for at least 12 mins. Thus, most people start at approx. 15-20 mins.
III. COOL-DOWN PHASE
In this stage, your cardio-vascular system and muscles should get calm. Repeat the warm-up exercises, reduce your tempo and continue for approx. 5 mins. Repeat the stretching exercises, but don't overstretch or jerk your muscles. As you get fitter, you can exercise longer and harder. It is advisable to train at least three times a week and, if possible, to space your workouts evenly throughout a week.
I. FÁZE ROZCVIČKY
line
| AGE | HEART RATE | | --- | --- | | 20 | 200 | | 40 | 160 | | 75 | 130 |III. FÁZE PROTAHOVÁNÍ PO TRÉNINKU
- The Seller provides guarantee on behalf of the Guarantor within the territory of the Republic of Poland for the period of 24 months from the date of sale
- The Guarantee will be recognised by the shop or service centre after the client provides:
- clearly and correctly filled-in guarantee card with the sale
stamp and the seller's signature - valid purchase
confirmation for the equipment including the date of sale /
bill / - complained product.
- Possible defects and damages revealed during the guarantee period shall be remedied free of charge within not more than 21 days from the delivery of the product to the shop or service.
-
Should it be necessary to import some components, the guarantee term can be extended by the period required to import such part, however such period shall not be longer than 40 days.
-
The guarantee does not cover:
-
mechanical damages and subsequent defects,
- damages and defects resulting from incorrect storage and usage of the equipment against its purpose,- incorrect assembly and maintenance,
-
damages and consumption of such elements as: cables, straps, rubber parts, pedals, sponge grips, wheels, bearings, etc.
-
The guarantee expires in the event of:
-
expiry of the validity term,
- self-repairs,
-
failure to follow the rules of correct operation.
-
No duplicates of the guarantee cards shall be issued.
-
The product handed over for repair should be complete and clean. If some parts are missing, the service is entitled to refuse to accept the product for repair. The service may refuse to accept a dirty product or clean in on the client's expense after the client's written permit.
- The guarantee does not cover activities related to assembly, maintenance, which, according to the instruction, the user is obliged to perform themselves.
- The Guarantor also informs that they offer post-guarantee service.
- The product should be provided in its original packaging and should be secured for shipment.
The guarantee for sold goods is not exclusive, does not limit or suspend entitlements of the buyer resulting from the non-compliance of the product with the agreement.
THE EQUIPMENT IS NOT INTENDED FOR REHABILITATION AND THERAPY
NOTES ON THE COURSE OF REPAIRS
| Item | Date of notificacion | Date of provision | Course of repairs | Signature of the recipient (shop, owner) |
ZÁRUČNÍ LIST
Název produktu:
EAN kód:
Datum prodeje:
ZÁRUČNÍ PODMÍNKY
- FUNKCJE WYŚWIETLACZA
- Interval CUSTOM:
- Maintenance
- Hardware package
- Assembly instruction
- STEP 2:
- STEP 6:
- Moving the machine
- Interval 10-20 mode:
- INTERVAL CUSTOM 00/XX flashes
- READY flashes once per
- Target TIME Mode
- Target Distance mode:
- Target Calories mode:
- OPTION SETTING:
- RESET mode-
- SLEEPING mode-
- Technical data
- Bezpečnostní pokyny
- Počítač
- Interval MANUÁLNÍ:
- Program CÍLOVÝ ČAS:
- RESET-
- Computer
- WARM-UP PHASE
- EXERCISE PHASE
- COOL-DOWN PHASE
- FÁZE ROZCVIČKY
- FÁZE PROTAHOVÁNÍ PO TRÉNINKU
- THE EQUIPMENT IS NOT INTENDED FOR REHABILITATION AND THERAPY
- ZÁRUČNÍ LIST
- ZÁRUČNÍ PODMÍNKY
Brand : HMS Premium
Model : MP8880
Category : Exercise bike