L20ORW14E - Cooker Logik - Free user manual and instructions
Find the device manual for free L20ORW14E Logik in PDF.
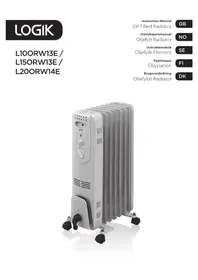


| Product Type | Freestanding Electric Cooker |
| Brand | Logik |
| Model | L20ORW14E |
| Width | 60 cm |
| Depth | 60 cm |
| Height | 85 cm |
| Weight | 52 kg |
| Power Supply | 230 V ~ 50 Hz, 10 kW |
| Hob Type | 4 Solid Hotplates |
| Oven Type | Conventional Electric Oven with Grill |
| Oven Capacity | 65 Liters |
| Oven Functions | Bake, Grill, Top Heat, Bottom Heat, Defrost |
| Timer | Mechanical Timer with Instant Start and Automatic Stop |
| Interior Light | Yes, Interior Oven Light |
| Energy Efficiency Class | B (Oven) |
| Cleaning | Easy-clean Enamel Interior, Removable Oven Door |
| Safety Features | Child Lock, Automatic Shut-off (Oven), Overheat Protection |
| Spare Parts Availability | Available: Heating Elements, Thermostats, Control Knobs, Door Seals |
| Repairability Index | 7.5 / 10 (Based on Typical Design) |
| Warranty | 2 Years Manufacturer Warranty |
Frequently Asked Questions - L20ORW14E Logik
User questions about L20ORW14E Logik
0 question about this device. Answer the ones you know or ask your own.
Ask a new question about this device
Download the instructions for your Cooker in PDF format for free! Find your manual L20ORW14E - Logik and take your electronic device back in hand. On this page are published all the documents necessary for the use of your device. L20ORW14E by Logik.
USER MANUAL L20ORW14E Logik
Contents
GB
Safety Warnings....6
Unpacking 18
Product Overview....19
Control Panel 19
Assembly 20
Operation 22
Overheat Protection System.... 22
Cleaning and Storage....22
Hints and Tips 23
Specifications.... 23
Contents
NO
For your continued safety and to reduce the risk of injury or electric shock, please follow all the safety precautions listed below. Read all instructions carefully before using the unit and keep them for future reference.
- Retain the manual. If you pass the unit onto a third party, make sure to include this manual. This appliance is intended for indoor household use and similar applications such as: farm houses and by clients in hotels, motels and other residential type environments; bed and breakfast type environments; catering and similar non-retail applications.
Make sure your home voltage matches the voltage displayed on the appliance. If you are not sure, contact an electrician.
Do not kink or wrap the mains cable and plug around the appliance, as this may cause the insulation to weaken and split, particularly where it enters the appliance.
Ensure the mains cable is fully extended before use and arrange it so that it is not in contact with any part of the appliance.
Do not pull on the mains cable. Never move, carry or hang the appliance by the mains cable.
Always position the appliance with the mains plug in an accessible position and avoid the use of an extension cable as it may overheat and create a potential fire risk.
The appliance must have a minimum 50 cm clearance around all sides of the appliance.
Ensure that the unit is used on a stable and level surface. If the floor surface is uneven there is a risk that the appliance could tip over. Also, excessive vibration and noise may occur. If the appliance should be accidentally tipped over, please immediately disconnect from the power supply.
Do not use the appliance in wardrobes or near fabrics or clothing. Do not stand the appliance on deep pile carpets.
Do not use the appliance in areas where petrol, paints or other flammable substances are used or stored.
Do not use in very dusty areas as dust may accumulate on the heating elements and cause overheating.
Do not use if there are any visible signs of damage to the appliance.
- Do not operate the appliance in direct sunlight, near heat sources, humid environments or in places near water or other liquids such as bathrooms, showers or swimming pools.
- Do not operate with wet hands or spill water or other liquids on to the appliance, the mains cable or plug. Always unplug the appliance when not in use. Never leave the appliance unattended when in use. Some parts can become very hot and cause burns. Particular attention has to be given where children and vulnerable people are present. The heater must not be located immediately below a mains socket.
- Do not allow children to play with the appliance or sit, stand, or climb on it.
- Do not leave children alone or unattended in the area where the appliance is in use.
- For safety reasons, a broken or damaged mains cable may only be replaced by the manufacturer or a similarly qualified person. Children under 3 years old should be kept away unless continuously supervised.
- Children aged from 3 years and less than 8 years shall only switch on/off the appliance provided that it has been placed or installed in its intended normal operating position and they have been given supervision or instruction concerning use of the appliance in a safe way and understand the hazards involved. Children aged from 3 years and less than 8 years shall not plug in, regulate and clean the appliance or perform user maintenance.
- This appliance can be used by children aged from 8 years and above and persons with reduced physical, sensory or mental capabilities or lack of experience and knowledge if they have been given supervision or instruction concerning use of the appliance in a safe way and understand the hazards involved. Children shall not play with the appliance. Cleaning and user maintenance shall not be made by children without supervision.
- Do not block or restrict the airflow around the appliance. Position the unit so that the air inlet and exhaust grilles are not blocked or restricted in any way.
- Do not push any objects into the air inlet and exhaust grilles.
- This appliance is filled with a precise quantity of special oil. Repairs requiring the opening of the oil container are only to be performed by an authorized, qualified technician who should be contacted if there is an oil leakage.
- When disposing of the appliance, follow the local regulations concerning the disposal of oil.
WARNING
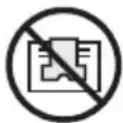
In order to avoid overheating, do not cover the appliance.
- Do not use the appliance with a programmer, timer, or any other device that switches the appliance on automatically. A fire risk exists if the appliance is covered or positioned incorrectly.
IT IS HAZARDOUS FOR ANYONE OTHER THAN AUTHORIZED SERVICE PERSONNEL TO CARRY OUT SERVICING OF REPAIRS WHICH INVOLVE THE REMOVAL OF COVERS.
TO AVOID THE RISK OF AN ELECTRICAL SHOCK, DO NOT ATTEMPT REPAIRS YOURSELF.
Safety warnings
NO
- e.g., bed and breakfast;
Thank you for purchasing your new Logik Radiator.
We recommend that you spend some time reading this instruction manual in order that you fully understand all the operational features it offers. You will also find some hints and tips to help you resolve any issues. Read all the safety instructions carefully before use and keep this instruction manual for future reference.

Unpacking
Remove all items from the packaging. Retain the packaging. If you dispose of it please do so according to local regulations.
The following items are included:
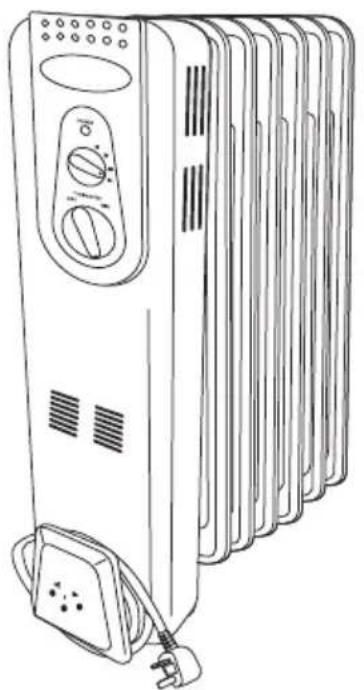
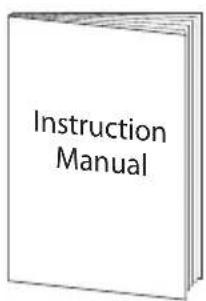
The Main Unit Instruction Manual
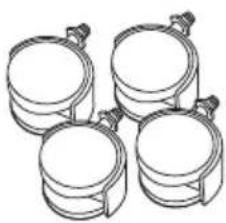
Wheels x 4
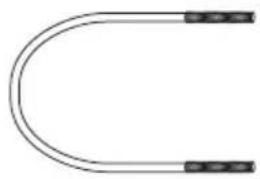
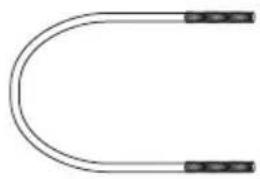
"U" Shaped Screws x 2
Wing Nuts x 4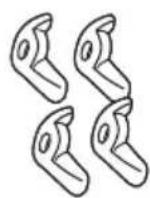
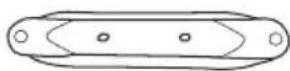
L10ORW13E: Front Supporting Plate x 2 L15ORW13E: Front Supporting Plate x 1 L15ORW13E: Back Supporting Plate x 1 L20ORW14E: Back Supporting Plate x 2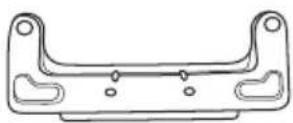
* All images in this instruction manual are for indication only; please refer to your individual unit for details.
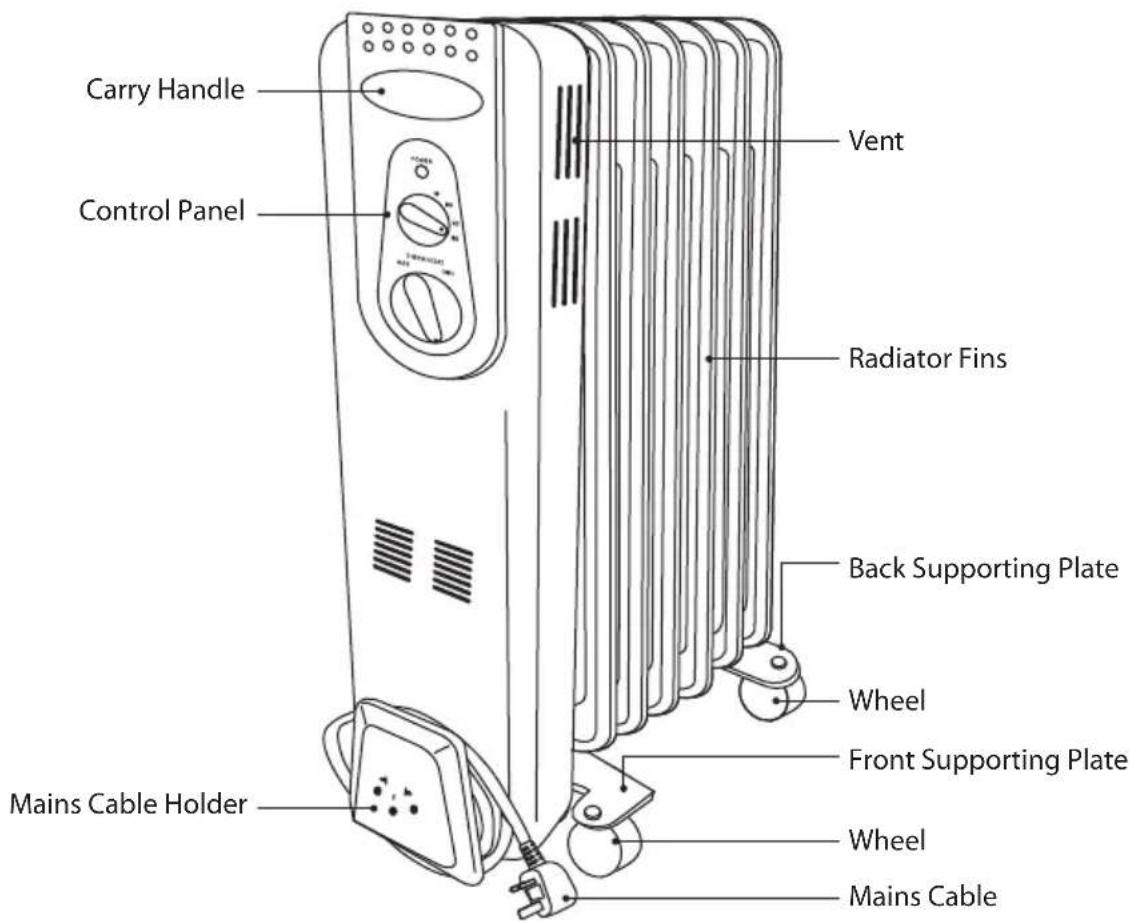

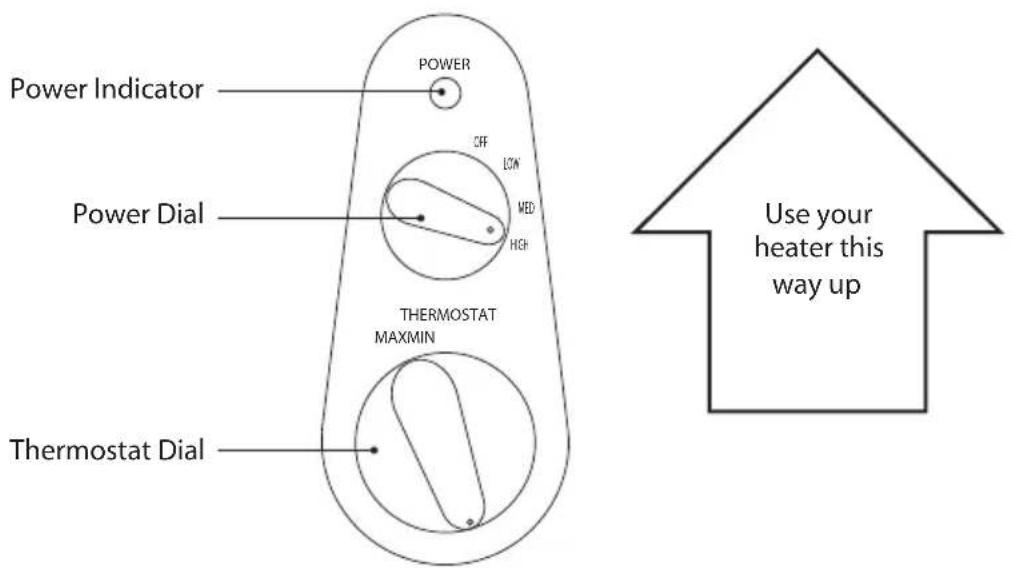
Control Panel

- Do not plug your radiator into a mains socket, while you are assembling the product. • Do NOT fit feet on the top of the radiator.
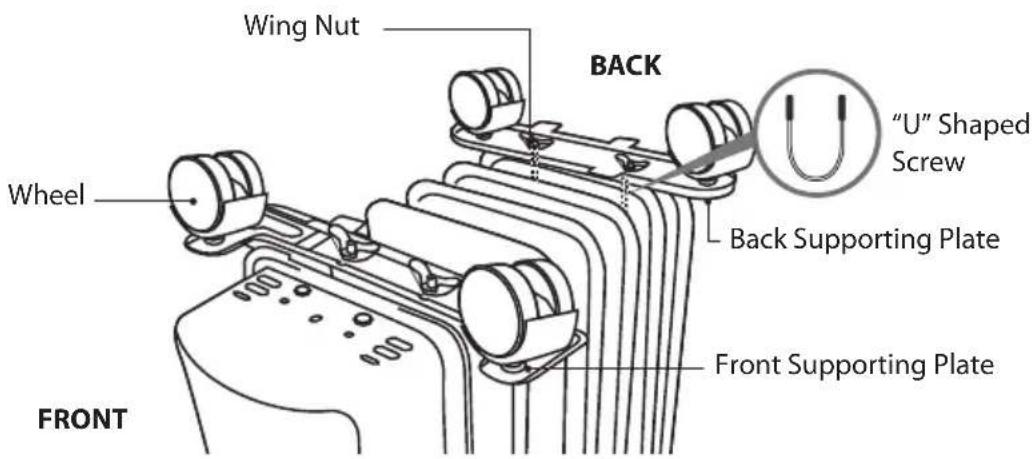
- Attach the wheels to the front and back supporting plates.
L10ORW13E / L15ORW13E
Unscrew the nut and washer from each wheel. Make sure you place the washer on the nut side and tighten with a spanner.
![graph LR A["Component with holes"] --> B["Close-up part"] B --> C["Close-up part with holes"] C --> D["Close-up part with holes"] D --> E["Close-up part with holes"] E --> F["Close-up part with holes"]](/content/2026/05/871075/images/501e74d0aa890baf8adff895dd4415398f1eaf7d8009c7fc30e409ba2a47b0d4.jpg)
L20ORW14E
Push while twisting the wheels onto the supporting plate until a click is heard. To remove the wheels, pull while twisting the wheels out from the supporting plate.
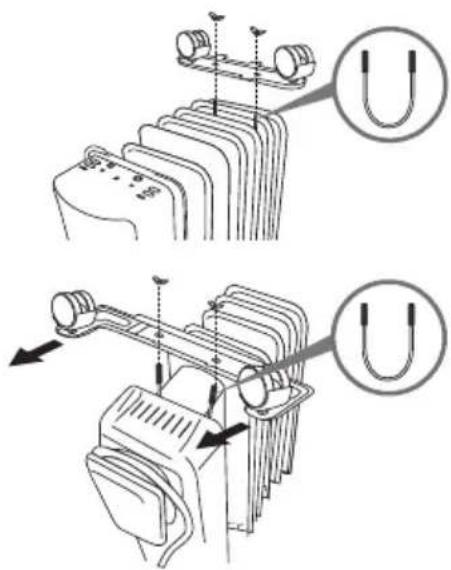
- Turn the unit upside down.
- Remove the 2 wing nuts from the "U" shaped screw. Wrap the "U" shaped screw in between the 1st and 2nd radiator fins at the back.
- Insert the "U" shaped screw through supporting plate and tighten the 2 wing nuts.
- Remove the 2 wing nuts from the "U" shaped screw. Wrap the "U" shaped screw in between the Control Panel and 1st radiator fins at the front.
- Insert the "U" shaped screw through supporting plate and tighten the 2 wing nuts.
- Check the wheels have not become loose before each use.

• It is hazardous if you turn on the radiator when it is upside down. - Before use, remember to double check that the radiator is standing upright on a firm and level surface.
- Position the radiator upright on the floor away from curtains, furniture or wall coverings before plugging into the mains socket.
- Turn the Power Dial to the LOW, MED or HIGH position to switch the radiator on.
- Turn the Thermostat Control to the desired position. It is recommended to select "MAX" position to get the heater to pre-heat. It will take 5-10 minutes for the radiator to pre-heat.
- When the room reaches the desired temperature, turn the Thermostat Control slowly anti-clockwise until the power indicator goes off with a "click" sound. The radiator will temporarily go off.
- If the room temperature falls below the desired temperature, the heater and indicator will turn on again until the room temperature reaches the desired temperature.

The first time you use your radiator you may notice a slight odour, this is normal. It is due to the lubricants used in the manufacturing process. The odour will disappear after 30 minutes of use.

Overheat Protection System
The power to the radiator will automatically cut off if the temperature of the heater exceeds a certain limit. In the event of overheating, the radiator will stop operating. Switch the radiator off and allow it to completely cool.
The radiator will then operate again as normal.

Cleaning and Storage
- Always remove the mains plug from the mains socket and allow the radiator to cool down before cleaning the radiator.
- Wipe the radiator with a soft damp (not wet) cloth.
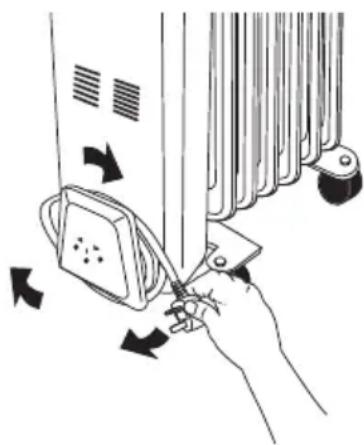
- Wrap the mains cable around the mains cable holder. Store the radiator in a clean dry place.

Do not immerse the radiator in water. Do not use any cleaning chemicals such as detergents and abrasives.
My radiator does not work when I turn it on
- Check that your radiator is plugged in and the power is turned on at the mains socket.
- Set the temperature to the highest setting.
- Check if the thermostat setting is too low. • Try replacing the fuse in the plug.
- If the radiator still doesn't work, do not try to repair the radiator yourself.
If your radiator's power is automatically cut off, follow the steps below:
- Unplug your radiator and allow it to cool down.
- Inspect your radiator.
- Plug in the radiator and switch it on again. If it cuts off again, move the radiator to a better ventilated location. If the problem persists, contact a qualified service agent.
- If there is any sign of physical damage (e.g., melting or burning of the case), do not attempt to use your radiator. Please leave all maintenance work to qualified personnel.

Specifications
| Model L10ORW13E L15 | ORW13E L20ORW14E | ||
| Power Supply 220-240V~ 50Hz 220-240V~ 50Hz | |||
| Power Consumption 1000W 1500W 2000W | |||
| No. of Fins 5 7 | 9 | ||
Features and specifications are subject to change without prior notice.
Thank you for purchasing your new Logik Radiator.
Wheels x 4
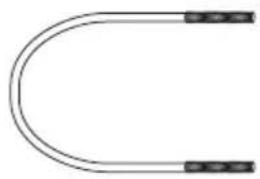
"U"-shaped screws x 2
Wing nuts x 4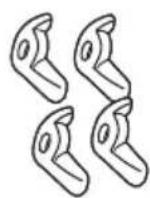
![graph LR A["Engine with sensor input"] --> B["Hand holding tool"] B --> C["Close-up of hand"] C --> D["Close-up of hand"] D --> E["Motor or conveyor system"]](/content/2026/05/871075/images/f1b12bd1dda1c9b0164f70d26cc48c3d61ff09f703cfdc0c4b977eca82e4f346.jpg)
L20ORW14E

Wheels x 4
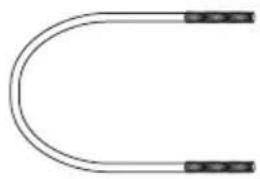
"U"-shaped screws x 2
Wing nuts x 4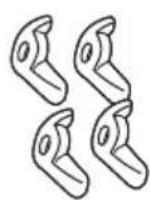
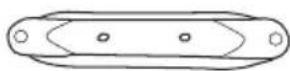
L10ORW13E: Front support plate x 2 L15ORW13E: Front support plate x 1 L15ORW13E: Rear support plate x 1 L20ORW14E: Rear support plate x 2![graph LR A["Device with sensor input"] --> B["Hand holding tool"] B --> C["Close-up of hand"] C --> D["Close-up of hand"] D --> E["Final assembly with wheels and sensors"]](/content/2026/05/871075/images/b4caf7a2186f3d3bdce737b65ab5e1e0b0f37c210951e609a3937fc9fd229a1b.jpg)
L20ORW14E

Main unit User manual
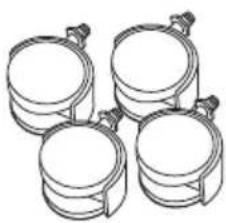
Wheels x 4
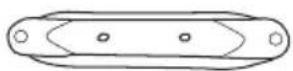

Wheels x 4
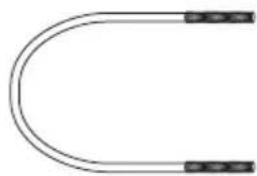
U-shaped screws x 2
![graph LR A["Component Insert"] --> B["Close-up"] B --> C["Close-up with Tool Manipulation"] C --> D["Close-up with Component Pulling"] D --> E["Close-up with Component Repair"] E --> F["Final Assembly"]](/content/2026/05/871075/images/908dc26b200d7bbc5a33a63c7440f9d5961f7edd692f30ef91210b563cb21911.jpg)
L20ORW14E
DK

The symbol on the product or its packaging indicates that this product must not be disposed of with your other household waste. Instead, it is your responsibility to dispose of your waste equipment by handing it over to a designated collection point for the recycling of waste electrical and electronic equipment. The separate collection and recycling of your waste equipment at the time of disposal will help conserve natural resources and ensure that it is recycled in a manner that protects human health and the environment.
For more information about where you can drop off your waste for recycling, please contact your local authority, or where you purchased your product.
NO
GB www.knowhow.com/knowledgebank
NO www.elkjop.no/support
www.lefdal.com/support
SE www.elgiganten.se/support
- CONTENTS
- WARNING
- SAFETY WARNINGS
- THANK YOU FOR PURCHASING YOUR NEW LOGIK RADIATOR
- UNPACKING
- CONTROL PANEL
- L10ORW13E / L15ORW13E
- L20ORW14E
- OVERHEAT PROTECTION SYSTEM
- CLEANING AND STORAGE
- MY RADIATOR DOES NOT WORK WHEN I TURN IT ON
- IF YOUR RADIATOR'S POWER IS AUTOMATICALLY CUT OFF, FOLLOW THE STEPS BELOW
- SPECIFICATIONS
- NO
Brand : Logik
Model : L20ORW14E
Category : Cooker