LMF13E - Milk frother Logik - Free user manual and instructions
Find the device manual for free LMF13E Logik in PDF.
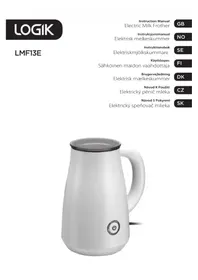


| Product Type | Electric Milk Frother |
| Brand | Logik |
| Model | LMF13E |
| Power Consumption | 450W |
| Mains Supply | 220-240V, 50Hz |
| Frothing Capacity | 100 ml (max) |
| Heating Capacity | 200 ml (max) |
| Modes | 3: Frothing & Heating, Heating Only, Frothing Only |
| Auto Shut-off | Yes, automatic when cycle completes |
| Indicator Light | Red (standby/idle), Blue (operating) |
| Safety Mode | Automatic 5-minute cooldown after 5 consecutive uses |
| Paddles Included | 2: Frothing paddle (for frothing & heating), Heating paddle (for heating only) |
| Cleaning | Hand wash lid, paddles, and jug interior; wipe exterior with damp cloth; do not immerse |
| Material | Plastic jug (ceramic-coated interior per illustration) |
| Safety Features | Overheat protection, dry-heat prevention (min milk level), automatic shut-off |
Frequently Asked Questions - LMF13E Logik
User questions about LMF13E Logik
0 question about this device. Answer the ones you know or ask your own.
Ask a new question about this device
Download the instructions for your Milk frother in PDF format for free! Find your manual LMF13E - Logik and take your electronic device back in hand. On this page are published all the documents necessary for the use of your device. LMF13E by Logik.
USER MANUAL LMF13E Logik
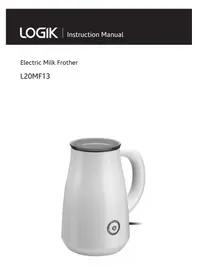
Electric Milk Frother
GB
Instruction Manual
Electric Milk Frother
NO
Instruction Book
Electric Milk Frother
SE
User Guide
Contents
GB
Safety Warnings....5
Unpacking....9
Product Overview....10
First Time Use 10
Operation....11
Cleaning the Milk Frother....13
Washing the Components....13
Washing the Interior 13
Cleaning the Exterior 13
Hints and Tips....14
Specifications....14
For your continued safety and to reduce the risk of injury or electric shock, please follow all the safety precautions listed below.
- Read all the instructions carefully before using this appliance and keep them for future reference.
- Retain the manual. If you pass the appliance on to a third party, make sure to include this manual.
- Unplug the appliance from the mains socket when not in use, or before cleaning any part of the appliance.
- Allow the appliance to completely cool down before cleaning.
- Never immerse the appliance in water and always keep the electrical contacts dry.
- Never place the appliance on or near a source of heat such as a cooker ring or gas flame. Always place the appliance on a dry, flat and stable surface.
- To prevent from heating dry, ensure the milk level is no less than the frothing level indicator on the appliance.
- Do not use the appliance to heat anything other than milk.
- Do not interfere with the normal working of the switch. Always keep the appliance out of the reach of small children.
- This appliance is not intended for use by persons (including children) with reduced physical, sensory or mental capabilities, or lack of experience and knowledge, unless they have been given supervision or instructions concerning the use of the appliance by a person responsible for their safety. Children should be supervised to ensure that they do not play with the appliance.
- If the mains cable is damaged it must be replaced by the manufacturer, its service agent, or similarly qualified persons in order to avoid a hazard.
- Do not let the mains cable overhang the edge of the work surface or allow it to touch hot surfaces or sources of heat or flame.
- Do not open the lid while the milk is heating.
- This appliance is intended to be used in households and similar places such as:
- Staff kitchen areas in shops, offices and other work places.
- By clients in motels, hotels and Bed & Breakfast establishments.
- Farmhouses.
Thank you for purchasing your new Logik Milk Frother.
We recommend that you spend some time reading this instruction manual in order to fully understand all the operational features it offers.
Read all the safety instructions carefully before use and keep this instruction manual for future reference.

Unpacking
Remove all packaging from the unit. Retain the packaging. If you dispose of it please do so according to local regulations.
The following items are included:
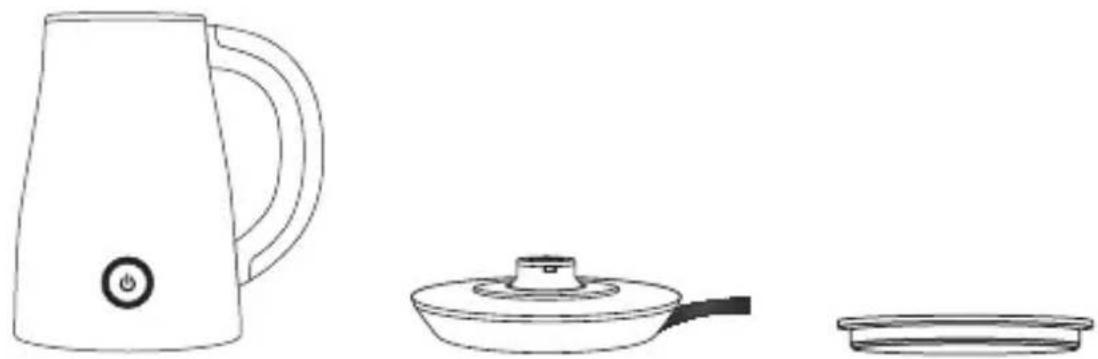
The Main Unit Milk Frother Stand Lid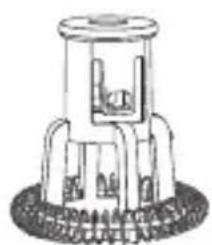
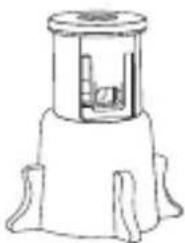
Frothing Paddle Heating Paddle Instruction Manual
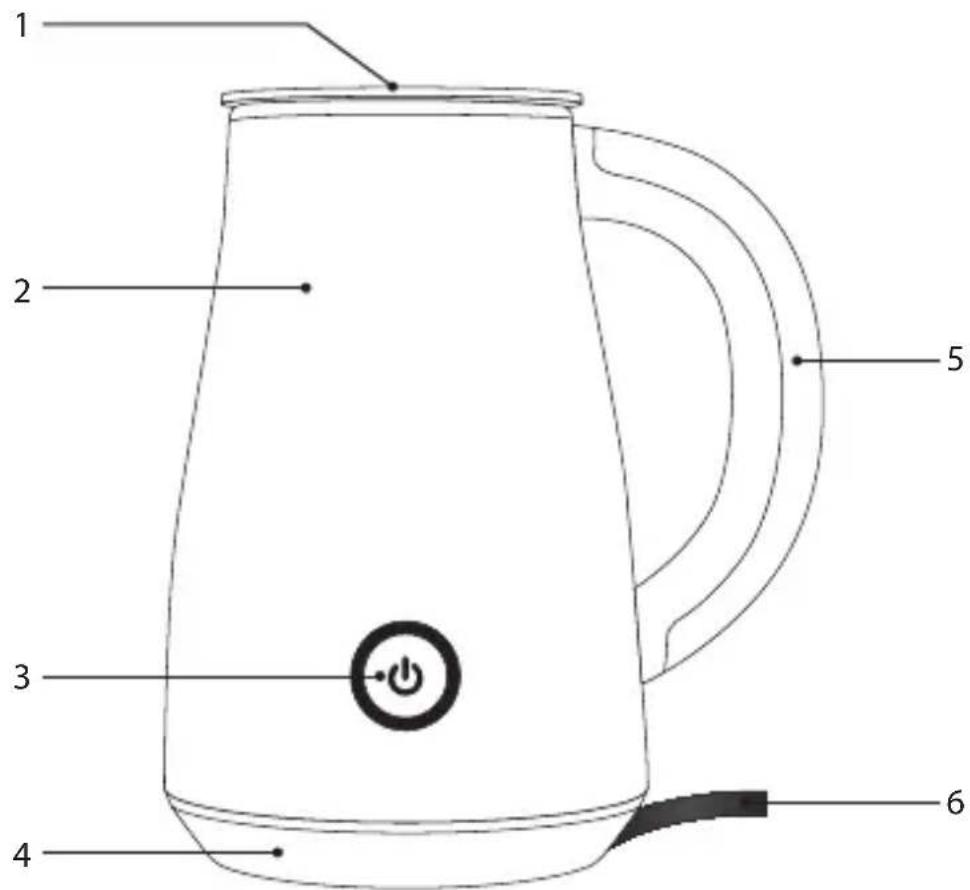
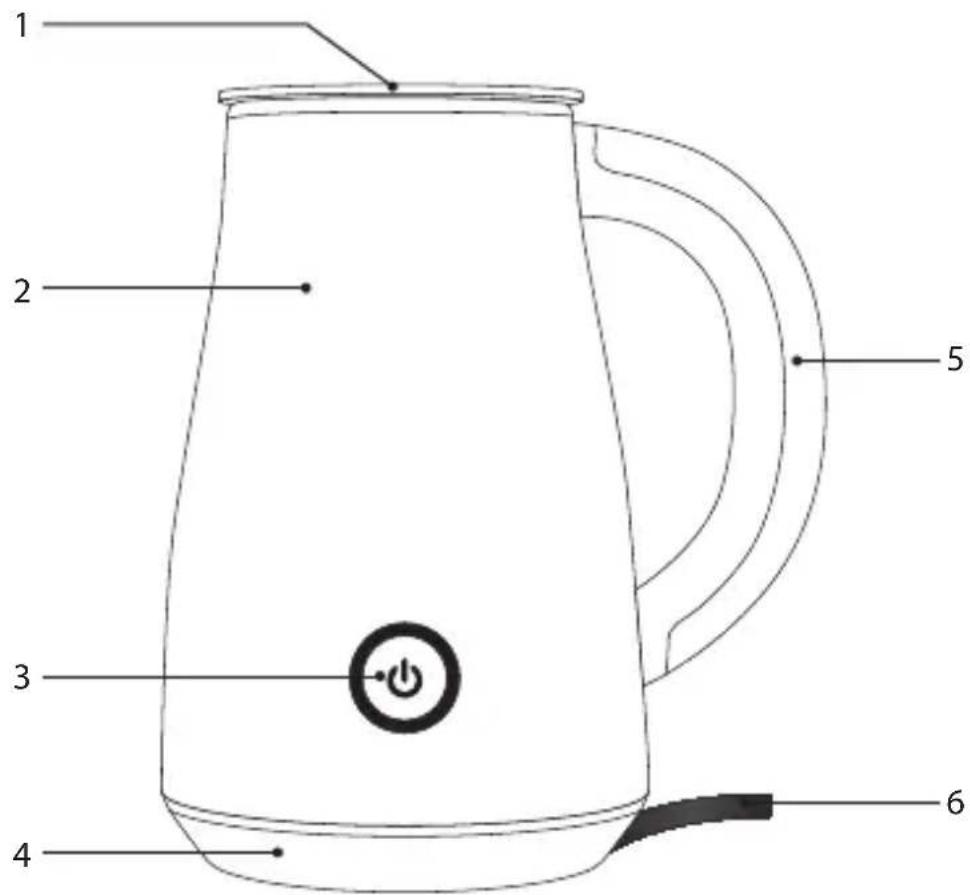
- Lid
- Milk Frother Stand
- Milk Jug
- Handle
- ⏻ Power Button with Indicator
- Mains Cable

First Time Use
Clean the jug, lid, frothing paddle and mixing paddle by hand thoroughly with warm soapy water. Rinse and allow to dry.
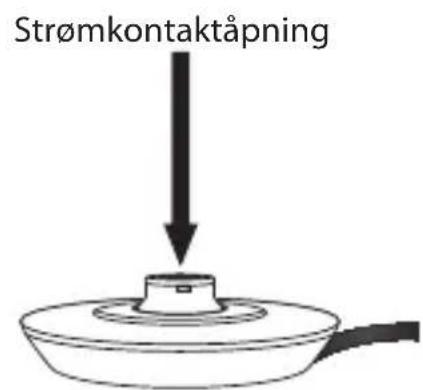
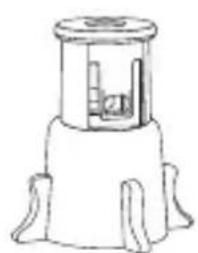
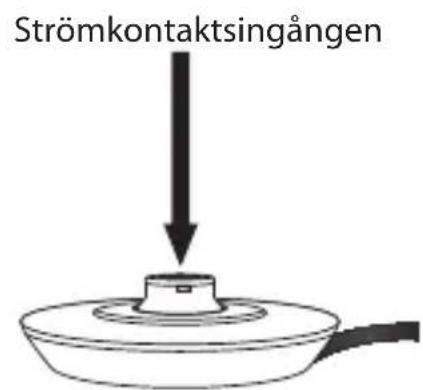
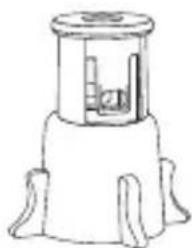
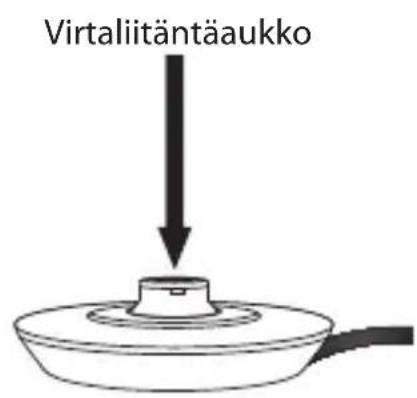
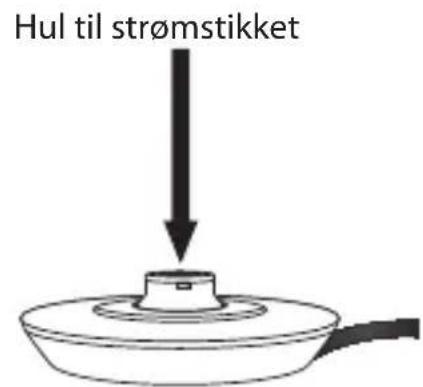
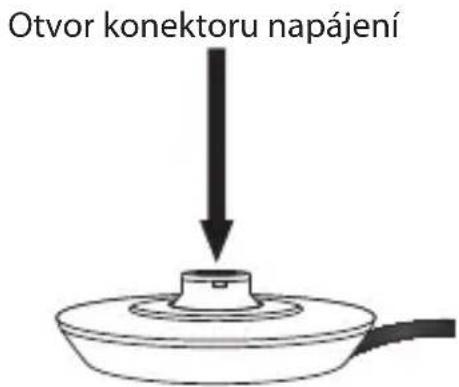
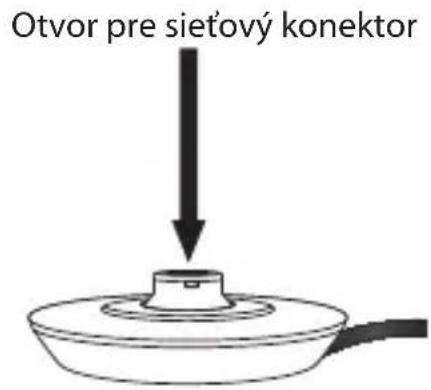
Wipe the exterior of the milk frother stand with a damp cloth, avoiding the Power Connector Hole.
Do not immerse any parts of the appliance in water.
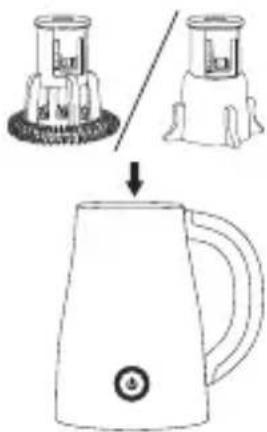
The milk frother comes with two paddles, one for frothing and one for heating milk.
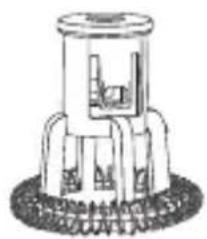
Frothing Paddle
Use for heating and/or frothing milk.
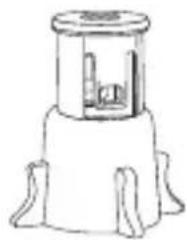
Heating Paddle
Use for heating milk.
- Place the milk frother stand on a flat stable surface, away from walls and overhanging cupboards.
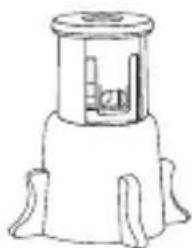
- Open the lid and insert the appropriate paddle onto the shaft in the milk jug. Push down gently but firmly to ensure the paddle locks into place.
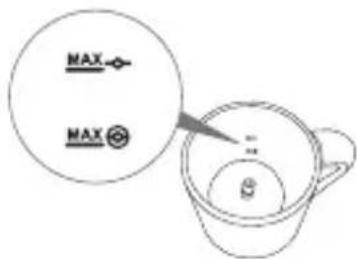
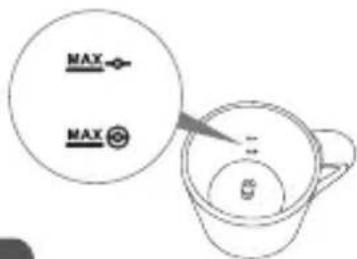
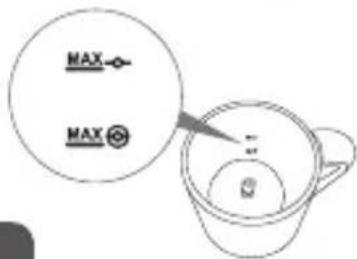
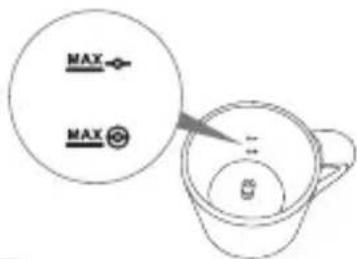
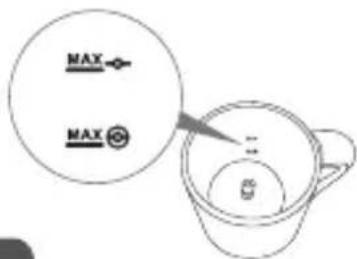
- Pour fresh milk into the jug, making sure not to exceed the maximum level marked on the inside of the jug. (The lower "MAX Ⓞ" marking is for frothing milk, the top "MAX" marking is the maximum level for heating milk.)
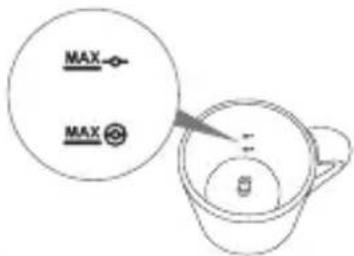

- Only a maximum of 100ml of milk can be frothed to prevent spillover after frothing.
- Only a maximum of 200ml of milk can be heated.
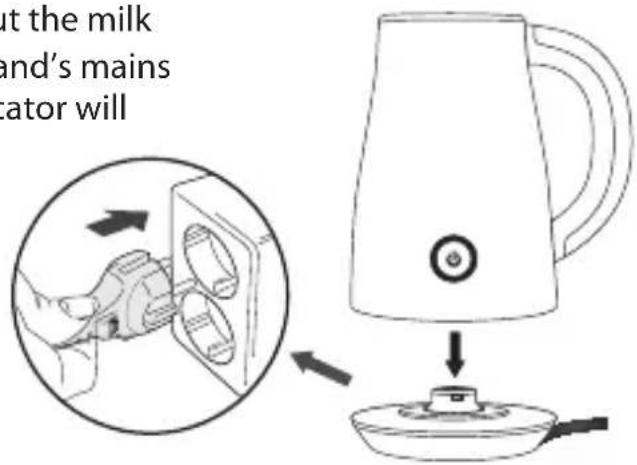
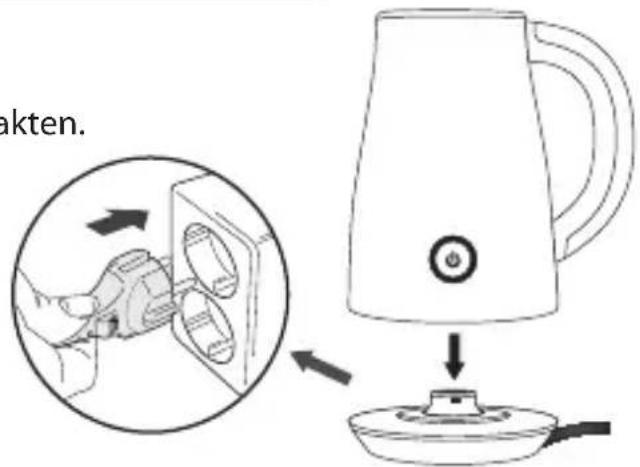
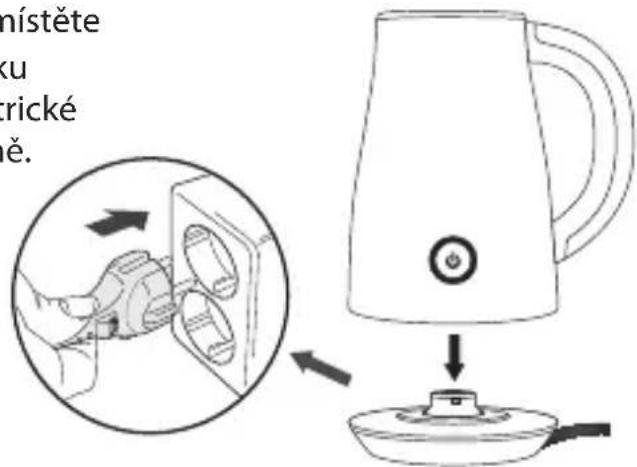
- Place the lid firmly on the jug and put the milk frother on its stand. Connect the stand's mains cable to the mains socket. The indicator will light up red.
5. (a) Frothing and Heating (MAX ☎)
Press the ⏻ button ONCE, the indicator will light up blue. The paddle will start to rotate. When the milk is frothed and heated, the milk frother will stop automatically and the indicator will light up red.

Ensure the milk inside the jug is below the marked "MAX" to prevent spillover after frothing.
(b) Heating Only (MAX)
Press the ⏻ button TWICE, the indicator will light up blue. The paddle will start to rotate. When the milk is heated, the milk frother will stop automatically and the indicator will light up red.

Ensure the milk inside the jug is below the marked "MAX ◇".
(c) Frothing Only (MAX ©)
Press the ⏻ button THREE TIMES, the indicator will flash blue. The paddle will start to rotate. When the milk is frothed, the milk frother will stop automatically and the indicator will light up red.

Ensure the milk inside the jug is below the marked "MAX" to prevent spillover after frothing.

You can press the ⏻ button at any time to stop.
- When the milk frother has stopped, carefully remove the lid and pour the warmed or frothed milk into your beverage.
- After frothing or heating, wait 3 minutes before reusing the milk frother. To shorten this time, rinse with water and wipe dry after each use. Do not immerse the appliance in water.

The milk frother will enter an automatic-safety mode after 5 consecutive uses. The power indicator will flash blue and the button will not be usable for 5 minutes.
- Always turn off the milk frother and disconnect the power supply when not in use.

Cleaning the Milk Frother
Washing the Components
Wash the lid, frothing paddle and mixing paddle by hand thoroughly with warm soapy water immediately after each use. Rinse and allow to dry.
Washing the Interior
After each use, immediately wipe the interior clean with a damp, soapy, non-abrasive sponge or cloth. Rinse thoroughly, then dry.
Cleaning the Exterior
The milk frother exterior should be cleaned with a soft damp cloth. Do not use abrasive cleaners or scouring pads which may damage the finish of the milk frother.
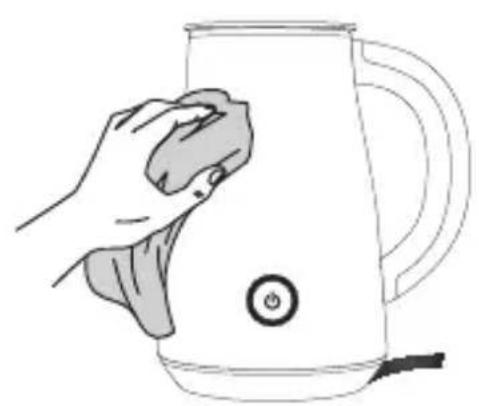
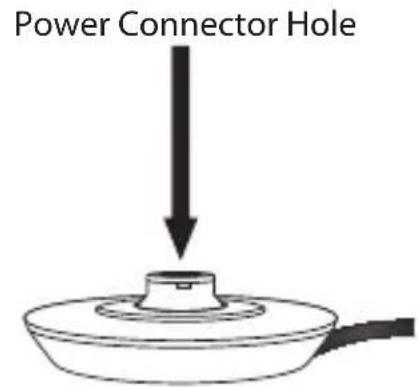

- Do not insert any foreign objects or allow any liquid to spill into the Power Connector Hole.
- Never immerse the milk frother or the stand in water and always keep the electrical contacts dry. Always disconnect from the mains before cleaning the stand.
Hints and Tips
• Always froth or heat the milk before making coffee or hot chocolate. When the milk is ready, add to the beverage and serve immediately. - Milk heats to approximately 68°C (±10°C). This is the ideal temperature to ensure the flavour of your coffee is not impaired and so you don't have to wait too long until you can start sipping on your drink. - Keep the paddles in a safe place. They are small and can easily be lost. • After frothing or heating, wait 3 minutes before reusing the milk frother. To shorten this time, rinse with water and wipe dry after each use.

Specifications
| Model LMF13E | |
| Mains Supply 220-240V, 50Hz | |
| Power Consumption 450W |
Features and specifications are subject to change without prior notice.
Thank you for purchasing your new Logik milk frother.
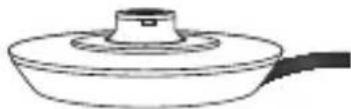

Main unit Milk frother base Lid
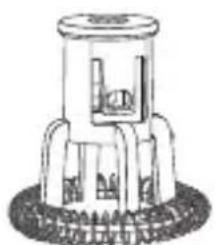
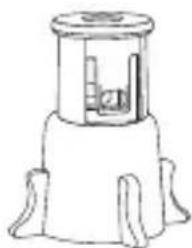
Frothing whisk Heating whisk
Instruction manual
NO

Product overview
Frothing whisk
Heating whisk

- It is only possible to froth a maximum of 100 ml of milk to prevent the milk from overflowing.
- It is only possible to heat a maximum of 200 ml of milk.
- Place the lid firmly on the jug and set the milk frother on the base. Connect the power cord from the base to the wall outlet. The indicator light glows red.
NO
(b) Heating only (MAX)
Press the 🔊 button TWICE. The indicator light glows blue. The whisk begins to rotate. When the milk is finished heating, the milk frother stops automatically and the indicator light glows red.

Check that the milk inside the jug is below the "MAX ◇" mark.
(c) Frothing only (MAX Ⓤ)
Press the 🔊 button THREE TIMES. The indicator light flashes blue. The whisk starts to rotate. When the milk is finished frothing, the milk frother stops automatically and the indicator light turns red.

Frothing whisk
Heating whisk
(c) Frothing only (MAX

Frothing whisk
Heating whisk

Whisk
Heating spatula

(c) Frothing only (MAX

Frothing whisk
Heating whisk
For heating milk.
Frothing whisk
Heating brush
(b) Heating only (MAX)
This symbol on the product or in the instructions means that your electrical and electronic equipment should be disposed at the end of its life separately from your household waste.
There are separate collection systems for recycling in the EU. For more information, please contact the local authority or your retailer where you purchased the product.
NO

- CONTENTS
- THANK YOU FOR PURCHASING YOUR NEW LOGIK MILK FROTHER
- UNPACKING
- FIRST TIME USE
- FROTHING PADDLE
- HEATING PADDLE
- FROTHING AND HEATING (MAX ☎)
- HEATING ONLY (MAX)
- FROTHING ONLY (MAX ©)
- CLEANING THE MILK FROTHER
- WASHING THE COMPONENTS
- WASHING THE INTERIOR
- CLEANING THE EXTERIOR
- HINTS AND TIPS
- SPECIFICATIONS
- NO
- PRODUCT OVERVIEW
- FROTHING WHISK
- HEATING WHISK
- FROTHING ONLY (MAX Ⓤ)
- FROTHING ONLY (MAX
- WHISK
- HEATING SPATULA
- HEATING BRUSH
Brand : Logik
Model : LMF13E
Category : Milk frother