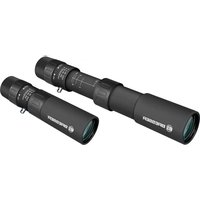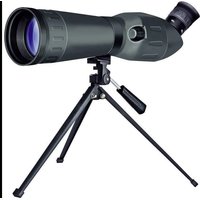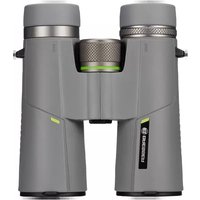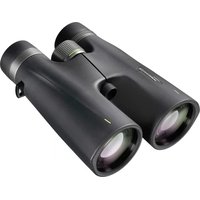
Porro 20x50 - Binoculars BRESSER - Free user manual and instructions
Find the device manual for free Porro 20x50 BRESSER in PDF.


| Product Type | Binoculars |
| Brand | BRESSER |
| Model | Porro 20x50 |
| Magnification | 20x |
| Objective Lens Diameter | 50 mm |
| Prism Type | Porro |
| Field of View | Approx. 2.5° (at 1000 m: 44 m) |
| Close Focus | Approx. 15 m |
| Exit Pupil | 2.5 mm |
| Eye Relief | 12 mm |
| Weight | Approx. 800 g |
| Dimensions (LxWxH) | 180 x 65 x 170 mm |
| Focus System | Center focus |
| Waterproof | No (splash-proof only) |
| Tripod Adaptable | Yes (via optional adapter) |
| Included Accessories | Carrying case, neck strap, lens caps, cleaning cloth |
| Recommended Use | Nature observation, astronomy, long-distance viewing |
Frequently Asked Questions - Porro 20x50 BRESSER
User questions about Porro 20x50 BRESSER
0 question about this device. Answer the ones you know or ask your own.
Ask a new question about this device
Download the instructions for your Binoculars in PDF format for free! Find your manual Porro 20x50 - BRESSER and take your electronic device back in hand. On this page are published all the documents necessary for the use of your device. Porro 20x50 by BRESSER.
USER MANUAL Porro 20x50 BRESSER
natural_image
Line drawing of a binocular device with multiple lenses and a central aperture (no text or symbols)Porro
natural_image
Simple line drawing of a symmetrical mechanical or architectural component with two vertical supports and a central oval structure (no text or symbols)Compact
natural_image
Pure technical line drawing of a mechanical component without any text, numbers, or symbolsRoof
MANUAL DOWNLOAD:
GB Visit our website via the following QR Code or web link to find further information on this product or the available translations of these instructions.
text_image
Icon representing a document or text page with horizontal lines and a bracket, commonly used to indicate text content.MANUAL DOWNLOAD:
text_image
QR code image containing encoded data, no visible human-readable textINHALT/INDEX:
Manual Download 2-3
Porro 6-7
Roof 8-9
Compact 10-11
natural_image
Simple shield icon with a checkmark inside, no text or symbols presentSERVICE AND WARRANTY:
text_image
QR code image containing encoded data, no visible human-readable textwww.bresser.de/warranty_terms

text_image
iBINOCULARS GUIDE:
text_image
QR code image containing encoded data, no visible human-readable textnatural_image
Simple line drawing of a speech bubble with three dots inside, enclosed in a square frame (no text or symbols)BINOCULARS FAQ:
text_image
QR code image containing encoded data, no visible human-readable textwww.bresser.de/faq
text_image
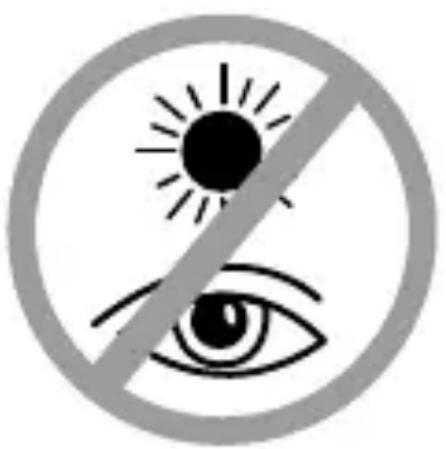
Prohibition sign with sun and eye symbol crossed out, indicating no protection or absence of visual attention(GB) WARNING: Never use this device to look directly at the sun or in the direct proximity of the sun. Doing so may result in a risk of blindness.
text_image
Technical diagram of a binocular device with numbered components and directional arrows indicating motion or movement.DE Teileübersicht
- Central focusing wheel
- Eyepiece lens
- Objective lens
- Centre axle
- Dioptre adjustment
- *Zoom lever
- Central focusing wheel
- Eyepiece lens
- Objective lens
- Centre axle
- Dioptre adjustment
text_image
Technical diagram of a mechanical device with numbered components and a magnified inset showing internal structure.DE Teileübersicht
- Central focusing wheel
- Eyepiece lens
- Objective lens
- Centre axle
- *Zoom lever
natural_image
Microscopic image showing a chromosome before and after division, labeled as Fig. 3 (no text or symbols on the image itself)natural_image
Diagram of a computer monitor with an arrow indicating rotational motion, labeled Fig. 5a (no text or symbols on the diagram itself)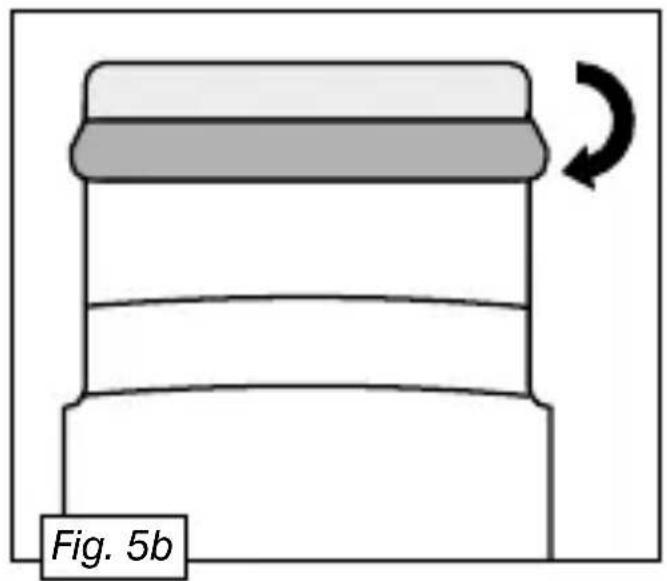
natural_image
Diagram of a mechanical component with a curved arrow indicating rotation, labeled Fig. 5b (no text or symbols on the diagram itself)Stativadapter / Tripod Mount Adapter (nicht enthalten/not included)
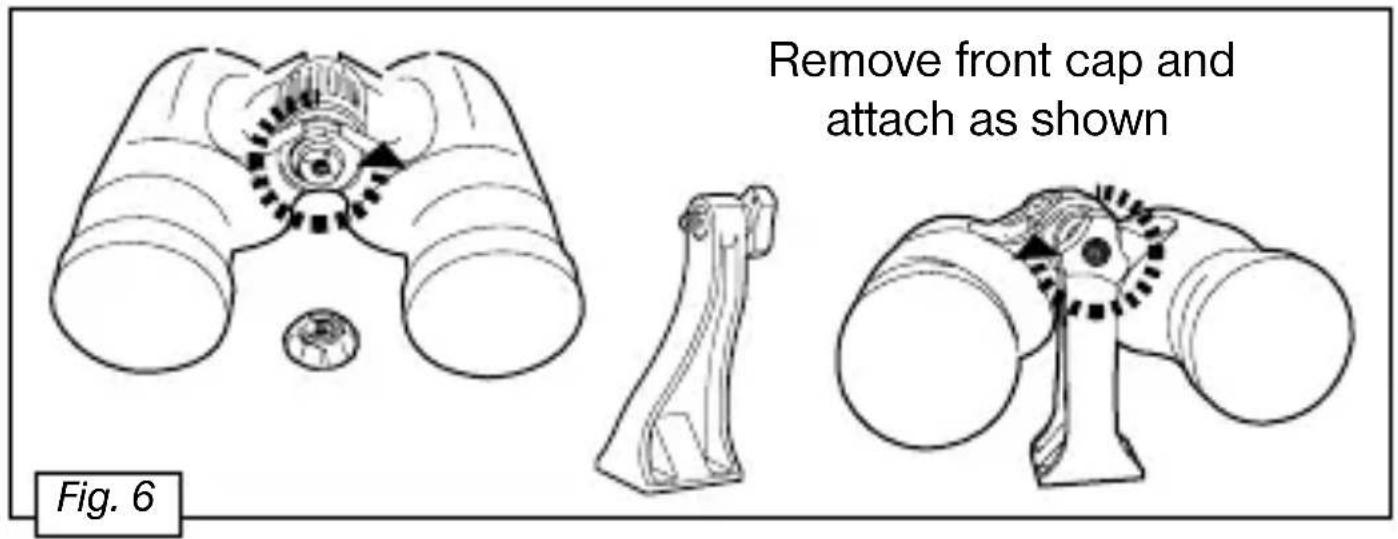
text_image
Remove front cap and attach as shown Fig. 6
- Risk of blindness — Never use this device to look directly at the sun or in the direct proximity of the sun. Doing so may result in a risk of blindness.
- Choking hazard – Children should only use the device under adult supervision. Keep packaging material, like plastic bags and rubber bands, out of the reach of children, as these materials pose a choking hazard.
- Risk of fire — Do not place the device, particularly the lenses, in direct sunlight. The concentration of light could cause a fire.
- Do not disassemble the device. In the event of a defect, please contact your dealer. The dealer will contact the Service Centre and can send the device in to be repaired, if necessary.
- Do not expose the device to high temperatures.
- The device is intended only for private use. Please heed the privacy of other people. Do not use this device to look into apartments, for example.
Eyepieces for spectacle wearers P R C
Depending on the model, your binoculars are equipped with either twist-up eyecups or rubber eyecups. Since there is a larger distance between the binocular eyepiece and the pupil for those wearing glasses, both eyecup varieties can be adjusted individually (Fig. 5).
Twist-up Eyecups (Fig. 5a)
Screw in the twist-up eyecups (2a) to use the binoculars while wearing glasses. If you are not wearing glasses, unscrew the eye-cups to achieve the required distance from the pupils.
OR
Rubber Eyecups (Fig. 5b)
To use the binoculars while wearing glasses, turn the rubber eyecups (2b) towards the sides and down. If you are not wearing glasses, leave the eyecups in the upright position to achieve the required distance from the pupils.
Adjusting the eyepiece distance P R C
The distance between the eyes differs between individuals. To achieve perfect interaction between your eyes and the eyepieces of your binoculars set the angle at the centre of the binoculars (Fig. 1) so that you see a circular image (Fig. 2). Note this setting for later use.
Adjusting the focus P R C
Look through your binoculars with your right eye closed.
Now adjust the image for your left eye using the centre
wheel (1) until it is sharp and clear (Fig. 3). Close your left eye and adjust the image for your right eye using the dioptre ring (5) until it too is sharp and clear.
Using the Zoom Function P C
You can use the zoom lever (6) to select various levels of magnification; in general, the zoom is continuous. Simply move the lever back or forth to zoom.
Please note: When changing the magnification setting, it is necessary to re-adjust the image sharpness using the centre focussing wheel (1).
Porro/Roof:
Mounting the binoculars on a tripod PR
If your binoculars have a threaded tripod connection (Fig. 6) built in: The required tripod adapter is available in stores as an optional accessory (Art. No. 19-16000 or 19-16500). With this accessory, you are able to mount your binoculars on a tripod with a DIN mounting thread (e.g. Art. No. 49-22500).
- Clean the eyepieces and lenses only with a soft, lint-free cloth like a microfibre cloth. To avoid scratching the lenses, use only gentle pressure with the cleaning cloth.
- To remove more stubborn dirt, moisten the cleaning cloth with an eyeglass-cleaning solution and wipe the lenses gently.
- Protect the device from dust and moisture. After use, particularly in high humidity, let the device acclimatize for a short period of time, so that the residual moisture can dissipate before storing.

DISPOSAL
- Dispose of the packaging materials properly, according to their type, such as paper or cardboard. Contact your local waste-disposal service or environmental authority for information on the proper disposal.
DE GARANTIE & SERVICE:
The regular guarantee period is 2 years and begins on the day of purchase. To benefit from an extended voluntary guarantee period as stated on the gift box, registration on our website is required. You can consult the full guarantee terms as well as information on extending the guarantee period and details of our services at www.bresser.de/warranty_terms.
FR GARANTIE ET SERVICE:
Unit 1 Starborough Farm
Starborough Road, Nr Marsh Green
Edenbridge, Kent TN8 5RB
* Number charged at local rates in the UK (the amount you will be charged per phone call will depend on the tariff of your phone provider); calls from abroad will involve higher costs.
E-Mail: info@folux.nl
Telefoon*: +31 (0) 528 23 24 76
Folux B.V.
Smirnoffstraat 8
7903 AX Hoogeveen
Netherlands