
Revival K-T16107 - Faucet KOHLER - Free user manual and instructions
Find the device manual for free Revival K-T16107 KOHLER in PDF.


User questions about Revival K-T16107 KOHLER
0 question about this device. Answer the ones you know or ask your own.
Ask a new question about this device
Download the instructions for your Faucet in PDF format for free! Find your manual Revival K-T16107 - KOHLER and take your electronic device back in hand. On this page are published all the documents necessary for the use of your device. Revival K-T16107 by KOHLER.
USER MANUAL Revival K-T16107 KOHLER
Wall-Mount Lavatory Faucet Trim
K-T16106, K-T16107
natural_image
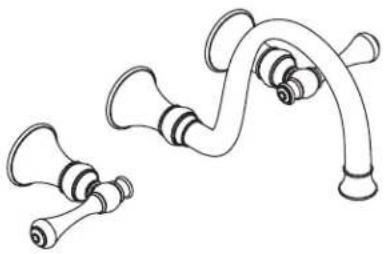
Line drawing of a double faucet with two flanges (no text or symbols)M product numbers are for Mexico (i.e. K-12345M)
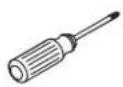
Phillips
Screwdriver
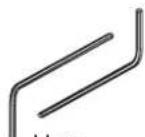
Hex Wrench

Plumbers
Putty
Thank You For Choosing Kohler Company
We appreciate your commitment to Kohler quality. Please take a few minutes to review this manual before you start installation. If you encounter any installation or performance problems, please don't hesitate to contact us. Our phone numbers and website are listed on the back cover. Thanks again for choosing Kohler Company.
Before You Begin
□ Shut off the main water supply.
□ Observe all local plumbing and building codes.
☐ If needed, complete the finished wall before beginning this installation.
☐ Kohler Co. reserves the right to make revisions in the design of faucets without notice, as specified in the Price Book.
text_image
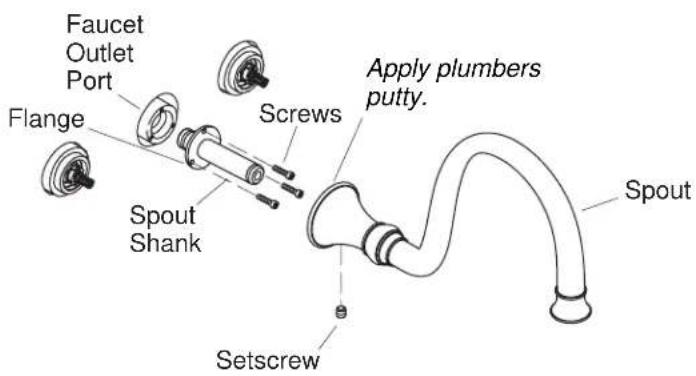
Flaucet Outlet Port Flange Screws Apply plumbers putty. Spout Shank Setscrew Spout1. Install the Spout
IMPORTANT! Use care when installing the spout to avoid scratching the finish.
☐ Back the setscrew out of the spout or remove it to prevent damage to the spout shank when installing the spout to the faucet outlet port.
☐ Insert the inlet end of the spout shank into the faucet outlet port.
☐ Secure the spout shank using the three provided screws.
□ Apply plumbers putty or other sealant to the back surface of the spout according to the putty manufacturer's instructions.
☐ Slide the spout onto the spout shank, position as desired, and tighten the setscrew to secure the spout in place.
□ Remove any excess putty or sealant.
text_image
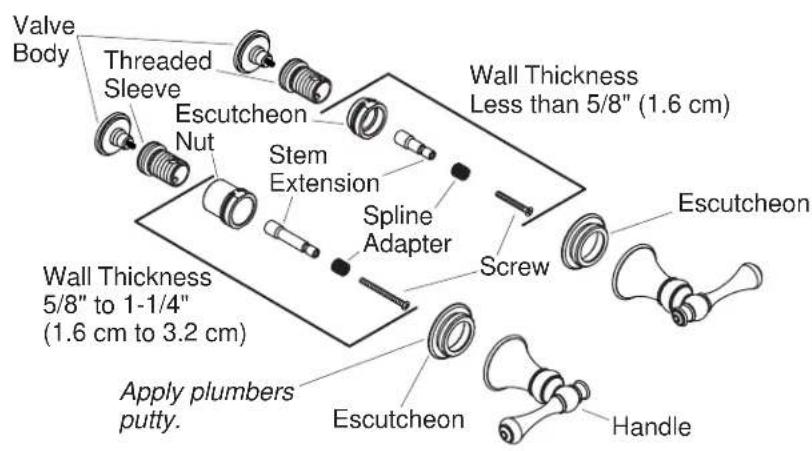
Valve Body Threaded Sleeve Escutcheon Nut Stem Extension Spline Adapter Wall Thickness Less than 5/8" (1.6 cm) Wall Thickness 5/8" to 1-1/4" (1.6 cm to 3.2 cm) Apply plumbers putty. Escutcheon Screw Escutcheon Handle2. Install the Handles
□ Determine the thickness of the finished wall.
☐ If the finished wall is less than 5/8" (1.6 cm) thick, use the supplied hardware kit numbered 1031071.
☐ If the finished wall is 5/8" (1.6 cm) to 1-1/4" (3.2 cm) thick, use the supplied hardware kit numbered 1031072.
☐ Slide a spline adapter from kit 1031073 onto the stem extension.
☐ Place a stem extension on the valve stem. Secure with the screw provided.
☐ Thread a threaded sleeve onto the valve body.
☐ Thread an escutcheon nut onto the threaded sleeve.
□ Apply plumbers putty or other sealant to the back of the escutcheon according to the putty manufacturer's instructions.
☐ Thread an escutcheon onto the threaded sleeve. Remove any excess putty or sealant.
☐ Press a handle over the stem extension and move the handle to the closed position (Hot = Counterclockwise, Cold = Clockwise). Lever handles should be horizontal when closed.
☐ If adjustment is needed to achieve the desired handle alignment, remove the handle, screw and spline adapter. Turn the spline adapter 1/4 turn. Check the handle position. Repeat the procedure until the proper handle position is achieved. Secure with the screw.
Install the Handles (cont.)
☐ Thread the handle assembly onto the escutcheon. To maintain the proper handle alignment, hold the handle in place with one hand and turn the base of the handle with the other hand.
□ Repeat the procedures with the second handle.
text_image
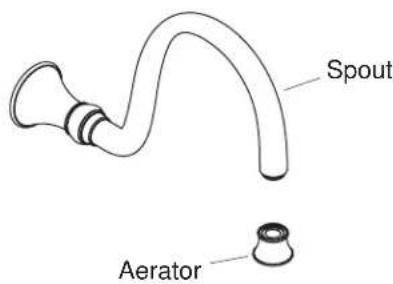
Spout Aerator3. Complete the Installation
☐ Ensure that both faucet handles are turned off (hot = counterclockwise to close, cold = clockwise to close).
□ Turn on the water supplies and check the installation for leaks.
□ Repair as needed.
□ Remove the aerator.
☐ Open the valves and run water through the spout for about a minute to remove any debris. Check for leaks.
□ Remove all debris from the aerator.
☐ Turn the valves off, and reinstall the aerator.




