
Purist K-T14414 - Faucet KOHLER - Free user manual and instructions
Find the device manual for free Purist K-T14414 KOHLER in PDF.

| Brand | Kohler |
| Model | Purist K-T14414 |
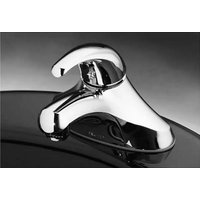
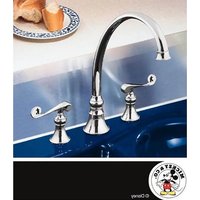
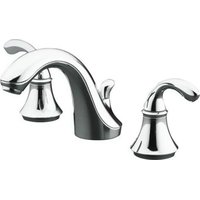
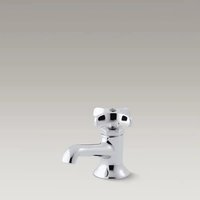
| Product Type | Two-handle wall mount faucet |
| Number of Handles | 2 |
| Installation | Wall mount, with escutcheons |
| Supply | Cold and hot water |
| Flow Rate | Standard (with aerator) |
| Material | Chrome-plated brass (estimated) |
| Finish | Chrome (estimated) |
| Spout | Oriental, with wall escutcheon |
| Sealant | Plumber's putty or similar product |
| Required Tools | Phillips screwdriver, hex key, putty |
| Replacement Parts | Bolting kit 1038270, adapters, extensions |
| Maintenance | Exterior cleaning with soft cloth |
| Repairability | Parts available, disassembly possible |
| Safety | Turn off water supply before installation |
| Warranty | See manufacturer (not specified) |
Frequently Asked Questions - Purist K-T14414 KOHLER
User questions about Purist K-T14414 KOHLER
0 question about this device. Answer the ones you know or ask your own.
Ask a new question about this device
Download the instructions for your Faucet in PDF format for free! Find your manual Purist K-T14414 - KOHLER and take your electronic device back in hand. On this page are published all the documents necessary for the use of your device. Purist K-T14414 by KOHLER.
USER MANUAL Purist K-T14414 KOHLER
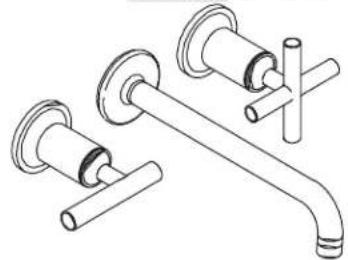
Wall-Mount Lavatory Faucet Trim
K-T14412 K-T14413

natural_image
Technical line drawing of three pipe fittings with no text or symbols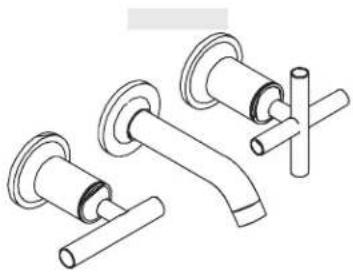
natural_image
Line drawing of three different bathroom fixtures (no text or symbols)K-T14414 K-T14415

natural_image
Technical line drawing of a pipe fitting with three different components (no text or symbols)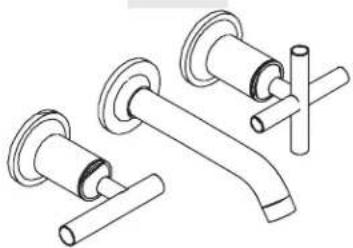
natural_image
Technical line drawing of three mechanical components with no visible text or symbolsK-T14416 K-T14417
natural_image
Technical line drawing of a wall-mounted pipe fitting with flanges and a bent tube (no text or symbols)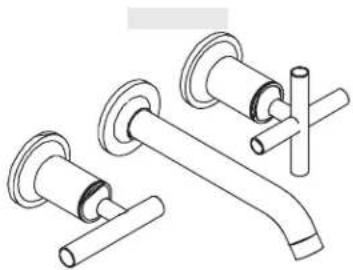
natural_image
Technical line drawing of a bathroom sink with three fixtures (no text or symbols)M product numbers are for Mexico (i.e. K-12345M)
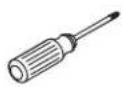
Phillips
Screwdriver
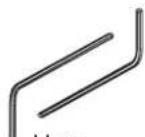
Hex Wrench

Plumbers
Putty
Thank You For Choosing Kohler Company
We appreciate your commitment to Kohler quality. Please take a few minutes to review this manual before you start installation. If you encounter any installation or performance problems, please don't hesitate to contact us. Our phone numbers and website are listed on the back cover. Thanks again for choosing Kohler Company.
Before You Begin
□ Shut off the main water supply.
□ Observe all local plumbing and building codes.
☐ If needed, complete the finished wall before beginning this installation.
☐ Kohler Co. reserves the right to make revisions in the design of faucets without notice, as specified in the Price Book.
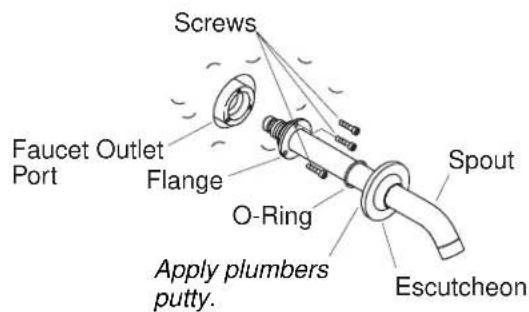
1. Install the Spout
IMPORTANT! Use care when installing the spout to avoid scratching the finish.
☐ Thread the spout into the spout shank until it is snug. If needed, adjust the spout slightly to position it so it points straight down.
- Secure the spout in place by tightening the flange with the screws provided.
□ Confirm that the O-ring is inside the escutcheon.
□ Apply plumbers putty or other sealant to the back surface of the spout escutcheon according to the putty manufacturer's instructions.
□ Carefully slide the spout escutcheon over the spout and press firmly against the finished wall.
□ Remove any excess putty or sealant.

2. Install the Handles
NOTE: If the finished wall is less than 5/8" (1.6 cm) thick, no spline adapter will be used with the installation.
□ Determine the thickness of the finished wall.
☐ If the finished wall is less than 5/8" (1.6 cm) thick, use the 1" (2.5 cm) long stem extension, 7/8" (2.2 cm) long screw, and the 2" (5.1 cm) long threaded sleeve.
☐ If the finished wall is 5/8" (1.6 cm) to 1-1/4" (3.2 cm) thick, use the 1038270 hardware kit supplied.
☐ If applicable, slide a spline adapter onto the stem extension.
☐ Place a stem extension on the valve stem. Secure with the screw provided.
☐ Thread a threaded sleeve onto the valve body.
□ Apply plumbers putty or other sealant to the back of the escutcheon according to the putty manufacturer's instructions.
☐ Thread an escutcheon onto the threaded sleeve. Remove any excess putty or sealant.
☐ Press a handle over the stem extension and move the handle to the closed position (Hot = Counterclockwise, Cold = Clockwise). Lever handles should be horizontal when closed.
Install the Handles (cont.)
☐ If adjustment is needed to achieve the desired handle alignment, remove the handle, screw and spline adapter or stem extension. Turn the spline adapter 1/4 turn. Check the handle position. Repeat the procedure until the proper handle position is achieved. Secure with the screw.
☐ Thread the handle assembly onto the escutcheon. To maintain the proper handle alignment, hold the handle in place with one hand and turn the base of the handle with the other hand.
☐ Repeat the procedures with the second handle.
3. Complete the Installation
☐ Ensure that both faucet handles are turned off (hot = counterclockwise to close, cold = clockwise to close).
□ Turn on the water supplies and check the installation for leaks.
□ Repair as needed.
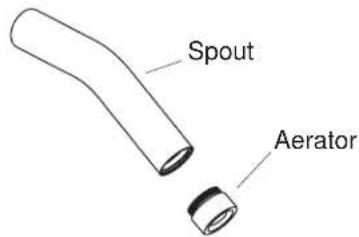
□ Remove the aerator.
☐ Open the valves and run water through the spout for about a minute to remove any debris. Check for leaks.
□ Remove all debris from the aerator.
☐ Turn the valves off, and reinstall the aerator.

Brand : KOHLER
Model : Purist K-T14414
Category : Faucet