Sentinel K-7510 - Faucet KOHLER - Free user manual and instructions
Find the device manual for free Sentinel K-7510 KOHLER in PDF.

| Brand | Kohler |
| Model | Sentinel K-7510 |
| Category | Faucet |
| Product Type | Manual lavatory faucet |
| Material | Chrome-plated brass (estimate) |
| Supply | Hot and cold water (separate connections) |
| Handle Type | Lever (estimate) |
| Number of Holes | 1 hole for faucet, possibility of additional bubble fountains |
| Mounting | By nut and washer under the countertop |
| Tools Required for Installation | Adjustable wrench, flathead screwdriver, Phillips screwdriver, plumber's putty |
| Main Functions | Hot and cold water distribution, swivel spout (estimate) |
| Flow Rate | Not specified in the manual, flow regulator present on fountain models |
| Warranty | Not specified, refer to the retailer |
| Maintenance and Cleaning | Clean with a soft cloth and soapy water, avoid abrasive products |
| Safety | Turn off the main water supply before any intervention |
| Spare Parts | Contact Kohler customer service for replacement parts |
| Repairability | Possible by a qualified professional |
| Standards | Comply with local plumbing and building codes |
Frequently Asked Questions - Sentinel K-7510 KOHLER
User questions about Sentinel K-7510 KOHLER
0 question about this device. Answer the ones you know or ask your own.
Ask a new question about this device
Download the instructions for your Faucet in PDF format for free! Find your manual Sentinel K-7510 - KOHLER and take your electronic device back in hand. On this page are published all the documents necessary for the use of your device. Sentinel K-7510 by KOHLER.
USER MANUAL Sentinel K-7510 KOHLER
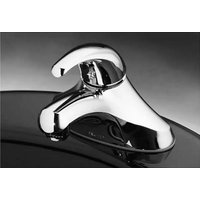
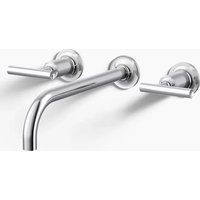
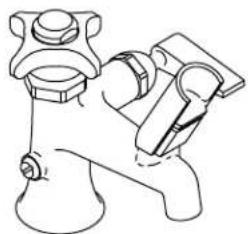
Self-Closing and Single Control Faucets
K-7500 K-7504
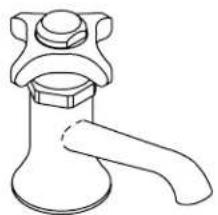
natural_image
Line drawing of a faucet with handle and flange (no text or symbols)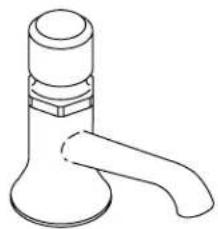
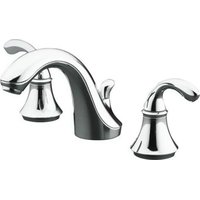
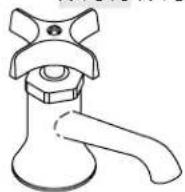
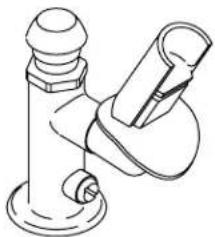
natural_image
Line drawing of a faucet with handle and flange (no text or symbols)K-7510 K-7520
natural_image
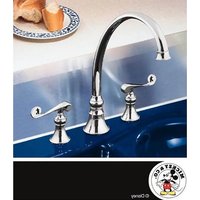
Line drawing of a bathroom sink with faucet and toilet (no text or symbols)K-7524
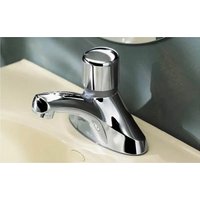
natural_image
Line drawing of a mechanical component with a flanged base and attached lever (no text or symbols)M product numbers are for Mexico (i.e. K-12345M)
Thank You For Choosing Kohler Company
We appreciate your commitment to Kohler quality. Please take a few minutes to review this manual before you start installation. If you encounter any installation or performance problems, please don't hesitate to contact us. Our phone numbers and website are listed on the back cover. Thanks again for choosing Kohler Company.
Tools and Materials

Adjustable Wrench
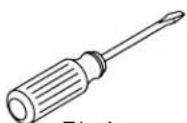
Blade
Screwdriver
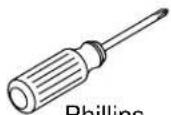
Phillips
Screwdriver

Plumbers
Putty
Before You Begin
□ Observe all local plumbing and building codes.
□ Shut off the main water supply.
☐ Kohler Co. reserves the right to make revisions in the design of faucets without notice, as specified in the Price Book.
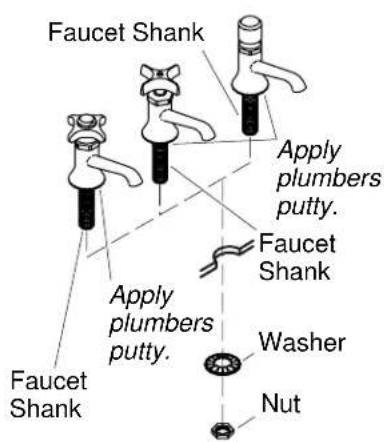
1. Faucet Installation
□ When using hot and cold faucets, hot (H) is on the left and cold (C) is on the right.
□ Apply plumbers putty or other sealant according to the manufacturer's instructions to the underside of the faucet. Then place through the hole.
□ Align faucet spout into basin area.
□ From the underside, slip washer onto faucet shank and tighten nut securely.

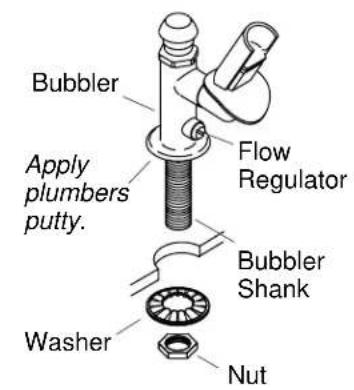
2. Bubbler Installations
NOTE: Both models are for cold water only. The flow regulator on either model controls the water flow through the bubbler.
For K-7520 and K-7524 Models
□ Apply plumbers putty or other sealant according to the manufacturer's instructions to the underside of the faucet or bubbler. Then place through the hole.
□ Align faucet or bubbler spout into basin area.
□ From the underside, slip washer onto faucet or bubbler shank and tighten nut securely.

natural_image
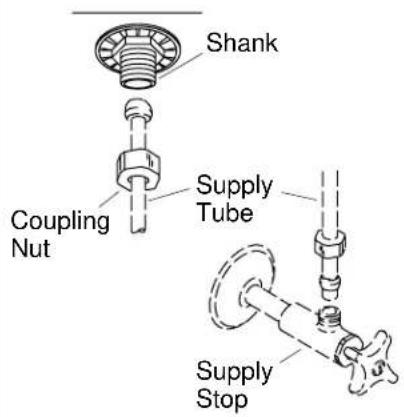
Line drawing of a faucet with handle and flange (no text or symbols)3. Supply Connections
☐ Ground joint: slip coupling nut onto supply tube.
□ Carefully position round end of supply tube squarely to inlet of faucet or bubbler shank and supply stop.
□ Tighten all nuts.
4. Installation Checkout
☐ Turn on the main water supply and check for leaks. Repair as needed.
☐ Turn on hot and cold faucet handles and run water for about a minute to remove debris.
□ Turn faucet handles off.