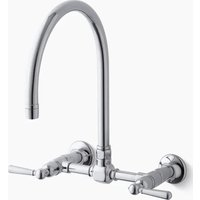
HiRise K-7338 - Faucet KOHLER - Free user manual and instructions
Find the device manual for free HiRise K-7338 KOHLER in PDF.


User questions about HiRise K-7338 KOHLER
0 question about this device. Answer the ones you know or ask your own.
Ask a new question about this device
Download the instructions for your Faucet in PDF format for free! Find your manual HiRise K-7338 - KOHLER and take your electronic device back in hand. On this page are published all the documents necessary for the use of your device. HiRise K-7338 by KOHLER.
USER MANUAL HiRise K-7338 KOHLER
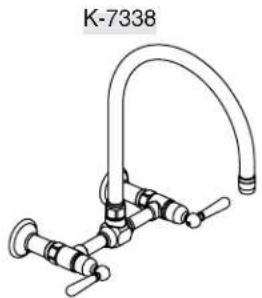
Wall-Mount Kitchen Faucet
natural_image
Technical line drawing of a kitchen sink with tubing and valves (no text or symbols)Mproduct numbers are for Mexico (i.e. K-12345M)
We appreciate your commitment to Kohler quality. Please take a few minutes to review this manual before you start installation. If you encounter any installation or performance problems, please don't hesitate to contact us. Our phone numbers and website are listed on the back cover. Thanks again for choosing Kohler Company.
ToolsandMaterials
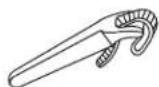
Strap Wrench

Hex Wrenches 5/64" and 3/8"

Tape Measure

Level

Sealant Tape

Square
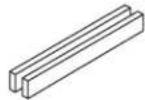
2x4 Lumber
Plus:
- Pipe Nipples
- Elbows
- Caps
• Two-Hole Straps or Drop-Ear Ells and Screws
BeforeYouBegin
NOTE: Use two-hole straps or drop-ear ells and screws to secure the water supplies within the wall.
□ Observe all local plumbing and building codes.
□ Shut off the main water supply.
□ Carefully inspect waste and supply tubing for any sign of damage.
☐ Select pipe nipples long enough to protrude through the finished wall.
☐ Do not use petroleum based products on this product.
☐ Kohler Co. reserves the right to make revisions in the design of faucets without notice, as specified within the Price Book.
text_image
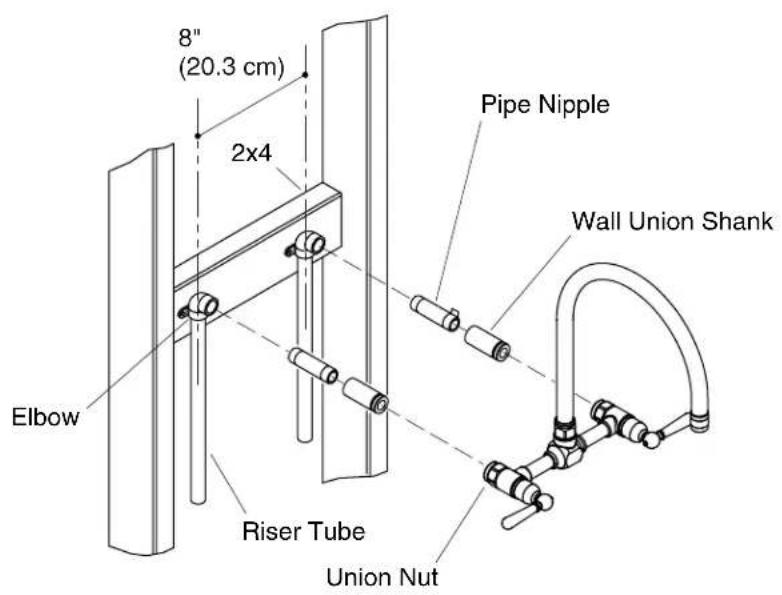
8" (20.3 cm) 2x4 Elbow Riser Tube Union Nut Pipe Nipple Wall Union Shank1. PreparetheSite
Rough-inthePlumbing
IMPORTANT!Forexteriorwallinstallations:Ensure proper wall insulation to prevent frozen pipes.
□ Attach a 2x4 between two studs according to the illustration.
☐ Position the riser tubes 8"(20.3 cm) apart, then level, and secure the elbows and risers to the 2x4.
□ Temporarily secure a pipe nipple to each elbow with sealant tape.
☐ Confirm the pipe nipples are perpendicular to the front edge of the vertical 2x4s.
ConfirmtheRough-inPlumbing
☐ Hand tighten the two wall union shanks onto to each pipe nipple.
NOTE: Do not damage the O-rings or the finish on the faucet assembly when tightening the union nuts.
☐ Secure the faucet assembly to the wall shanks with the attached union nuts.
PreparetheSite(cont.)
☐ Verify the faucet assembly is properly aligned and level. If necessary, make adjustments by repositioning the elbows.
- Remove the faucet assembly and the wall shanks. Place the faucet assembly in its original packaging to prevent damage.
SiteCheckout
□ Flush the water lines.
☐ Cap the pipe nipples and check for leaks at the elbows.
□ Complete the finished wall.
text_image
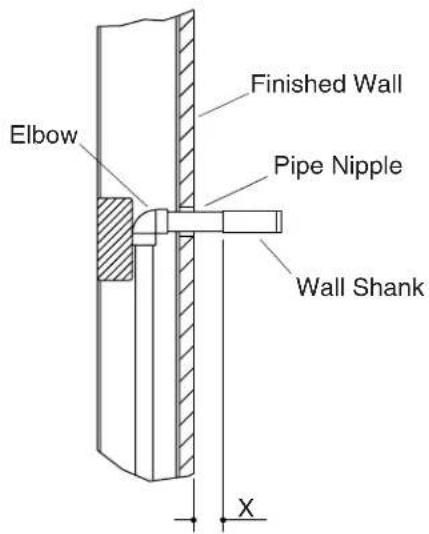
Elbow Finished Wall Pipe Nipple Wall Shank X2. InstalltheWallShanks
□ Remove the caps from the pipe nipples.
□ Reinstall the wall shanks to the pipe nipples.
☐ Measure and note the distance "X" from the end of the wall shanks to the finished wall.
□ Remove the wall shanks.
□ Remove the pipe nipples and measure their length.
☐ Subtract distance "X" from the length of the pipe nipples. Discard the pipe nipples and replace them with ones of proper length.
□ Apply sealant tape to both ends of the pipe nipples, then insert the pipe nipples into the elbows.
☐ Thread the wall shanks to the pipe nipples, then tighten with a 3/8"hex wrench.
☐ For each wall shank, ensure the distance from the end of the wall shank to the finished wall is equal. Adjust if needed.
text_image
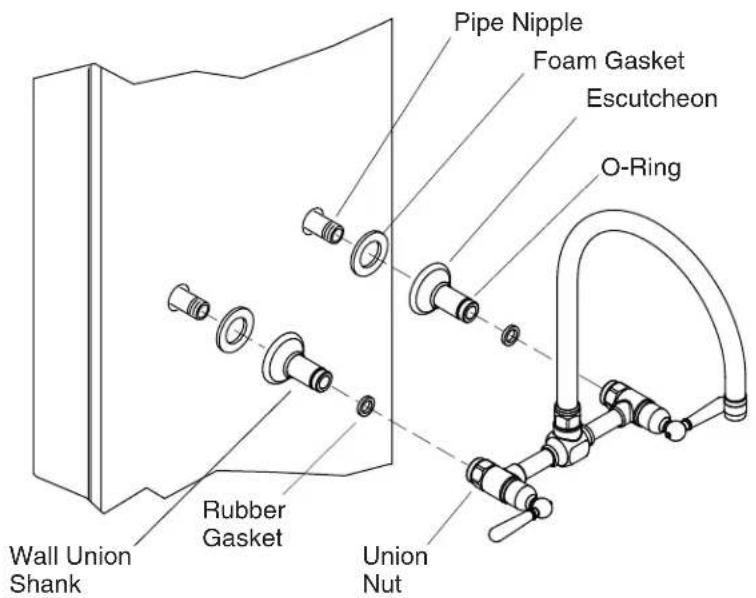
Wall Union Shank Rubber Gasket Union Nut Pipe Nipple Foam Gasket Escutcheon O-Ring3. InstalltheFaucetAssembly
IMPORTANT! If you are mounting the escutcheons to an uneven surface (such as tile grout lines), apply a suitable sealant in addition to the foam gaskets provided. Donotusepetroleumbasedsealant.
☐ Confirm that a foam gasket is inserted in the groove of each escutcheon.
□ Slide an escutcheon onto each wall union shank
☐ Press the escutcheon against the finished wall and tighten the setscrews with a 5/64"hex wrench.
☐ Confirm that an O-ring is attached to each wall union shank and a rubber gasket is attached inside each union nut.
☐ Slide the faucet assembly onto the wall union shanks.
NOTE: Do not damage the O-rings on the wall union shanks or the finish on the union nuts when using the strap wrench.
□ Using a strap wrench, tighten the union nuts to secure the faucet assembly to the wall union shanks.
□ Verify the handles are in the OFF position, as shown.
text_image
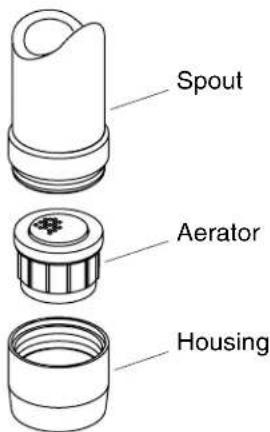
Spout Aerator Housing4. InstallationCheckout
□ Verify that all connections are tight.
□ Twist the aerator counterclockwise to remove it from the spout.
□ Turn on the main water supply.
□ Check all connections for leaks. Repair as needed.
☐ Turn both handles to the ON position to run water through the faucet. Allow the water to run through the spout to remove any debris.
□ Turn both handles to the OFF position.
□ Remove any debris from the aerator and reinstall.




